LearnDash for WordPress: How to Create Your First Online Learning Course
If you are considering creating an online learning course then LearnDash may be the solution for you. LearnDash is a WordPress Learning Management System (LMS) plugin that will enable you to design, promote and sell your online courses, whatever the subjects.
In this article, we will discuss in detail the key features LearnDash has to offer, and how it can be used to ensure your project is successful. We will then look at how to install LearnDash on your WordPress website, and create, market and sell a course. So let’s get started…
What is LearnDash and Who Is It For?
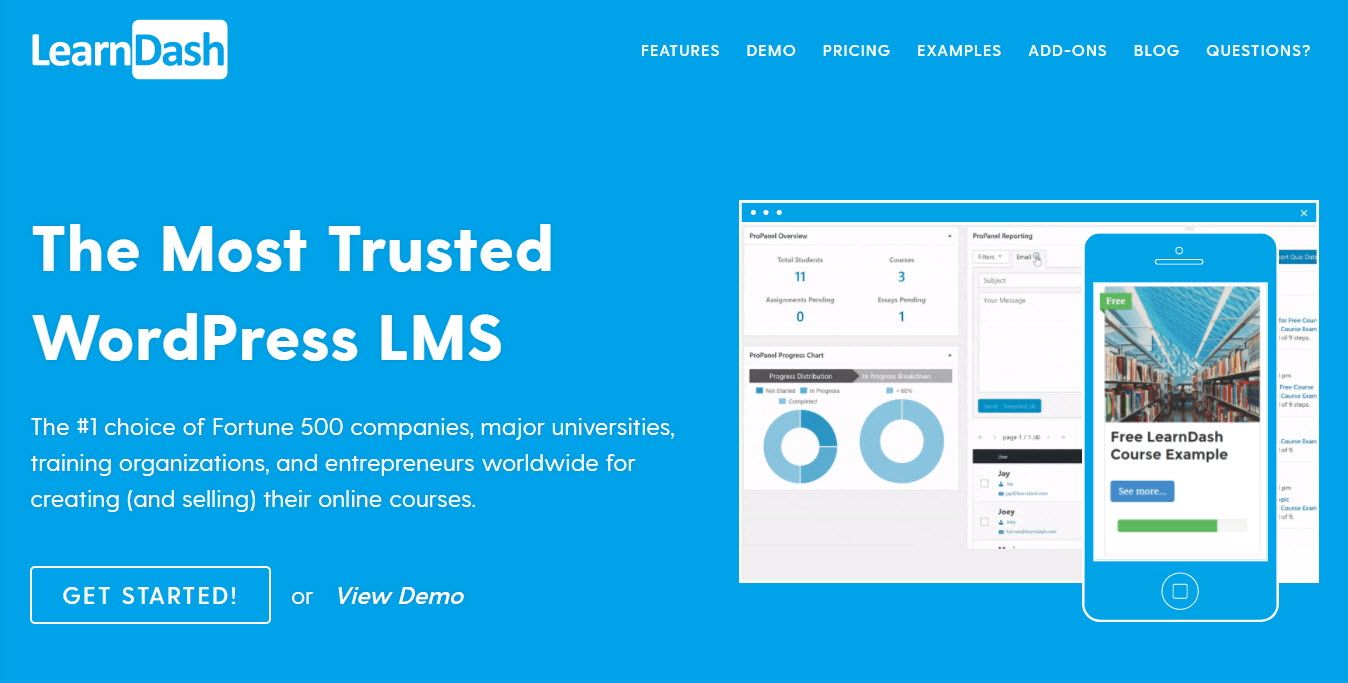
LearnDash is a premium WordPress LMS plugin that will work with any WordPress theme, as well as multisites. Its responsive courses can be set up in different styles and using a variety of tools. This ensures every course you create is dynamic, interesting, and ensures learning remains fun.
LearnDash is for anyone who is looking to turn their website into a learning management system. Ideal for educational institutions, companies with an eye on training, or WordPress developers with clients needing online courses, this feature-rich plugin caters for a variety of LMS needs.
Top Features of LearnDash
So now we know a little bit about what LearnDash does and who should be using it, let’s look in more detail at its top features…
Creating Courses
LearnDash allows you to create unlimited courses. For each course there are numerous options to select from, helping you to design courses that incorporate a range of tasks and styles of learning. These include creating multi-tier courses, chunking learning into a selection of lessons, topics, and categories, as well as using any type of media, from videos to audio, and more. You can add quizzes, grade books, lesson timers and forums to create a buzz around each course. And drip-feed content according to a set schedule. You can also provide certificates for those who complete a course.
Selling Courses
LearnDash makes the selling of courses extremely easy. You can choose your own prices for each course, set your payment schedule, and sell directly from your website. Add a shopping cart to your site and choose from a range of payment gateways. Then charge a one time fee for purchasing a course or a recurring subscription, create membership plans, sell courses in bundles, and much more.
Managing Admin
LearnDash gives you total control over your courses and students, ensuring that managing the admin of your LMS is an easy and headache free process. Allow students to create an online profile and track their own learning on the front end. You can also send automatic email notifications to help increase user engagement, place people in groups and allow others to manage them, as well as much more.
Adding Extensions
Alongside the core features that LearnDash provides, you can also install extra extensions to add advanced functionality to your LMS. LearnDash provides a range of free, premium, and third party add-ons, including WooCommerce, BuddyPress and MemberPress integration.
As you can see, LearnDash has lots to offer and is an impressive tool. We will next run through how to use it to create a basic course, so you can see how it works and how to get started on your eLearning journey…
Getting Started with LearnDash
Installing LearnDash is a quick and easy process. First, you will need to buy the plugin directly from the LearnDash website. Once purchased, download the plugin and upload it to your WordPress website.
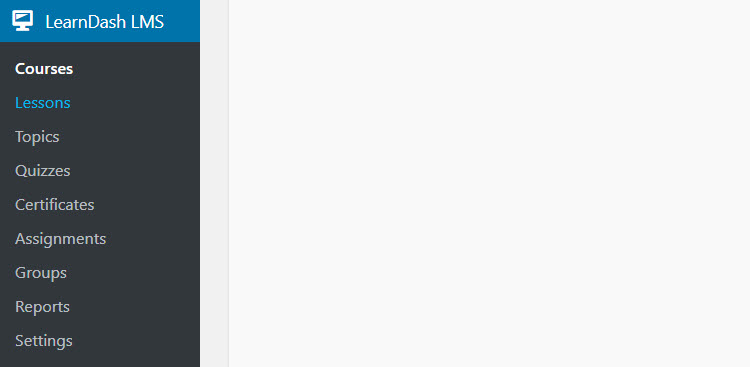
After activation, you will find a LearnDash LMS menu has been added to your WordPress menu.
Creating a New LearnDash Course
To add a new online learning course, select LearnDash LMS > Courses > Add New from your WordPress menu.
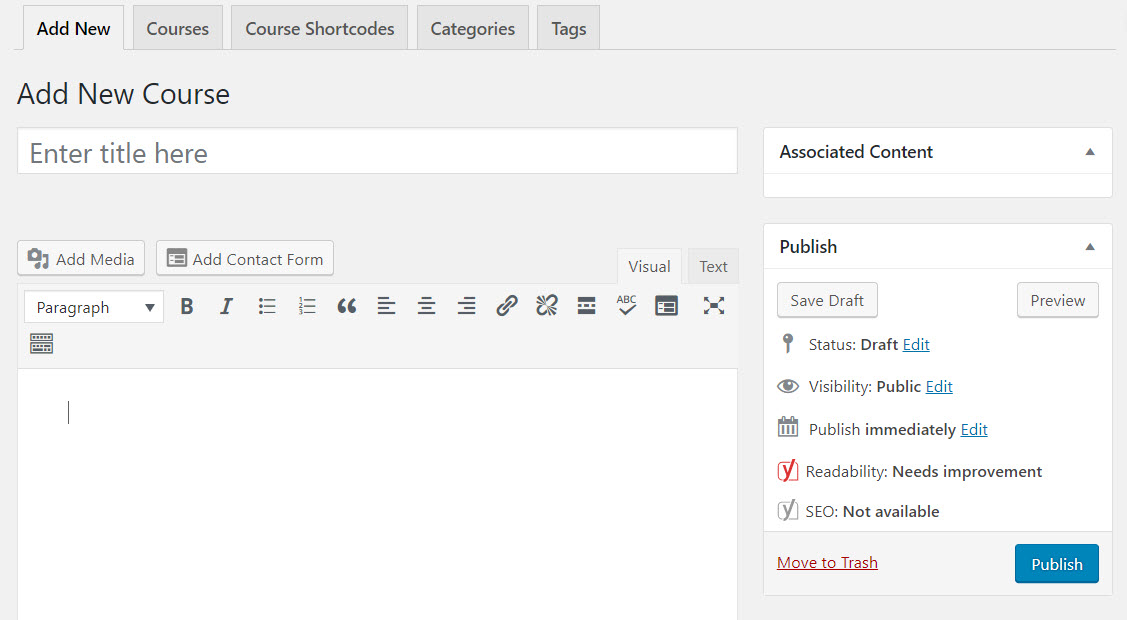
It is on this page that you will create the introduction to the course and select the courses settings. You will need to open other LearnDash pages to produce other elements of the course, like lessons, quizzes, certificates, and more. However, this is the main homepage if you like for the course you are about to develop.
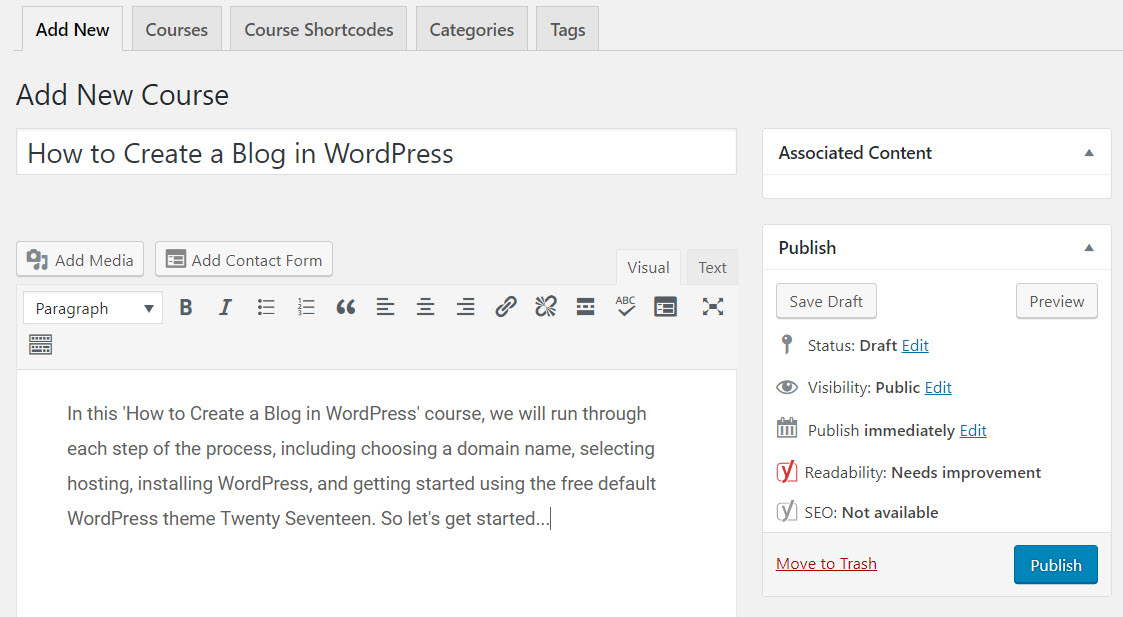
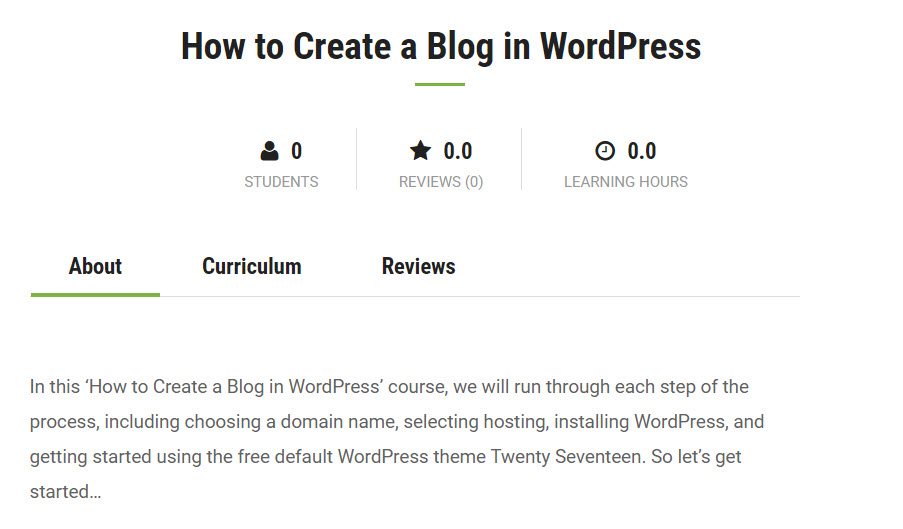
To get started, add your course a title, and then enter your basic introductory course text into the WordPress post editor.
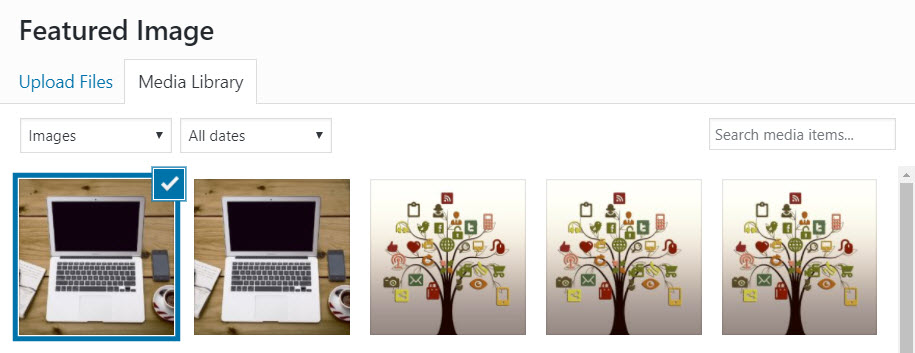
You should also give your course a main image. To do so, upload an image by under Featured Image.
Course URL

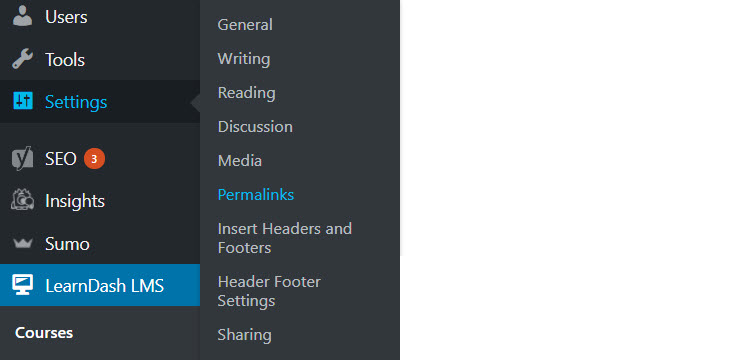
To change the courses URL, to help make it more memorable for your students, click on Settings > Permalinks from your WordPress menu.
Then select Post Name > Save Changes.

Back on your course page you will see your courses URL will now be named appropriately.
Course Settings
Course Settings can be customized on your course page. This includes options for adding course material, creating a course price, managing course lessons, selecting course prerequisites or an expiry date, and adding a course certificate, to name a few options.
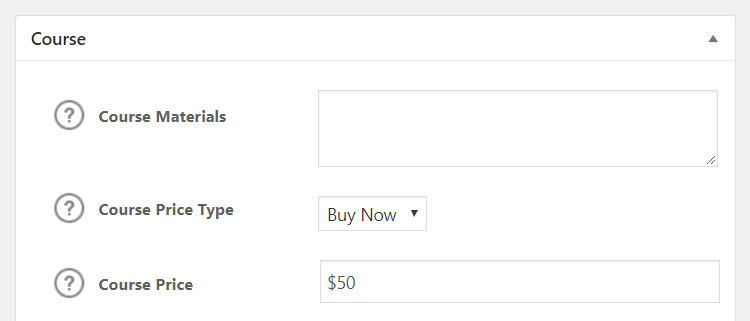
To create a paid course, scroll down to Course and select the Course Price Type. Here you can choose whether your course is…
- Open – available to all
- Free – free but users will need to register
- Buy Now – a paid course
- Recurring – a recurring payment for access to the course
Once you have chosen a paid option, add a price and create a billing cycle if appropriate.
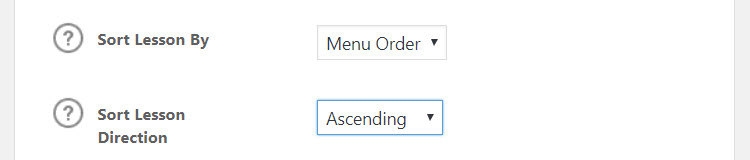
Under Sort Lesson By you should also select Menu Order, and Ascending under Sort Lesson Direction. This ensures that once you have created lessons for the course (covered next) you can choose the order the lessons are displayed in.
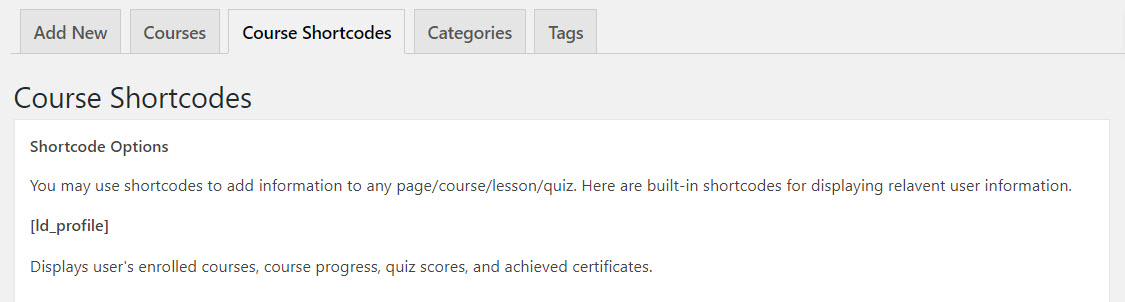
Lastly, at the top of the page, you will find the tab Course Shortcodes. Here you will find a list of shortcodes that you can use to add extra relevant user information to your courses, lessons, or quizzes.
Once you are happy with the content you have added so far, and the settings you have selected, select Publish.
Bonus: Allow front-end course creation by users. If you manage a team of educators but don’t want to give them full access to the back-end your WordPress website, consider adding a plugin such as Front End Course Creation. This LearnDash extension makes it easy for you to create a “Course Author” user role so those folks can have access to create and manage courses, lessons or quizzes from the front-end of your website.
Creating LearnDash Lessons
Each online learning course you create with LearnDash can be broken down into lessons. This helps your students access the content of the course in bite-sized chunks, and ensures they don’t lose interest or become overwhelmed with the sheer amount of information provided.
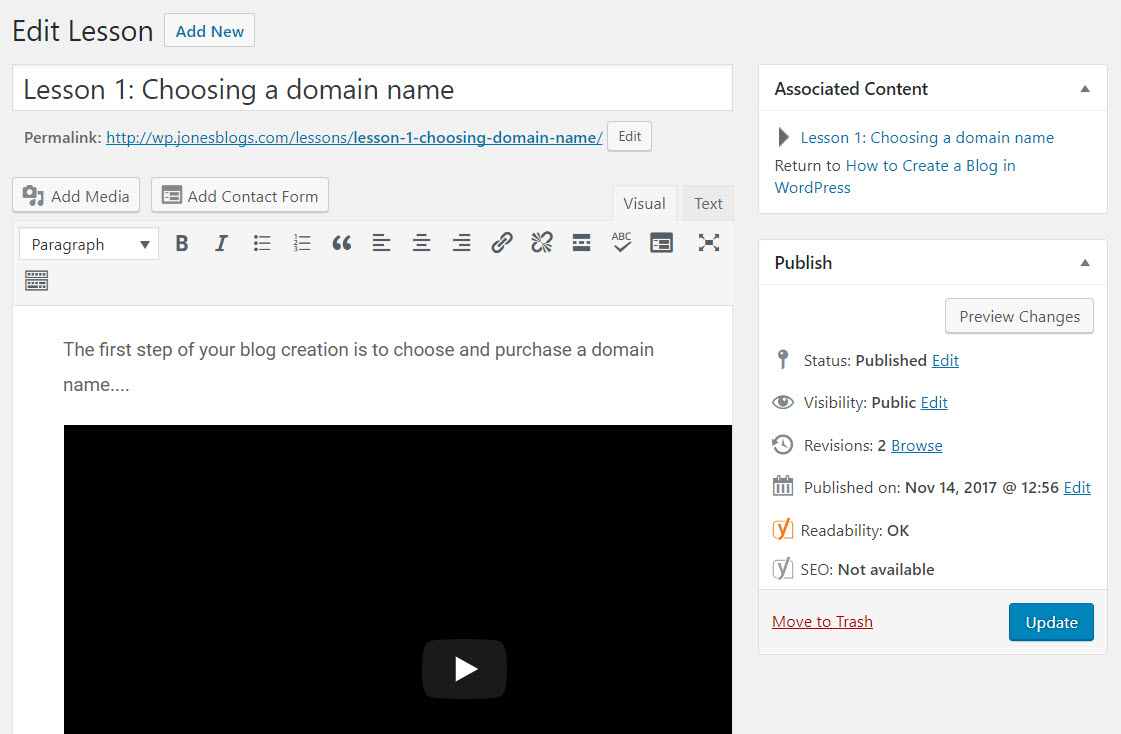
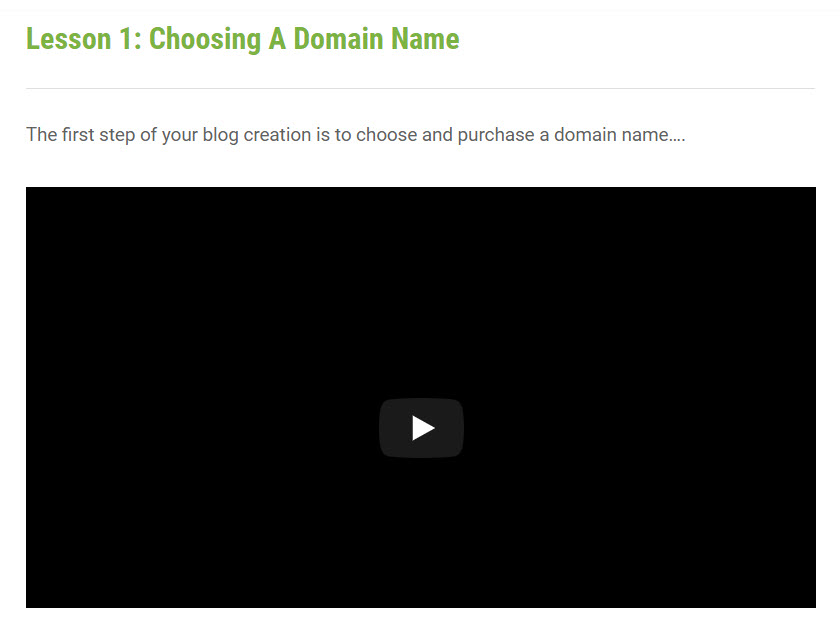
To create your courses first lesson, select LearnDash LMS > Lessons > Add New. Give your lesson a title and add the necessary content you want to include. Here you can also upload any media you need, or if you want to display a YouTube video, copy the URL and paste it into the post editor in the appropriate place.
Lesson Settings
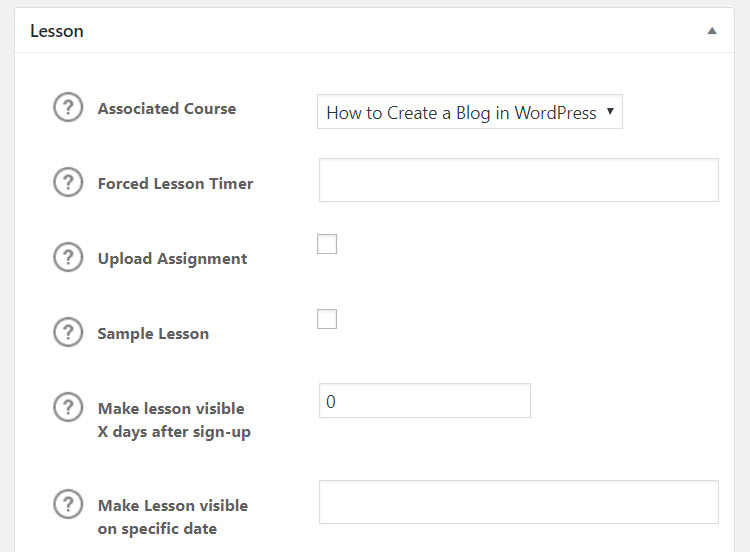
Scroll down the page to Lesson to customize the settings. Here you need to select the course the lesson is associated with. You can then choose to add a lesson timer, or make it mandatory for students to upload an assignment as part of the lesson. You can also choose to drip feed the content by making it visible on a set date or after a certain time period from when a user signs up for the course. Don’t forget to publish your lesson once you are happy with it.
Adding a Quiz to LearnDash
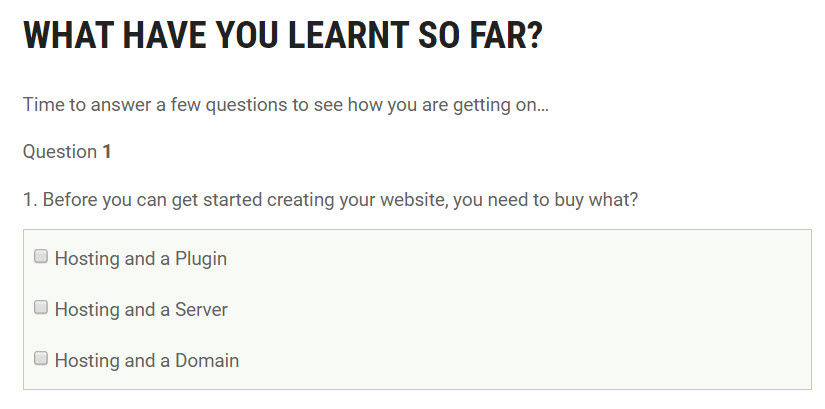
Adding a quiz to a course is an effective way to help your students consolidate their knowledge. To create a quiz select LearnDash LMS > Quizzes > Add New.
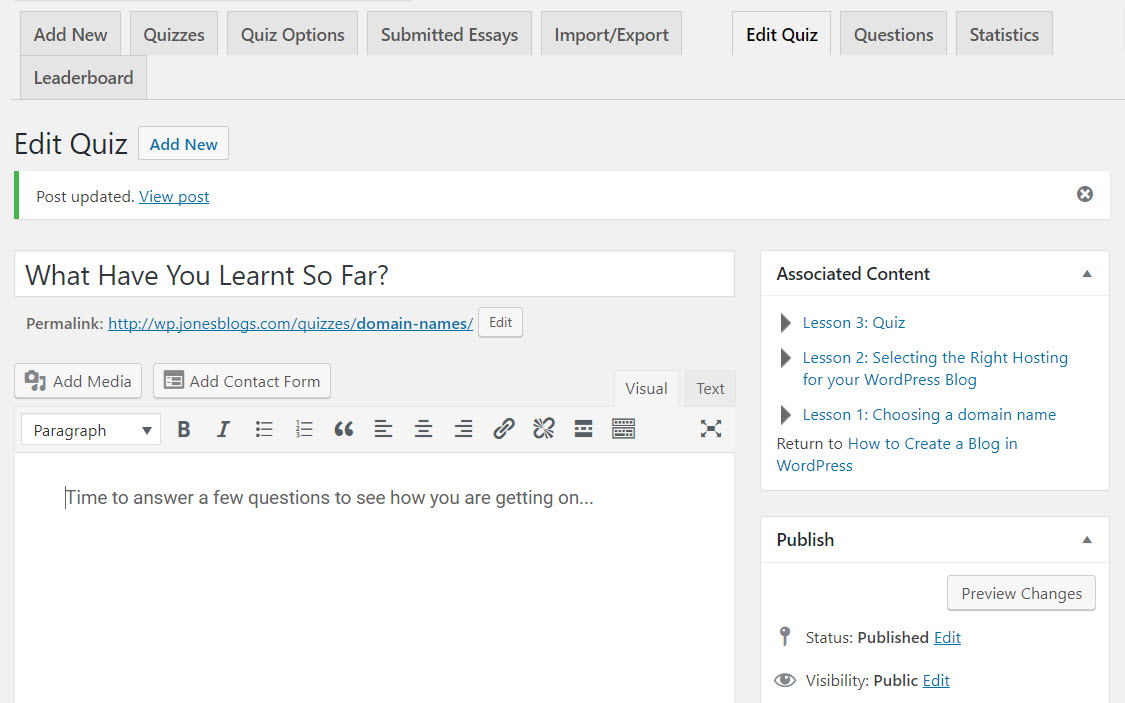
Give your quiz a title, and if you want to write an introduction to your quiz, add it to the post editor.
Quiz Settings
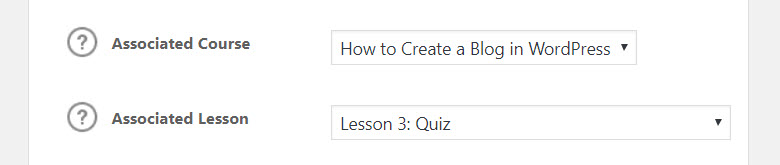
Scroll down the page to Quiz and then associate your new quiz with the appropriate course and lesson.
If you are creating a serious pass or fail test, you can enter the number of times your students will be allowed to repeat the questions, as well as set a pass mark.
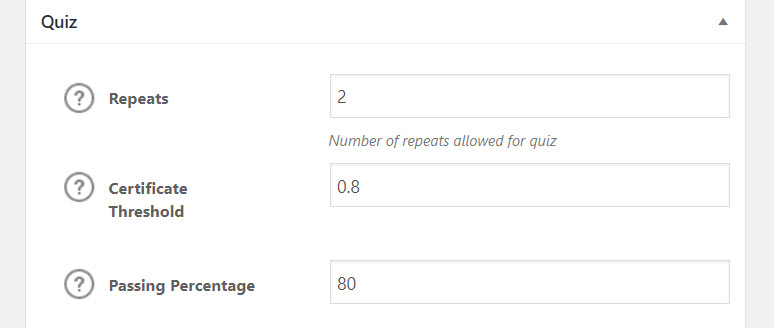
There are numerous other settings to choose from, including adding a timer to your quiz, enabling an auto start as soon as the quiz page loads, displaying a leaderboard so students can compare their scores, or activating an automatic email notification to inform users of their results.
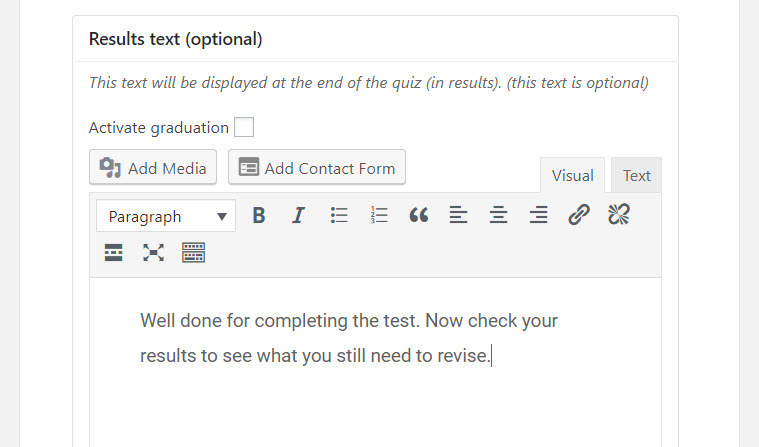
You can also add additional text to be displayed to your students at the end of the quiz. Once you have modified your quizzes settings to suit your courses needs, select ‘Publish’.
Create the Quiz Questions
You will see that extra tabs have now been added to the top of the page. To create the questions for your quiz, select Questions > Add Question.
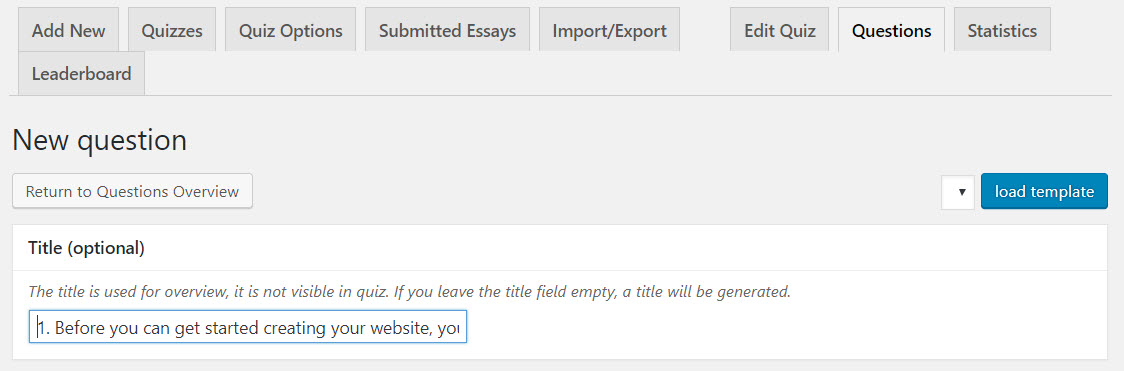
Here you can create each question and answer, as well as choose from different styles of questioning, including multiple choice, filling in the blanks, and sorting answers into a correct order. You can also include a Hint to help your students if they get stuck.
We have now covered the basics of creating an online learning course. It is now your turn to have a go at designing your own course, and producing the appropriate lessons, quizzes, and further content.
Bonus: Want to export quiz results? By adding a plugin like Quiz Reporting you can easily analyze quiz responses, keep track of user scores and more.
LearnDash Payment Settings
Once you have finished creating a course, you will need to set up an online payment system on your website. This will enable students to quickly purchase and begin using the course.
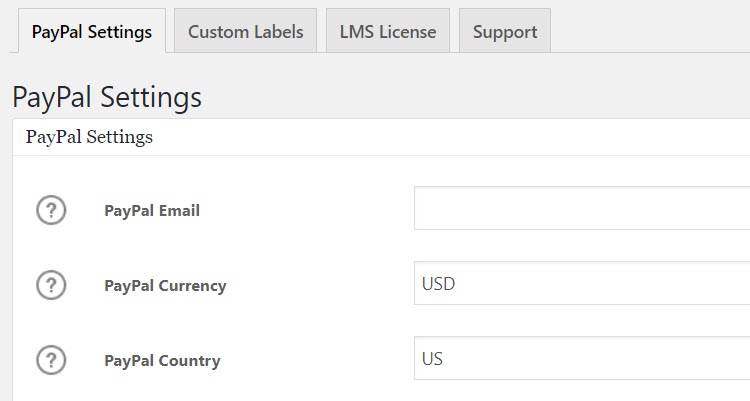
LearnDash comes with Paypal integration out of the box. However, you can install one of the many LearnDash extensions to add further payment systems, including Stripe, 2Checkout, Zapier, and more, all for free. To set up a payment gateway with Paypal, simply select LearnDash LMS > Settings from your WordPress menu. Then complete the ‘Paypal Settings’. Once verified with Paypal, your site will be set up to sell your new course.
Final Thoughts on Creating an Online Learning Course with LearnDash
LearnDash has a wide assortment of features and functionalities that we haven’t even touched on in this article. Once you have purchased this premium plugin, extensive support documentation, as well as numerous YouTube tutorial videos, will help you learn how to further use this advanced tool and develop interesting and varied courses that will appeal to your audience.
Are you ready to start creating an online learning course with LearnDash? Please share your thoughts on your project in the comments below…


This is such a thorough write-up Megan, well done! I’ll only add that recently we have updated the course creation process with our new course builder, which likely wasn’t available when you began writing the article. Here is a brief video overview: https://www.learndash.com/online-course-creation-has-just-evolved/
Congrats again on such a well-written post!
Kindly,
Justin