How To Create Shareable Content Images for Social Media

The road to the perfect article is long. Pick a topic that will captivate your audience. Find a striking title. Draft the content. Read, re-read and re-re-read until ready.
Yet, there is an extra mile to get the job done. One many people don’t care to go through. Make sure the post is shareable on social networks.
“This is automatic!” you might say. Sure, any decent WordPress instance comes with a plugin that handles the nitty gritty for you. You don’t even have to know about Facebook Open Graph or Twitter Cards.
But this is only half of the story. Having your article meta reused as is on social networks might be okay. But this is definitely not great.
Your Content on Your Website vs. Social Networks
Before we show you how to get your content ready to be shared, let’s look at what your media looks like on your website and social networks. Because these are often very different.
Brand Awareness
Branding matters. A strong brand help you improve customer loyalty, foster word of mouth, get new customers… Brand building might actually be the main purpose of the blog you are writing for, as this is often the case for corporate blogs.
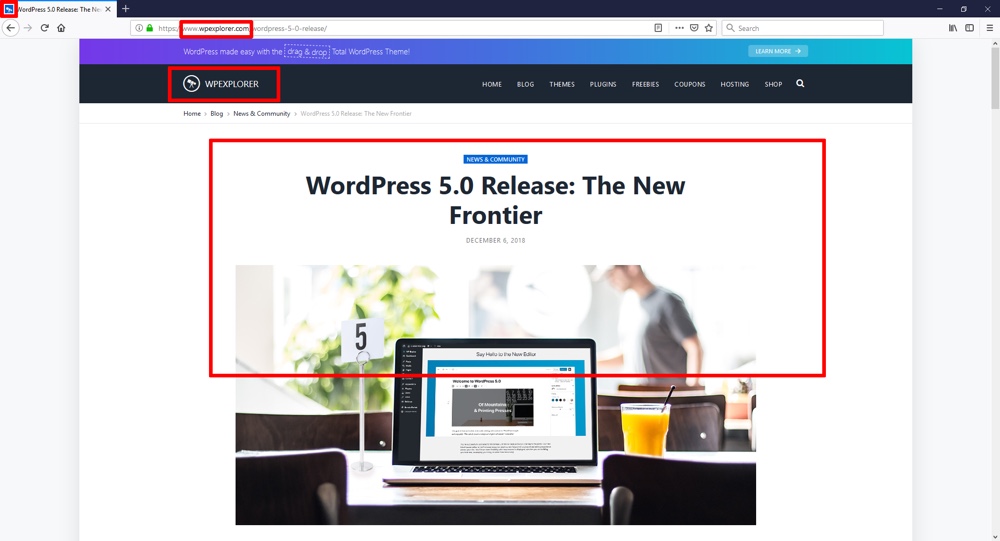
When an article is published on a website, branding is handled by the website itself:
- The domain name appears in the browser’s address bar.
- The website often has a top level navigation bar, which embeds the logo and uses the logo main color as the background color.
- The design unique features (font, layout, etc.) make the website easy to recognize by returning visitors.
- The favicon in the tab.
What happens to the brand when the article is shared on social network? It is (almost) gone.
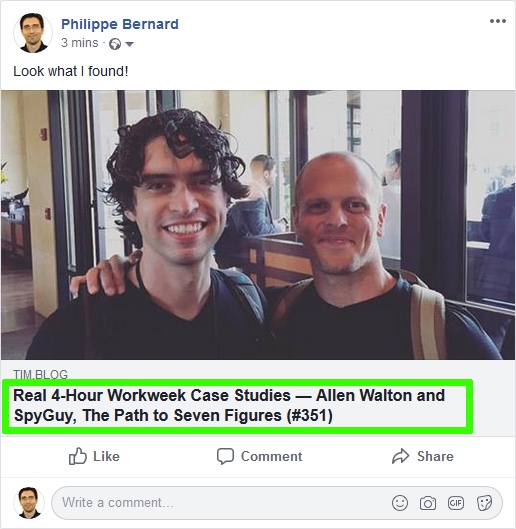
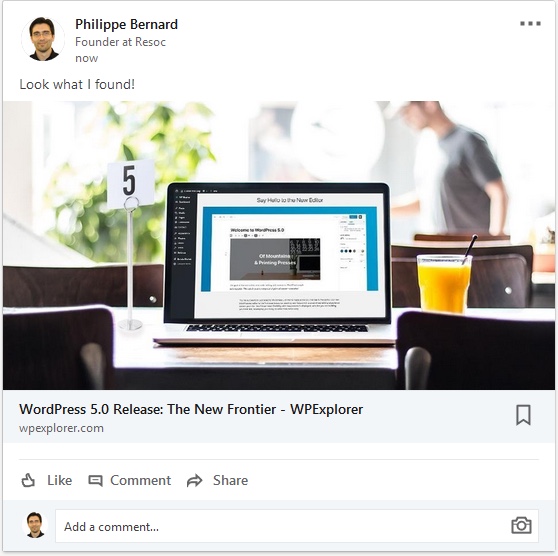
Let’s review how a shared article looks like on Facebook:
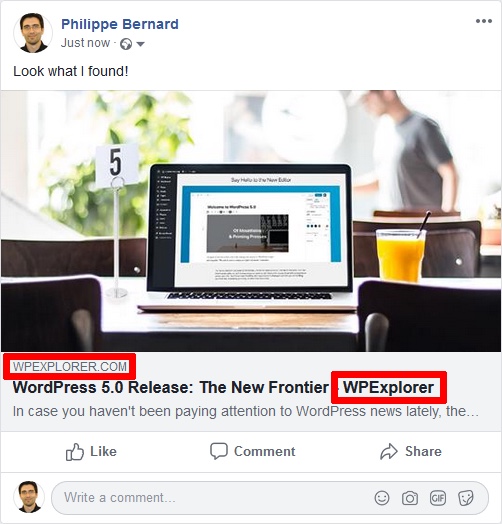
The main components:
- An image. Normally this is a large image, the very first element your visitors’ Facebook friends notice.
- A title. Displayed in bold, this is the first piece of text that get read.
- A description.
- The origin domain name. Displayed in uppercase letters and light grey, this element is easily overlooked.
These elements are generally framed with additional information. Above, the profile picture and name of the person who shared the article, along with his/her comment. Below, the likes and comments.
The brand, which was so pervasive on the website, is now almost invisible. Worst case: the domain name slightly differs from the brand name (eg. “The New York Times” becomes “nytimes.com”).
Featured image
A regular WordPress post comes with a featured image. This one-size-fits-all image serves various purposes. The first of them is often to go with the title in articles lists, for example on the blog main page. This creates an easy-to-browse listing design, where the visitor can easily spot what he is interested in or what he has already reviewed.
The featured image also regularly appears at the top of the article page itself. It creates a friendly invitation to read the content, preventing the rejection of an overwhelming text block.
This image can follow any in-house requirement. A wide image, say 16:9? Sure! A square image? Why not! A tall image? That would make an original design!
The featured image is usually re-used as is for social networks shares. Problem is, rules are now set by the social networks. With a twist: social networks almost never complain, silently cropping the featured image to fit their own requirements.
Most of the time, this is fine. The left/right or the top/bottom of the image is slightly trimmed and the result is as good as if a human had done it.
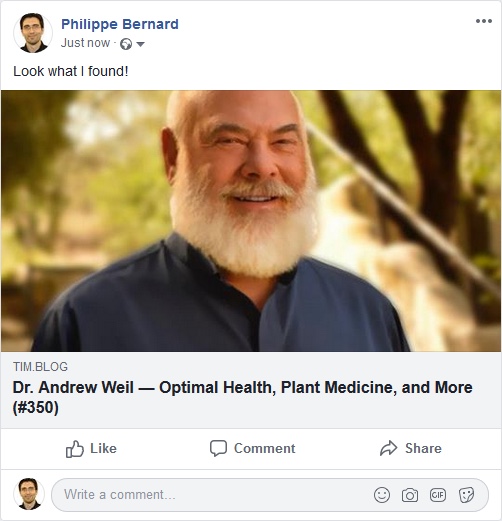
But sometimes, auto-cropping is just not right. For example, in his interview by Tim Ferris, Dr. Andrew Weil looks fine:
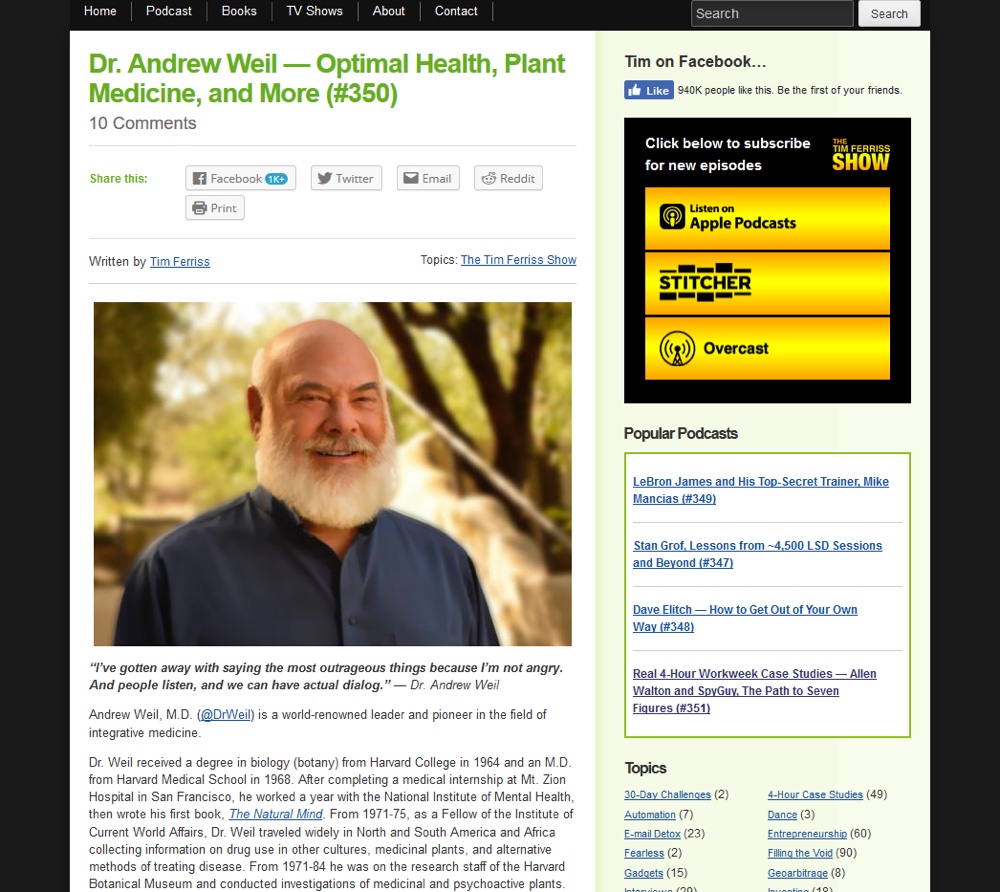
Once shared on Facebook, he loses part of his head:
The main issue is not the result itself. One could argue that the outcome is decent. The real problem is the uncontrolled autopilot: the task was left to Facebook alone. Which is unfortunate when this article was shared more than 1.000 times.
Title and Description
Textual metadata are another source of discrepancies between the website and the social networks.
On a website, the space allocated to the title is usually unlimited. If you tend to be verbose, the website will gladly comply.

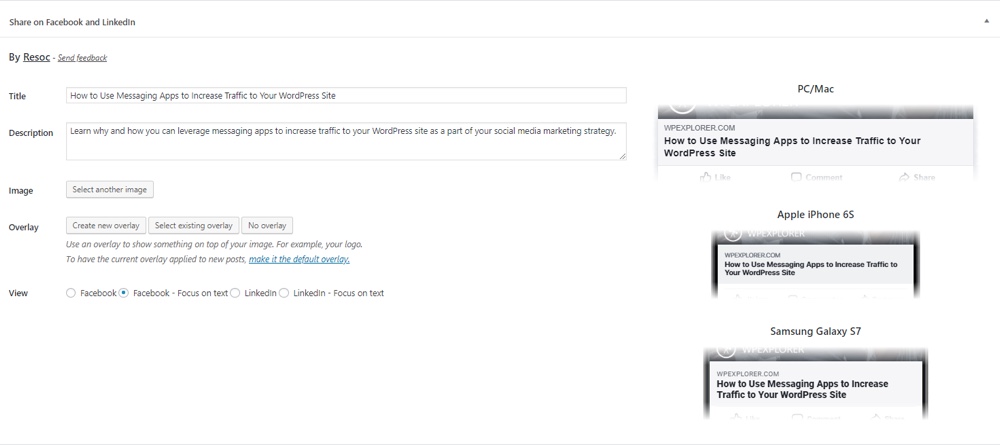
Social networks are another story. Facebook limits the title to two lines, truncating and appending ellipsis to too long titles. This must be combined with platforms: desktop browsers benefit from larger screens than smartphones native apps.
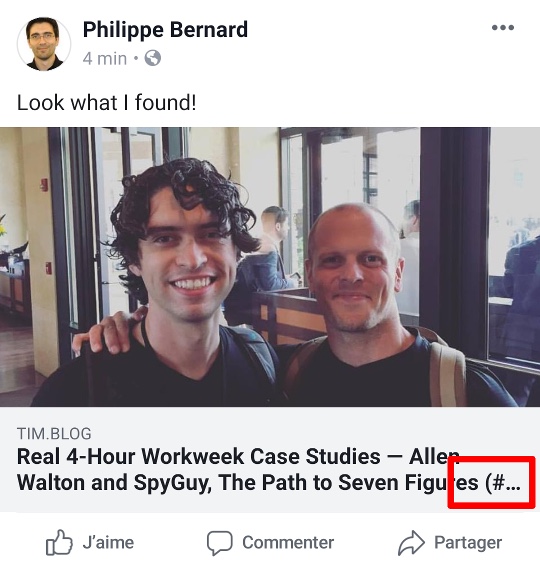
Is this a critical issue? Probably not. But what is not normal is having a title truncated without you knowing about it.
The description is another textual information that can be used to carry additional information. Facebook is showing it:
But LinkedIn does not:
Therefore, a B2B blog, more likely to be shared on LinkedIn, should better use long titles to take advantage of the available space, and put little effort in a description which will rarely be seen.
Make your brand visible when visitors share your content
That was it for the problems. Time for solutions! Once your content is shared on social networks, your brand is just washed out. However, there is a space of free speech to take advantage of: the image.
Let’s face it. Featured images are often uninspired. Not bad, certainly not. But they lack originality, making them unnoticeable in a ocean of similar images.
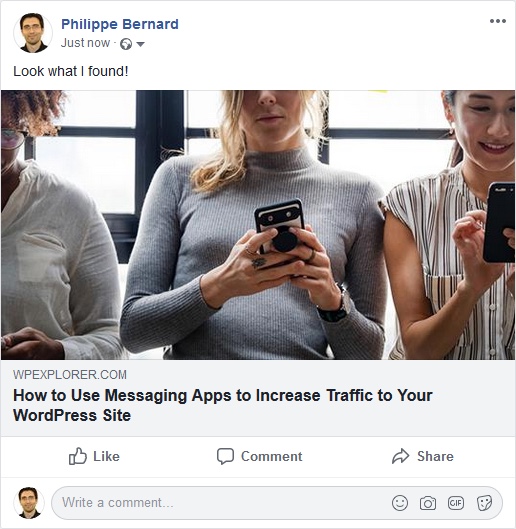
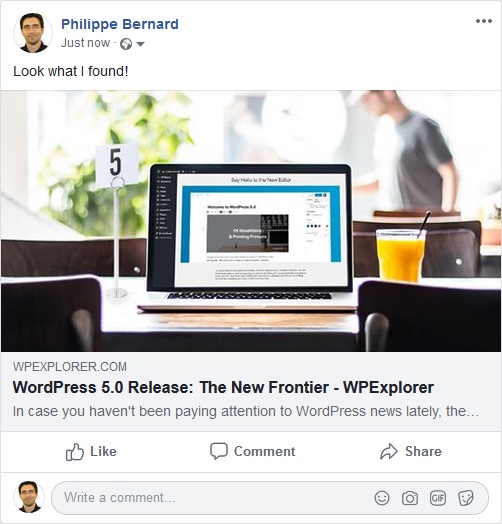
Failing to revolutionize the art of photography, such image could at least carry your brand:
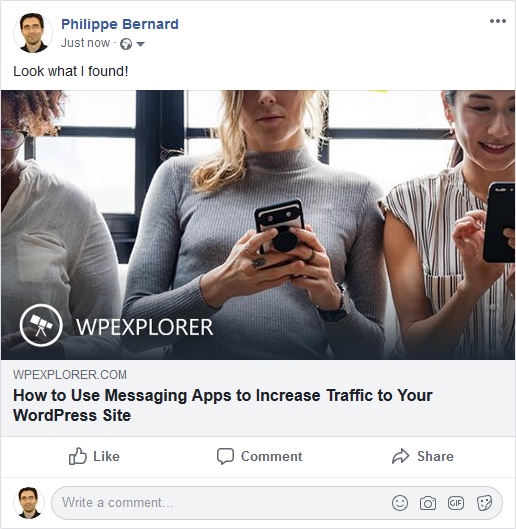
While this does not make the image more appealing, now WPExplorer’s logo is visible. Casual social network users have a chance to notice it, realize they saw this logo earlier or even give this article a few seconds or attention because they were previously engaged with WPExplorer.
The story does not have to stop there. Even while still using regular photo stock images, you can give your featured images an identity. When they are displayed by social networks, WPExplorer’s articles suddenly become these dark-blue-greyed images with a white logo on the bottom left corner. People exposed to this design a few times might well start to notice it, even when is it quickly scrolled away.
How to Create Shareable Images for Your Posts
Like most things, there is a hard way and an easy way to add your branding identity to post images.
Manually (the Hard Way)
Sure, implementing these practices is not rocket science. Images can be edited, either by a contractor or yourself. Articles can be shared before being officially published, and reviewed with an iPhone.
Ready for an image editing session? Take your featured image, fire up your preferred software or service (like this free image resizer) and create dedicated sizes:
- Facebook and LinkedIn expect a 1200×630 image. A smaller image might be of lesser quality on high resolution screens. A bigger image might not be processed at all. An image that does not have the expected 19.1:10 ratio might be cropped or generate a completely different layout once shared. Keep in mind that Facebook relies on Open Graph, which is the Swiss Army knife of social metadata. Most services are looking for them and apply their own constraints. It is important to stick to Facebook expectations, which are the de facto standard.
- Twitter does not enforce a strict resolution, but a 2:1 ratio with minimum and maximum sizes. 1500×750 is great, although you might want a smaller image.
- Pinterest is more complicated. It needs 600×600 square images. Or tall, 600×900 images. Actually, anything that falls between 1:1 and 2:3 is okay. Oh, and very tall, 600×1260 images are also supported. These formats were updated in 2018, so previous assumptions might now be outdated.
Now that you have your images, it is time to edit them to add your branding. One at a time. This should be easy and boring at the same time. Especially if you consider that this operation needs to be performed at least twice, since Facebook and Twitter require images of different ratio.
The main issue with this approach is time. Writing an article is already a long, time-consuming and energy-consuming process. We surely don’t want to add another extra step.
Automatically (the Easy Way)
Now, how to create branded images efficiently? While there are a ton of great social media WordPress plugins, they simply add a “share” button to your site. They don’t actually help you format and optimize your post media for sharing.
This is where a WordPress plugin becomes handy. Specifically the Resoc Social Editor for WordPress which automates most of the process and lets you handle the manual part in a few seconds.
Resoc Social Editor is an options panel that sits below your regular post editor. You can think of it as a WYSIWYG (“What you see is what you get”) editor for social networks.
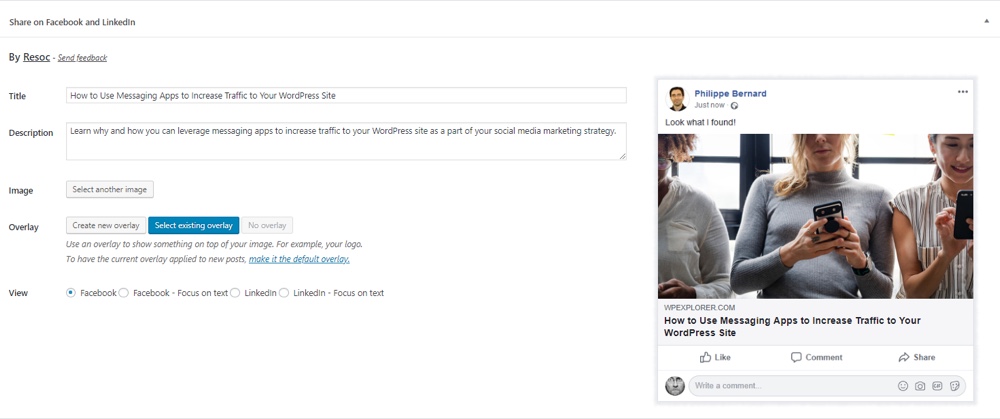
Design an overlay image once for all and apply it to your featured image in two clicks. Or make it default so your social images are automatically branded.
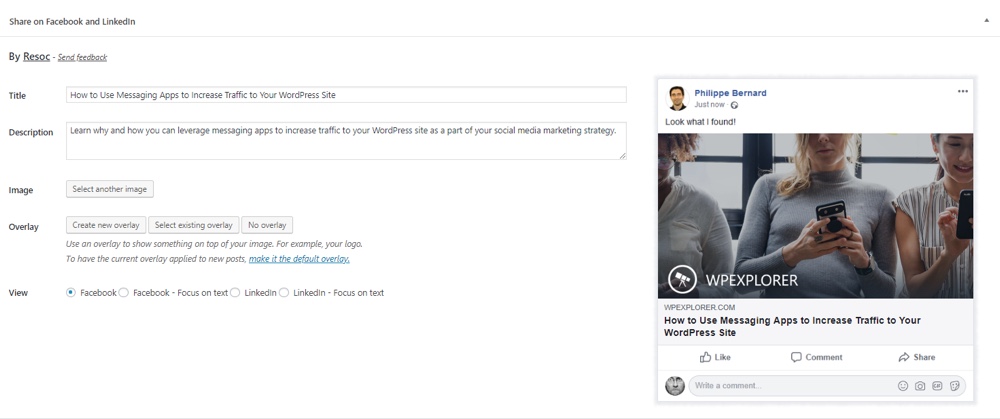
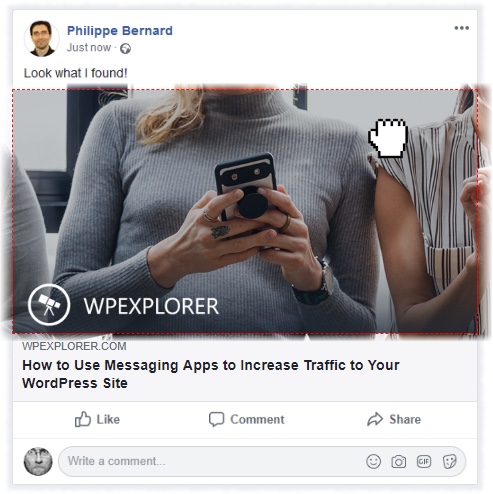
Facebook autocropping is not that great with the current image? Simply drag the image or zoom it in/out with your mouse. No need for an external tool.
Title and description edition is not guesswork anymore. You can view how your article will look like on major platforms while typing.
Conclusion
When creating shareable content for social media, “good enough” is the de facto quality standard. This is not surprising when reaching “excellent” requires significantly more time and efforts.
Resoc Social Editor for WordPress is changing the deal. Once those tasks are semi- or fully-automated, it becomes easy to make your articles outstanding when they are shared on social networks.
Nowadays, this can easily become a differentiator. With so many mundane stock photos used as featured images, the simple change of adding your logo is enough to generate attention or even brand awareness through repetitive exposure.
To make the first move even easier, the Resoc team designs your brand identity overlay for free. Once the plugin is installed, edit a post, click “Create new overlay”, then “Claim your FREE brand identity overlay”, et voilà!