How to Move Your Blog from WordPress.com to WordPress.org

Are you looking to move your blog from WordPress.com to a self-hosted blog? Like many before you, you probably started off your WordPress adventure with an example.wordpress.com blog. With time, however, you realized there’s not much you can do over at WordPress.com.
For instance, you cannot add your own adverts, plugins or even customize your WordPress theme to its full extent. Heck, you can’t even track your traffic without paying up. Perhaps you’d like a custom domain name, i.e. something that isn’t a subdomain; you know, a domain like wpexplorer.com.
While WordPress.com offers you the chance to buy a custom domain among other things, you’ll pay a premium to get the best out of your WordPress site. Unless, of course, you go with self-hosted WordPress (let’s call it WordPress.org), which cuts costs significantly and accords you customization power that drives you crazy.
WordPress.com vs WordPress.org
You won’t get into the finer details today, ladies and gents, we’ve already had that show. And to pull – for lack of a better phrase – block quotes from said post:
WordPress.com is a free platform for building a blog and website with WordPress. It’s fully managed by Automattic (the creators behind WordPress) and best of all it’s one of the easiest blogging platforms on the web. All you need to do is register for a free account, choose your subdomain (example: yourwebsite.wordpress.com), pick a free theme and start adding your content. – Kyla
Every time I ask any random person about WordPress, 95% of the respondents always think I’m talking about WordPress.com.
WordPress.org
Well, there’s another flavor of WordPress found at WordPress.org and here we go again:
WordPress.org may have the same namesake and use the same content management system as WordPress.com but it’s an entirely separate entity unto itself. Instead of everything being managed by Automattic you are fully in control of your website. WordPress.org is the self-hosted version of WordPress that you can use to build your own website online. And while it still has it has pros and cons, it’s our personal favorite form of WordPress. – Kyla
In other words, whatever lies behind the dark blue download button at WordPress.org allows you to build and customize any site under the sun. Whoa. You have full control over your website unlike WordPress.com. You upload, download and rip off sites all you want.
You can install whichever theme you desire, oh and the thousands of plugins too. You design your website however you desire. WordPress.com has limited functionality and customization options, more so if you’re on a shoestring budget.
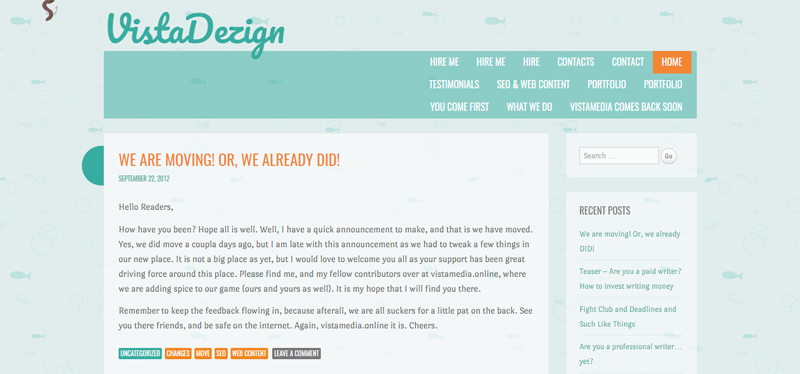
Anyway, feel free to read more about the differences in WordPress.com vs WordPress.org: Differences, Pros & Cons. Now that we’ve cleared our throats, how about we roll up the sleeves and knuckle-down to some WordPress? For the guide, I will move this WordPress.com site:
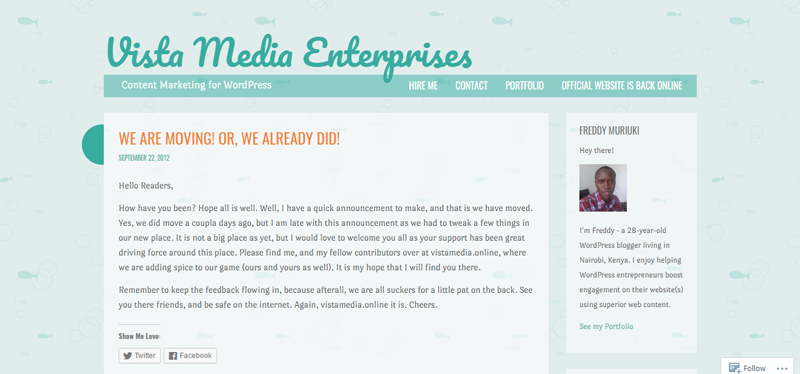
To this under-construction self-hosted WordPress blog:

And then customize the self-hosted blog to look just like our WordPress.com blog. At the end of the day, you successfully move your site from WordPress.com to WordPress.org, so cheer up 🙂
How to Move Your Blog from WordPress.com to WordPress.org
The free plan at WordPress.com comes with free hosting and a subdomain, which means you can publish content in the next 5 minutes. Yes, just like that.
It’s a different story over at the WordPress.org camp. You need to purchase a web hosting plan and a domain name to run self-hosted WordPress.
You can install WordPress on your local machine to test the waters without incurring a cost. Local development is great but your website isn’t available on the Internet. Unless, of course, you use the free Local by Flywheel WordPress Development app.
Related reading:
- Installing WordPress On Mac Locally With MAMP
- Installing WordPress On Windows Locally With WAMP
- Install WordPress On Ubuntu Locally With LAMP
- Local by Flywheel Review: Build Local WordPress Environments Instantly (Free Tool)
Point is, you can move your blog from WordPress.com to any self-hosted WordPress instance be it on a computer or servers web hosts offer. Let’s move. On.
Find a WordPress Host
The guys in the web hosting business basically offer you server space and software (to build and manage your website + email etc) at a recurring fee. Again, why do you need a web host? All the files that make up your WordPress blog live on a server, without which your site is inaccessible to the world.
At WordPress.com, you get hosting for free (unless you have a premium plan of course), but out here, you must purchase a hosting plan with any hosting provider you fancy. But since the competition is stiff and peeps will do crazy stuff just to win you over, we put together this great list of WordPress hosts to make choosing the best easier.
To make it even easier for you though here is a quick list of our favorite hosting options at different price points:
- WP Engine Managed WordPress Hosting: In our opinion WP Engine is the best hosting choice out there. It’s who we use and trust to host all of our websites and WordPress theme demos. It’s fast, reliable and their entire team is a pleasure to work with. Plans start at $29 per month (even less when you use our WP Engine promo code to save 20%) and knowing that your website is fast and secure is well worth the cost!
- Cloudways Managed Cloud Hosting: Super fast cloud hosting that is quick to setup and easy to to scale up as your website grows. Starting at $7 per month, there are tons of different cloud hosting options from Cloudways including Digital Ocean, Amazon Web Service, Google Cloud and more all with easy 1-click WordPress setup.
- Bluehost Shared Hosting: New to WordPress? Testing the waters with a new website? Bluehost’s shared hosting is just $2.95 per month with our Bluehost promo code making it an affordable hosting option from a well know host.
Setting up a hosting account is as easy as pie, and you should be done in less than 5 minutes. Okay, 10 minutes. If you need help, we always are here for you.
Get a Domain Name
Now, you only need a domain name, which is how people find your website online. If you already have a domain name, you simply need to point it to your hosting account. Your host shows you how, so don’t worry. You can even move your blog to your own subdomain.
If you’re newb, buy a domain name that’s reflective of your WordPress site, but avoid using the term “WordPress” within the domain name because – copyright. You can, however, use the WP abbreviation as much as you desire.
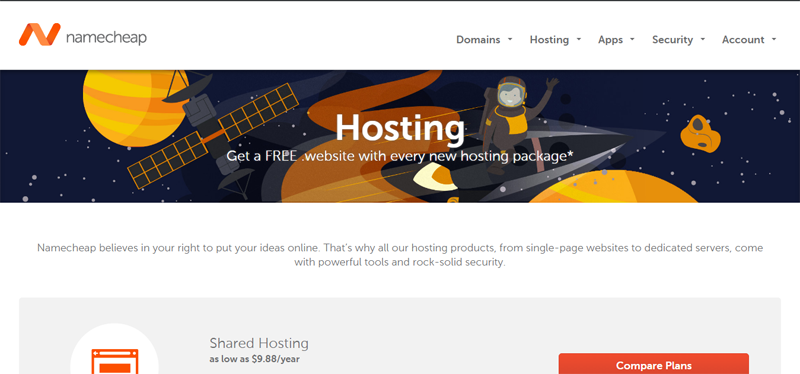
Examples of great domain names include WPExplorer.com, WebDesignLedger.com, and WPExplorer.com among others. I use Namecheap for domains.
Next, you need to link your domain name to your hosting account. Your web host shows you how to link your domain to your hosting account, so don’t sweat one bead. It’s a simple procedure, but you might need to wait awhile before the changes propagate.
Once your domain name is linked to your hosting account, you’re ready for the exciting part: installing self-hosted WordPress.
Install Self-Hosted WordPress
If you just bought a web hosting account for the very first time, it must be really exciting. Kidding aside. Let’s install WordPress, so grab a drink or whatever and just simmer down. A majority of modern web hosts offer one-click WordPress installation, which means all you have to do is point and click your way into a new WordPress blog.
It’s important to check whether your host of choices offers one-click WordPress installation especially if you’re not the tech savvy type. Trust me amigo, you don’t want to lose your way around server environments – it’s nasty. Like getting lost in the woods just before nightfall. All the same, installing WordPress manually is child’s play with the installation guide from WordPress.org.
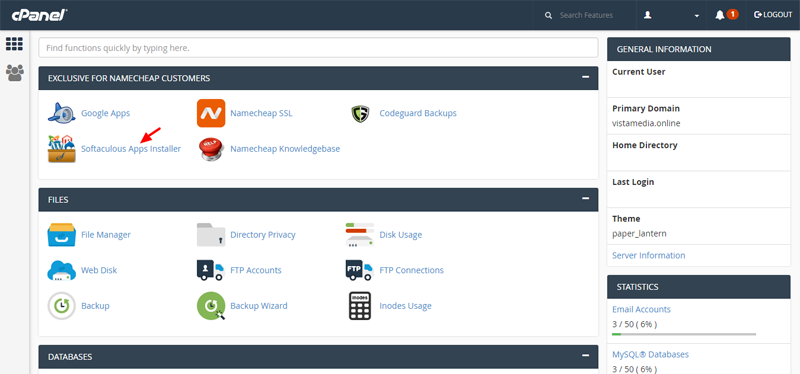
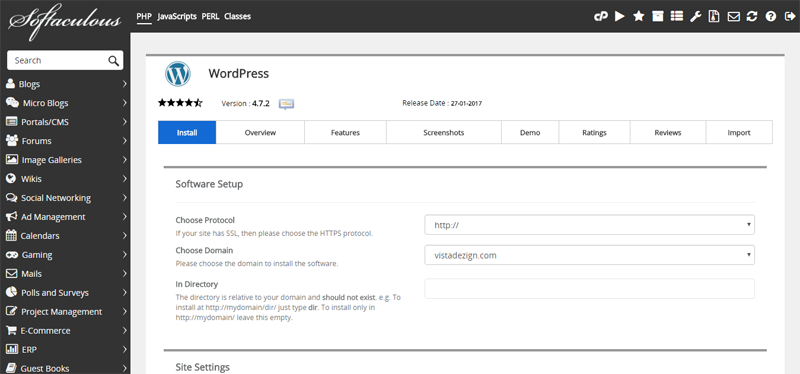
For instance, using Namecheap cPanel (oh look, I host there too), I only need to click on Softaculous Apps Installer, and choose WordPress from the extensive list of applications.
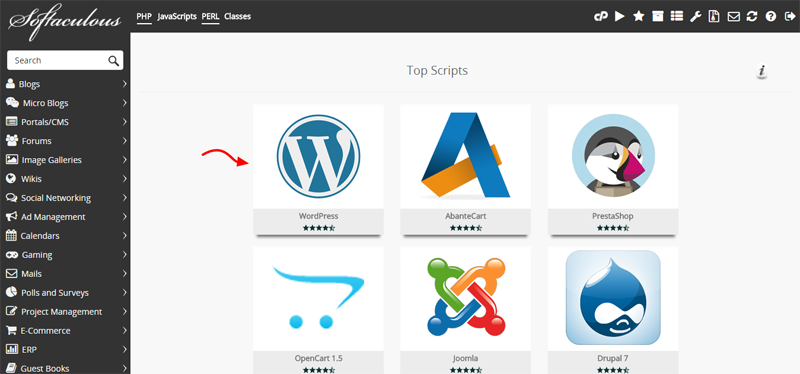
Here’s Softaculous screen with WordPress selected:
Next, pick your domain name, fill out the details and hit the install button:
The installation is over in a moment:
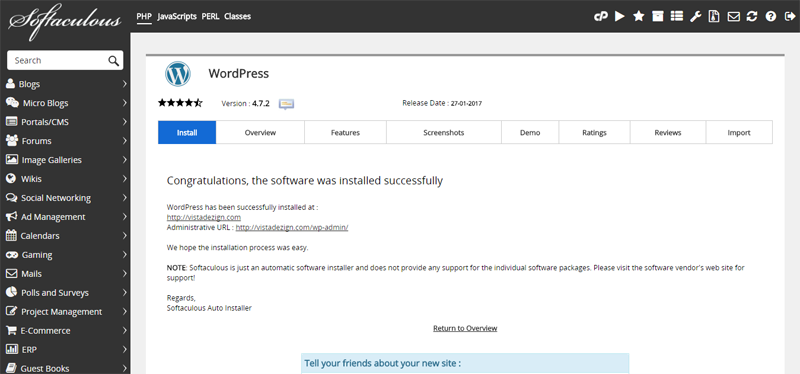
Now, if you refresh your domain name, you see the default WordPress installation:
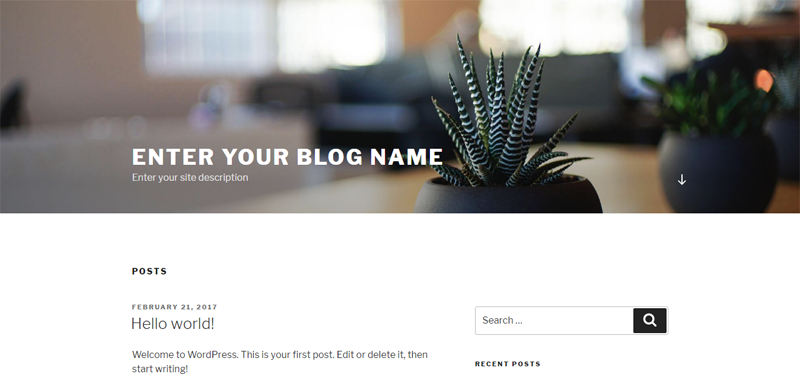
Your particular self-hosted WordPress blog is ripe for customization or anything else you desire. You can login and do whatever you wish in characteristic WordPress style.
In comparison, and correct me if I’m wrong, a subdomain.wordpress.com blog has nothing on a self-hosted blog in terms of customization and features. Can’t emphasize this enough.
Moving Your Content
Now that you’ve got your self hosted website at the ready you can move your content over from your WordPress.com site.
Step 1: Export Content From WordPress.com
Hey you, check this out. This part right here, this part is the easiest in this tutorial. There’s practically nothing to it; just importing your content to your new blog. Pick something here and drop it there, you know, that kind of thing.
Here are a few optional things you might want to get out of the way:
- Consider eliminating pages and posts that you don’t want, because the import feature brings over all posts – drafts, trash and all.
- Also, clean up your self-hosted blog to avoid conflicting entries.
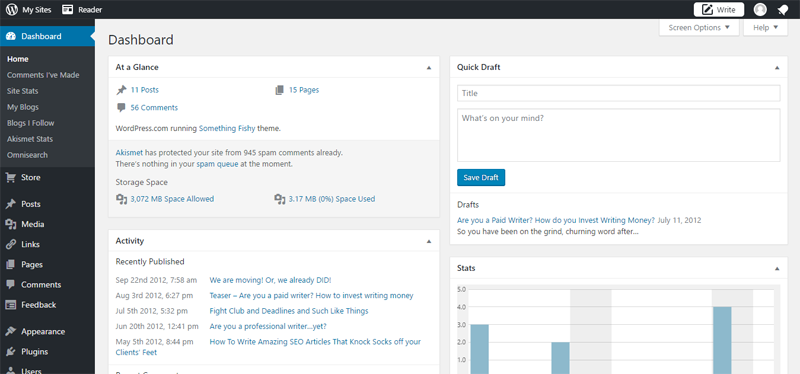
Well, let’s gather your content. Login to your WordPress.com blog using example.wordpress.com/wp-admin. Of course, you want to replace the “example” part in the URL above with your subdomain. This takes you straight to your WordPress admin dashboard:
Navigate to Tools > Export (located towards the bottom of the menu) to access the export screen:
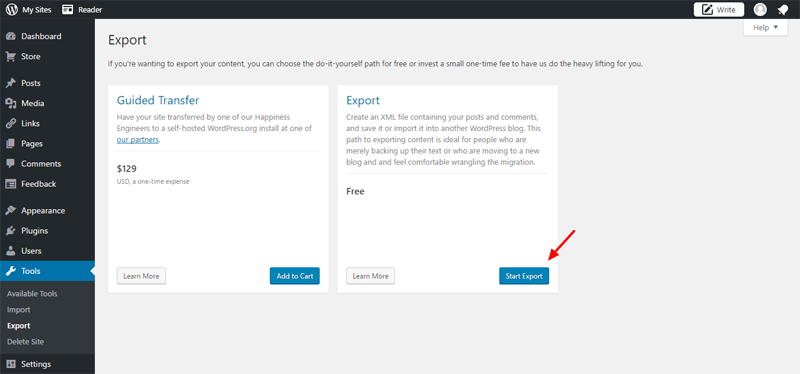
As you can see, there are two options here – free and paid. You needn’t pay unless you’re inclined to (keep a family happy), so let’s go with the free option for the purpose of this guide. Click on the Start Export button, which leads you to this screen:
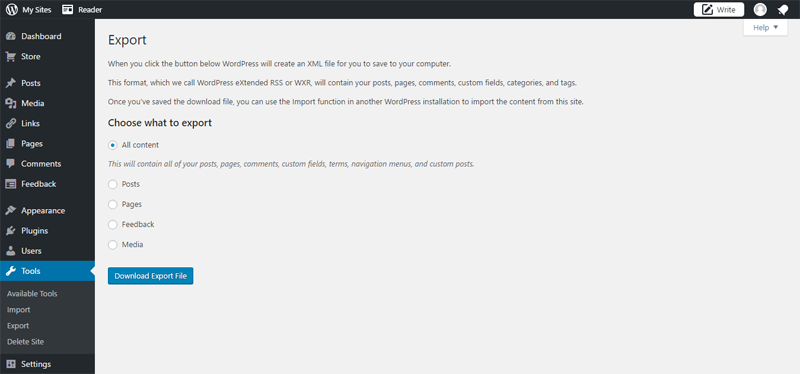
Here, choose the content you wish to move. I chose “All Content” to export everything. Next, hit the Download Export File button and save the resulting XML file on your computer. You’re doing just fine. Made a couple of errors the first time round too. To err is human.
Step 2: Import Content to Your Self-Hosted Blog
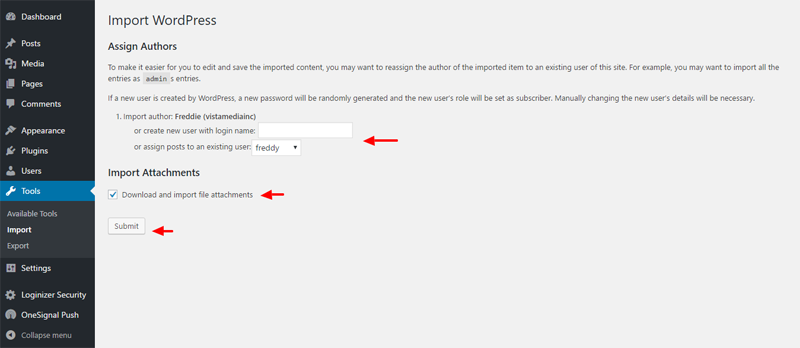
First things first, install and activate WordPress Importer plugin. Login to your self-hosted WordPress blog and navigate to Tools > Import:
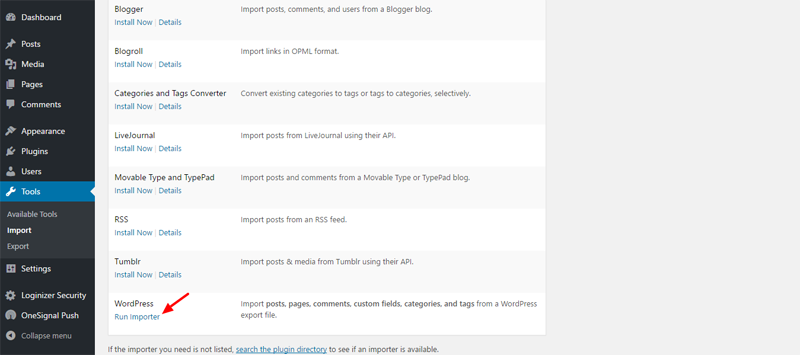
Next, scroll to the WordPress section and click the Run Importer link (see image above). On the next screen, choose the XML file you got from your WordPress.com blog, and hit the Upload File and Import button:
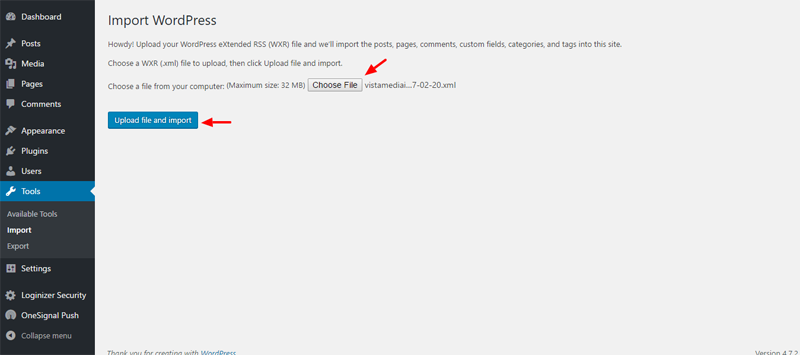
On the next screen, assign imported content to an existing author on your self-hosted blog. Additionally, tick the “Download and import file attachments” checkbox to import your media. Next, click the Submit button:
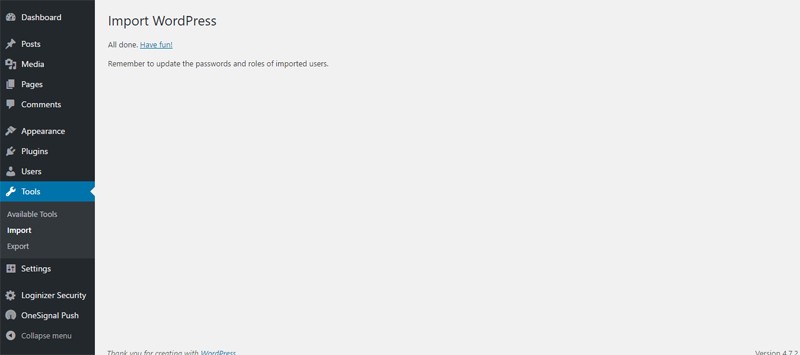
How long the import takes depends entirely on the size of your upload. It’s only natural that more content takes more time to upload, but at the end of the day, you should see this screen:
Now, let us see how our newly imported content looks like on our self-hosted blog:
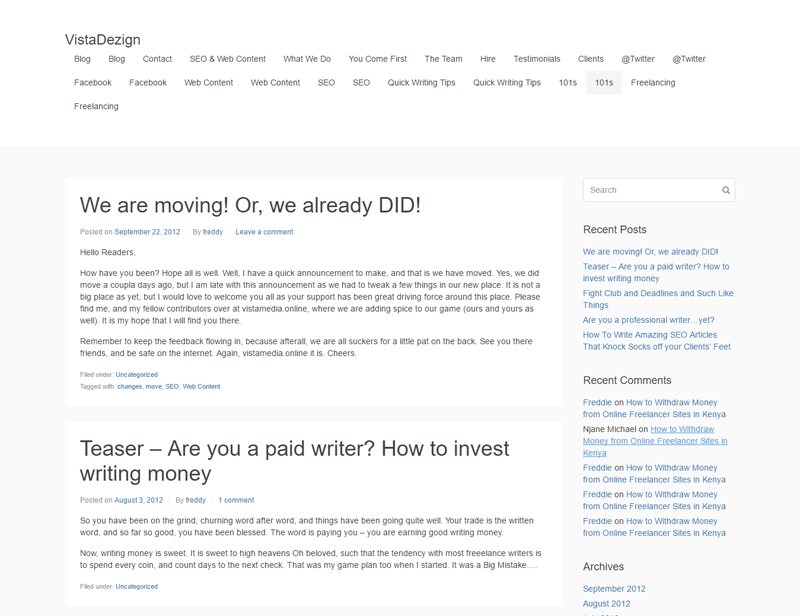
Urrrgh! That’s definitely one unexpected sight. Well, we have a different theme (the most basic form of the Beans WordPress theme framework – read more about WordPress theme frameworks). Still, the menu up there looks horrendous. Looks like it will fall off any minute now.
All in all, I successfully imported my posts and pages. The beauty of the import feature is you can import everything including media, comments, categories and tags. You cannot, however, import plugins, widgets, and themes from WordPress.com.
Even though you are eccentric and can customize your self-hosted blog however you want, we will, for this study, customize our self-hosted blog to match our WordPress.com blog.
How to Customize Your Self-Hosted Blog
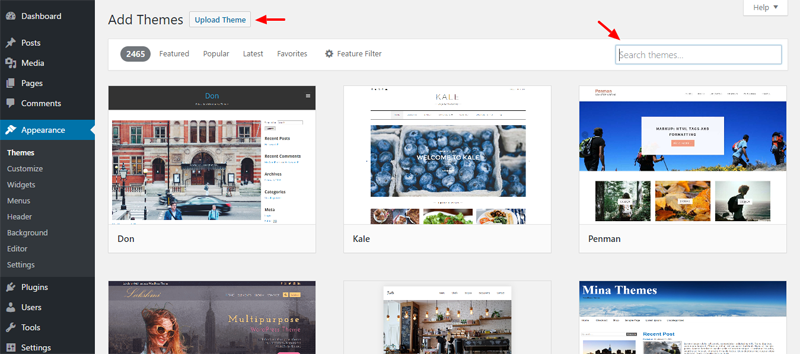
Choose a WordPress Theme
Our WordPress.com blog is built on the Something Fishy theme from the WordPress repository. All I have to do now is install and activate the theme on the self-hosted blog. Just navigate to Appearance > Themes and click the Add New button at the top.
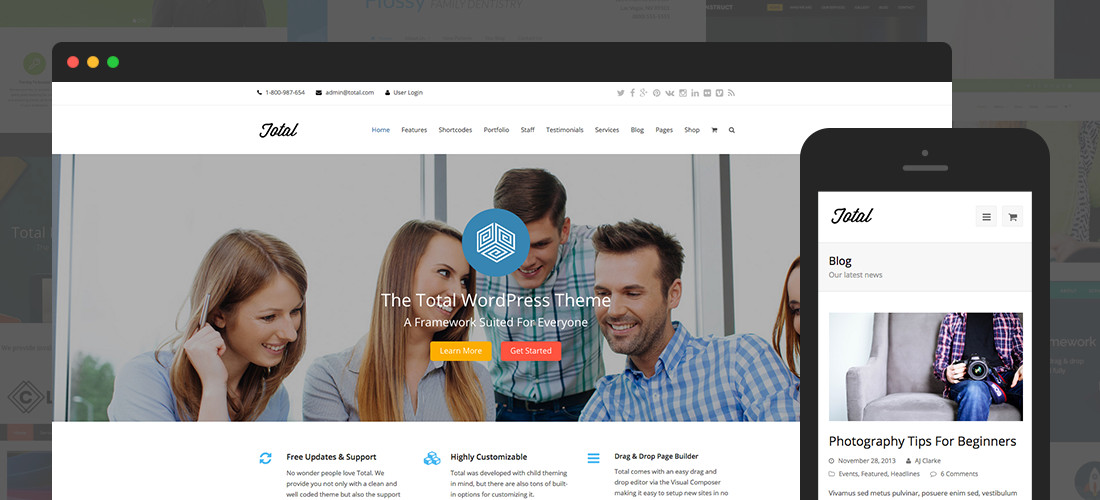
If you’re in the market for a premium theme we can’t recommend our Total theme enough. It’s a top selling theme for a reason – it’s got every feature you could need built right in. The theme comes with a custom extended version of the Visual Composer page builder so you can create custom page layouts in a jiffy, a simple demo importer so you can instantly have your website looking like any of the theme demos, and premium sliders that you can use to create impressive animated sliders on any page. If you purchase a premium theme like Total you’ll first need to download the installable theme zip file.
Next, either upload your theme or type your theme’s name (works only if the theme is available in the free WordPress theme repository) in the search box and hit enter as shown below:
Next, just follow the prompts to install and activate your theme. Please consider using a WordPress child theme if you plan on making significant changes to your theme. Now, let’s see how our self-hosted blog looks like:
Not bad, looks almost like our WordPress.com website, right? We just need to move a couple of things around and add a couple of plugins to boot. Just login back to the familiar admin dashboard and change whatever you desire.
For instance, to change the website title, I just need to login to my self-hosted blog and navigate to Settings > General. To customize my unworldly ugly menu, I just need to navigate to Appearance > Menus. To add the About Me widget you saw in the sidebar, I would first install a visual editor plugin such as Black Studio TinyMCE Widget and customize away.
In other words, you can customize your new self-hosted blog whichever way you desire since you can now install WordPress plugins and do whatever to your themes. For instance, I customized my self-hosted blog and ended up with:
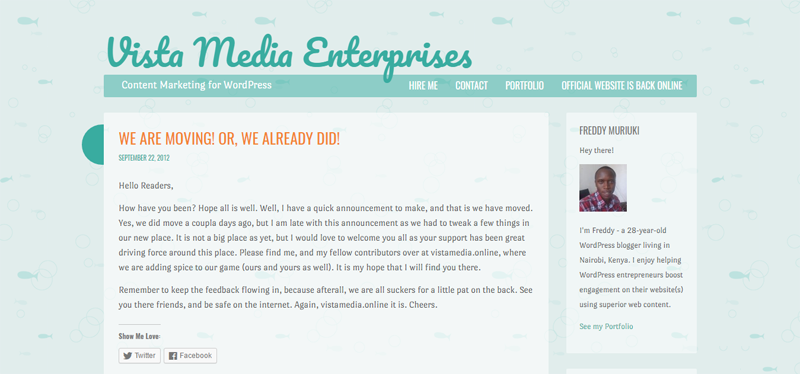
Looks just like our WordPress.com blog, and it took me less than 5 minutes because you must be done by now.
Extra Notes
You have successfully moved your WordPress.com blog to WordPress.org meaning you now hold the reigns of your website. You deserve a crown and a drink. And as royalty, your honor, your responsibilities increase. You’re responsible for website management tasks such as security, SEO, backups, spam and so on.
You have more than just free hosting and a free subdomain, but hey at least they helped you walk. Nonetheless, keep your hosting account and domain name paid for to ensure your blog is online at all times.
If you don’t renew you domain name in time, somebody else can take it. Once, I lost a domain that pointed to a social networking site to some German stock broker. Learn from my mistakes mate, learn. But don’t look so sad, it was the site’s fault, I hadn’t discovered BuddyPress.
Check Links & Images
After moving, ensure all your links and images are working to avoid the nasty problem that’s broken links. If some of your images were left behind, as is the case with huge websites, consider using Image Teleporter or Auto Upload Images.
Then there’s that other issue of moving existing subscribers without hurting their feelings. Does importing to self-hosted WordPress bring your WordPress.com subscribers along? Sadly, no. Here, you need a nifty plugin known as Jetpack.
First install Jetpack and then read this detailed guide on moving subscribers to your self-hosted WordPress blog.
What else? Oh yeah, please notify your users about the move or use the Site Redirect service that goes for $13 bucks a year. You just need the first year.
Final Words
Moving your blog from WordPress.com to WordPress.org is easy peasy work. Just download the XML file from your WordPress.com blog, upload to the self-hosted blog, customize the appearance, do a little housekeeping, notify or redirect users, and you’re golden.
Have you moved a blog from WordPress.com to WordPress.org before? If so, what did you find out? Have a question or suggestion?
If this post hasn’t shone light on your situation, please don’t hesitate asking your question in the comments. We are more than glad to lend a hand. Cheers and all the best as (and after) you move!


Thanks Freddy for such a great and in-depth post.
Thank you for passing by. Glad the post was useful 🙂
Great article on moving a blog or website from a not so popular WordPress.com to WordPress.org. Oh, did I say “not so popular”…heheh just kidding.
Both are very excellent platform but if you wanted to have much control over your website/blog consider choosing .org
Thank you for sharing Freddy.
Great in-depth post.
Cheers.
Hey Rodney,
What a pleasant comment this is 🙂 First, thanks for the compliment. Secondly, you’re right, WordPress.org offers you more control over your website compared to WordPress.com. Who can get enough of WordPress? See you around. Cheers!