How to Manage WordPress Content with Admin Columns Pro
If you are looking to create a clear and organized editing environment to work in, then Admin Columns Pro is for you. Running a WordPress site means you are constantly dealing with large amounts of content, whether this is blog posts, pages, or other post types. This can become difficult to manage and edit easily.
Admin Columns Pro will display powerful columns that allow you to quickly sort, filter and edit content. This will help save you time, keep your content well organized, and enable you to effortlessly access important information.
In this Admin Columns Pro review, we will discuss the features and functionalities that this WordPress plugin offers. We will then look at how to get the plugin up and running, and how to use some of its most important tools.
Admin Columns Pro Features
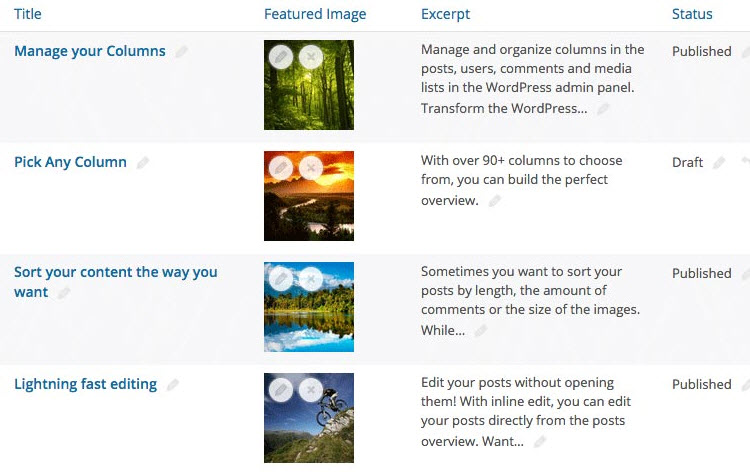
Admin Columns Pro is a feature-rich plugin that is quick and easy to set up, and will ultimately improve your WordPress admin experience. You can choose from over 160+ columns, catering for all content types, to help you build the perfect overview. A drag and drop builder will also enable you to organize column layouts to suit your needs, without you having to touch a line of code.
Once created, content can be sorted and filtered by the criteria of your choice. Inline editing enables you to edit data directly from an overview page, without having to open individual pieces of content. This makes it an ideal solution for those of us who want to streamline the process of making amendments to content.
So now we know a bit about what Admin Columns Pro is offering, let’s have a look at this WordPress plugin’s functionality in more detail…
Add Columns to Suit Your Needs
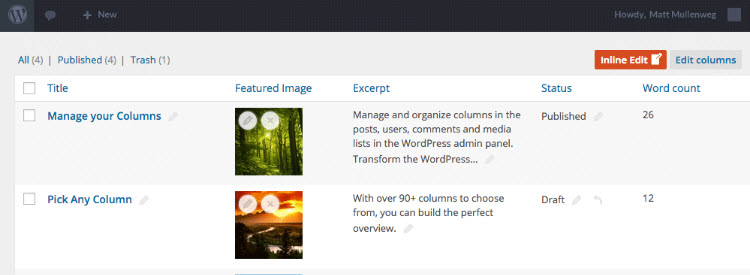
Admin Columns enables you to easily and quickly add columns to your overview pages. This means that you can view certain information contained within the post or page. And all without actually having to open them. Over 160 column types are provided, which Admin Columns Pro boasts covers all content types. Add a featured image column, show all post tags in a column, or author’s name column, amongst more.
Drag and Drop Builder
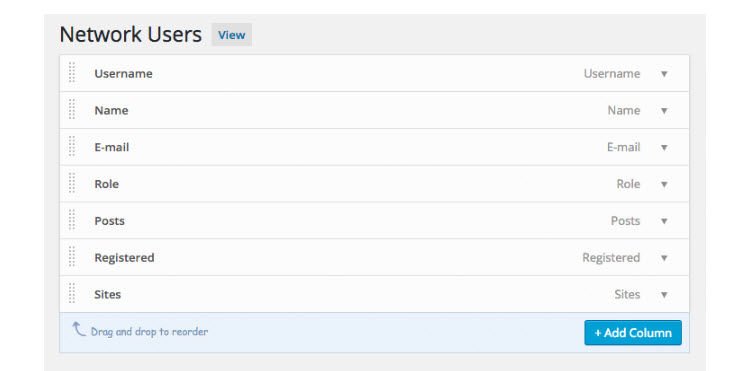
This plugin’s ease of use is definitely one of its superior features. Admin Columns Pro incorporates a drag and drop interface, making it easy to arrange your columns. You can create column layouts that make organizational sense to you by simply clicking and dragging columns around. With no coding needed, even a humble beginner will be able to get to grips with this software within minutes.
Sort and Filter Quickly to Find the Right Content

Admin Columns Pro makes data quick to sort, helping you easily organize your content in a way that suits your needs. Sort by post length, media, comments, or users, amongst many other options. Once you have sorted your columns, these results are automatically saved as your preference, until you re-sort.

Filtering column data is just as simple as sorting. A drop down menu allows you to search through and filter your content. This can be particularly beneficial if you want to look at a group of products, posts from a particular month, or articles written by a specific author.
Easy to Edit Directly in the Overview Page

The ease of editing column data is where Admin Columns Pro comes into its element. As mentioned earlier, the plugin’s inline editing feature allows you to edit posts without even opening them. Check down your columns to look for discrepancies in your content and then edit any of the fields within the overview. This will not only save you time but help ensure high quality and consistent content across your WordPress site.
Integration with Other WordPress Plugins
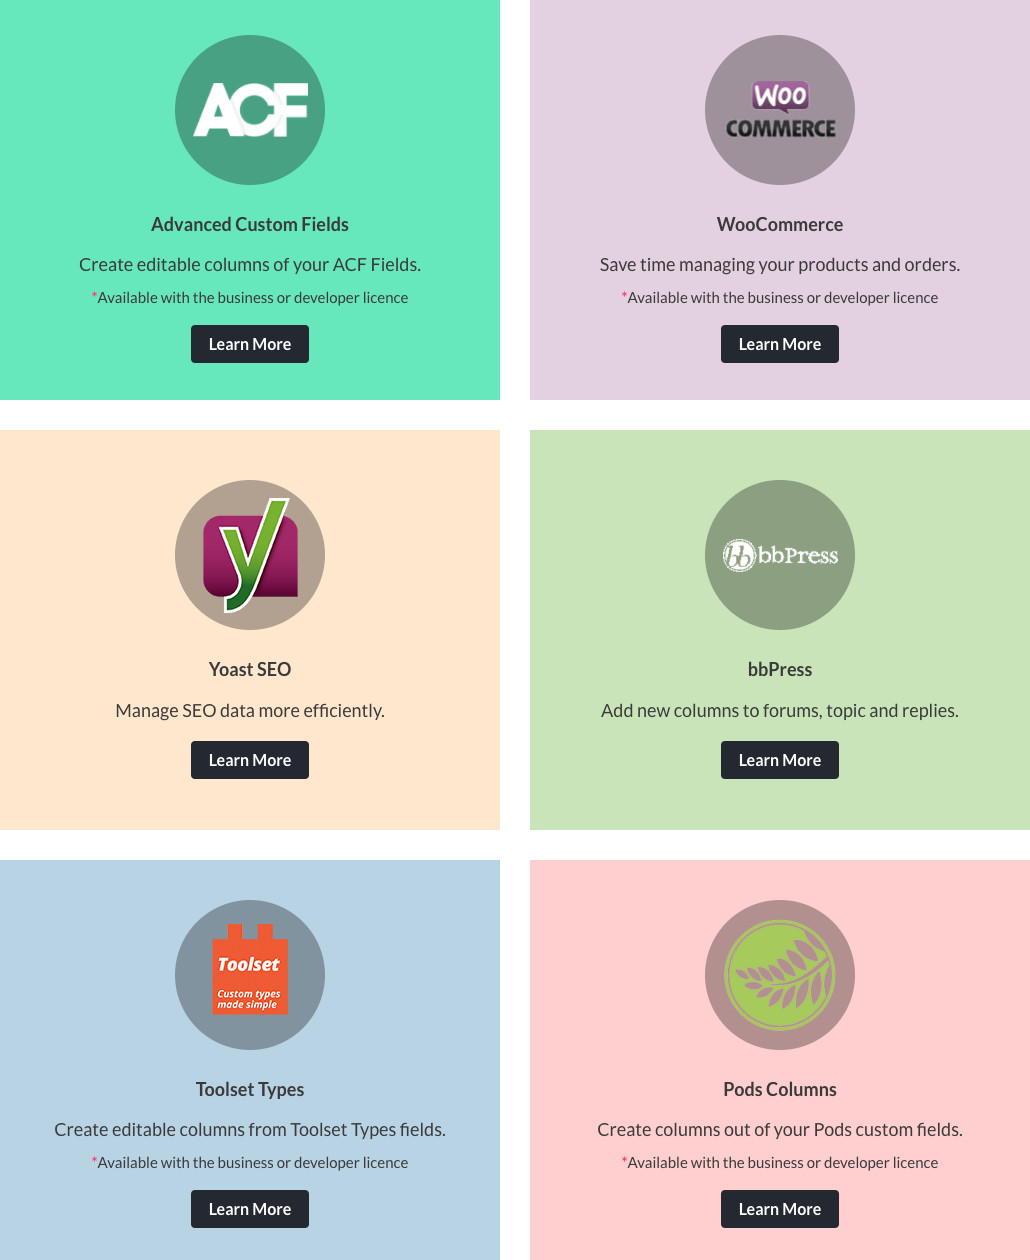
Admin Columns Pro integrates with some other popular plugins including WooCommerce, bbPress, and Yoast SEO, amongst others. This means you can organize and manage the data from these supported plugins.
For example, if you are running a WooCommerce store, you can display columns showing product prices, dimensions of each item, whether they are in stock, and more. Not only will you then be able to quickly view key information on all your products in one place, you can also inline edit this information, helping you easily manage and update your WooCommerce data.
Plus, the Toolset Types integration add-on means you can easily add columns for custom fields and taxonomies created with Types. Admin Columns automatically recognizes your setup from Types, so that you can add the custom fields with just a few clicks. Similarly, with Pods you can create and edit custom post types then use Admin Columns Pro to modify your post types to display any post type field as a column (like colors, locations, pricing, etc).
Other features of Admins Columns Pro
As you can see, Admins Columns Pro has a lot to offer. Although we have covered most of the highlights, here are a few more important, although maybe less exciting, features…
- Multiple Column Sets – Create custom screen views and curate custom column sets based on user role to efficiently manage posts, pages, etc.
- Horizontal Scrolling – Don’t worry about small screens, simply enable horizontal scrolling from the “Screen options” menu to make navigation easy.
- Taxonomy Columns – Add a column to your taxonomy overview to view more content without having to open it one by one.
- Import and Export – Easily migrate your column settings to another website, or use them as backups.
- Multisite Columns – If you have a Multisite, then all user columns can be used for network users.
- Support – Admin Columns Pro comes with extensive documentation and a dedicated developer team provides direct email support.
As you can see, Admin Columns Pro is bursting with impressive and powerful features. So let’s now have a look at how to get this plugin up and running on your WordPress site…
Get Started with Admin Columns Pro
Admin Columns Pro is extremely straightforward to set up and use. Keep reading for a quick run through on getting started and using this plugin’s most popular features.
Install the Plugin

First off, purchase the plugin from Admin Columns Pro and download it from your Accounts page. Then log into your WordPress website and select ‘Plugins > Add New’.
Click on ‘Upload Plugin > Choose File’. Select the Admin Columns Pro zip file and select ‘Install Now’.

Once you have activated the plugin you will find an Admin Columns’ menu under ‘Settings’.
Activate your License

To make sure the plugin is automatically receiving updates you need to activate your Admin Columns Pro license. Select ‘Settings > Admin Columns’. The Admin Columns Settings screen will now appear. Select the tab ‘Settings’.

Under ‘Updates’ enter your license code and click ‘Update License’. If you are unsure, your license can be found on your Account page.
Add, Remove and Manage Columns
Once your plugin is installed and the license activated you are ready to start creating columns. Admin Column Pro has a very intuitive interface that makes it extremely easy to add, remove, and manage your columns. In the Admins Columns Settings screen, select the ‘Admin Columns’ tab.
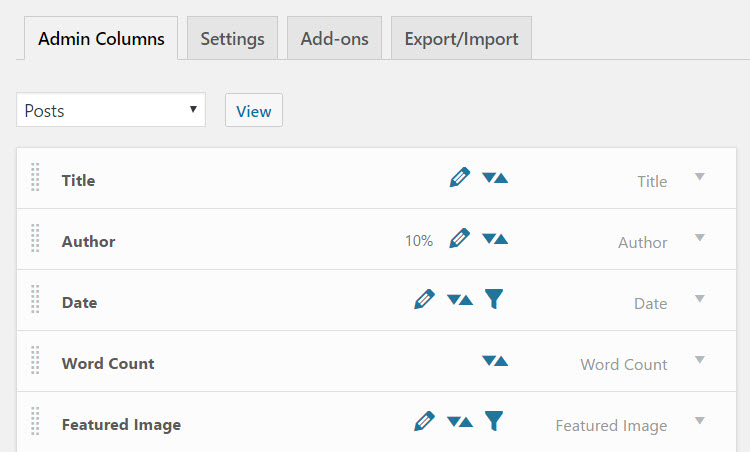
In the drop down box choose which content overlay page you want to add columns to. For this article I have selected ‘Posts’’, thus enabling me to add columns to my Posts overlay page.
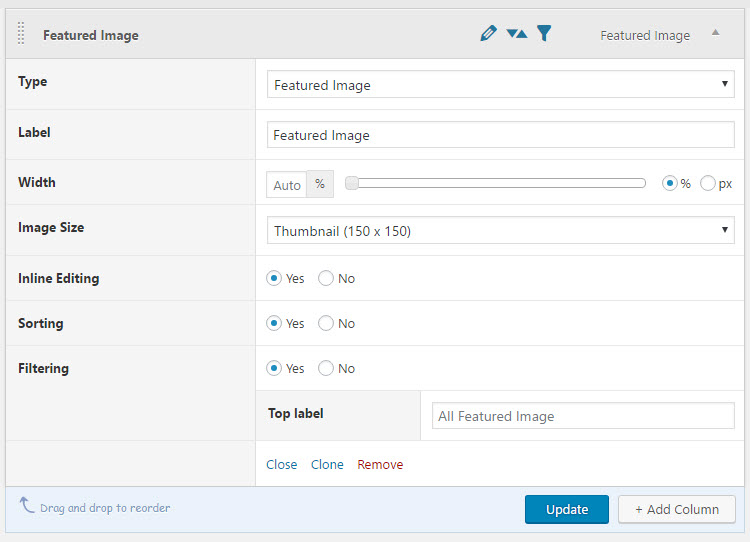
Next, click on ‘+Column’ at the bottom of the page. You can now choose the type of column you want to display and alter its settings, including labeling the new column and determining its width. Importantly, here you need to turn on Inline Editing, Sorting and Filtering. Bear in mind that not all column types support all three of these functionalities, so you may not be offered the option of activating them all.

To remove or edit a column simply hover over the column row and then select ‘remove’ or ‘edit’.

To change the order that the columns will appear, drag and drop the columns into your preferred positions.

When you have added and organized all the columns to suit your needs, click ‘Save’. Now select ‘View Posts Screen’ to view your new columns in action.
Filter and Sort Columns
Once you have created the columns you need, you can start using them to help you organize and manage your content. As discussed earlier, searching your content using the sorting or filtering tools can be particularly helpful if you are wanting to find, view, or edit specific data.

If you are looking to sort a column, firstly check that sorting is available for that column type, and that you have activated ‘Sorting’ when setting up the column. Next, open the overview page containing the columns you would like to sort. Here I have opened my Posts page.

By hovering over the title of the column you would like to sort, the sorting option arrow will appear. Simply click the arrow and your column will automatically sort. Here you can see I have sorted the blog posts from largest to smallest word count.
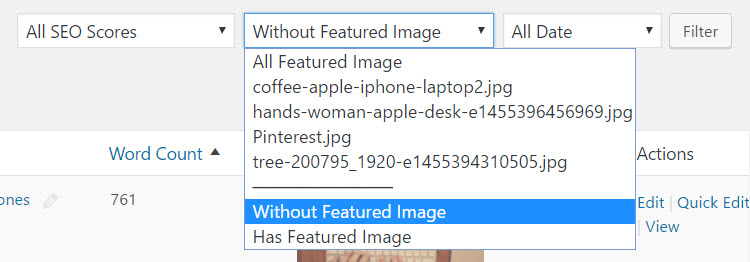
The filtering options for each column type appear at the top of the page in drop-down boxes. To filter a column, choose from the filtering options available and then click ‘Filter’. Here I have filtered blog posts to show those to yet display a featured image. Again, when filtering, first check that the column type supports filtering and has been activated.
Edit Columns
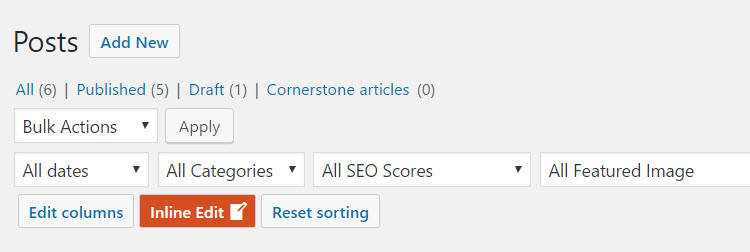
Editing columns is just as straightforward as sorting and filtering. Select ‘Inline Edit’ at the top of the Posts page, and you will now be allowed to edit the content displayed in the editable columns.

Here I am editing a blog post that needs a featured image added to it. Clicking on the edit icon in the featured image column I can select and attach an image to the post, without having to actually open the post at all.

Pricing Options
Admin Columns Pro is available from just $49. This Personal Plan allows you to use Admin Columns Pro on one site and includes one year of updates and support. Business and Developer plans are also available for larger online businesses and professionals. The biggest advantages of upgrading to one of these from a personal plan is use on multiple sites as well as all of the earlier mentioned premium third party add-ons (Pods, Advanced custom Fields, WooCommerce etc)
Importantly, Admin Columns Pro offers a 60 money back guarantee so if you are unhappy with the plugin you will receive a full refund. This shows just how confident Admin Columns Pro are in their product.
Final Thoughts
As you can see using Admin Columns Pro to manage your WordPress content is extremely easy and effective. This plugin offers the possibility of saving you time, as well as enabling you to eliminate school boy errors, creating a professional, organized and consistent blog.
Find out more about Admin Columns Pro today. And as always, if you have any questions or anything to add leave a comment below!


