What is Parallax Effect? How to Use it for WordPress
Parallax effect is an extremely popular design feature that is commonly used on WordPress websites. This special effect has featured in the gaming world for years but has more recently crossed over into web design. And so far this major trend doesn’t seem to be going anywhere, if anything it is being more widely used than ever. So what is parallax effect and why should you consider using it on your WordPress website?
In this article, we will consider what a parallax effect is and the benefits it can bring to your site and business. We will then discuss how to quickly and easily add a parallax effect to any WordPress website, page, or post, with a theme or a plugin.
What Is Parallax Effect?
Parallax effect involves a web page’s background moving at a slower rate than the foreground. This creates an illusion of depth to the page, giving the content a 3D effect as viewers scroll down.
The majority of premium WordPress themes now come with built-in parallax effect on their homepage. Even the free WordPress default theme Twenty Seventeen comes with a parallax feature. Most page builders also incorporate a parallax effect tool, enabling you to add the effect to any page or post on your website. And of course, there are numerous WordPress plugins that you can install to add parallax effect elements to your website.
What Are the Benefits of Using a Parallax Effect?
There are a number of benefits to using a parallax effect on your WordPress website. The first, and most obvious, is the visual aspect of a parallax effect. A parallax effect is aesthetically pleasing, giving your website a fresh, stylish and modern look and feel. This wow effect can make your content really pop, and creates an exciting and interesting browser experience.
Another key reason for using parallax effect on your site is to help break up a page, particularly a homepage, into readable chunks. Use this effect to emphasize the different sections and types of content you want to showcase. This can help promote different aspects of your website, illuminate important info, and encourage users to navigate your site and access content in a way of your choosing.
Parallax effect can be used on any page or post of a website, but is most often seen on homepages, landing pages, or one-page sites. The stunning visuals parallax creates, and the positive effect it has on user experience, can result in visitors staying on your site longer, and help improve your site’s conversion rate goals.
Considerations When Using Parallax
While there are benefits, there are a few key points you should keep in mind when adding parallax sections to your website.
Choosing Background Images
Think carefully about the image you use for each background section. Make sure they are relevant to your site and sync with your branding. If you are going to display a header or further content over the top of this background image, consider using a block color or subtle patterns instead of a photo or an attention-grabbing graphic. This can help ensure that your image works with and promotes your content, instead of distracting from it.
If you opt to use photographs, the images need to be high quality. Beautiful eye-catching images can help give your site a professional and unique appearance. These visuals will create a strong impression on your audience, which in turn will prompt people to remember and return to your site. There are a wide assortment of stock websites that you can download top quality images from. Check out our collection of free and premium stock photo websites where you will quickly find stunning photographs for your parallax backgrounds.
Parallax on Mobile
While parallax is great for adding visual interest, it does not always work well on mobile devices. Because phones and tablets typically use swipe navigation (instead of a scroll like desktops) parallax effects may not render correctly. Of course, this will depend on the method and animations you use for your own parallax section. However for usability you may want to consider disabling parallax on devices.
Parallax and Accessibility
In addition to reduced usability on mobile, parallax can also present some accessibility challenges. Because parallax is motion based it can increase reading difficulty and may present browser or device compatibility issues (as mentioned, on mobile especially). In addition, as layers move it can create contrast issues further complicating readability. For these reasons you should put extra care into creating parallax sections on your website.
Select a Theme with Parallax Effect
For those of you starting a new project, you should select a premium theme that includes a parallax effect feature. And if you want to use a parallax effect on a variety of pages of your website, not just the homepage, then you may want to consider a multipurpose theme that comes with an advanced page builder.
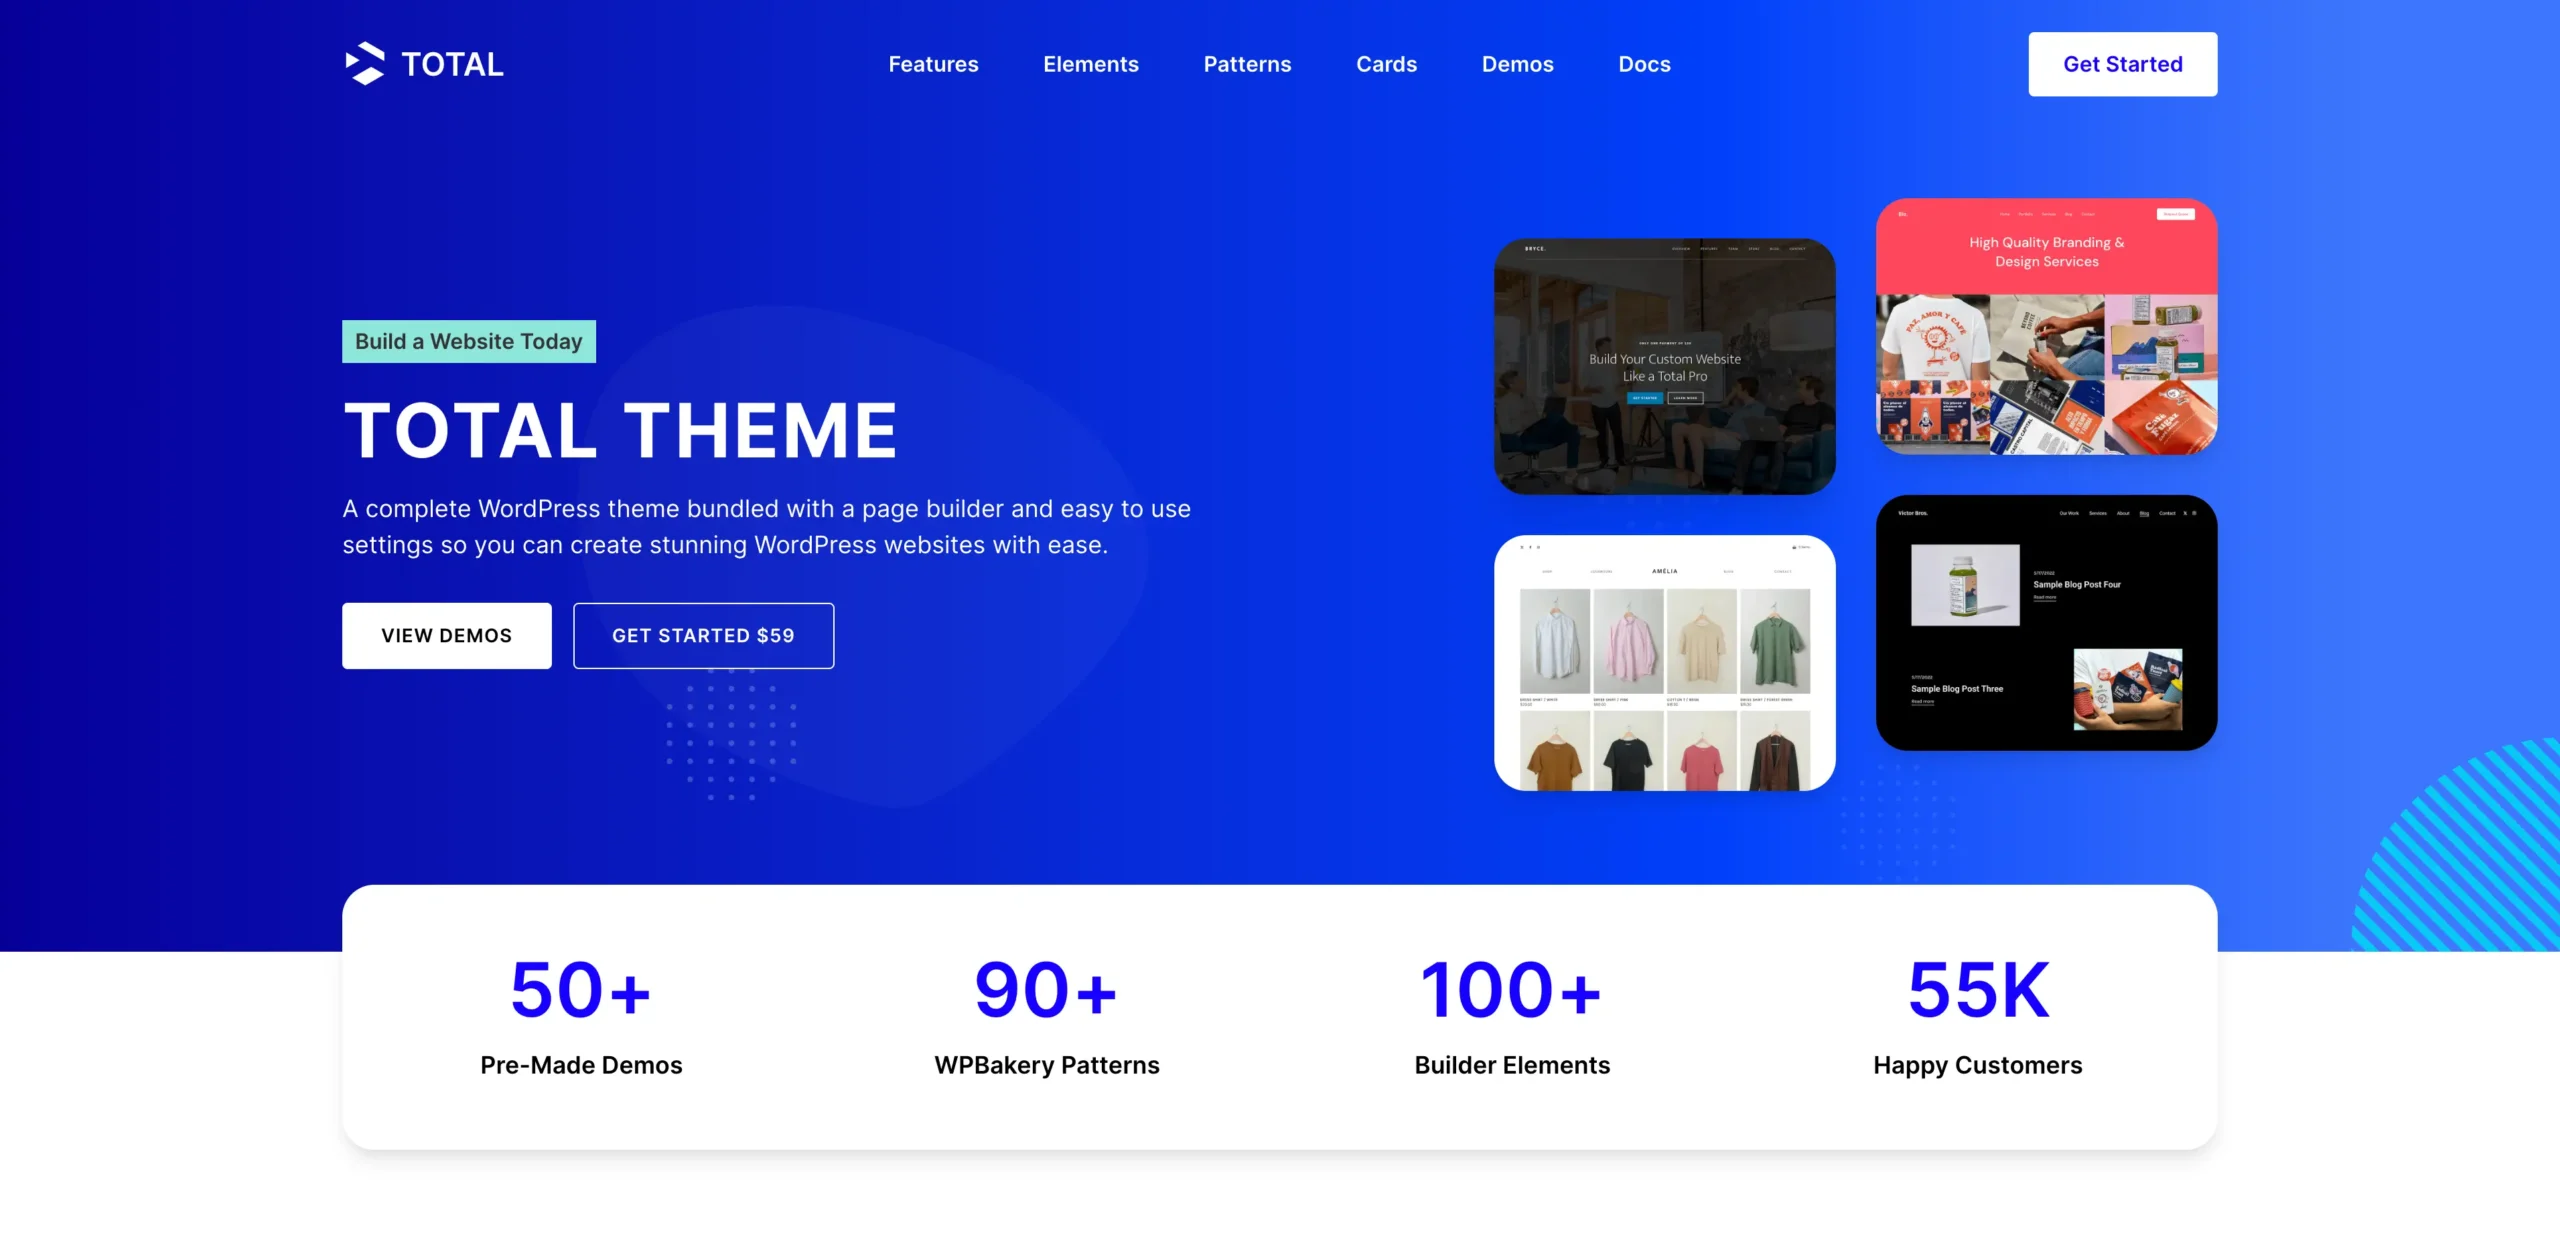
Themes like Divi from Elegant Themes, Ultra by Themify, and our very own Total Multi-Purpose WordPress Theme, all include page builders providing parallax effect tools.
Add Parallax Backgrounds with Total
To give you an idea of how parallax can work with themes, below is a guide for how to add a parallax background to a row with the Total theme. Total uses WPBakery for frontend page building, but many other WordPress page builders include similar options.
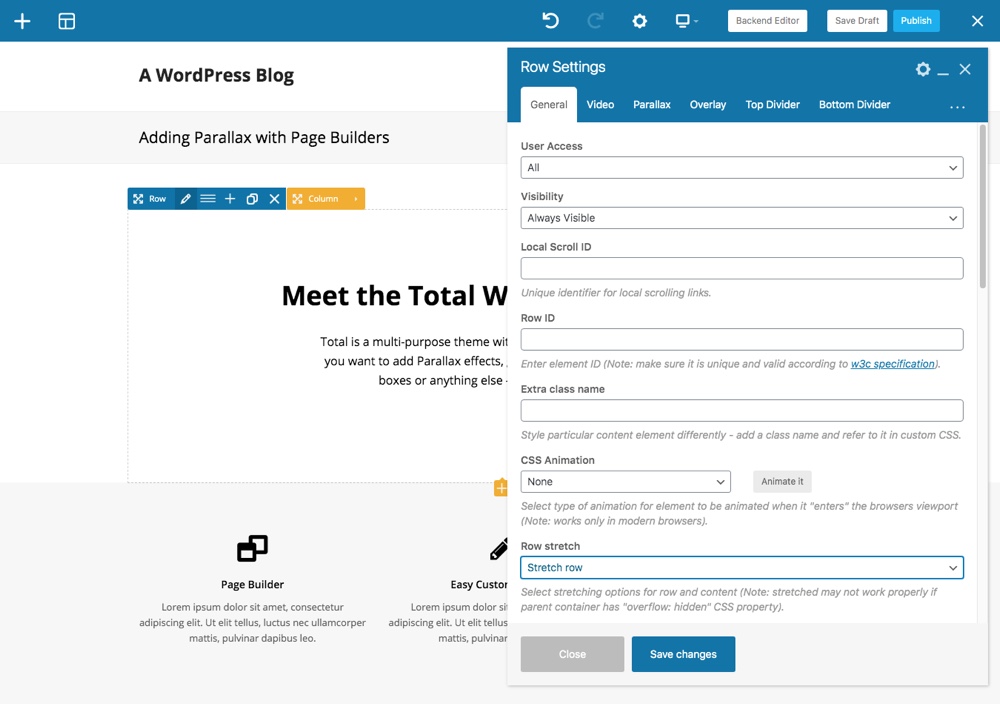
First, you’ll need to insert a row and add content to it. Then click the pencil icon to edit your row. Because the design we created above is not boxed and does not include a sidebar, we selected the “Stretch row” option to be sure our parallax background fills the row completely (note – Total also includes a full-screen option you can enable if you want your row and parallax background to completely fill the browser window).
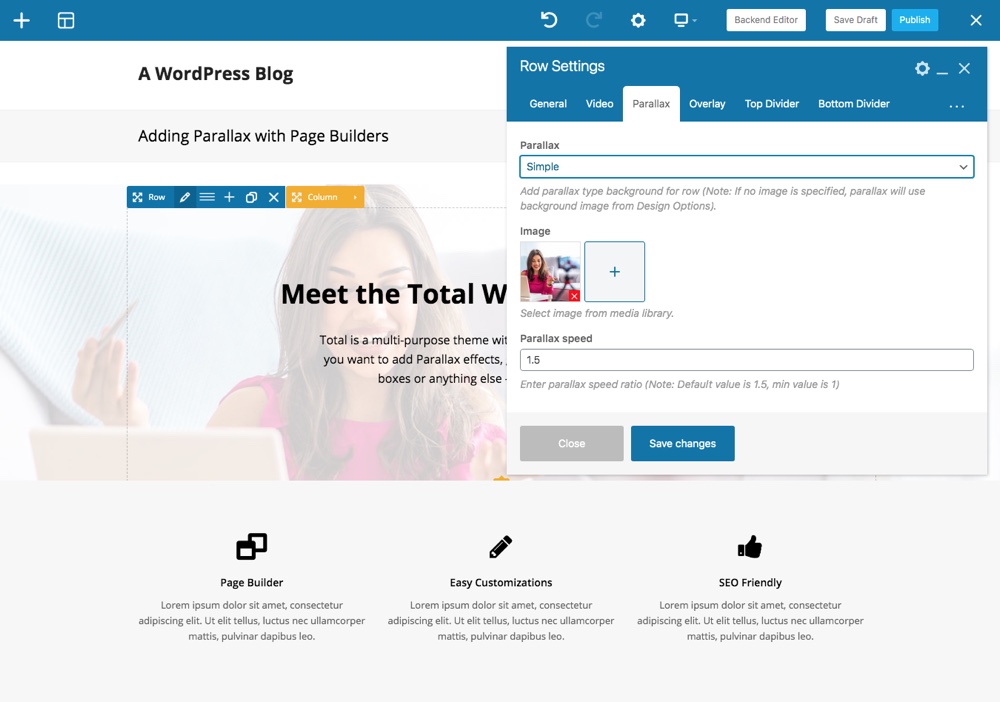
Next, under the Parallax section you can easily add a background image and set a scroll speed for the parallax effect (the bigger the number, the more the image will move which may also require a large image).
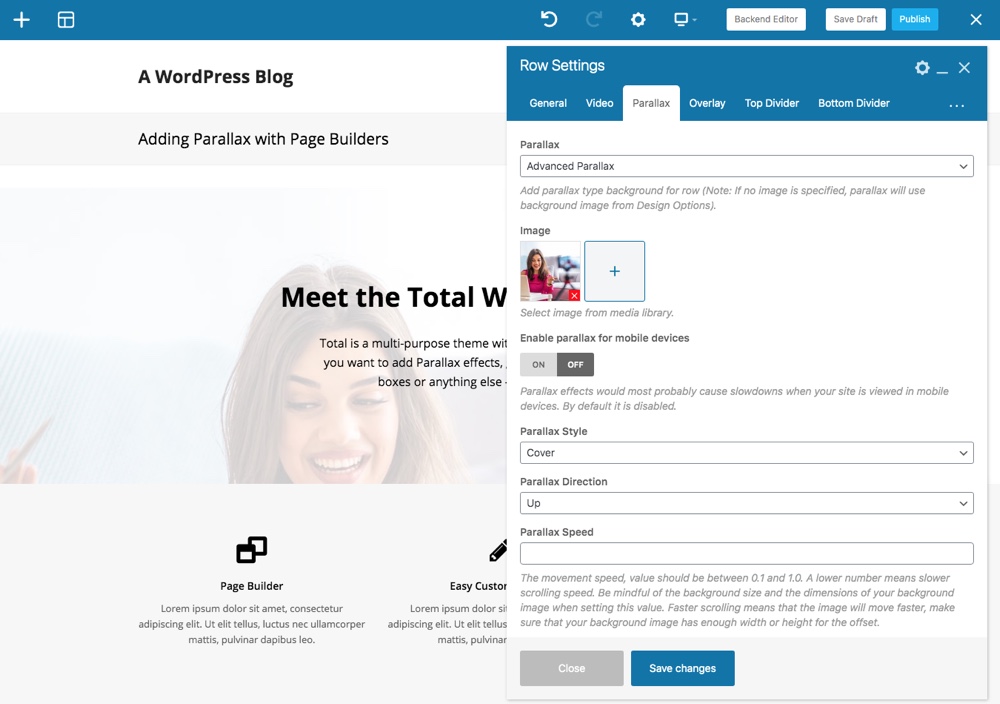
Total also offers an advanced parallax option with more settings for enabling/disabling the effect on mobile, choosing the image style (cover, fixed, or repeat), defining the direction of the effect and of course the speed.
You can also use of the Overlay settings one tab over to make sure you have enough contrast between your row background and content (we added a white overlay to our image). Once you’re done just be sure to save your row changes as well as your page.
Add Parallax Sliders with Slider Revolution
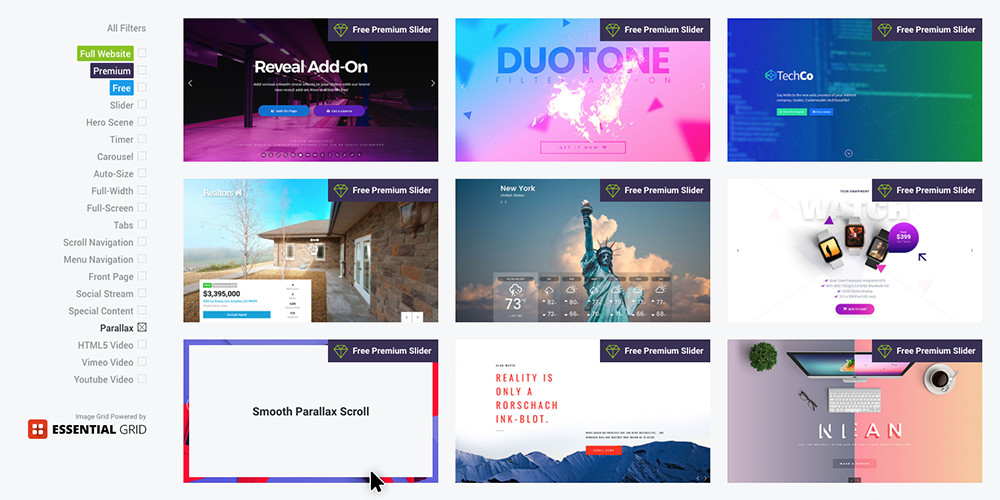
If you want a featured slider with a parallax effect our top pick is the Slider Revolution plugin. This premium plugin includes hundreds of built-in options and features for fonts, layers, slider effects, layouts and of course parallax.
Enable Slider Revolution Parallax
First install the plugin, then either import a slider template or begin building your own slider from scratch (you can read our full Slider Revolution guide for more details).
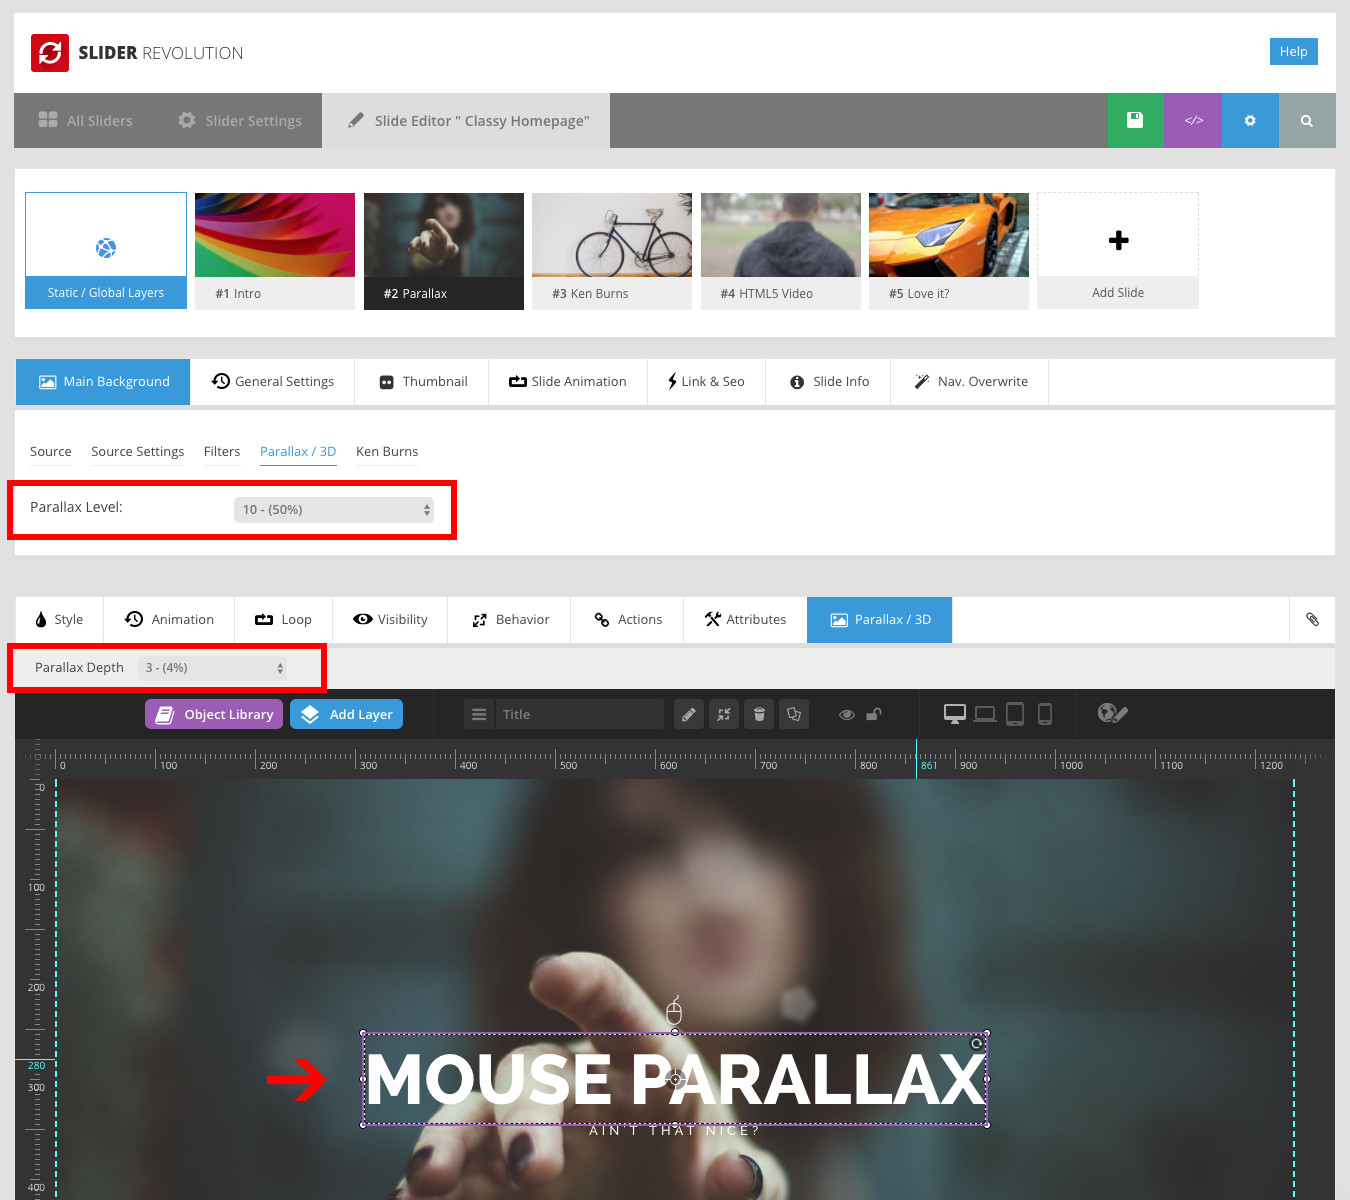
Next, edit the slide Main Background to add a Source background image and select the Parallax/3D tab to assign a parallax level. Then as you add layers, select the Parallax/3D layer option for parallax depth to add movement to your text, image, button and other layers. It’s that easy!
When you’re done, save your slider and use the shortcode to insert it into any post or page. Or if you’re using a page builder like the WPBakery (formerly Visual Composer) you can use the page builder Slider Revolution element to quickly select and insert your slider.
Add Parallax Sections with the Free Advanced WordPress Backgrounds Plugin
If you already have a theme, and it doesn’t include a built-in parallax effect option, then you should consider using a WordPress plugin to do the job. Advanced WordPress Backgrounds (AWB for short) is a popular free option that will enable you to add a parallax scrolling background image to different elements on a page or post of your website. Add a scrolling background to a single element, a header text, or a full section containing any content, all by using a simple shortcode.
So let’s now have a look at how to install and start using Advanced WordPress Backgrounds with parallax.
Installing AWB
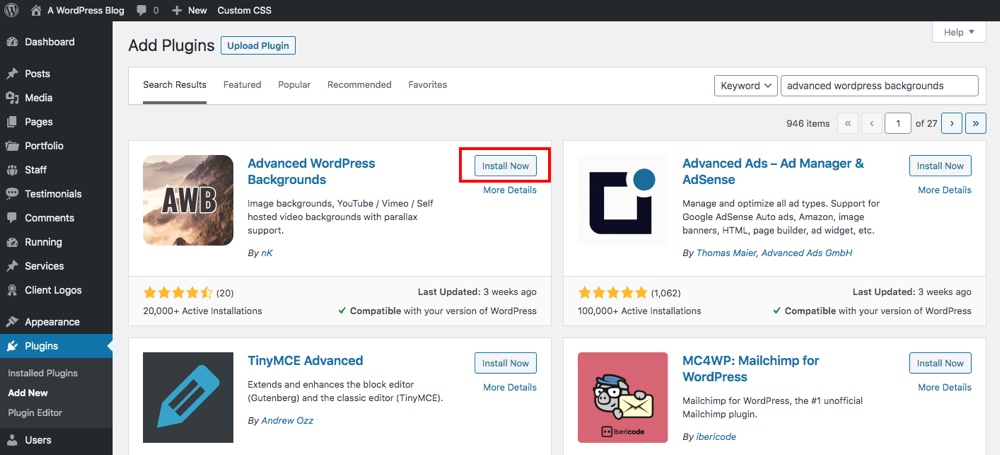
To install the plugin, log into your WordPress dashboard as admin, and select Plugins > Add New from the menu.
Search for Advanced WordPress Backgrounds, then select Install Now > Activate.
With AWB, how you adda parallax background will depend on which WordPress Editor you are using – Gutenberg, Classic or a third party page builder like WPBakery. No matter which you use, AWB offers tons of easy options for:
- Color, image or video media backgrounds
- Media display size (cover, contain or pattern)
- Background media position, with percentages to align your background (example: 50% 50% to center)
- Overlay color picker, using the Alpha selector to make your color more or less transparent
- Parallax Scroll, Scale and Opacity with speed and option to enable on mobile
- Mouse parallax (which makes the background shift slightly according to mouse over movements)
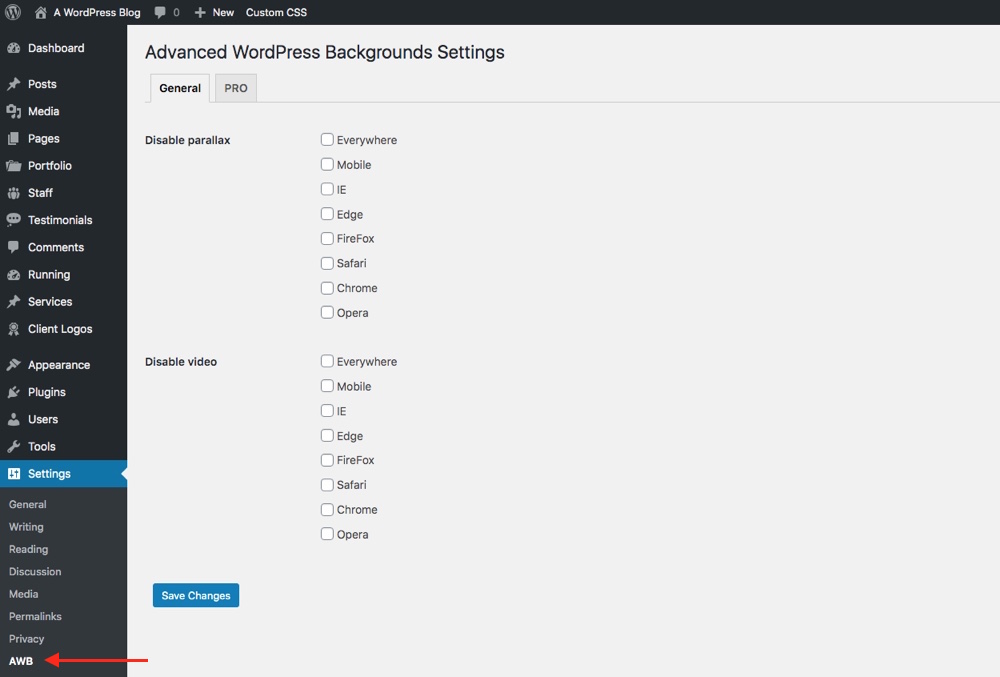
In addition, you will also find an AWB tab has been added to your WordPress Settings menu. This is where you can choose a global visibility setting to disable parallax effects (and videos) for mobile, as well as specific browsers.
AWB Gutenberg
Advanced WordPress backgrounds is fully compatible with Gutenberg, and even includes its own custom block for you to use.
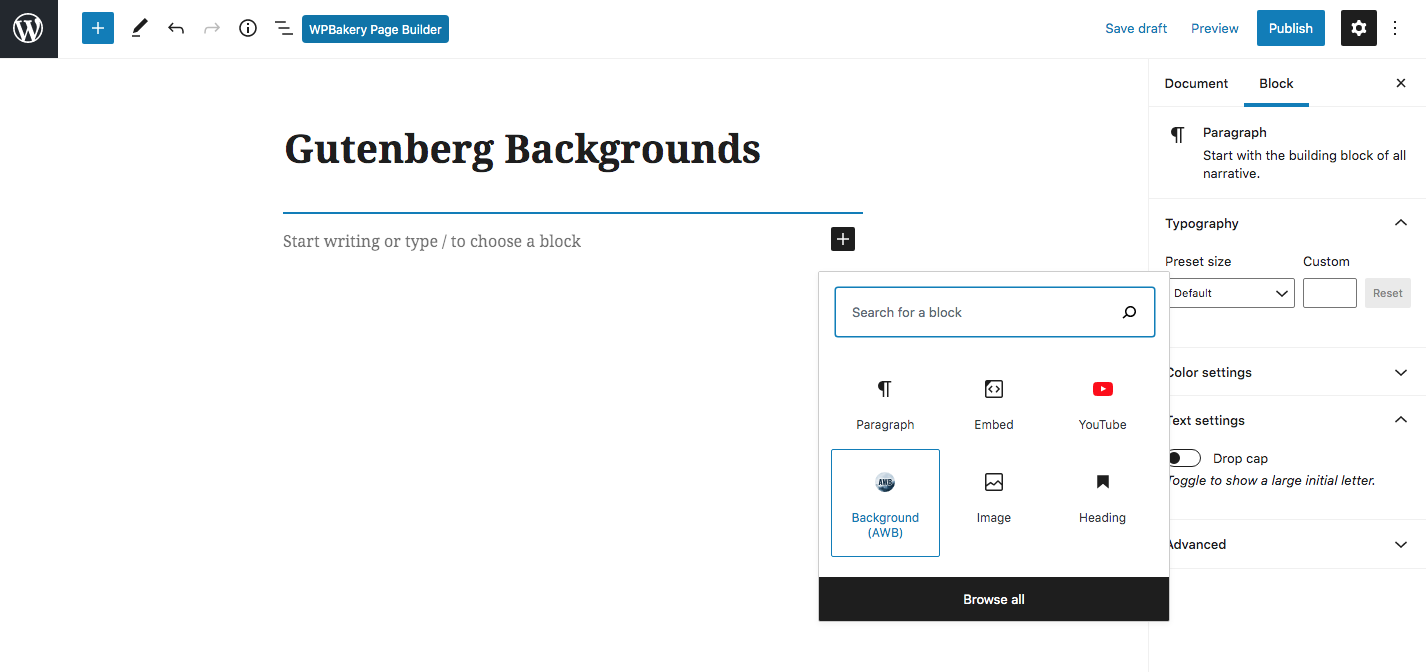
To get started, you’ll need to insert the AWB block. Then click to add other blocks for your content within AWB.
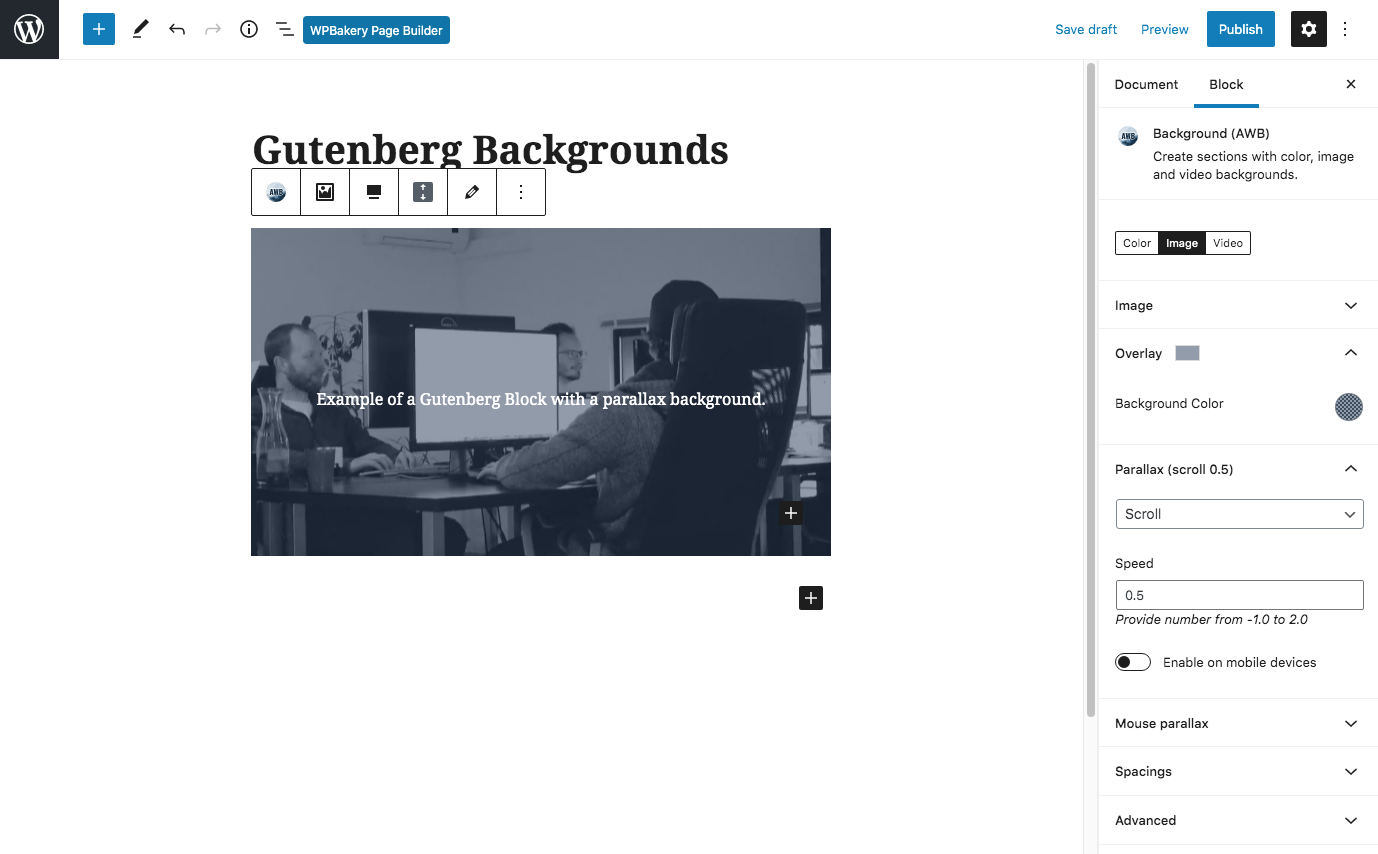
When you’re finished, click on the AWB block and then click on the “Block” tab on the righthand menu. This is where you are able to add and edit the background options for your block.
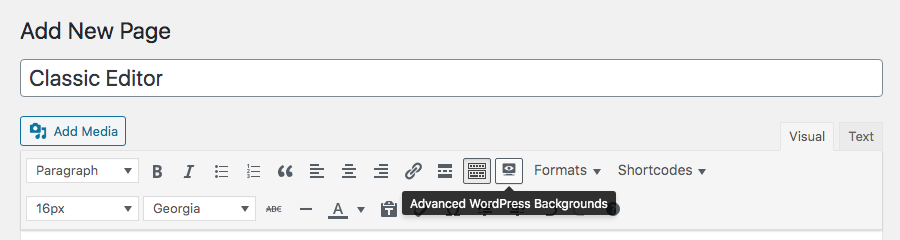
AWB Classic Editor
With the Classic Editor, AWB uses a shortcode to add a parallax background. So you’ll need to first create your content, then highlight the section you want to have a background and click on the AWB icon in the editor.
Choose your background image then begin scrolling down to add the rest of your options. For example, adding an overlay color and parallax type. When you’re done click to “insert.”

The shortcode will look something like this:
[nk_awb awb_type="image" awb_image="1234" awb_image_size="full" awb_image_background_size="cover" awb_image_background_position="50% 50%" awb_parallax="scroll" awb_parallax_speed="0.5"]This is where the content within your parallax background goes.[/nk_awb]
The classic editor can be a bit less user friendly in this case. Because AWB is a shortcode, you can’t view your background settings from the editor.
AWB with WPBakery
Lastly – Advanced WordPress backgrounds also works with the WPBakery page builder. Using it here is simple, as they’ve added a tab to the row settings.
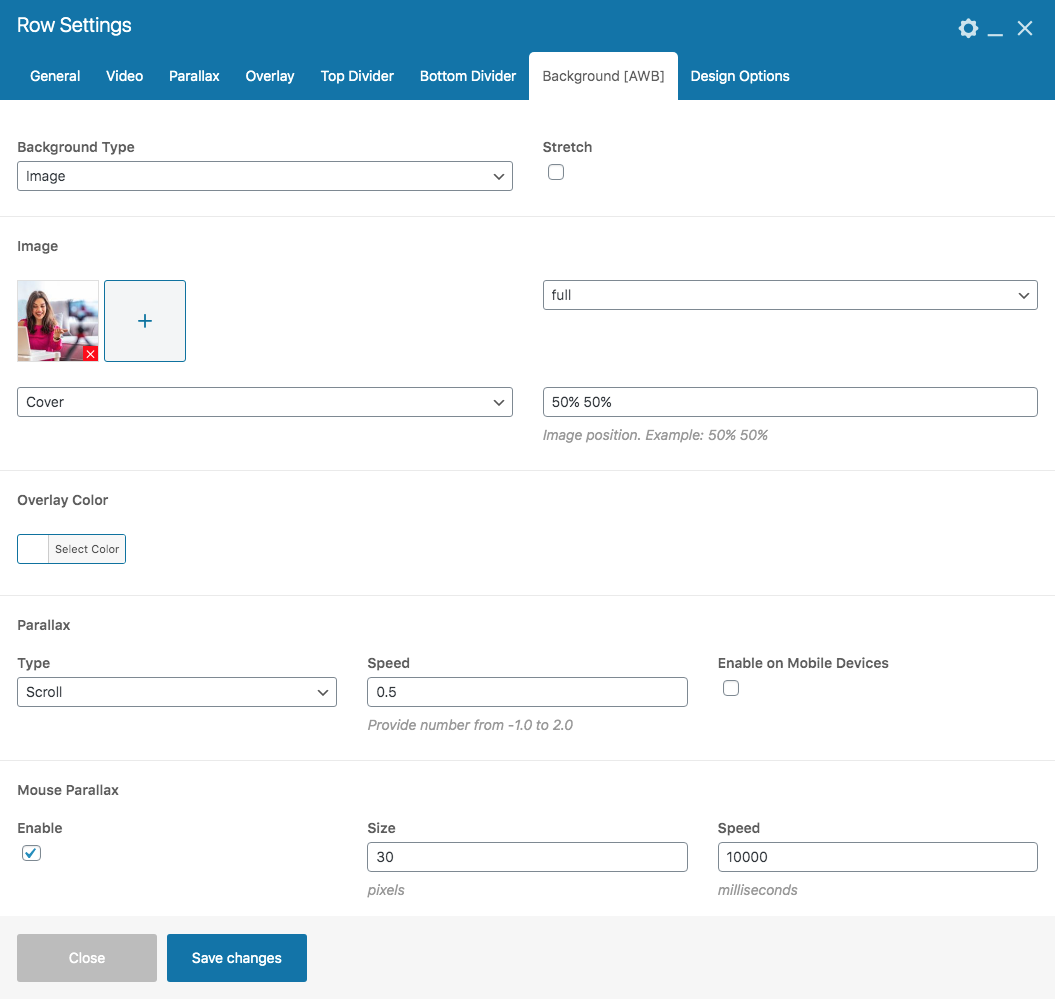
Just click on the “Backgrounds (AWB)” tab to create and customize your own parallax background on any row.
Final Thoughts on Parallax Effects
If your theme doesn’t have a built-in parallax effect feature, or if you want to add an effect to more than just your homepage, then try a plugin. Slider Revolution or the free Advanced WordPress Backgrounds are great. Either will enable you to quickly create parallax sections to add to your pages or posts.
As you have seen, adding a parallax effect to your website can be very worthwhile. Not only can it greatly improve the visuals of your website, it will help appeal to your audience, enable them easily navigate your site and access content, and increase the time they spend on your site. This improved user experience should ultimately help your site convert against its goals. Whether you aim to increase returning visitors, collect leads, or sell products or services.
Will you add a parallax effect to your homepage, a landing page, a post, or somewhere else? Please share your thoughts in the comments below.