How To Enable Multi-Site Support In WordPress
One of the most recent projects I’ve started is taking all my Free WordPress theme demos and adding them onto a multi-site network. Not only with this make it a lot easier to manage but it will allow me to provide better demos for each theme as each one will have it’s own unique content. As I set up my multi-site using WordPress I thought it would be a good idea to share a quick post on how to enable the multi-site option in WordPress 3.0+.
Previous to WP 3.0+ you would have had to install WordPres MU, but now it’s no longer a separate project but instead a continuing development as a part of the main WordPress.org branch under the name “multi-site” or “MS”. This is awesome news as not only is it a lot easier to use but you can quickly turn your regular WP installation into a multi-site network, as I will show you below.
Step 1. Enable MultiSite Via Your WP-Config File
The first step is to simply open up your wp-config.php file located in your root WordPress folder and add the following line (preferably above the line that says “That’s all, stop editing! Happy blogging.”
/* Multisite */
define( 'WP_ALLOW_MULTISITE', true );
Step 2. Enabling the network
Once you have allowed multi-site support in the wp-config.php file the rest is pretty simple as the instructions will now appear under “Settings–>Network Setup”, but I will run you through them quickly.
a. Create a blogs.dir directory at /wp-content/blogs.dir
You first have to create this empty folder via FTP which will be used to store all your uploaded media for the additional sites you add to your network. Make sure it is writable by the server (755).
b. Add the following to your wp-config.php file right after the line you added previously:
define( 'MULTISITE', true );
define( 'SUBDOMAIN_INSTALL', false );
$base = '/themes/';
define( 'DOMAIN_CURRENT_SITE', 'www.aoclarkejr.com' );
define( 'PATH_CURRENT_SITE', '/themes/' );
define( 'SITE_ID_CURRENT_SITE', 1 );
define( 'BLOG_ID_CURRENT_SITE', 1 );
c. Add the following to your .htaccess file
RewriteEngine On
RewriteBase /themes/
RewriteRule ^index.php$ - [L]
# uploaded files
RewriteRule ^([_0-9a-zA-Z-]+/)?files/(.+) wp-includes/ms-files.php?file=$2 [L]
# add a trailing slash to /wp-admin
RewriteRule ^([_0-9a-zA-Z-]+/)?wp-admin$ $1wp-admin/ [R=301,L]
RewriteCond %{REQUEST_FILENAME} -f [OR]
RewriteCond %{REQUEST_FILENAME} -d
RewriteRule ^ - [L]
RewriteRule ^[_0-9a-zA-Z-]+/(wp-(content|admin|includes).*) $1 [L]
RewriteRule ^[_0-9a-zA-Z-]+/(.*.php)$ $1 [L]
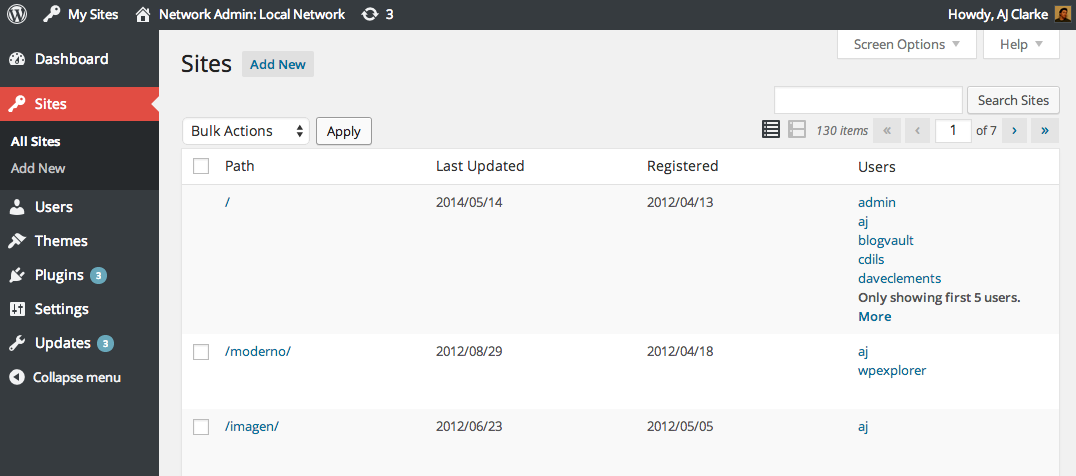
RewriteRule . index.php [L]Step 3. Enjoy Your New Multi-Site network
Now you can log into your main installation via /wp-content click on the “network admin” link on the top right and start adding new sites to your network. Below is a quick screenshot of the network I’ve created for all my Free and Premium WordPress themes demos.