Tweak Your WordPress Theme Design with Yellow Pencil
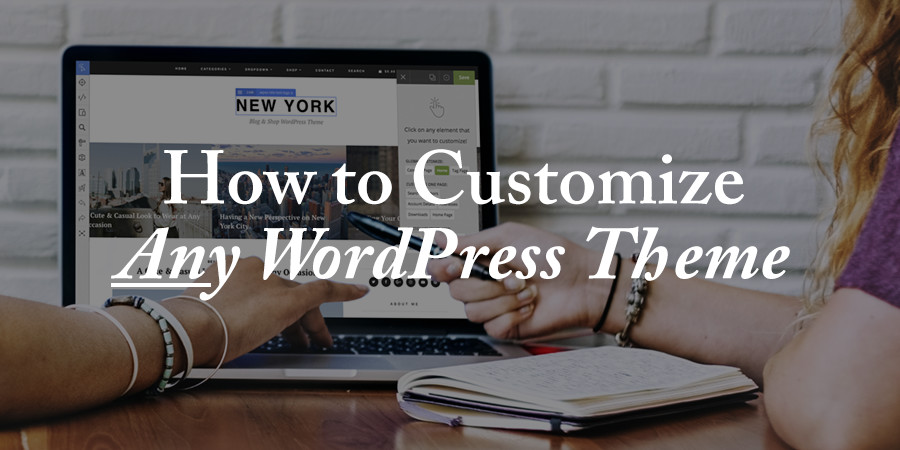
If you are looking to customize your WordPress theme design the easy way then the Yellow Pencil WordPress plugin may be just the add-on you need for your site. This visual style editor will enable you to alter the appearance of your site, without having to touch a line of code.
Using Yellow Pencil will teach you the joy of web design, whilst creating a beautiful site to wow your visitors. Edit any element of your website, all on the front end, and in real time. The only limits to your site’s design will be your own imagination.
This in-depth guide to using the premium version of Yellow Pencil will cover its main features, including its point and click live CSS editing capabilities and its compatibility with any WordPress theme. We’ll then take a look at the user experience on offer, enabling you to get set up and designing in no time at all.
Who Is Yellow Pencil For?
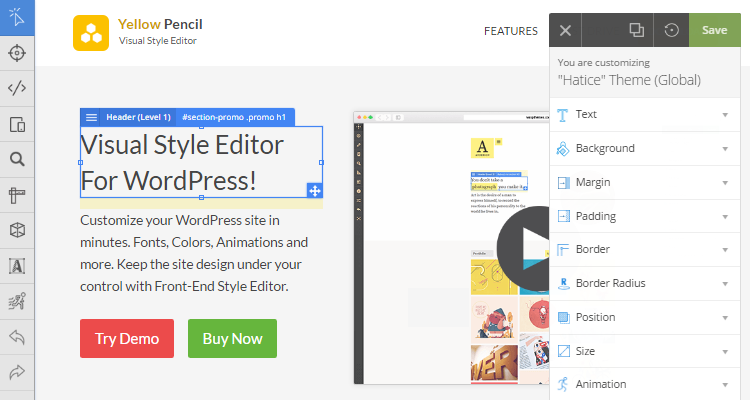
Whether you are looking for a faster way to customize your site, or you are unfamiliar with CSS, Yellow Pencil can help you. This plugin includes advanced tools and customization options, perfect for professionals looking to create new sites for clients.
However, the lack of coding needed, ease of use, intuitive interface, and detailed support documentation, means that even those with limited design experience can access this plugin. In short, if you want to customize the appearance of your WordPress website, Yellow Pencil is the visual style editor for you.
In short, if you want to customize the appearance of your WordPress website, Yellow Pencil is the visual style editor for you.
Key Features of Yellow Pencil
Yellow Pencil is a truly impressive design tool. The features and tools available allow for full control over the appearance of your site. It can be used on any WordPress theme or plugin, and will enable you to create stylish and responsive web pages.
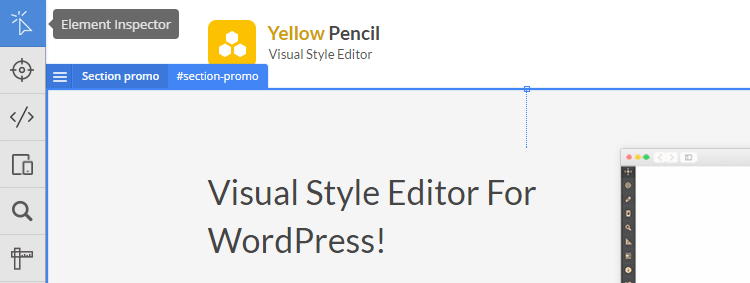
The Element Inspector allows you to select and customize every visual element on your WordPress website. Edit colors, backgrounds, borders and much more. All this is done in real time, on the front end of your site, so you can view the changes as you make them. Yellow Pencil will generate code in the background, so unless you want to, you won’t need to look at any code yourself. Other features include:
- Drag and drop to reposition elements
- Resize elements with the touch of your mouse
- Choose from 600+ fonts, 300+ background patterns, 50+ animations and lots more
- Unlimited colors available or select from Yellow Pencil’s modern color palettes
- Use a live CSS editor
Extensive documentation and support is also available to help you get the most out of this WordPress visual style editor.
So, now we know what Yellow Pencil has to offer. But how do we get started, and is the user experience as impressive as the features it provides?
How to Install Yellow Pencil
Yellow Pencil is extremely quick and easy to install. Once you have purchased the plugin from CodeCanyon (or purchased a premium theme like New York that includes the plugin for free), download the “Installable WordPress file only” from your Envato downloads page ( or you can use the free version available on WordPress.org).

Then open your WordPress dashboard. Select ‘Plugins’ > ‘Add New’.
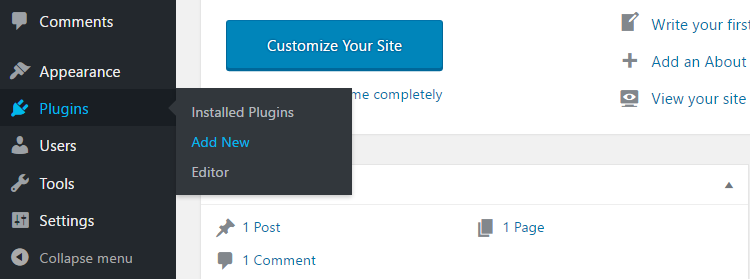
On the Add Plugins page, click ‘Upload Plugin’ > ‘Choose File’.
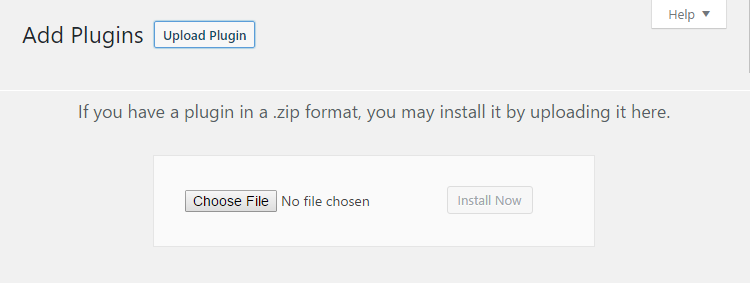
From where you downloaded it to, select ‘waspthemes-yellow-pencil.zip’. Click ‘Install Now’.

Once the plugin has been installed, click on ‘Activate’. Enter the activation code you were given when you purchased the plugin. This will provide you with access to plugin updates as they are released.
After activation, the Yellow Page welcome page will appear on your dashboard. Under ‘Resources’ you will find the plugin’s documentation, tutorials, and other help and support you might need to get started.
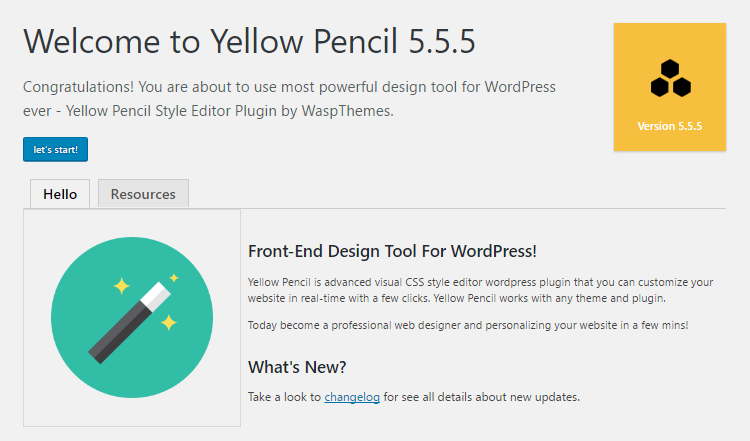
When you are ready, click ‘Let’s Start’. This will take you directly into editing mode.
Understanding the Yellow Pencil Interface
The Yellow Pencil interface is very clear and intuitive to use. The bar that runs down the left-hand side of the page displays the tools available.
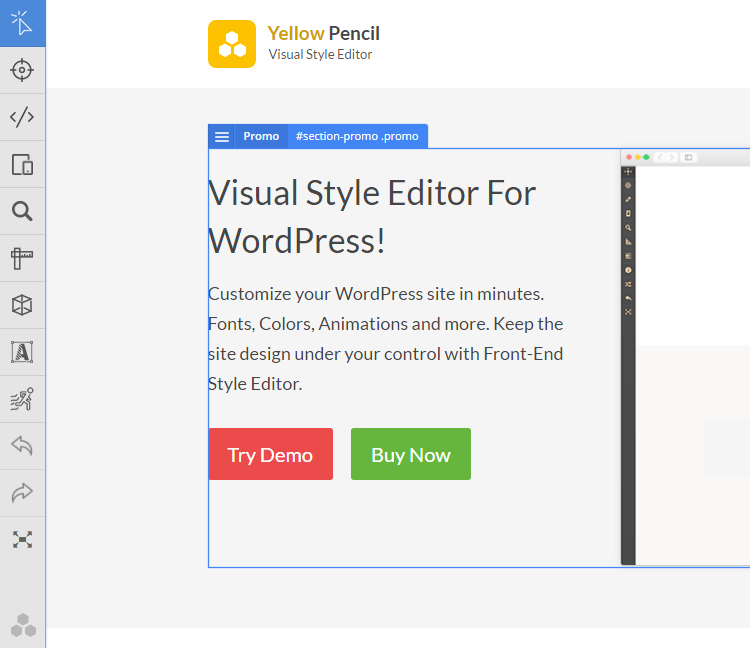
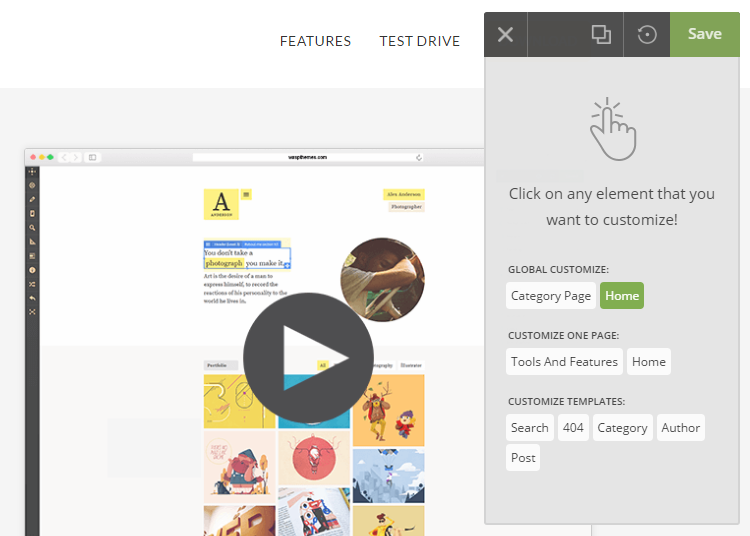
The panel that hovers on the right side of the page is the Editor Panel. When no element on the page is selected, it will show the three customizing types that it is possible to edit in.
When you click on an element on the page, the Editor Panel will change to contain the style properties.
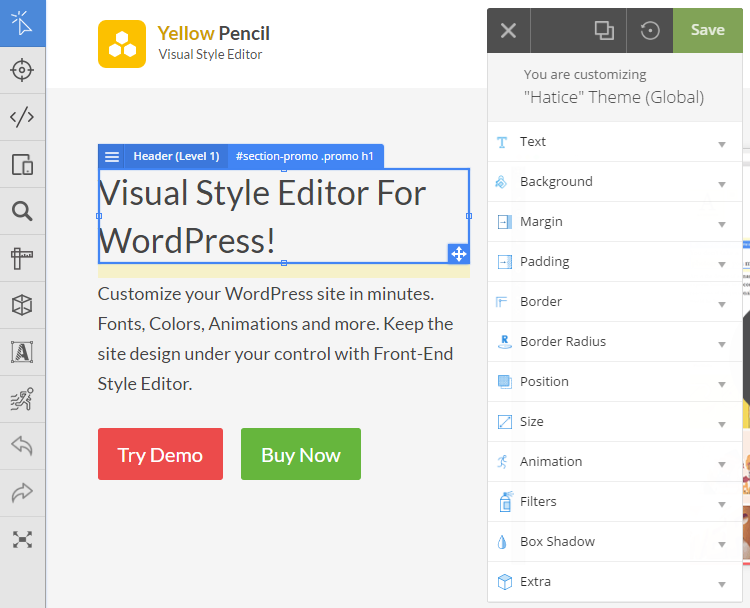
A blue box will appear around a selected element, showing additional customization options.

Important Tools You Will Need
The tool bar, on the left hand, side displays numerous tools, but a few are immediately important to help you get started…
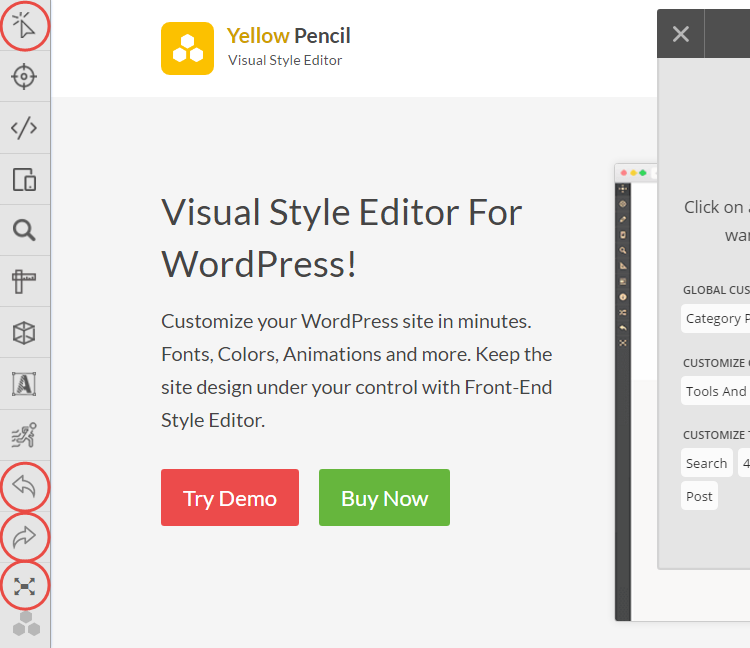
- Element Inspector – This allows you to select any element on the page to customize.
- Undo and Redo – Try different designs on your page safe in the knowledge you can undo or redo your edits.
- Fullscreen – Work in full screen, giving you a clear view of your customizations as you make them.
The Editor Panel incorporates three crucial buttons…

- Live Preview – Preview your changes without any of the Yellow Pencil interface on display.
- Reset Changes – Don’t like your edits? Just reset the changes you’ve made.
- Save – Once you’ve previewed your work and you’re happy with the results, just hit the save button.
Selecting a Customizing Type
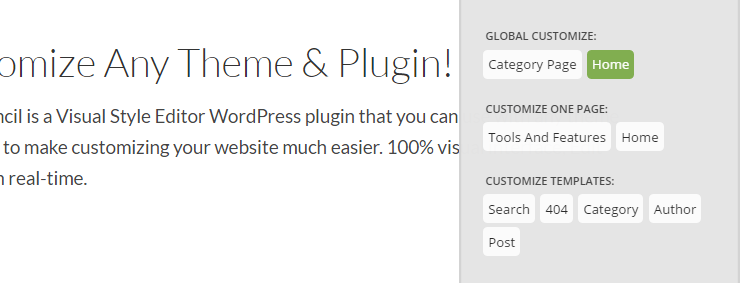
Before you select an element on your page and start editing it, you need to first choose a customizing type. These are displayed on the Editor Panel, when no element is selected. There are three types to choose from; Global Customize, Customize One Page, and Customize Templates.
Each of the types are relatively self explanatory. Selecting ‘Global Customize’ means that the changes you make will be applicable to every page of your site. If you pick ‘Customize One Page’, then all edits will affect only the page you are working on. ‘Customize Templates’ applies to the current post type, a good option if you want to configure all product or blog pages.
The customization type that you have chosen will be displayed at the top of the Editor Panel. Make sure you check that you are editing in the right type before saving your work.
What Can You Do with Yellow Pencil?
Once you have familiarized yourself with the interface, it’s time to get started. Below is a sample of some of the numerous customization tools and features that this plugin offers. These will help you on the way to producing a beautiful and professional website.
Change the Typography
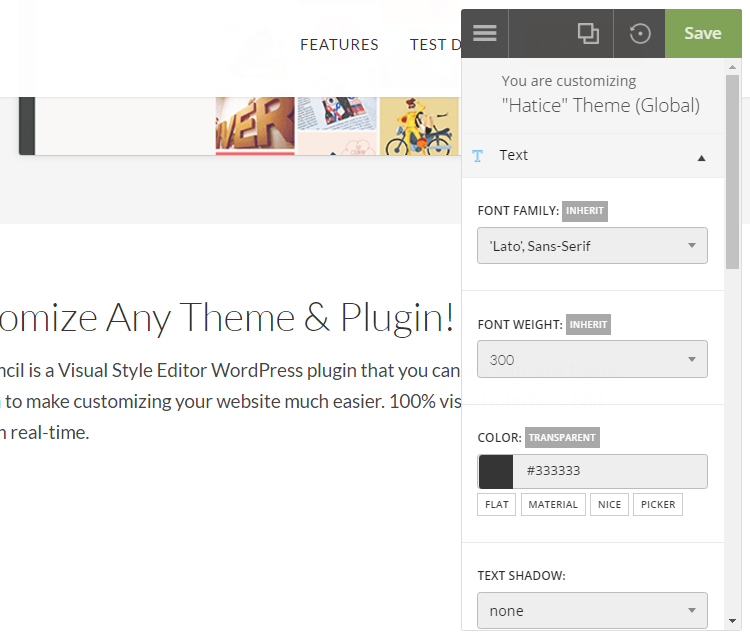
Choosing a font that is appropriate for your website is an important task. Yellow Pencil provides variety of options to help you style your text in a way that fits with your website’s design and grabs your reader’s attention.
Click on a section of text you would like to edit and then select ‘Text’ from the Editor Panel. This will bring up the customization options for typography. Choose from 600+ font types, alter the size of the font, change the line height, control the spacing of letters and words, as well as lots more. You can also alter the color of your text by selecting from one of Yellow Pencil’s modern color palettes, or opt for your own color choice.
Add a Border
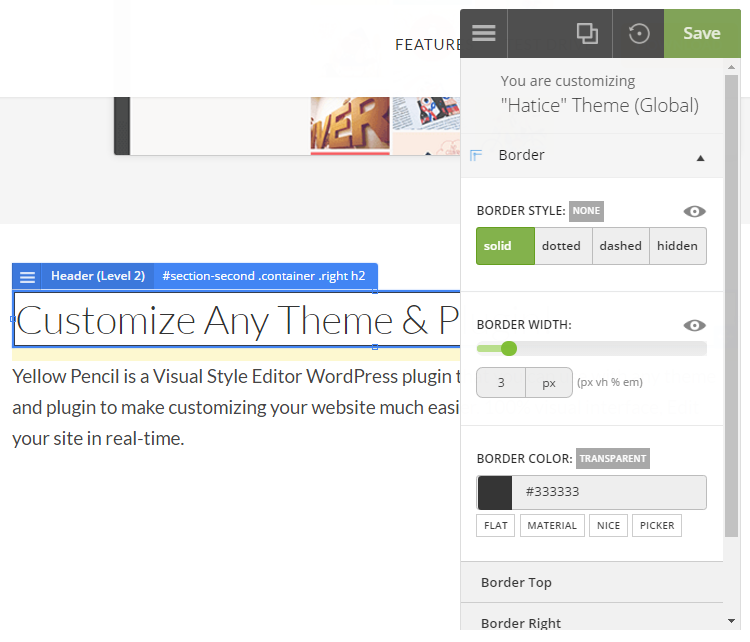
Adding a border to certain items on a page can help highlight important information and create effective visuals. After selecting the image or text you want to add a border to, select ‘Border’ from the Editor Panel. There are four styles of
After selecting the image or text you want to add a border to, select ‘Border’ from the Editor Panel. There are four styles of border to choose from; solid, dotted, dashed or hidden. You can also alter the border width to make it more defined, and change the color.
An impressive feature is that you can customize each side of the border separately. This means that each of the four sides can be given a different color, style and thickness, resulting in a unique and eye-catching appearance.
Alter the Background
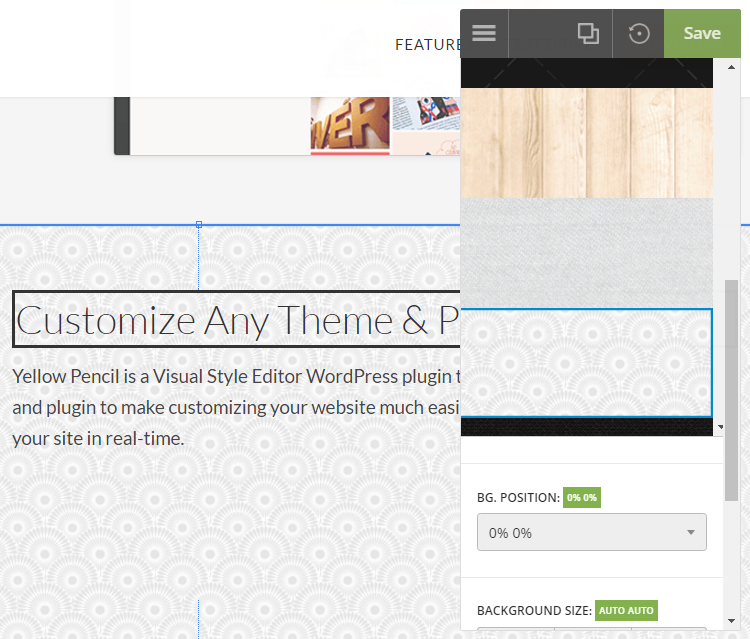
A striking background can help make an element pop. Yellow Pencil allows you to alter the background of each and every element on your site.
To do so, click on the chosen item and select ‘Background’ from the Editor Panel.
Here you can change the background color, select from one of Yellow Pencils 300+ patterns or choose a CSS gradient. You also have the option of uploading your own custom images. Once you have decided on a background, you can adjust the background size, position and, if you have added an image, choose whether it is static or scrolls with the rest of the page.
Use Animations
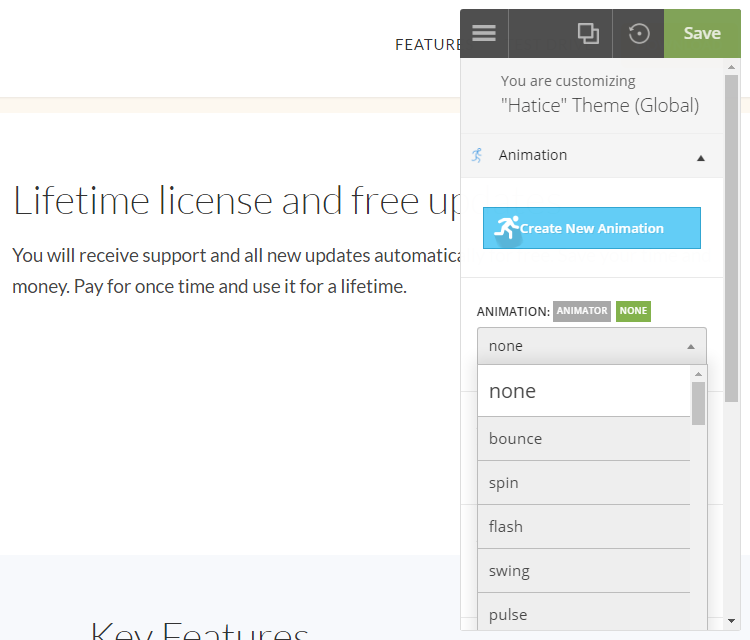
Using animations is another great way to help your content make an impact. Under ‘Animation’ in the Editor Panel, you can add an animation effect to your chosen element.
Choose one of 50+ animations in the live animation manager, from zooming in, or fading out, to bouncing, spinning, and lots more. You can control the duration and delay, as well as running multiple animations simultaneously, if you so wish. This will give your site originality, as well as drawing attention to the important aspects of your page. You can also have a go at creating your own custom animations by selecting the Animation Generator on the toolbar.
Resize and Reposition any Element
Resizing and repositioning any element is very simple with Yellow Pencil.
To resize, click on an item directly so the blue highlighted box appears around it. Then simply drag the horizontal and vertical lines of the blue box to alter the size.

To reposition an element, click on it and then hold down your mouse button. Drag and drop it to the appropriate position on the page.

The downside of this drag and drop feature is that it can cause problems with viewing on mobiles. Use the Responsive Tool, found in the toolbar, to see how your web page will look on all screen sizes. You may need to alter your design accordingly.
Pricing
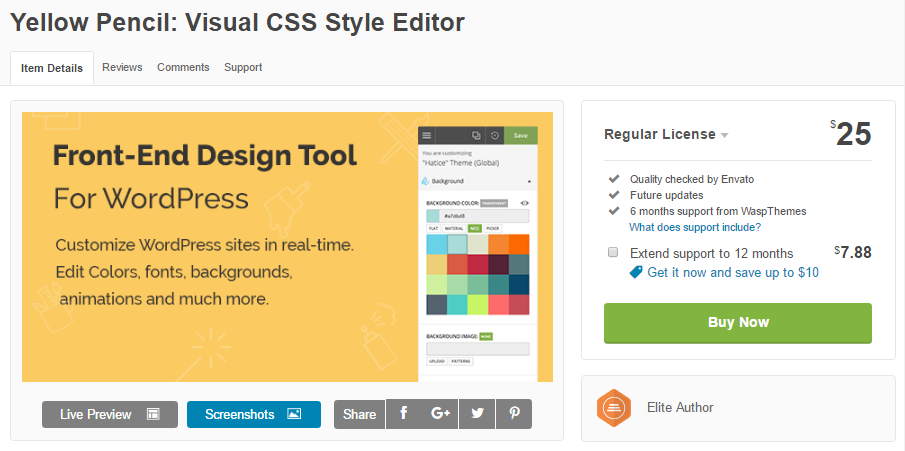
The Yellow Pencil WordPress plugin is available from CodeCanyon for $26. This includes 6 months support, but you have the option to pay an extra $7.88 to extend support to up to 12 months.
Final Thoughts
Yellow Pencil is a great tool to use if you want to customize your WordPress site’s appearance. The features and the ease of use provide you with everything that you need to create a custom WordPress website. For best results, make sure you have a clear vision of how you want your site to look.
Does Yellow Pencil have the features you need to personalize your WordPress website? Please share your thoughts below…



I tested and used Microthemer and CSS Hero and found them great plugins for customization.
For some time I wanted to try Elementor. Yellow Pencil also looks interesting so it might be worth a time.
Wow! Great Article! 🙂
Great to come to your site as the information shared is good and is explained in simple words. Good stuff you are created, thank you for sharing a nice article.
How would you compare Yellow Pencil with Visual Composer (included with the Total theme)? Better? Different?
Yellow Pencil and Visual Composer are two very different different plugins. Yellow Pencil is a point & click live customizer – it gives you the ability to tweak your current theme layout, colors, fonts etc without learning CSS. Visual Composer is a drag & drop builder that you can use to create custom post & page layouts from top to bottom as well as customize those elements without learning how to developer your own theme. Both are excellent plugins but I would say that Yellow Pencil is perfect for those who like a specific theme (or their current one) and want to make a few changes while Visual Composer is more for those who want to create a very specific look/layout from scratch. Hope that helps! 🙂
Glad you like the article!
How do I get my downloaded font to show up in Yellow Pencil? It works on the laptop but not mobile version 🙁
Hmmm… it sounds like you may have your custom font installed on your computer but not on your WordPress site, which would explain why it works on your computer but not on mobile. To add custom fonts to WordPress you can use a plugin such as Use Any Font, or you can manually add fonts via child theme.
The Yellow Pencil editor left lots of unseen elements on my front page, which throws everything out of place. I have been trying to delete the unseen elements, because the app places a blue border around the invisible elements and tells you what’s there. However, Yellow Pencil has no delete unction, so the invisible elements just sit there preventing new elements from being added properly. I find the app extremely glitchy, maybe suitable for simple tasks, but not creating a complex page with many elements.
Hmm – while you probably could use Yellow Pencil to create from scratch, I think it’s designed more so for tweaking existing content. If you want to change design aspects of a few pages (like the colors and fonts on your homepage) without adding your own custom CSS, then Yellow Pencil is awesome. If you want to build a custom homepage it’s better to use a page builder (such as Elementor or Visual Composer). But as for removing the blank/unseen elements I think your simply need to “undo” to reset the property for the element (you can double check the Yellow Pencil documentation or contact the developer for help).
I thought as much — after a nightmare episode with a client’s website which I tried to customise entirely with yellow pencil, I was forced to two weeks of work and start afresh. The developers should clearly articulate warnings about such issues or the plugin will be severely bashed – as is already happening – for being what it’s not. CSS Hero at this point works better for full custom jobs
I really wouldn’t suggest building a “custom” site for a client with a CSS plugin. Yellow Pencil, CSS Hero and other CSS plugins are great for making a few changes. But if you’re customizing every detail of a site you should probably just switch themes or create one from scratch that better suits your needs.
This yellow pencil plugin has destroyed my two websites and my life also.
Due to a stupid plugin vulnerability I have lost two running websites, lost my keywords’ google rank, lost thousands of dollars worth of orders, lost customers and their data and so on and on.
I am now again building the sites from scratch, investing my little left money to build them.
Unfortunately vulnerabilities happen. I wish every plugin and theme was perfectly secure – then every WordPress site would be air tight! It’s your job as a website owner or developer to keep everything up to date as to manager your own site security.
Luckily the Yellow Pencil developers released a patch for the free and premium versions of their plugin fairly quickly. So users who updated were able to keep running their sites without an issue. If you are using Yellow Pencil (or any other plugin) we always recommend updating to the latest version. As for your situation, if your site was victim to a vulnerability you should be able to restore your site from a backup and go from there. It’s much easier than having to start from scratch.
But for your rankings – if your’e being penalized in Google search as a result of a hack (like if you were blacklisted because your site was overrun with spam or was being redirected) you can submit your site for a manual review to get back in the clear. Best of luck!