What Are WordPress User Roles: All You Need to Know
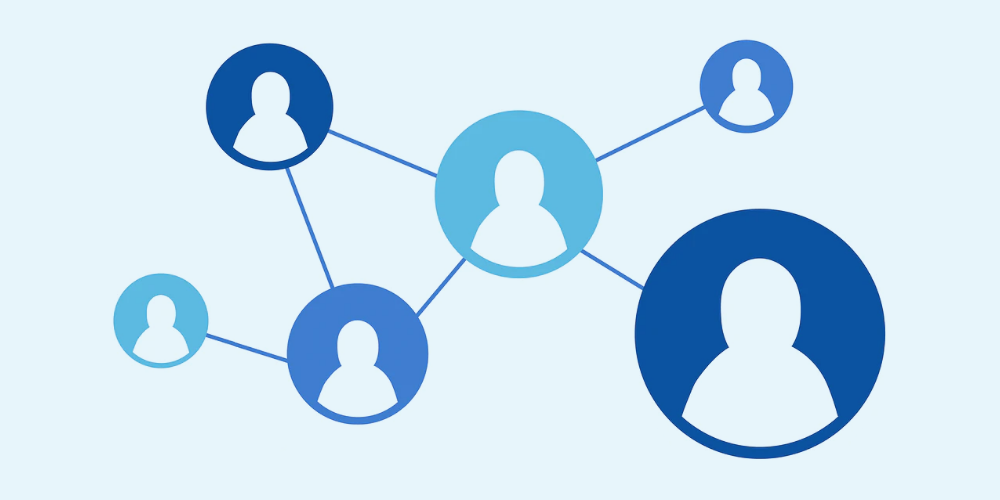
Did you know that you can give other people access to manage your site? By using WordPress user roles, you can collaborate with people safely and easily, assign different access levels to your site and the content that lies within.
In this article, we will cover how WordPress user roles work and how to configure them on your site.
WordPress User Roles
What are WordPress User Roles and what are they used for? As the name suggests, it is a built-in user management feature on your WordPress site. You can define what actions users can and cannot perform, and group them under roles. So, a specific role can be assigned with specific site management privileges.
WordPress provides six default user roles to give you more power over your site’s management. Let’s get to know them better.
Super Administrator
The super administrator role only exists when the WordPress multisite feature is enabled. They are in charge of overseeing all site administrators and the multisite network.
They can manage and change everything – from creating and deleting sites, to controlling the content, themes, plugins, and profiles.
When the Super Administrator role is enabled, the regular administrator’s privileges are reduced. They can no longer install themes and plugins but can choose to activate or deactivate them.
Administrator
Administrators have the full power to not only manage your site’s operations but also assign other roles.
They can create, delete, review, edit, and publish content, manage plugins and themes, even edit code. This role also has the authority to customize other user roles.
You can be your own site’s administrator, or appoint someone else. However, be careful if you want to assign this task to others. It’s critical to choose someone that you trust.
Editor
Editors have full access to manage all of your site’s content and its attributes.
They can create, delete, review, and publish their own posts as well as ones created by other authors. Editors can also manage comments, post categories, and links. Users with this role usually supervise authors and contributors.
Author
Unlike editors that have full control over the whole content section, authors only have full control over their own posts. They have the authority to create, edit, delete, and publish their own posts. Additionally, they can edit their own user profile.
Contributor
Similar to authors, contributors are capable of creating and editing their posts and profiles. The main difference between the two is that contributors cannot publish their posts.
Subscriber
This role can only read posts and manage their personal profile.
Basically, all visitors can read posts without being assigned as a subscriber. However, you can encourage users to become subscribers by offering access to special content that can only be viewed by them.
Specialty User Roles
Above we’ve covered the default user roles included in every WordPress installation. But there are many more that could be added to your site as a part of a third party plugin. These are typically very niche, so we’re not going to go into detail, but it will give you an idea of what roles you might run into. So let’s take a quick look at a few of the more common specialty user roles.
eCommerce: Customer, Shop Manager, Shop Accountant, Shop Worker, Shop Vendor
Forum: Keymaster, Moderator, Participant, Spectator, Blocked
LMS: Student, Instructor/Teacher
Custom: You can create your own custom user roles with a role manager such as the free User Role Editor plugin.
Steps Before Configuring User Roles
There are some good practices you should follow when deciding to set or edit your user roles.
Backup Your Site
It’s crucial to backup your WordPress site first before making any changes. Not only can you restore the database from your hosting server, but also upload the backed up file from your local disk whenever needed.
If the transition to multiple user roles causes any issues or security threats you can easily restore your site to its previous state.
Appoint Appropriate Roles
Consider user privileges before assigning user roles. Choose what users can and cannot do.
Ask yourself, “Do you trust the users?”, “Are they going to write, review, edit, publish or maintain your WordPress site?”, “Will they have full control or partial control over your WordPress site?”, etc. Then, you can start authorizing or restricting capabilities for roles.
Thoughtfully creating user roles allows you to control the workflow and security of your site. Moreover, you’ll rest assured knowing that your site’s operation and management is in the right hands.
Should You Edit a User Role?
As mentioned, user roles allow you as the site admin to manage the people with access to your WordPress site. While the default roles available are functional, you may want to tweak roles you plan on using to limit access and maintain more control over your own website.
For example, the Editor role has a lot of enabled permissions so that they can properly manage content created by authors for a blog. It makes completely sense for anyone with this role to be able to view, edit and publish content on your blog. However, other default capabilities include deleting content and access to create, edit and delete pages.
So it might make sense if you want to customize the Editor role to restrict them to your blog posts only as well as removing any content deletion options.
How to Customize User Roles
If you want to have more options when configuring user roles, you do have the option to tweak your WordPress site’s Template File. However, rather than inserting code into your functions.php we recommend using a plugin. This is faster, easier and leaves little room for error.
So let’s take a look at how you can use the free User Role Editor plugin to edit and create custom roles for your WordPress site.
User Role Editor

While manually customizing WordPress user roles is possible, it’s best left for developers who have coding skills. A much more beginner friendly option is to use a plugin – and for this we’d recommend the free User Role Editor.
Not only does the plugin allow you to customize the default WordPress user roles, but it also enables you to create new roles based on your needs.

Once the plugin is installed and activated, you can customize the user roles from your WordPress dashboard. Click the Users menu, and select User Role Editor. From here you can edit roles based on existing capabilities, as well as create new roles, add new capabilities on the fly or even rename roles to fit your needs.
There is a premium version of the plugin for added features like front-end options, per-plugin user roles, shortcodes, multisite support and more. However for most new WordPress users the free version is more than enough.
How to Add New WordPress Users and Assign User Roles
With your user roles ready, you can start putting them to use. There are a couple ways to register new WordPress users along with their user roles.
Manually Add Users & Assign Roles in the Dashboard
One option is to simply add new users to your site manually, selecting the appropriate role on a per user basis as you go. If you only plan on giving a handful of people accounts then this option makes the most sense, as you have complete control over all new user accounts created.
Follow these steps to add, edit and delete users from your Dashboard:
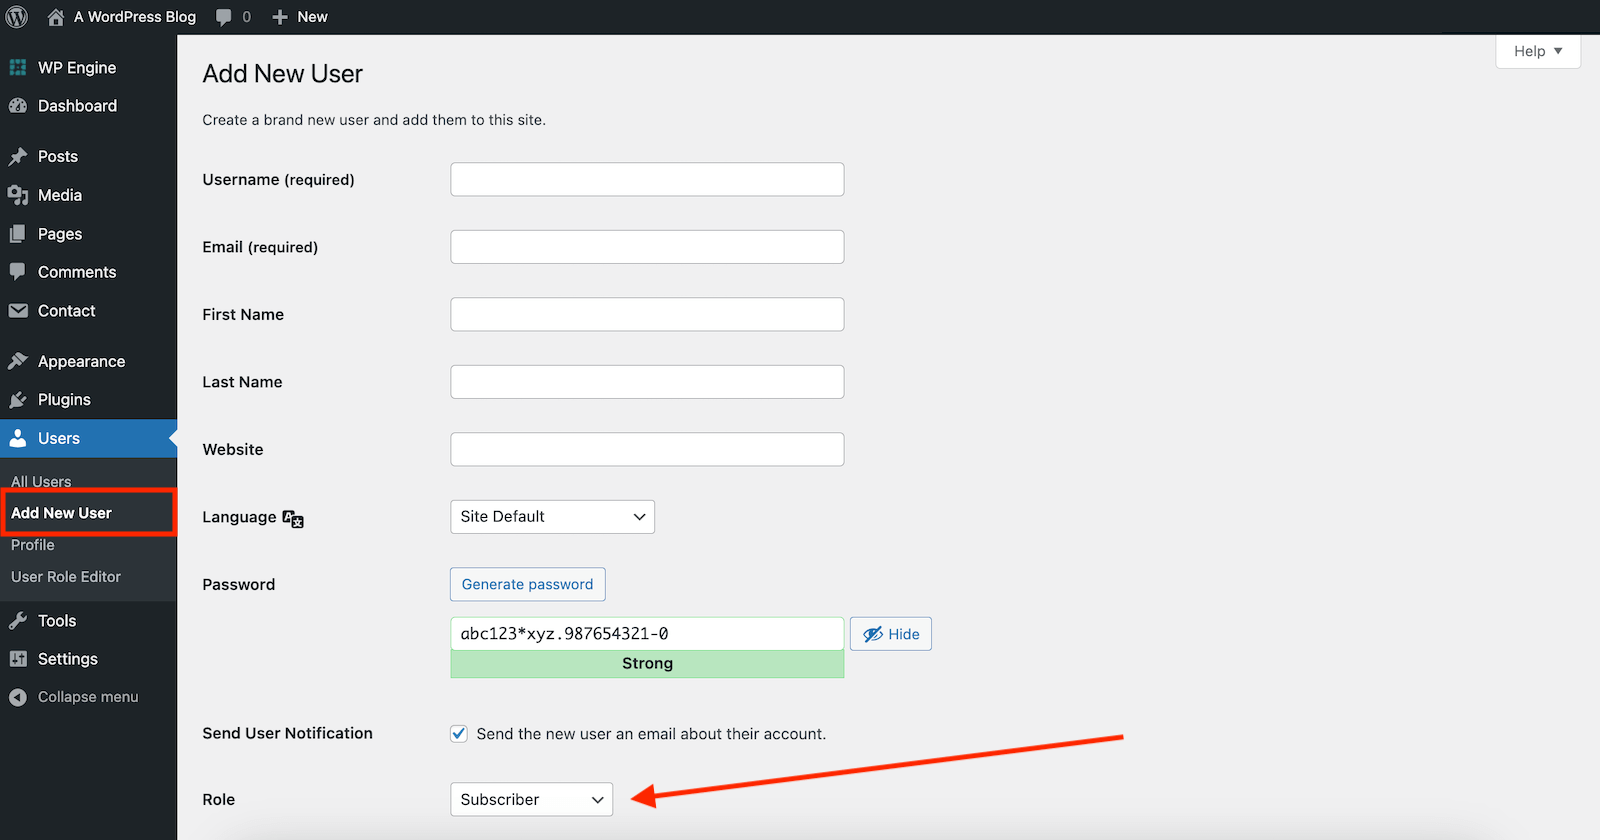
- Once you log in to your Dashboard’s admin area, select Users and choose the Add New option.
- Fill in the form with the new user’s personal details, password configuration, and designated role. Then, click the Add New User button to save it.
- Once added, you can edit or delete the user from Users > All Users from the main dashboard.
Automatically Add Users from a Form
Rather than manually adding users to your WordPress site you can enable a registration form on the frontend of your site. There are many reasons you may want to allow users to self-register such as a public forum, an e-commerce store, a social network or a membership based site. We’ll show you a few example, but do be aware that how you add your form and the options available may vary if you are using different plugins.
First off, you can enable the default WordPress registration. This core option can be enabled from your dashboard under Settings > General.

Just check the box for “Anyone can register” and select the New User Default Role. Typically Subscriber makes sense for most blogs, but you can set this to another role if you’d like (for example, if your site offers free online learning courses you might want Student to be the default).
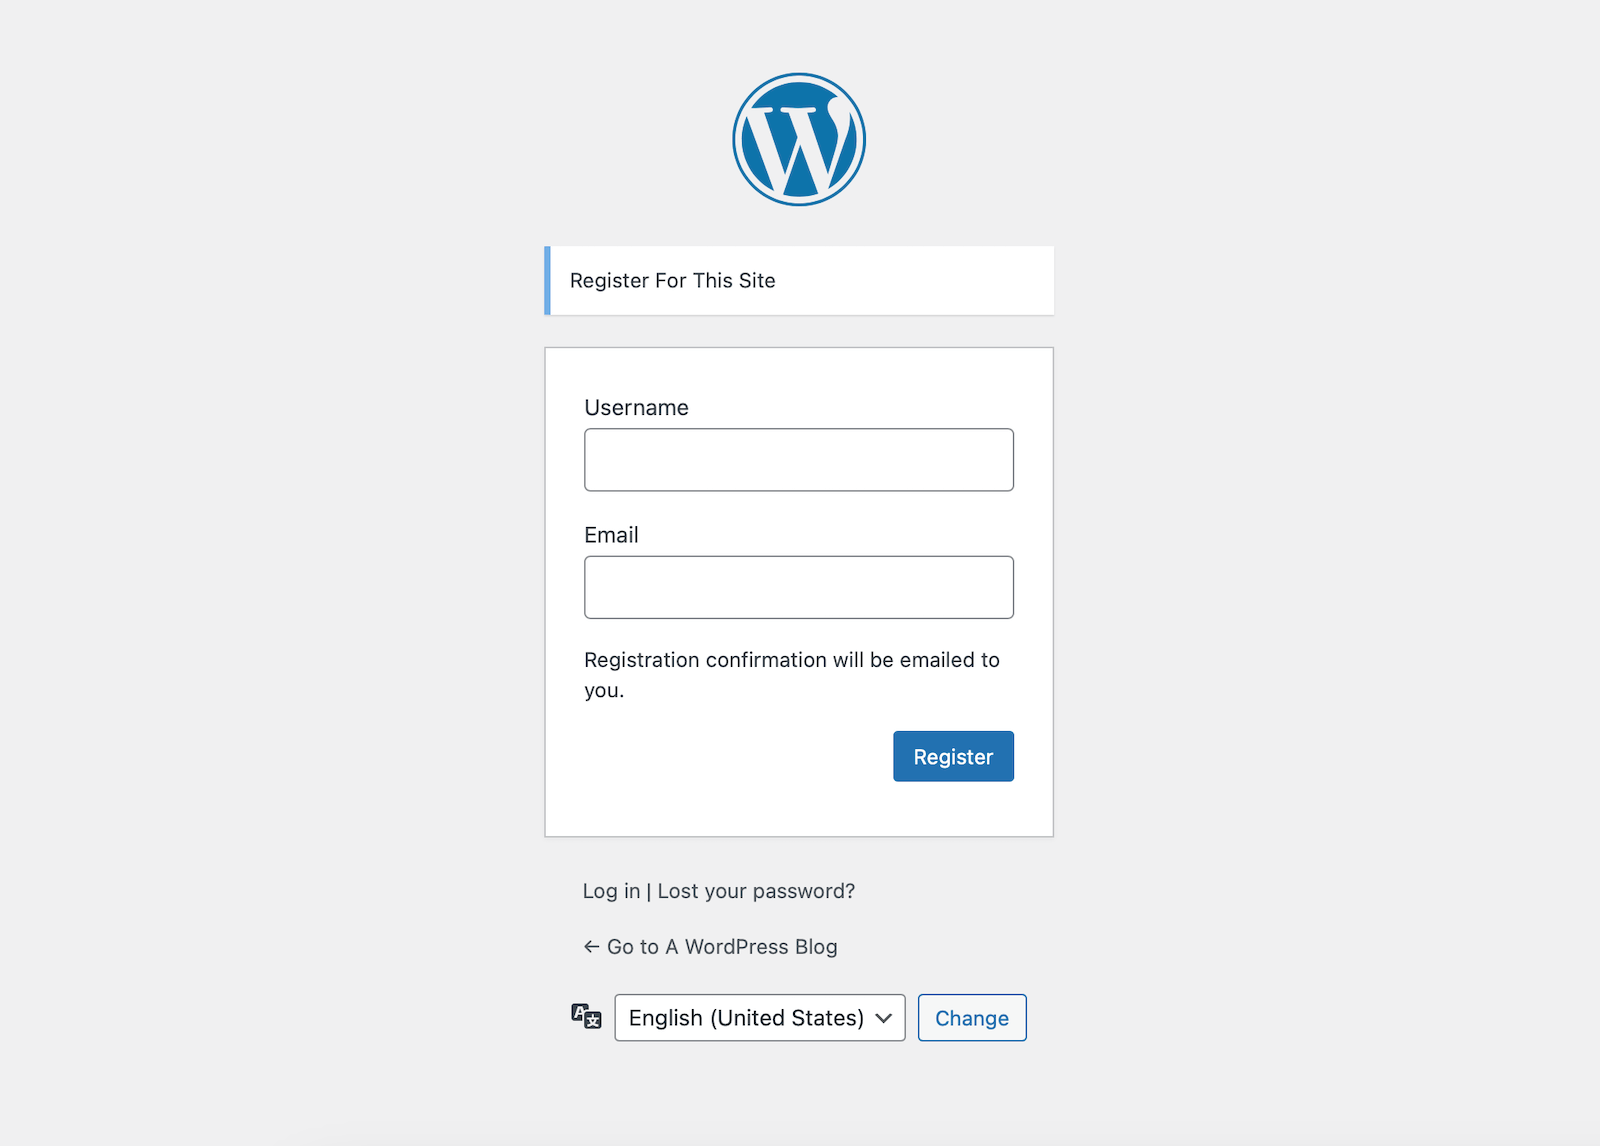
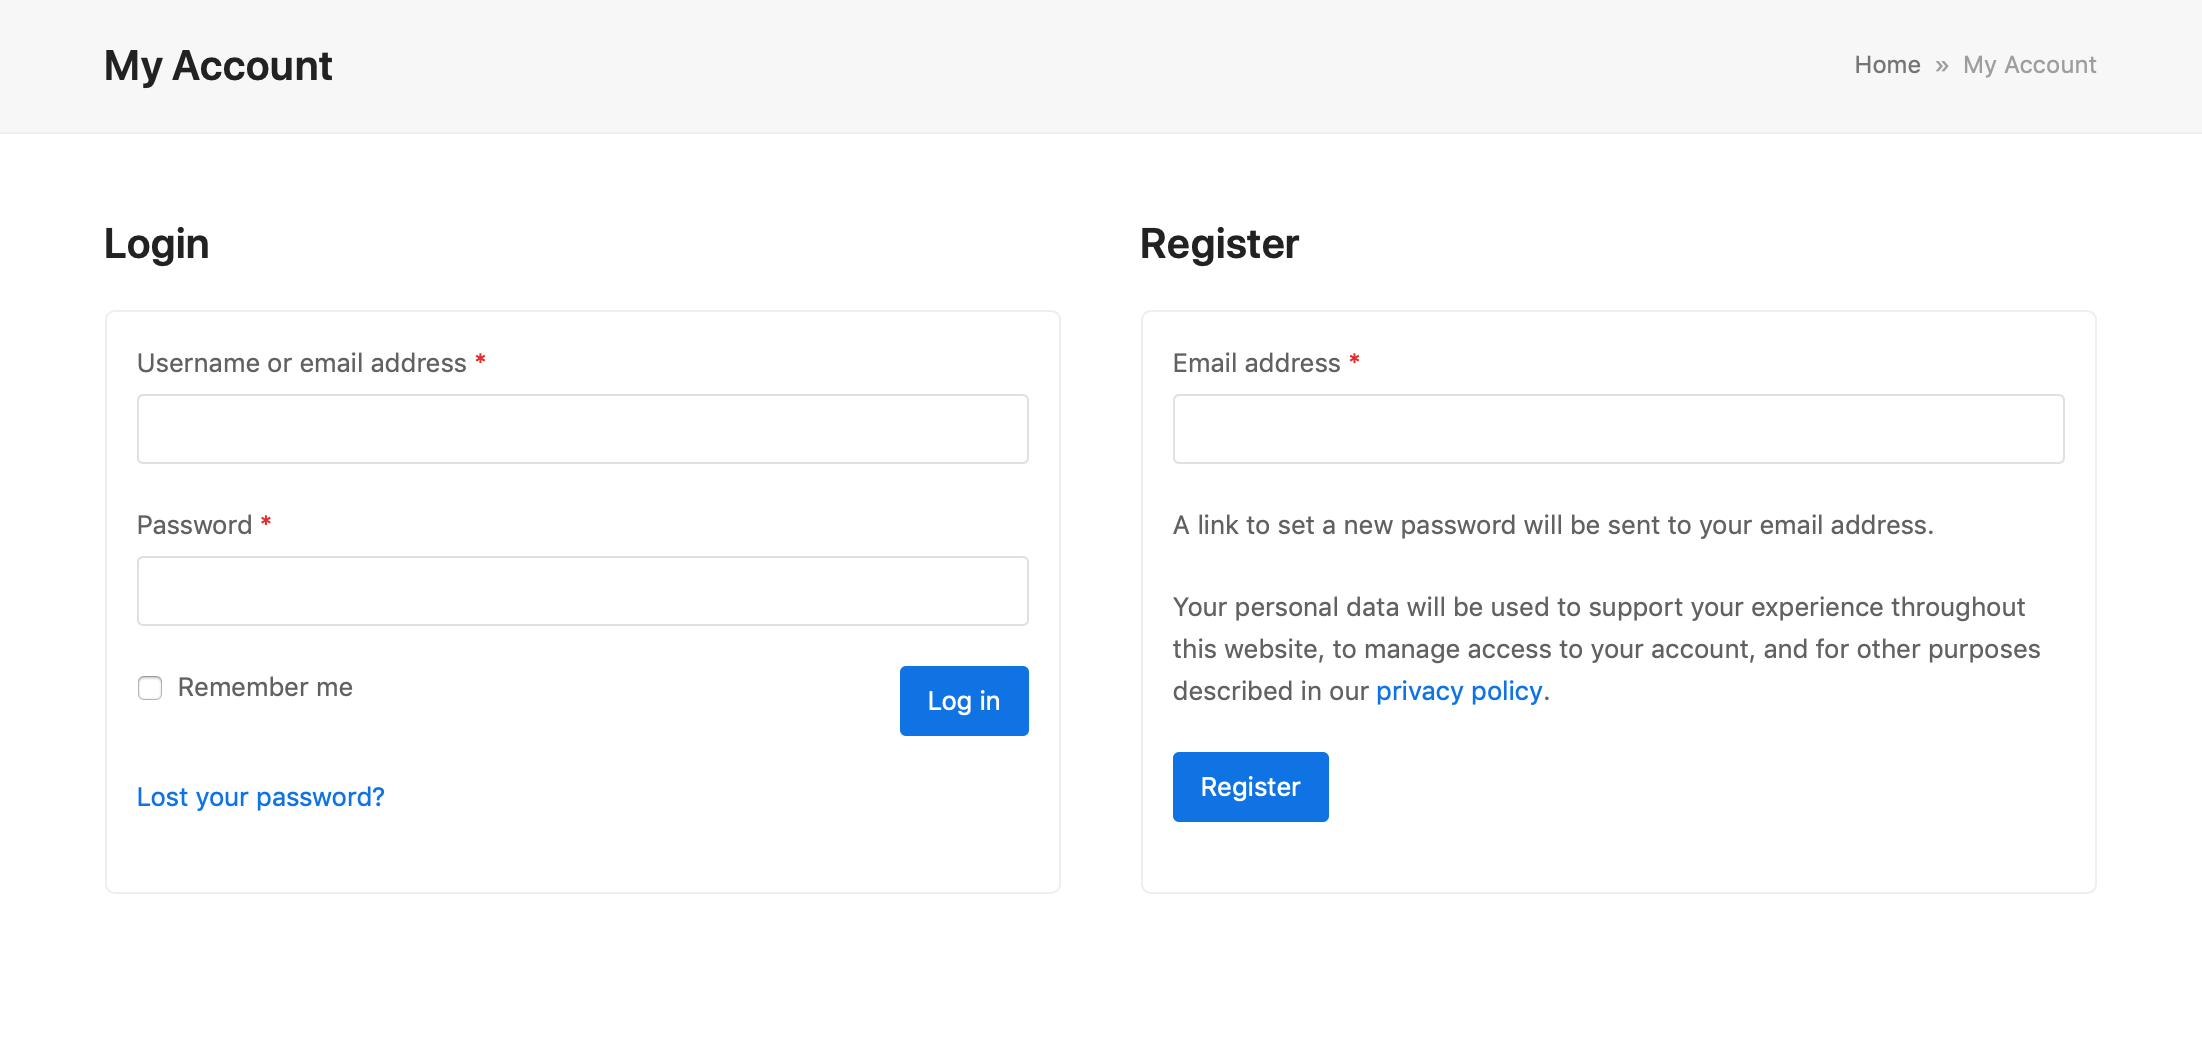
Enabling this setting will add a “Register” link and form to your /wp-login page (like the one above).
You can also enable registration forms according to the plugins you have installed on your WordPress site.
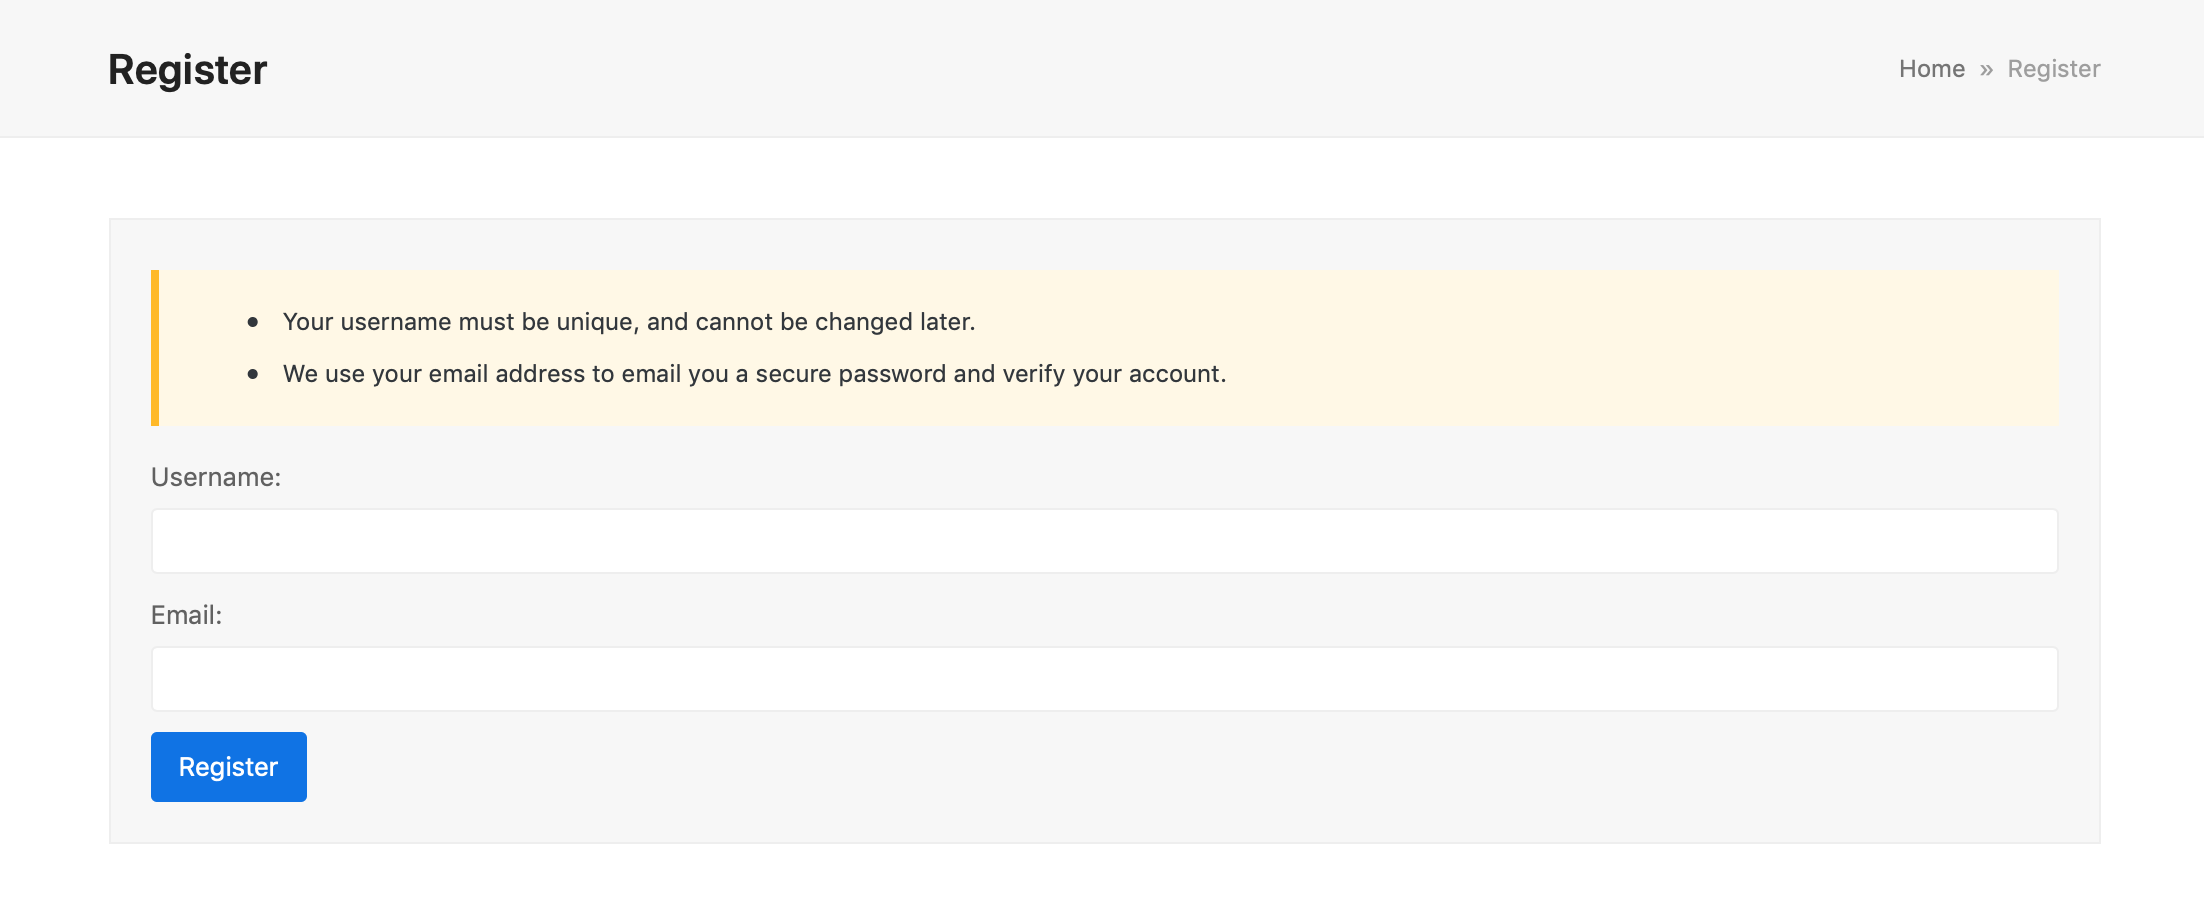
For example, bbPress includes a shortcode [bbp-register] to add a registration form to any page.
Similarly in WooCommerce, you can add a registration form to the Account page and/or to the Checkout by simply enabling the option (under WooCommerce > Settings > Accounts & Privacy and then in the Account creation section).
Most plugin-specific registration forms will use the related plugin-specific user roles by default (e.g. Participant for bbPress, and Customer for WooCommerce).
And no matter how you add users to your site, you can still use the free User Role Editor to customize their user role permissions (before or after users are added).
Tips to Manage User Roles Feature
While user roles are incredibly useful when collaborating with multiple people on your site, giving additional users access to the backend of your WordPress site is inherently less safe (even if they are people you fully trust).
Here are a few tips you can use to keep your site safe when allowing multiple users:
- Test user roles – after you’ve created or customized a user role, test it. Make a temporary test user account for your website and assign it to your new user role. Then in a different browser, log into your site with the test user account and see what you have access to. This is a great way to confirm that your user role capabilities have been setup properly.
- Use plugins – if you are editing user roles, we highly recommend using a plugin (like the one we highlighted in our guide). This lets you easily manage the user roles whenever changes are needed, or even force log out users with the help of a security plugin (like All in One WP).
- Limit the number of users with privileges – keep access to your site’s control exclusive. Take the time to decide which user really needs what capabilities. In our opinion, certain functions related to themes and plugins (installing, updating, editing settings or removing) or content on the frontend of your site (published posts and pages) are best left only for you or people you trust implicitly.
- Un-assign suspicious users – to avoid website abuse, brute-force attacks, and other hacking attempts, it’s best to remove long-inactive users or those who are repeatedly trying to log in unsuccessfully.
If you apply these tips, we believe that your site’s user management will be safe and sound.
With basic knowledge of user roles, how to create new roles and how to add new users with assigned roles you should be setup for success. WordPress user roles are quite beneficial to maintain your site’s operation, and it makes sense for most websites to make use of them. There are many reasons to use and add user roles – whether you allow regular subscribers, guest authors, or simply need to create a temporary maintenance role for a freelance developer to help you with your site. And hopefully after today you’ll have no issue managing user roles on your site!
If you have any more questions about user roles, or tips that we should add to our guide, leave us a comment below!


