How to Embed Google Forms on WordPress

Google offers a number of tools to help you do more on your browser – docs, sheets, slides and forms. Google Forms help you create and add forms to your WordPress website for free with your Google account. Though it’s been around for some time now, an improved version was introduced in 2016. And now, it’s all the more easy to create and add Google forms to WordPress.
Forms are a great way to collect any information online. From contact forms and surveys to checkout pages and subscription forms, they are useful additions to your website.
Here’s why you should use Google forms on your website:
- Easy to create, add and use.
- The forms are responsive, so you can create, edit or respond to forms from any screen size.
- Data can be saved directly to a spreadsheet.
- Can create a single form and share it on multiple websites.
- Easy to share online, team members can collaborate.
- All data gets stored on Google drive.
- Quick access to all your forms in one place.
- You can view responses in real time and see how individual respondents answered specific questions.
- Responses can be organized and neatly displayed.
- A number of add-ons such as timers for even more functionality.
- It allows you to insert images and YouTube videos directly into the form’s questions.
- Features like pre-filled responses, required fields and multiple choice grids.
WordPress form builders are great too, but Google forms may be a better option when you want to display forms across multiple websites or platforms, gather all the responses in one place and share them with others.
Option 1: How To Add Google Forms To WordPress Manually
To begin with, visit the Google forms website and click on Create a form. (Oh, you’ll need to have an account with Google before you do this.)
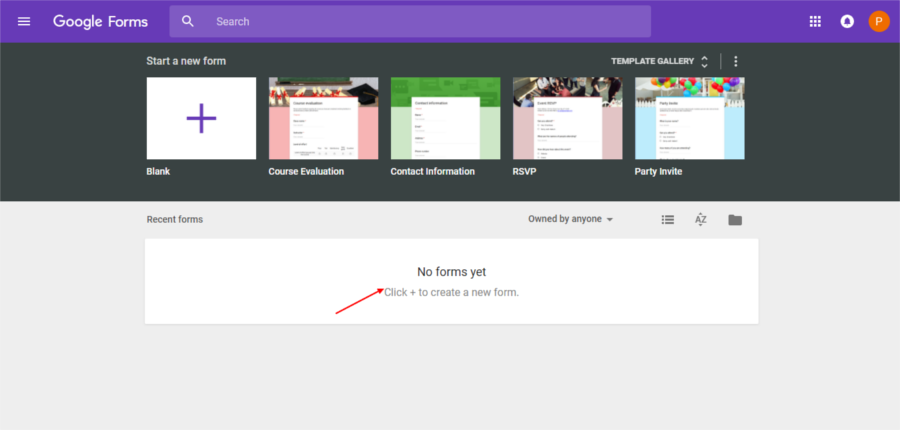
You have two options here – build a new form from scratch or scroll to choose one of the many available templates.
For the purposes of this tutorial, let’s select the Course Evaluation form, but you can really choose anything you want.
There’s a Floating menu at the side that can help you to modify and customize the form to a great extent. You can add more questions, enter title / description, insert images or videos, and create more sections.
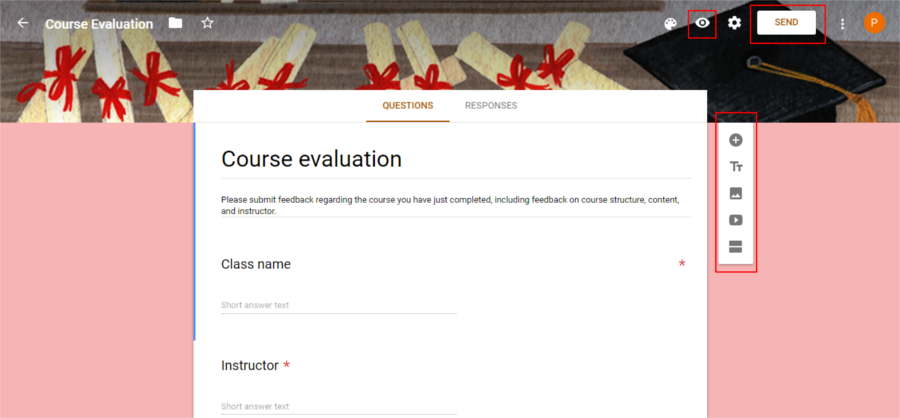
Questions can appear in different formats – multiple choice, dropdowns or linear scale, and you can drag and drop questions to arrange them in any order you want. You can also select a visual theme design. Besides, if you add your photo or logo, Google will automatically come up with a choice of colors or themes that sets the tone of your form.
You’ll be able to apply skip logic to your questions, customize your confirmation page, use add-ons for an even more powerful form and preview your live form.
Once you’ve got everything configured, find the eye icon at the top and click on it to Preview the form. If you’re happy with the way the form appears, go ahead and hit the Send button.
On the next screen, you’ll find options on how you can access the form.
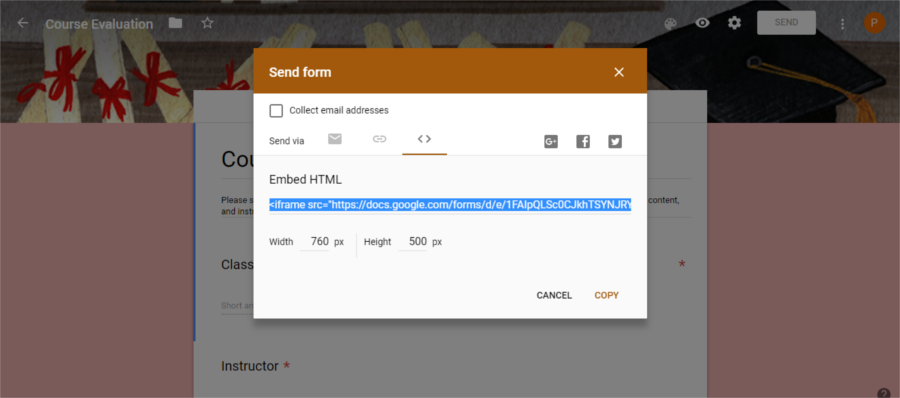
You can choose to
- email the form to yourself
- share a link with others or
- copy the embed code and paste it in your WordPress
Since we’re looking to add Google forms to WordPress, copy the iframe code…
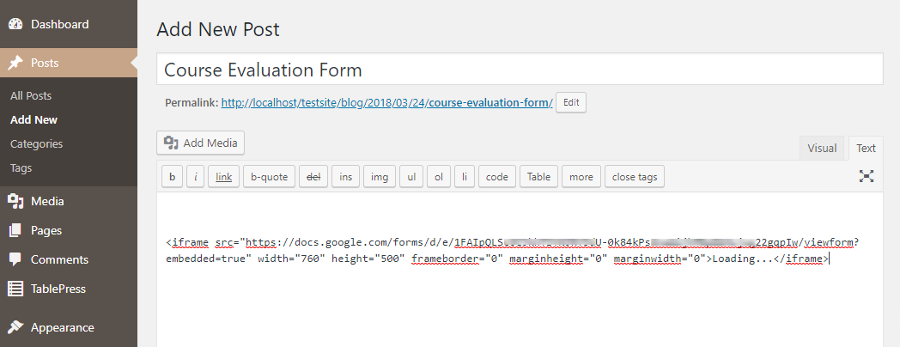
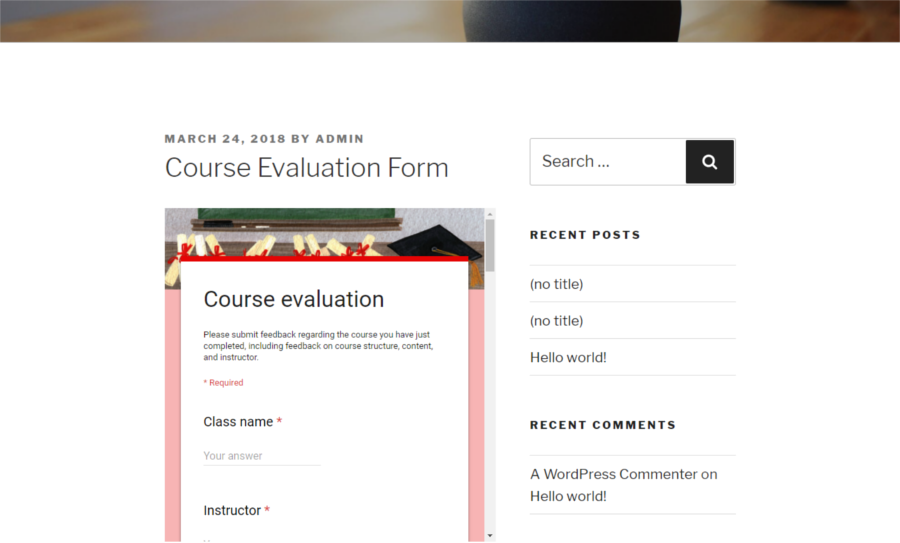
…and paste it into a new post. Then go on to preview and publish the post. This is how the Course Evaluation form appears on my WordPress install.
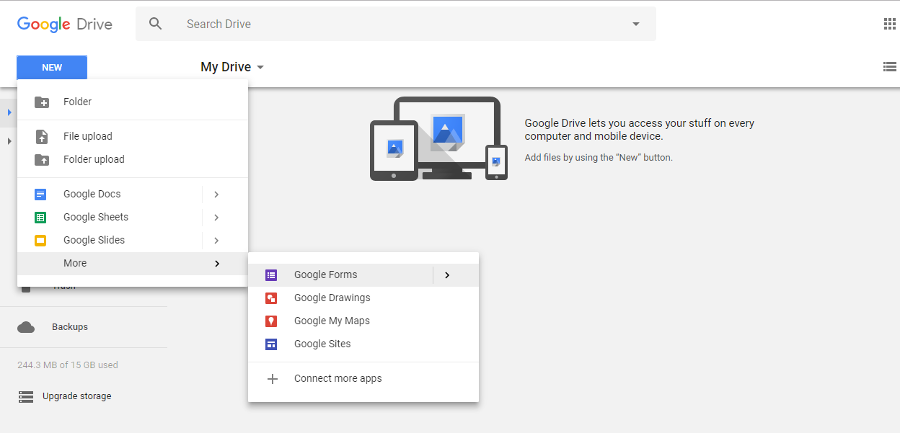
Another way to set up Google forms is to use your Google drive. On your Drive find New at the top left corner and click on it. Then look for the More option, which leads to Google Forms. You can start a new form from here as well.
Option 2: How To Add Google Forms To WordPress with a Plugin
When you simply embed the code into your WordPress post or page what you get is a form that retains Google’s default style. It does not apply your CSS and may not blend with your theme. However, you may want a form that’s more in keeping with the style and brand of your WordPress site. To do this, you can try the Google Forms WordPress plugin.
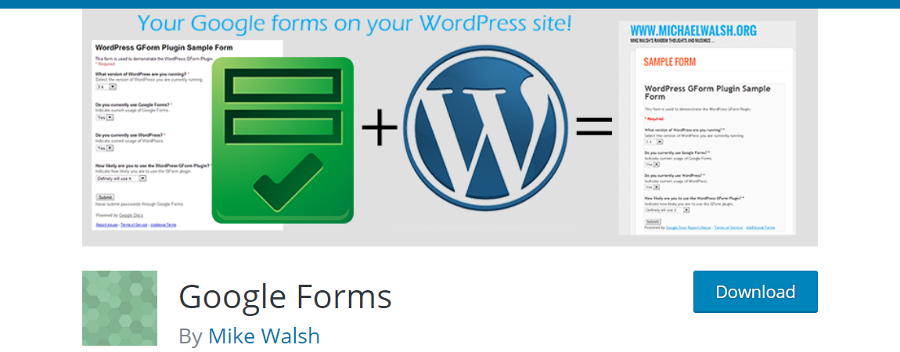
The Google Forms WordPress plugin enables you to add Google forms to WordPress and manage them via the WordPress admin area. It also integrates your forms better with WordPress, besides offering a number of options to modify and style your Google form. It removes the Google wrapper HTML and embeds the form directly in your website’s pages and posts.
The plugin is easy to use. As always, you’ll first need to install and activate the plugin. You’ll find a Google forms item added to your WordPress menu on the dashboard.
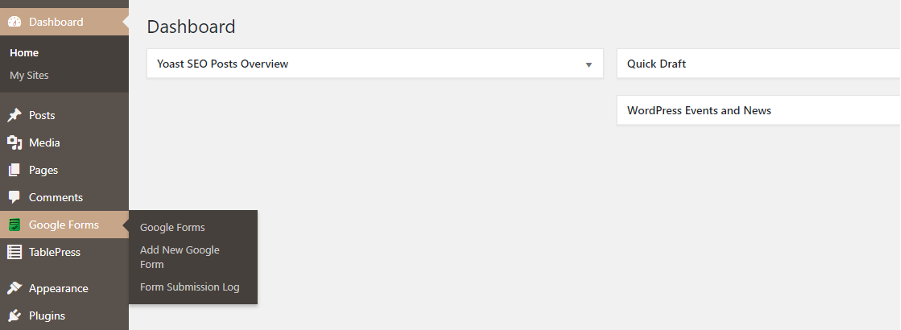
Click Add New Google Forms.
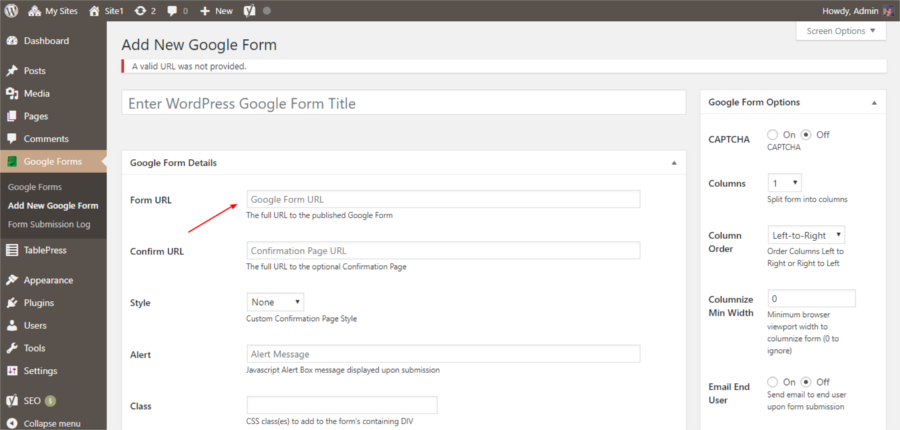
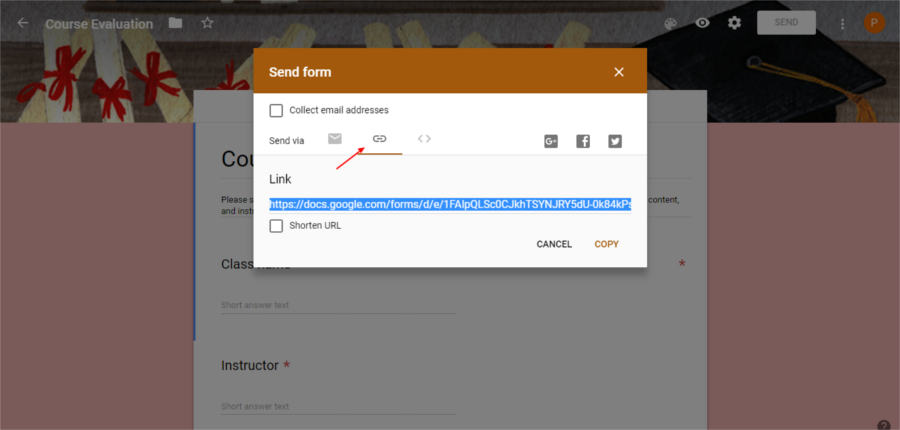
At this stage, head back to your Google form and copy the URL under the Send options and paste it in the Form URL box.
Fill in the remaining options as you see fit, keeping the overall style of your website in mind. You can also change the text that is to appear in the confirmation page.
Publish the form, and find the shortcode
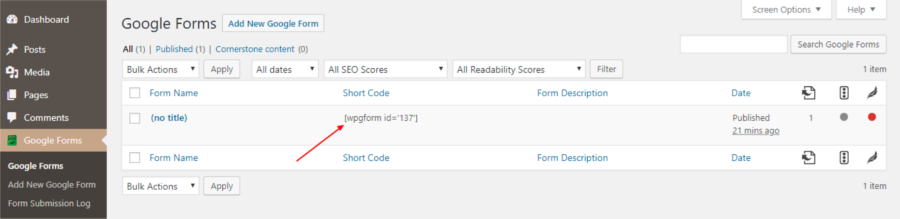
Copy the shortcode, open a new post and paste it in the text editor.
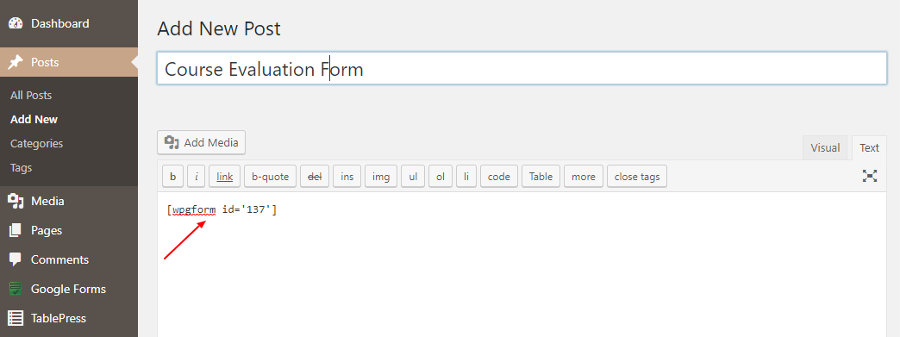
The appearance of your form will now depend on the active theme on your website or any custom CSS you add using the plugin’s configuration options.
What’s important to note here is that the plugin supports only published Google forms. To put it another way, you need to be able to open the form URL successfully from a browser. This means that these forms won’t work for any form that’s intended for private use.
Form Submission Log
While collecting responses for any purpose, it’s necessary to format them in a way that it makes sense and provides insight.
The plugin has a form submissions log section where you’ll be able to view all the responses. The timestamp and URL of each submission is maintained and these can provide valuable statistical insights. When you do not need the records any more, you can bulk delete them.
Or else, you can access your Google drive and view all the responses directly on the drive. After opening your drive, find the form, open it and click the Responses option in the top menu.
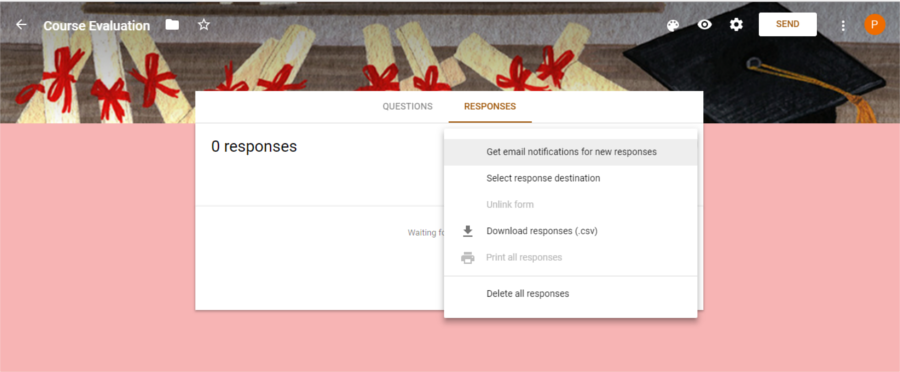
You’ll be able to view all the responses in a spreadsheet format when you click the + icon ( hidden in the above image), choose the destination for responses or download them in CSV format. You can also enable email notification for responses or delete them in bulk, all via your drive.
To Wrap-up
Google forms are an easy and popular way to gather feedback or response for any purpose. They are versatile and you can use them to collect emails, for conducting surveys, receiving applications, questionnaires, polls and quizzes. Creating a Google form and granting access to it to third parties is easy, whether by sharing a link, emailing it or embedding it on your website. And they can be a better alternative when you want to share forms and enable others to collaborate on the form.
Forms are not the only valuable additions to your website, as Google offers a number of other services like Analytics and fonts. We’ve done a post on WordPress plugins to integrate Google services with WordPress. Not only that, there are many useful apps and extensions for Chrome as well that can make working with WordPress easier. You can take advantage of these free Google services, apps and extensions as they best suit your needs.
Do you have any tips to add? Or another question about how to add Google forms to WordPress? Just leave a comment – we’d love to hear your thoughts.


