How to Create a Sales Funnel with WordPress

Do you run an online business? Want to sell more products or services? Answered yes to either of those questions? In that case, you need a sales funnel.
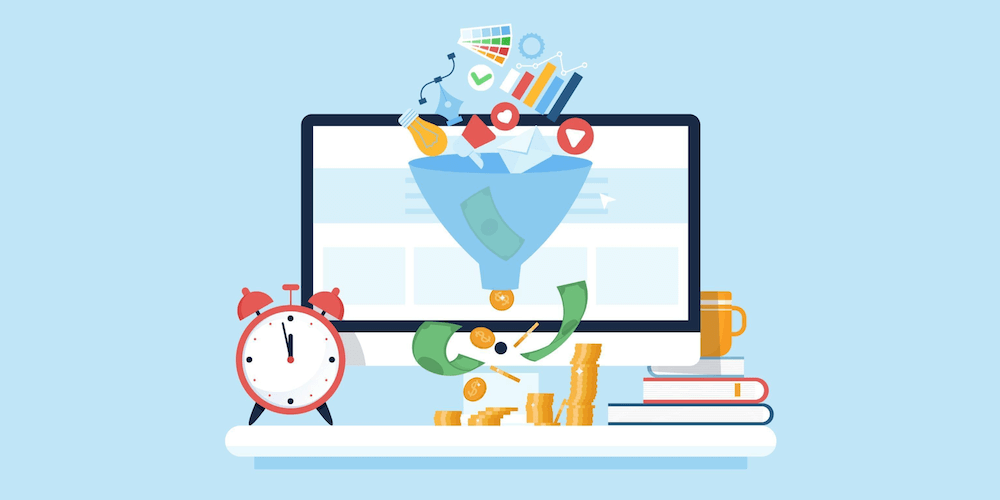
A sales funnel is the best way to sell your products and services. It’s the process that helps you identify prospective customers and guide them through a series of steps until they’re ready to make a purchase.
A sales funnel is essential to your marketing strategy, whether starting a new online business or already having a thriving eCommerce store. Without a sales funnel, you’ll leave a lot on the table and miss out on potential customers.
By understanding and optimizing every stage of your customer journey, you’ll be able to craft the perfect sales funnel that helps generate more leads and increase your conversion rate.
Fortunately, creating a sales funnel with WordPress is pretty straightforward. All you need is a WordPress plugin, a thoughtfully crafted customer journey, and your product.
We’ve got you covered in this article.
From understanding what a sales funnel is and the different stages to understanding how to create a sales funnel, we’ve got it all covered.
Let’s dive straight in!
What Is a Sales Funnel? What is it Used for?
A sales funnel is your customer’s journey. It’s a representation of a series of steps from the moment they find your product or service to becoming a loyal customer.
It is a sequential process used to drive qualified leads to the sales process.
If you’ve ever tried to sell something online, you have probably seen those sales funnels.
The first question in every business owner’s mind is why they should create a sales funnel.
The answer is simple: You need a sales funnel if you want to increase profits.
While leads and sales can come from channels like marketing, email, and social media, a sales funnel is the best way to increase profits.
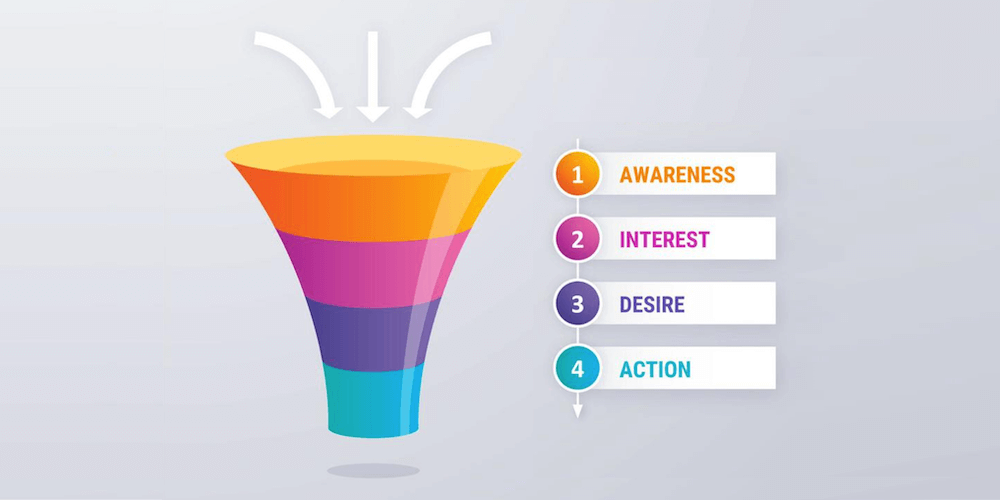
5 Stages of a Sales Funnel
The exact steps may vary depending on the kind of product or service you are promoting.
Whatever the case, a sales funnel can be broken down into four stages:
- Awareness
- Interest
- Desire
- Action
It’s called the AIDA principle.
Awareness
This stage is where the prospect gets introduced to your product or service and is where they are made aware of your existence.
You can achieve this through blog posts, podcasts, YouTube videos, social media, ads, and other marketing methods.
Interest
If the prospect is interested in your product or service, they’ll move into this next stage of the sales funnel. This is where they’ll want to know more about your offer and pricing.
Informational content, such as how-tos, product reviews, or video tutorials, could enhance the interest level of your prospects here.
Desire
In this stage, the prospect is sitting on the fence and contemplating going ahead with the purchase. A push, such as a well-crafted offer, a buy one get one deal, or other incentives could result in the customer adding the product to their shopping cart.
Action
In this final stage, the prospect completes payment and becomes your customer. Having a super optimized checkout experience ensures that your prospect doesn’t abandon the cart and completes the entire checkout process.
While these are primarily the four stages of any sales funnel, another useful stage is re-engagement.
Re-engagement
Selling to an existing customer is easier than selling to a new one. So, while it’s essential to generate a steady stream of prospects coming into your sales funnel, it’s equally important to nurture your existing customers.
Build a list and send out regular newsletters that are more helpful than just a sales offer. By nurturing your existing customers, you’ll have built a loyal customer base that keeps coming back.
Why a Sales Funnel Is Important (5 Key Benefits)
A sales funnel is an essential part of any marketing strategy and one that has several key benefits.
We’ve listed the five most important benefits below.
1. Generate new leads and prospects
When you set up a sales funnel, your sales process is simplified into an automated system. This means you can start sending prospects through your funnel as soon as they are interested.
2. Streamline your marketing
Automating the sales funnel will allow you to streamline your marketing. With an automated sales funnel, you can create a set of relevant material that is sent out to prospects by collecting all the relevant information.
You can contact your prospects and start a new sales conversation with the details you’ve collected.
3. Build trust and relationships with your prospects
Once you have your prospects’ details, you can start your conversation and build trust, relationships, and confidence.
If you are not taking the time to build relationships and trust, then you are missing out on a considerable portion of your sales pipeline.
In the conversation, you can bring up new product features that your prospects might be interested in. Doing this will likely close more deals and generate more revenue while building trust and relationships along the way.
4. Increase your conversion rate
Not all the prospects coming to your website will convert. By crafting a highly optimized sales funnel, you will be able to generate more leads and build a relationship while reducing the number of prospects falling off.
5. Forecast your sales volume
If you want to forecast your future sales volume, creating a sales funnel is one of the best ways to do it. This will allow you to create a set of sales materials that are tailored to your audience while collecting all the necessary information from them.
Once you have the necessary information, you can forecast the sales volume easily.
By doing this, you can determine the total number of clients you will likely generate from your sales funnel.
Examples of Effective Sales Funnels
Let’s say you run a yoga training academy and you’d like to sell your online courses and certification programs.
Instead of selling from the get-go, you could create a landing page with an opt-in form to capture leads. You go a step further and offer a free trial class.
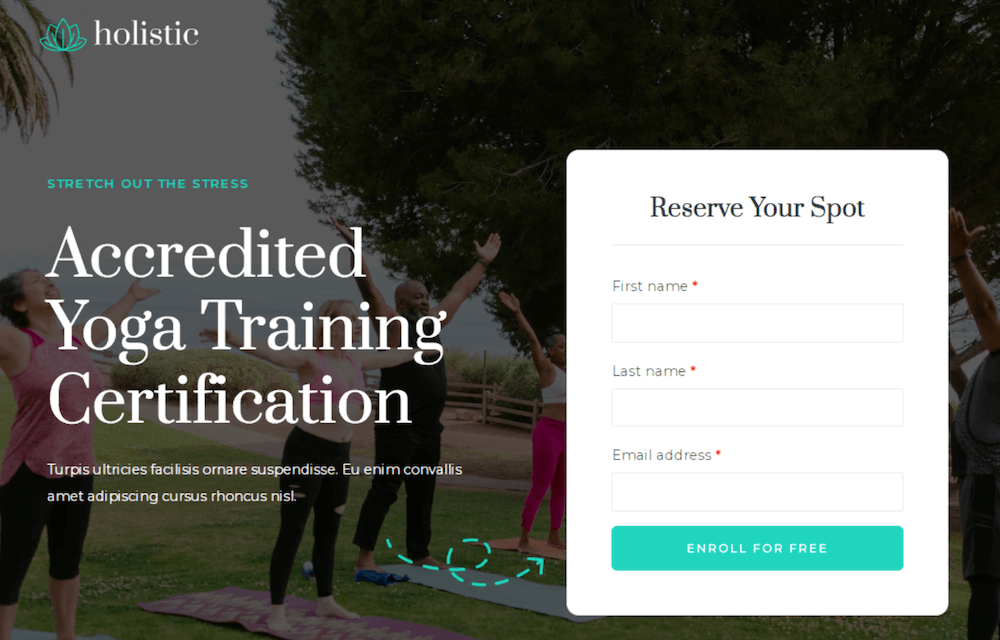
You now promote this page on platforms such as Facebook and Instagram, considering your target audience is on these platforms.
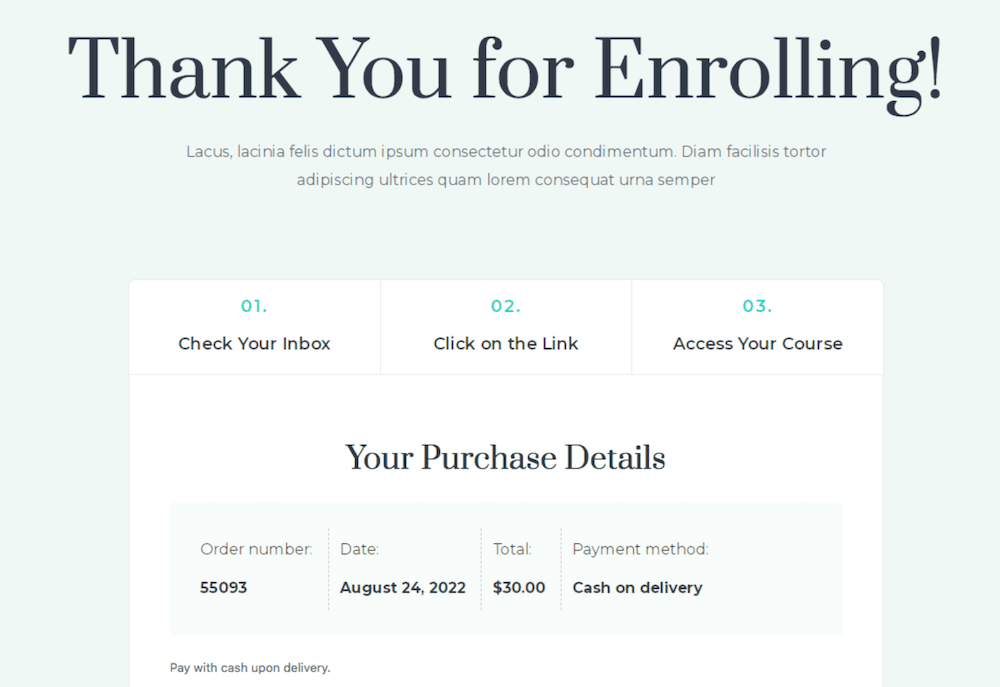
Once your target audience has enrolled for your free trial class, you upsell one of your courses or certification program on the thank you page.
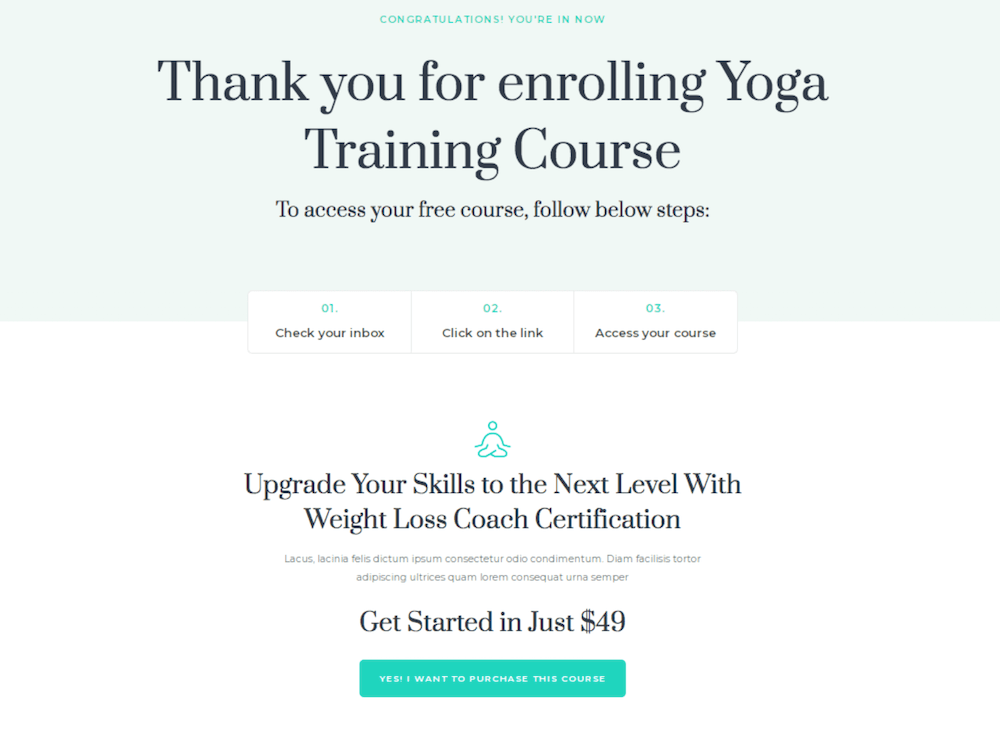
As you have successfully captured the information of your target audience with the free trial, you can now nurture them by periodically sending valuable content.
This way, you are seen as someone whose only goal is to be helpful and solve your audience’s problems.
Without being too sales-y, you could offer your courses in one of the email sequences. Want to sweeten the deal? Try offering a limited period discount.
If the prospect has signed up for your course, they’ll be directed to the thank you page.
You could still add them to an email list and continue nurturing them.
This way, you’ve built yourself a sales machine that works on autopilot!
How To Easily Create a Sales Funnel With WordPress for Free (5 Steps)
Now you have seen a sales funnel in action, it’s time to build one. In just 5 simple steps, you’ll have a fully functioning funnel ready to help convert new customers.
Building a sales funnel is the first step toward creating an automated sales process that consistently produces results. Once you’ve made a sales funnel, you can automate other parts of your business with just a few tweaks.
Let’s create a sales funnel!
Step 1: Create Your WordPress Website
The first step is to create a WordPress website. For this, you’ll need a reliable hosting service that offers managed WordPress hosting.
While there are several options, we use and recommend WP Engine.
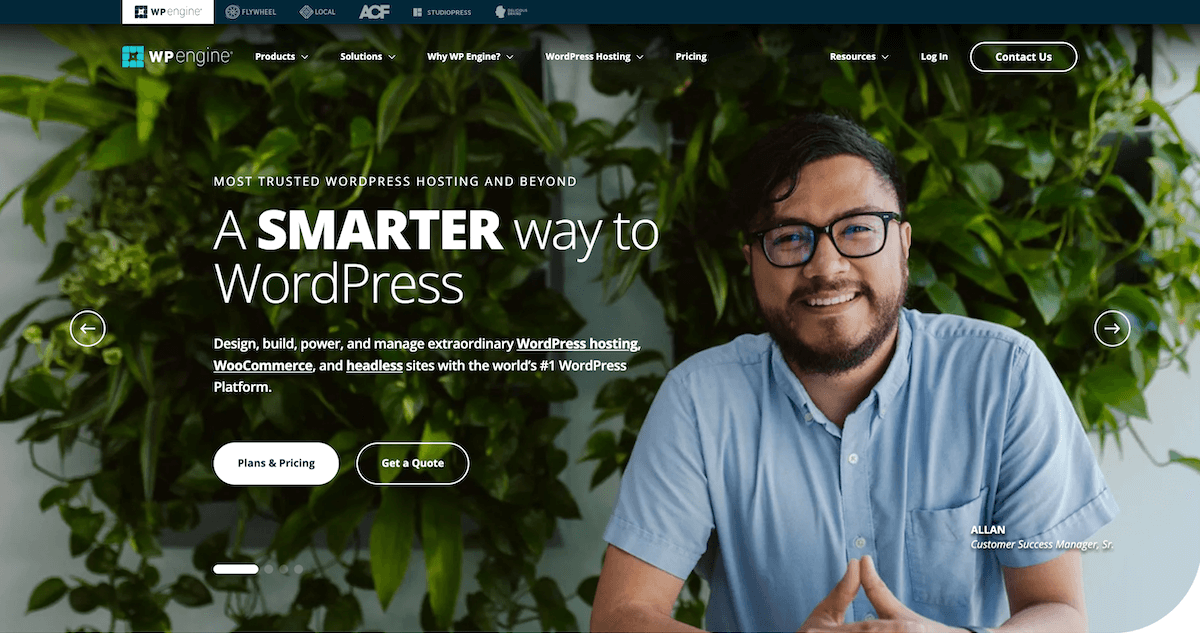
WP Engine is a reliable hosting service that is beginner friendly and has a host of affordable and secure plans for just about any kind of business.
What we love best about WP Engine is that WordPress is already installed for you since it’s a managed hosting service. This means that once you add your site it’s time to change the look and feel of your website. For that, you need to install a WordPress theme.
A very popular WordPress theme is WPExplorer’s very own Total.

Total is a multipurpose WordPress theme for just about any niche. It comes bundled with a host of features, customization options, drag and drop page building, unlimited color options, premium sliders, and so much more.
With 50+ readymade website demos, you can easily import a demo of your choice in a single click and tweak it to match your website requirements.
Another WordPress theme that you can consider is Astra.

Astra is a very popular lightweight theme that’s built for speed and performance. With an ever-growing library of 230+ professionally designed website demos, you are sure to find a ready-to-import template for your niche.
Each of the templates can be customized just the way you want. Tweak the pages using one of your favorite page builder plugins, such as Elementor, Beaver Builder, Spectra, and even the Gutenberg block editor. Or add more features with plugins like Ultimate Blocks.
Once you have your theme installed, you could install a few must-have plugins to enhance the functionality of your WordPress website.
For instance, you can install SEO, backup, and security plugins for your website.
Step 2: Install WooCommerce
Your sales page will need a checkout, so we’ll need to install WooCommerce.
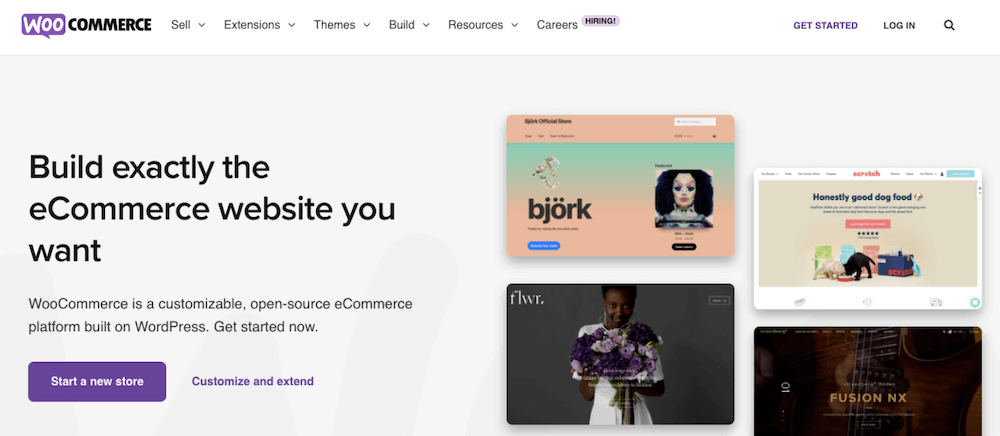
With WooCommerce, you have everything that’s needed to build a full-fledged online store. From product pages to checkout pages, WooCommerce has it all.
The Setup Wizard will walk you through the entire process of installing WooCommerce on your website. Simply follow along, and you should be good.
Once the setup is complete, navigate to WooCommerce > Settings on your WordPress dashboard.
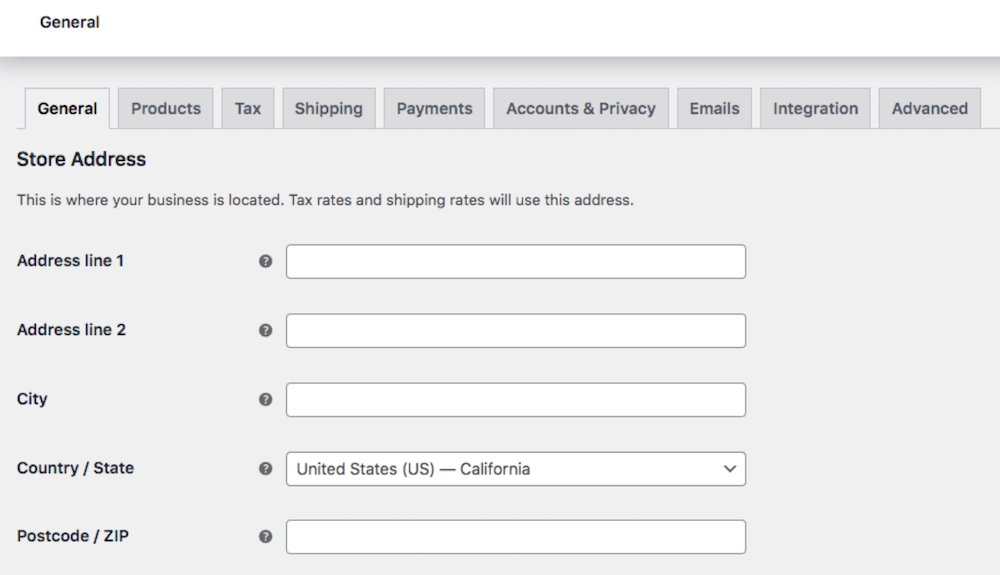
We recommend spending time understanding the various tabs mentioned here – especially the shipping and payments tab.
WooCommerce offers several payment options that can be easily integrated, including Paypal and Stripe.
Step 3: Install CartFlows
The next step is to install a WordPress funnel builder. For this, we’ll use CartFlows.
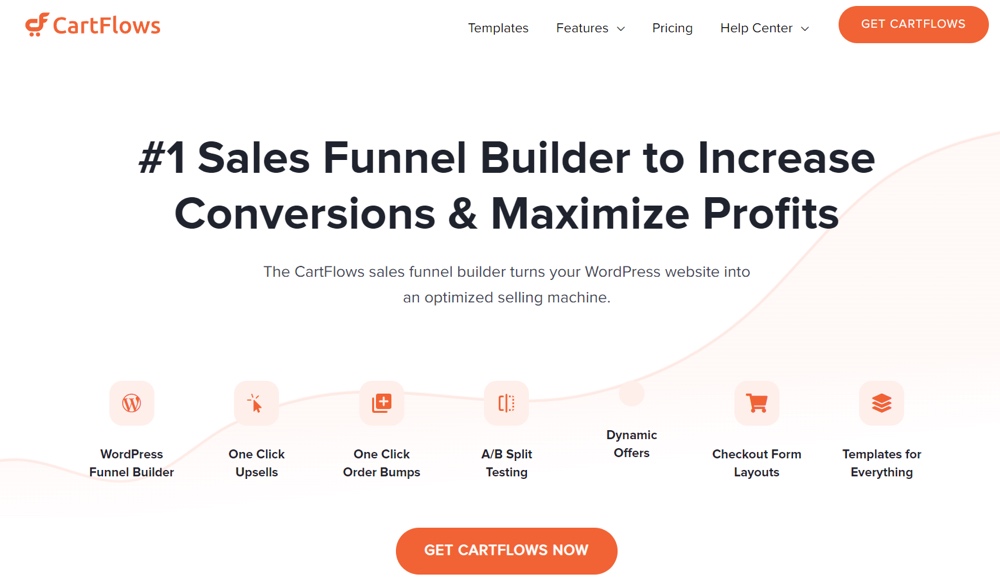
CartFlows is a leading WordPress sales funnel builder plugin that lets you create advanced sales funnels easily. You could also increase the average order value of each customer by including upsells and order bumps.
CartFlows has a free version that lets you create unlimited sales funnels, checkout pages, and thank you pages.
Go ahead and install CartFlows from Plugins > Add New – just search for “cartflows” and it should be the first result.
When you’ve activated CartFlows, navigate to CartFlows > Settings.
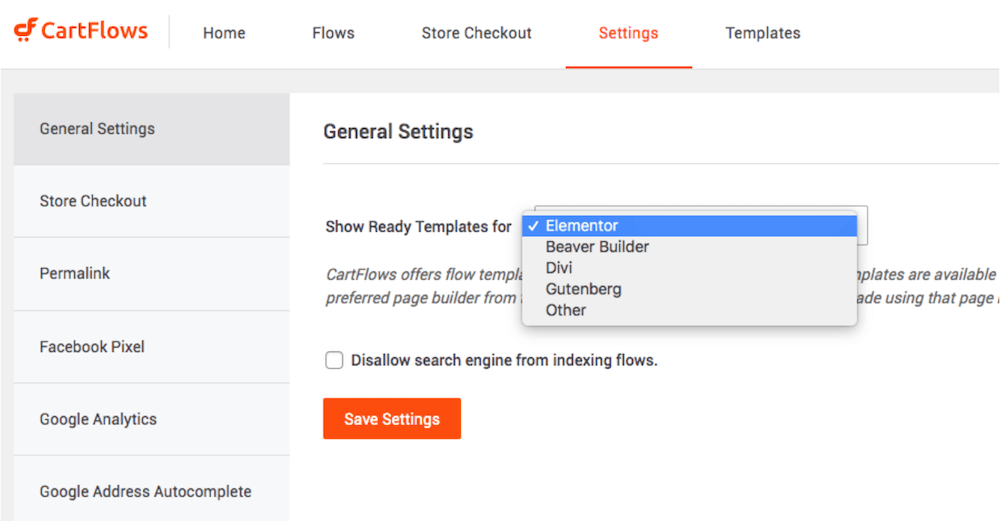
You’ll be able to select the page builder of your choice. Accordingly, you’ll be presented with pre-designed templates that you can choose for your flow.
Don’t forget to click on Save Settings when you are done.
Once you’re done setting up CartFlows, head over to CartFlows > Flows.
This is where you create your first flow, i.e., a series of steps for your sales funnel.
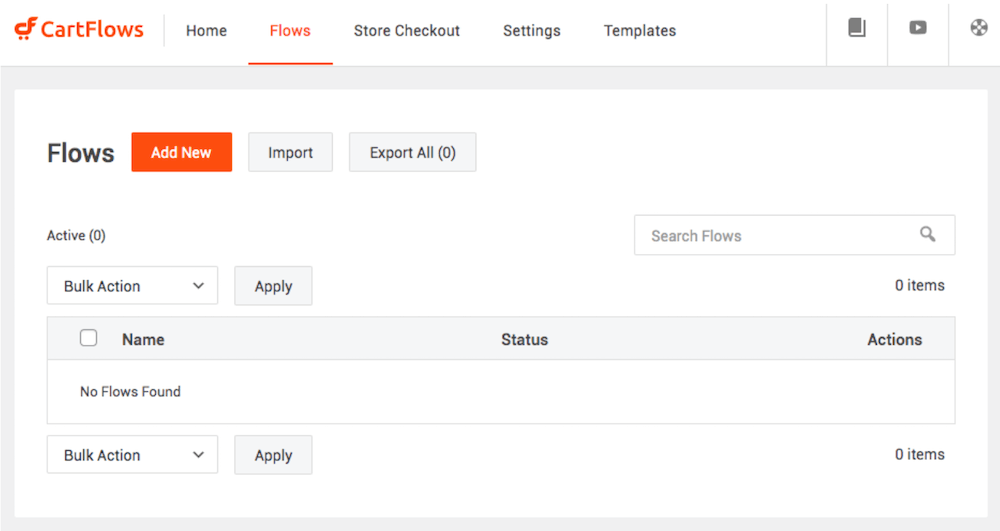
To get started, click Add New and pick a template.
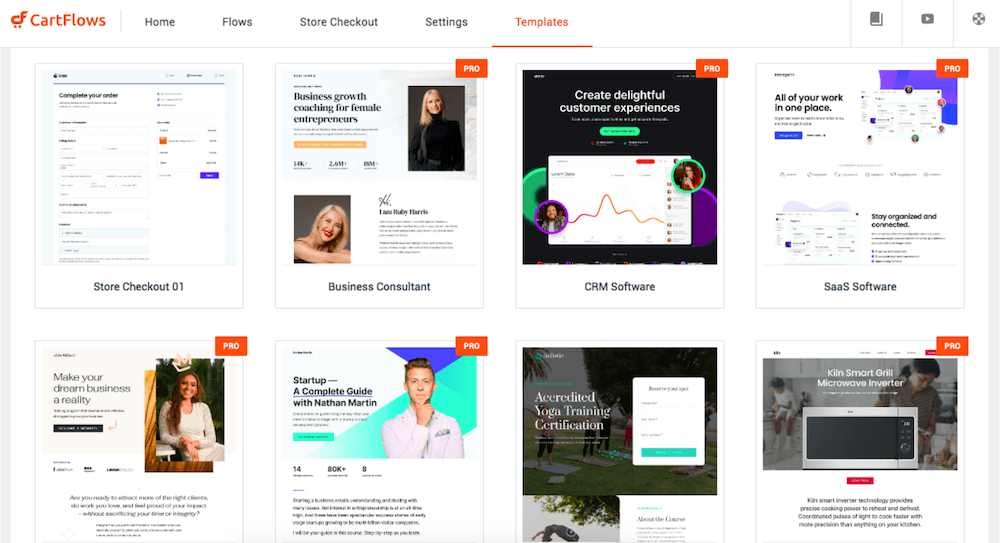
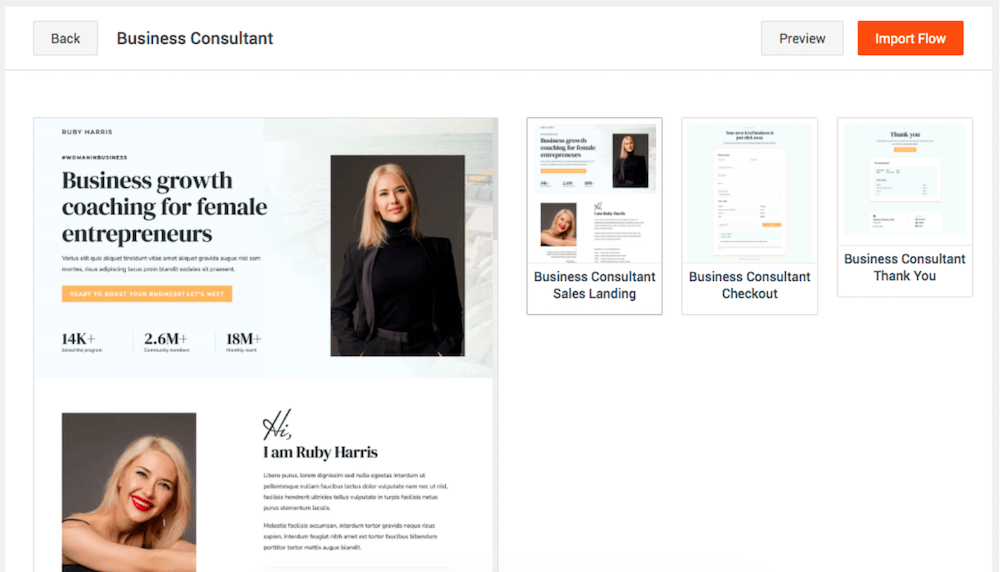
For instance, we’ve selected the “Business Consultant” template.
It will now show you the list of pages, i.e., the sales landing page, thank you and checkout pages.
Happy with the flow? If so, name your flow when prompted and click on Import Flow.
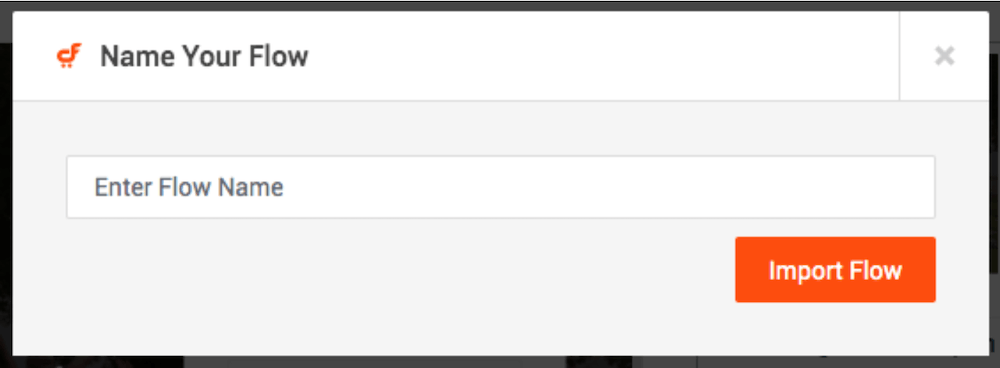
And just like that, your flow is ready.
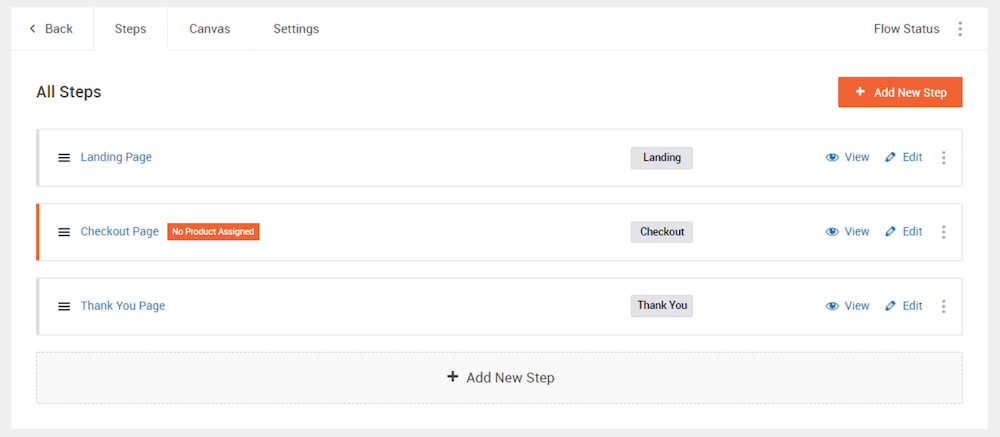
Want to change the order of your pages? No problem! Simply drag them around. You can even add new steps by clicking on the Add New Step button.
Step 4. Add Products
You may have noticed a ‘No Product Assigned’ label on your checkout page. That’s because we haven’t added a product to our checkout page.
To add a product, click on Edit.
Then scroll down the page, where you’ll notice the Checkout Layout section. Go ahead and configure your checkout page.
Add a product to your checkout page.

If you are a CartFlows Pro user, you also get to add coupons and do more on this settings page.
When you are done, click on Save Settings.
You’ve successfully added a product to the checkout page!
Step 5. Add Google Analytics
Wouldn’t it be great to know how well your sales funnel is performing? Track how your visitors find your page and how they navigate.
CartFlows makes this pretty straightforward with the inbuilt Google Analytics integration.
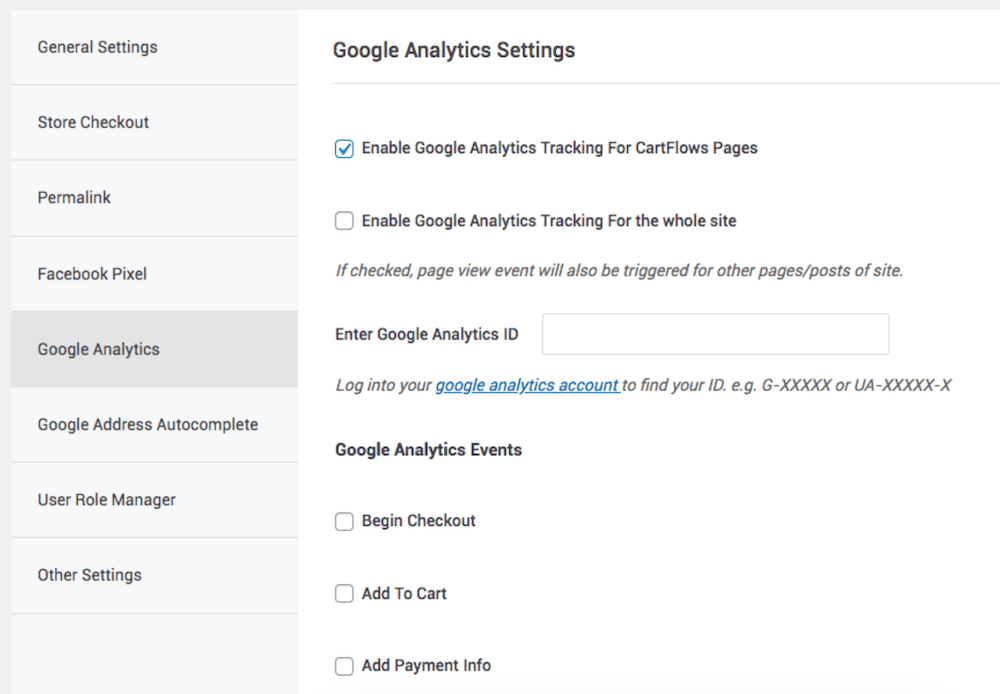
Head over to CartFlow > Settings and then select Google Analytics.
Check the box next to Enable Google Analytics Tracking for CartFlows Pages and key in your Google Analytics ID.
Assuming you have a Google Analytics account, you’ll find the ID in your account dashboard. If you don’t have one, use your Google account to create one.
As always, once you are done, click on Save Settings.
With that, you are ready to promote your super-optimized sales funnel to generate leads and increase sales.
Getting the Best From Your Sales Funnel
A sales funnel that you create today may not necessarily work well tomorrow.
Additionally, what works well for a particular product or service may not work for another kind of product or service.
As you learn more about your customers, your sales funnel may need some tweaking. That’s perfectly fine.
A yardstick for measuring the success of your sales funnel is conversion rate.
For instance, if you’ve built a sales funnel to generate more leads, you’d like to track the number of prospects signing up versus the number of prospects landing on your entry page.
Similarly, if you are selling a product, you’d like to know the number of prospects visiting your landing page versus the number of prospects actually making a purchase.
An easy way to determine if your landing page is working is by running an A/B test.
Go ahead and create different versions of your sales funnel and see which one works best.
These changes could be even trivial, such as changing the color of your headlines and CTA button to using different images and sales content.
By carefully tracking these, you’ll be able to tweak your sales funnels accordingly.
Conclusion
Building a sales funnel is essential for just about any business that wants to grow online and increase revenue. To build a successful sales funnel, you must understand the benefits of a funnel and how it will help you achieve your goals
Once you’ve built your sales funnel, you can automate other parts of your business with just a few tweaks.
Fortunately, building a funnel is pretty simple.
We’ve got it all covered in this article. From discussing what a sales funnel is and the benefits of having one to a step-by-step process of creating one, we’ve got you covered.
We’d like to hear from you now. Do you run an online business? Have you created a sales funnel? Let us know in the comments below.


