Add Email Opt-in Forms to WordPress with Bloom
Creating useful content is only part of what keeps traffic coming to your blog week after week. Another big part is sharing your website or your blog with readers to keep them coming back. One of the most effective ways to share new content or products with your visitors is with a newsletter. We even have one here at WPExplorer (it’s right there in our sidebar if you didn’t see it already).
Newsletters are a great way to share new content with readers who otherwise wouldn’t see it on social media, because let’s be honest – tweets and timeline posts get buried fast. A newsletter however can be discovered at any point in time and probably won’t be overlooked as easily as a social media post. But now the tricky part – how are you going to get people to sign up for your newsletter?
The Bloom Email Opt-in Plugin
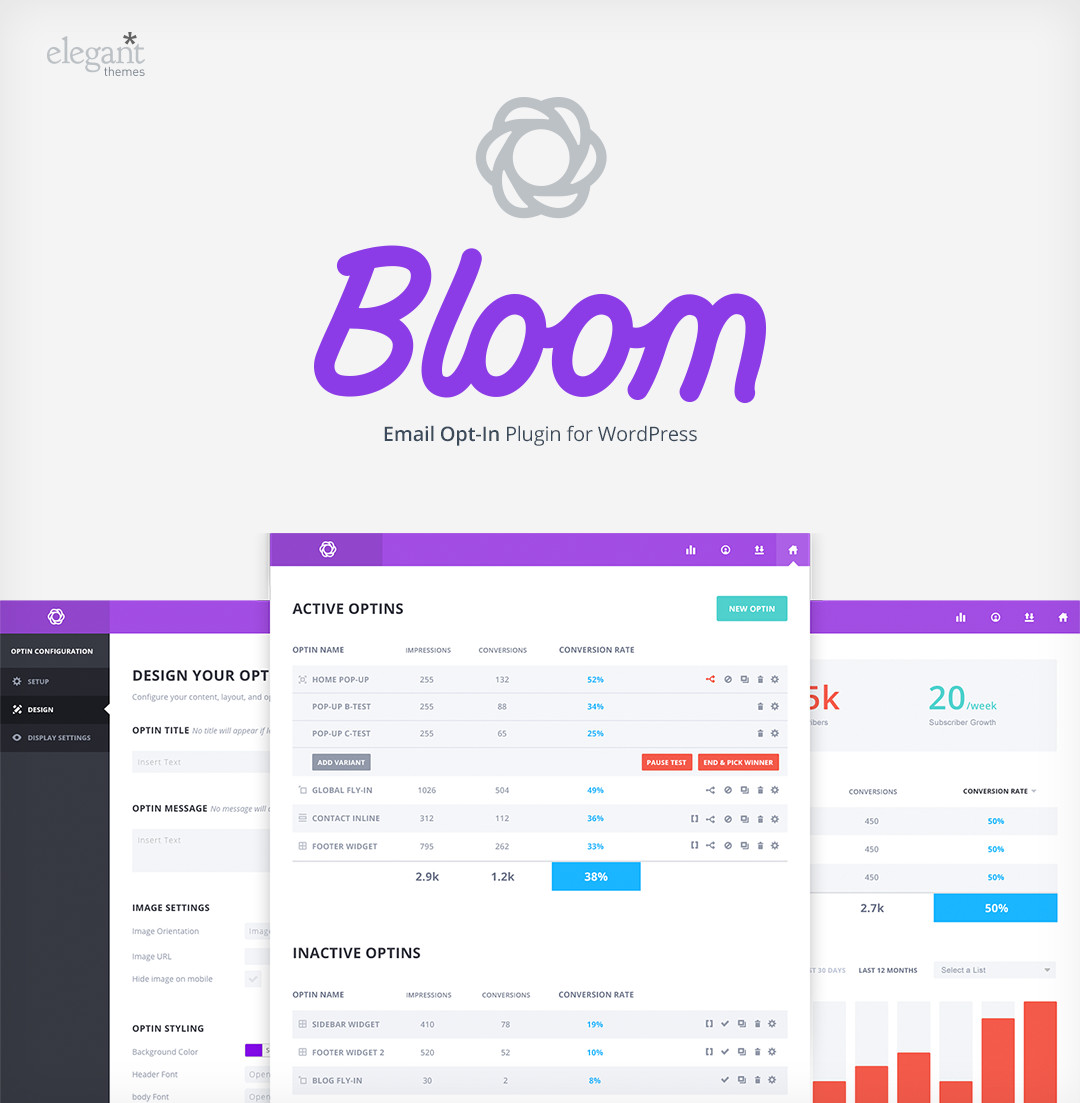
The easy answer to my question above is an email opt-in form. Something that you can have popup, wiggle, slide-in or simply place on your website to give your readers the option to opt-in. You of course can have a custom opt-in form built just for you, or do it yourself if you have the coding skill. But for most of us a plugin is the best and easiest way to go. And that is where Bloom comes in.
Bloom is the brand new email opt-in plugin from the brains over at Elegant Themes. We loved their Monarch social plugin, so when we saw that they were creating an email opt-in plugin we were super excited to try it out. And it definitely did not disappoint! Bloom is full of great features and easy to use options so that any level of WordPress user can create a lovely and effective opt-in form for their website.
Opt-in Form Customizations
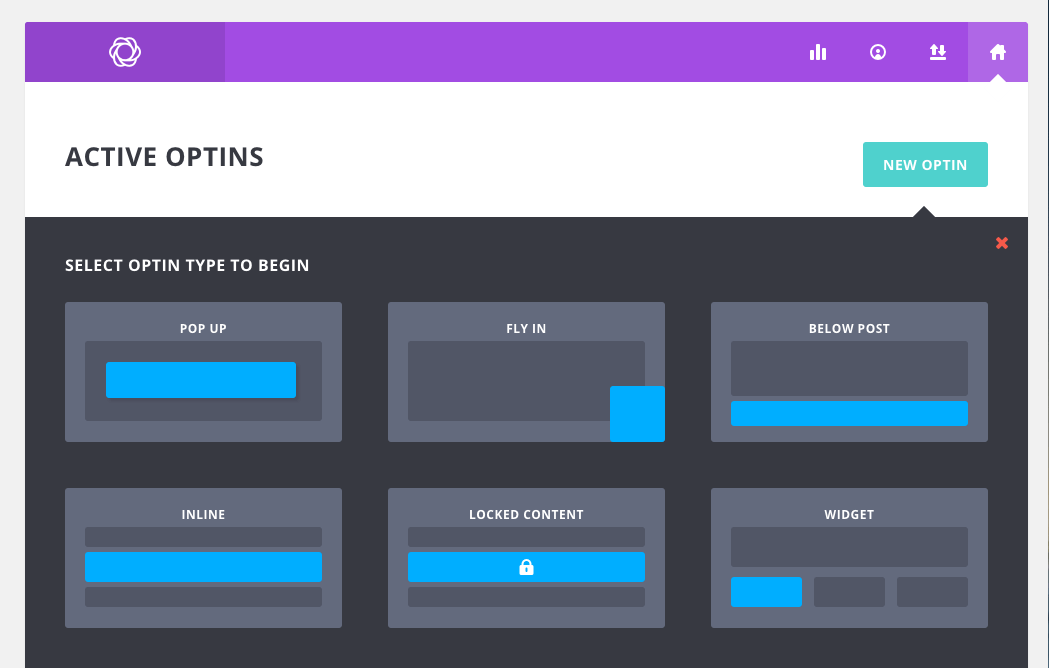
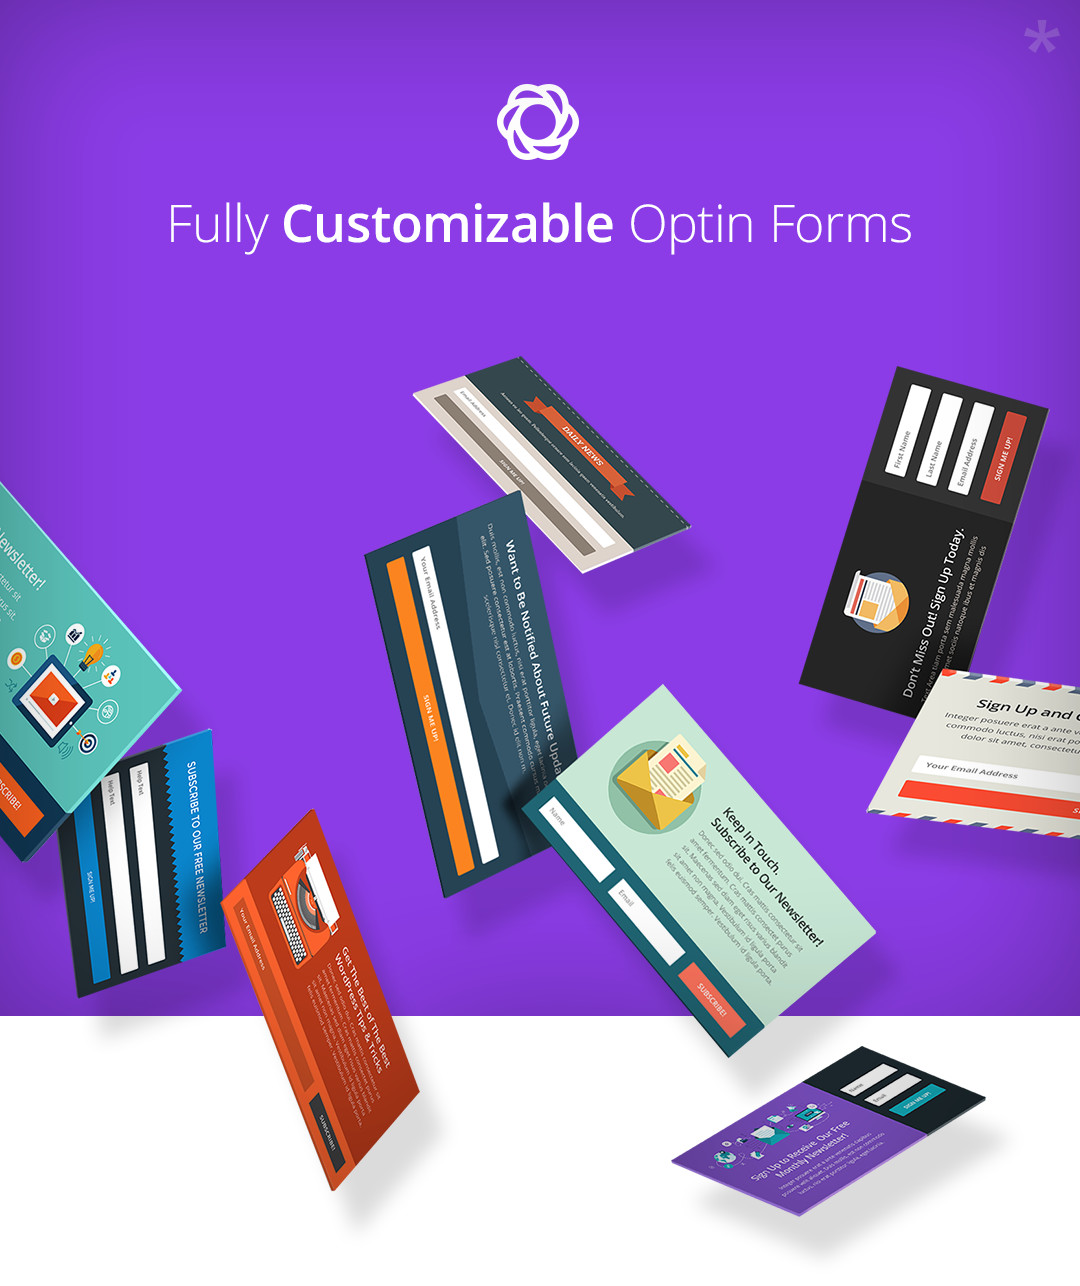
There are tons of great features built-in to make creating opt-in forms easy. Seriously – the guys at Elegant Themes thought of everything! There are six basic opt-in types to choose from that you can use to add newsletter opt-ins all over your WordPress site: pop-up, fly-in, below post, inline, locked content and widget. And for each of these layouts there are more than 100+ styling templates to help you get started.
Templates are great, but if you want to get really hands on you can. Each element is full customizable. Use the built-in colors pickers to find your perfect hex value, and upload your own creative images to your opt-in forms. You can even add custom CSS if you want to get really fancy. Bloom makes creating custom looking opt-in forms easy.
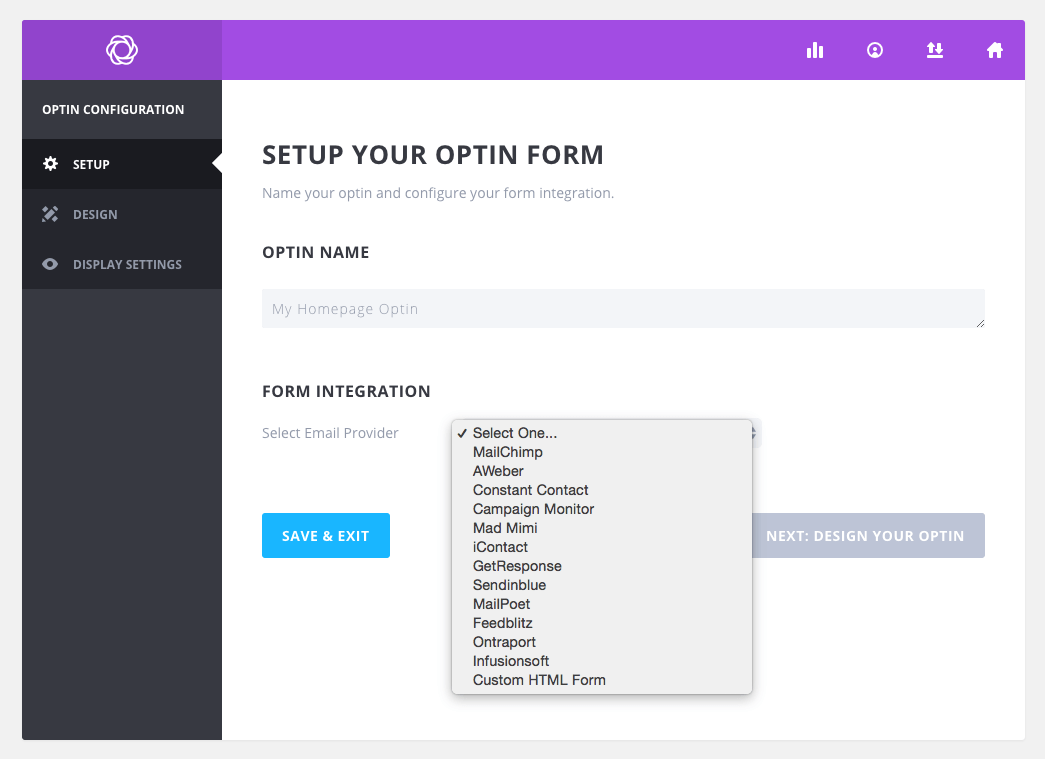
And of course Bloom works with the major email marketing software companies that most of us know and love. This includes MailChimp, AWeber, Constant Contact, Campaign Monitor, Mad Mimi, iContact, GetResponse, Sendinblue, MailPoet, Feedblitz, Ontraport and Infusionsoft. You can also use Bloom with your own custom HTML form as well. So you should be pretty well covered, and it should be a piece of cake for you to add opt-in forms to your site no matter how you plan on creating and managing your newsletters!
Opt-in Forms Split Testing
What to really optimize your opt-in forms? A/B split testing is one of the best ways to create and perfect your opt-in form, and Bloom comes with the built-in ability to help you split test quickly and easily. After you create an opt-in form, you can click on the split arrow icon to setup your split test.
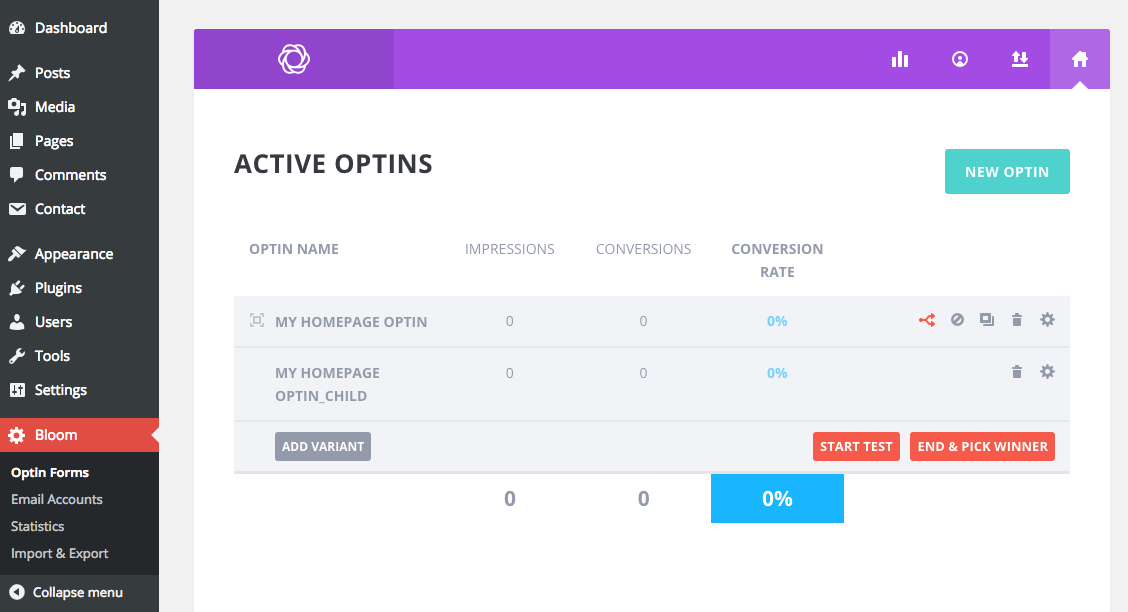
When you click on the “Add Variant Button” Bloom will duplicate your current opt-in so you can tweak any opt-in elements you’d like for your split test. When you’re done, save your variant and return to the main opt-in screen. Click the “Start Test” button when you’re ready to begin, and Bloom will serve up each opt-in to your visitors and keep track of their impressions and conversions. Once you know which opt-in is doing better, you can end your test, pick a winner and delete or deactivate the opt-in that lost.
Easy Newsletter Management
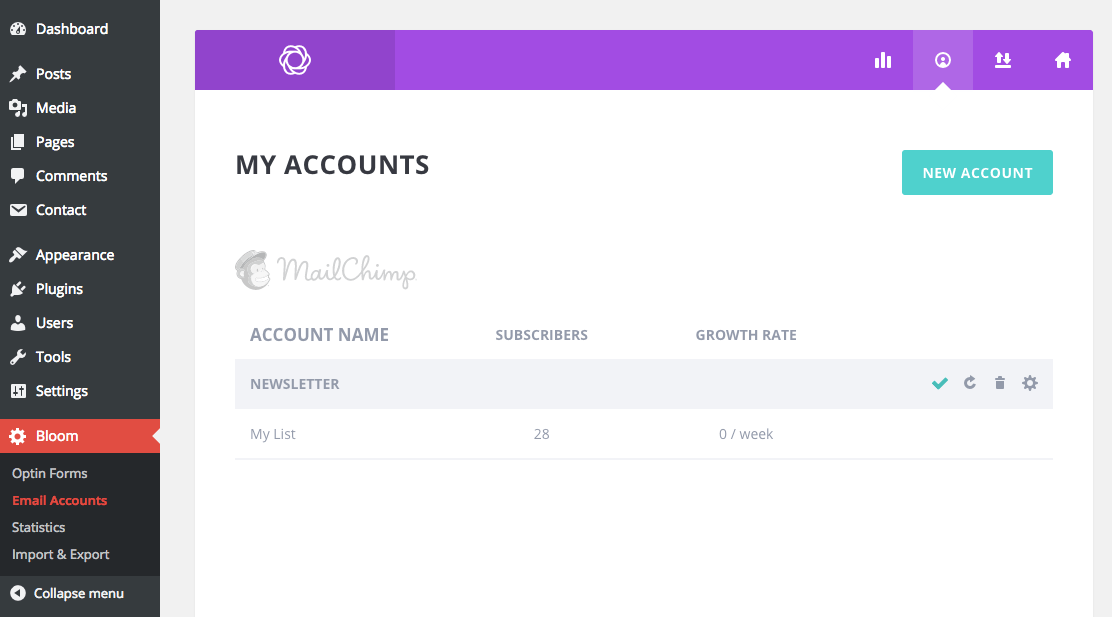
Another great feature of Bloom is that the plugin keeps track of all the email accounts and newsletter lists you add to your opt-ins. This makes it easy for you to see at a glance how your email lists have grown since adding Bloom.
Opt-in Statistics
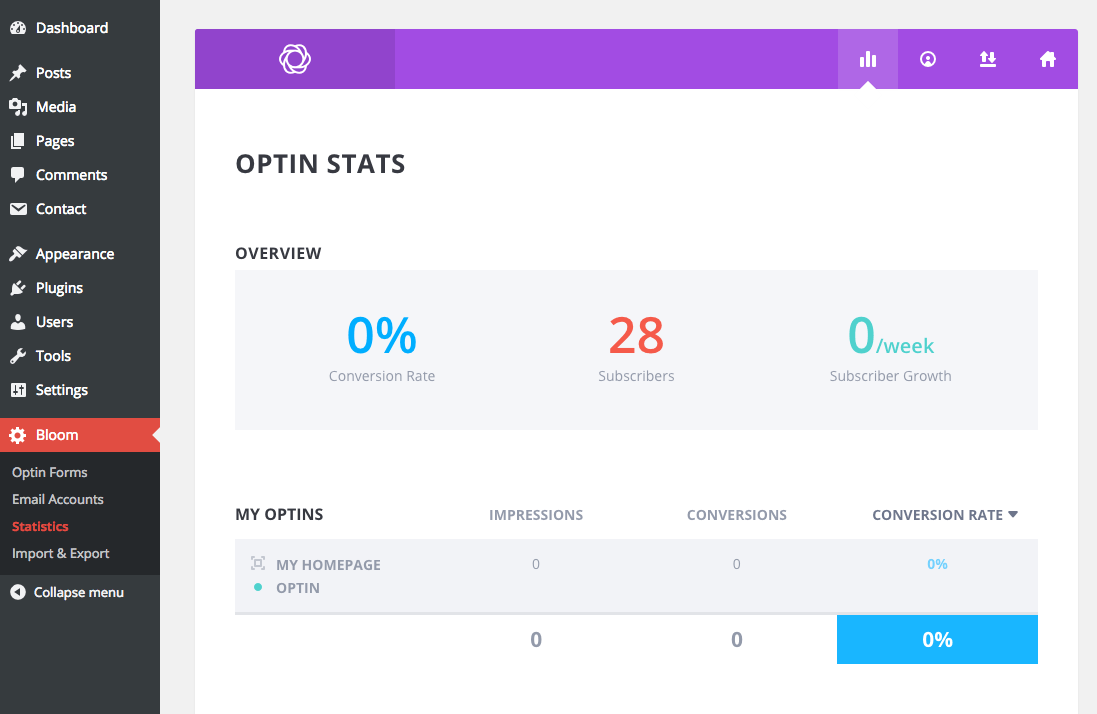
Once you’ve setup a couple forms, you can track their performance via the statistics tab. You can see a quick summation of your overall conversions, total subscribers and growth (in subscribers per week). There is also a comparison table of all your current opt-ins, as well as a graph that you can use to visualize the effectiveness of your opt-ins.
Easy Import & Export Options
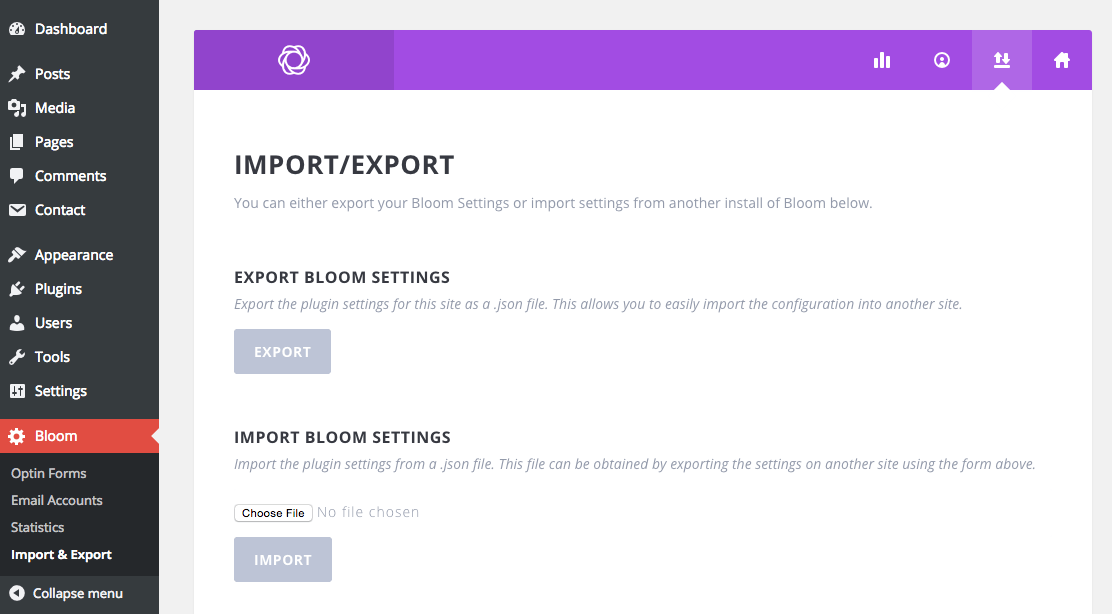
The last feature we wanted to share with you is the import and export tab. If you run multiple websites, this is a great feature to have on hand. You can easily export your opt-in forms to later import into other websites. This way you can keep consistent opt-in forms across a network of websites, without having to redo all of your styling customizations over and over again.
Now that you’ve seen what makes Bloom so great, let’s dig into the plugin so you can see how easy (and fun) it is to use!
Quick Guide To Using The Bloom Email Opt-in WordPress Plugin
First you’ll need to install Bloom just like you would any other plugin. This awesome premium plugin is included with Elegant Themes developer and lifetime memberships, which starts at just $89 and includes access to all of their themes, plugins and resources (a great deal if you ask me). Download the zip file from Elegant Themes. Then log into your WordPress site and navigate to plugins, add new, and import the Bloom Zip file. Once you activate the plugin, you’ll see Bloom in your sidebar.
Click on Bloom menu item and then the “Add Optin” button.

Next, choose your optin style. You should see six options: pop-up, fly-in, below post, inline, locked content and widget. The thumbnails should help you understand how each option operates, but if you’re not sure you can always change your optin style later.
Bloom Setup Options
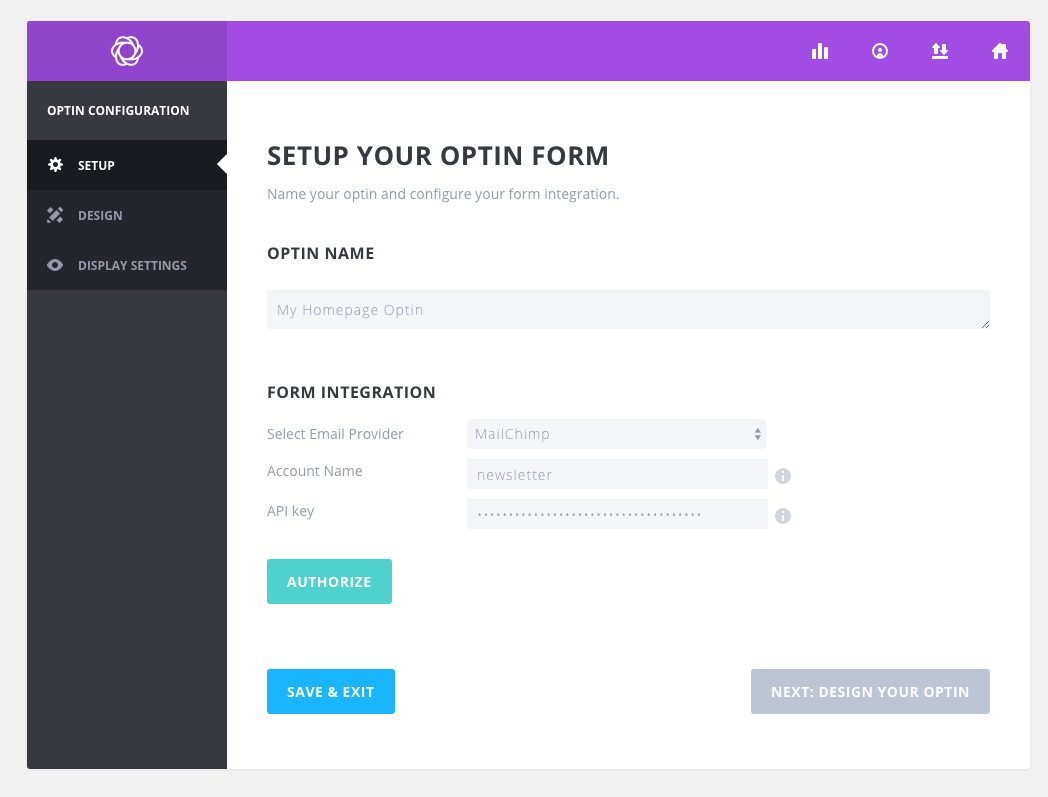
Now that you’ve chosen your optin style it’s time to begin setup. Give your optin a name and add your newsletter. We use MailChimp here at WPExplorer, so that’s what I chose from the drop-down. Next click “Add Account” which should open up an Account Name and API Key.
Add any Account Name that you want. It’s best to choose something that will make it easy for you to remember which newsletter list API you’re adding.
You will need to retrieve your API key from the email marketing provider that you’ve chosen. It should be easy to find, and if you don’t know where to look a quick Google search should have the answer. But if you’re using MailChimp like us, just login to your account and click on your name in the top right-hand corner. Then click on “Account” and under “Extras” you should see an “API Keys” option. If you don’t have one yet, click the “Create A Key” button and then copy your API Key from here (and I would think the process of locating your API key would be fairly similar with other providers).
Now you can logout of MailChimp (or your preferred newsletter platform), and go back to the Setup page for Bloom. Paste in your API key an click to “Authorize.” This will verify your API key and open an option to “Select Email List.” If you have created multiple mailing lists you will see them all listed here. Select your list, then click “Next.”
Bloom Design Options
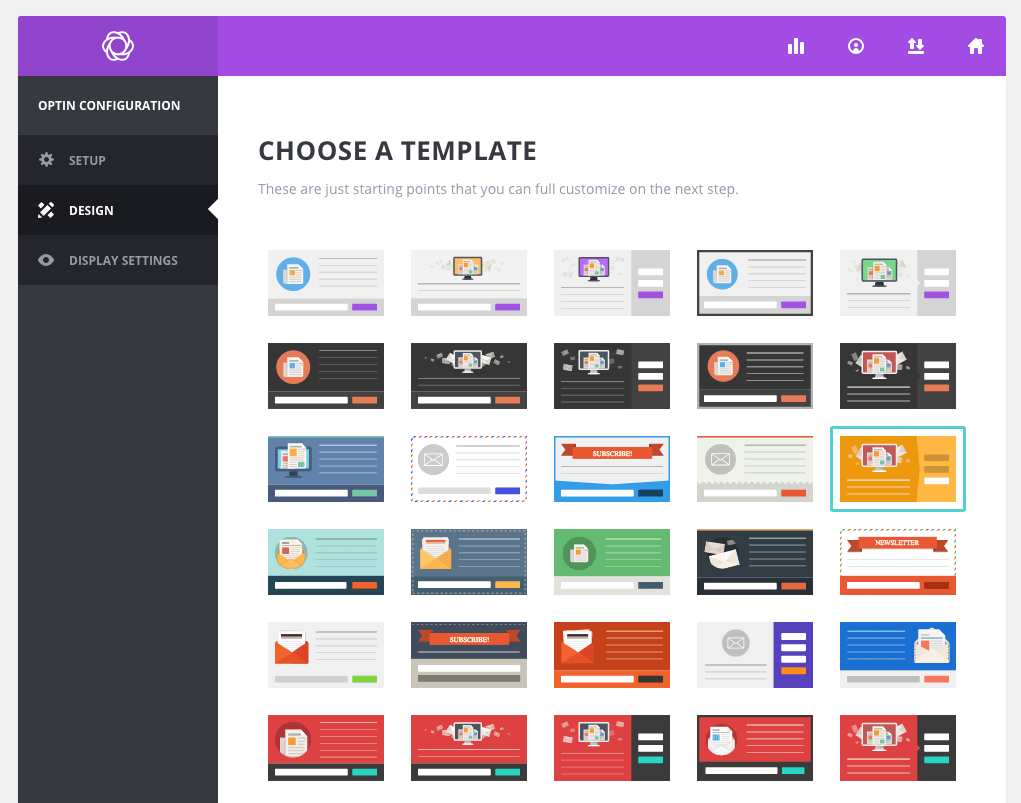
Now you can choose what your optin form will look like. There are over 100+ templates to start with. There are tons of colors and designs to choose from, so pick your favorite and click “Next” to customize.
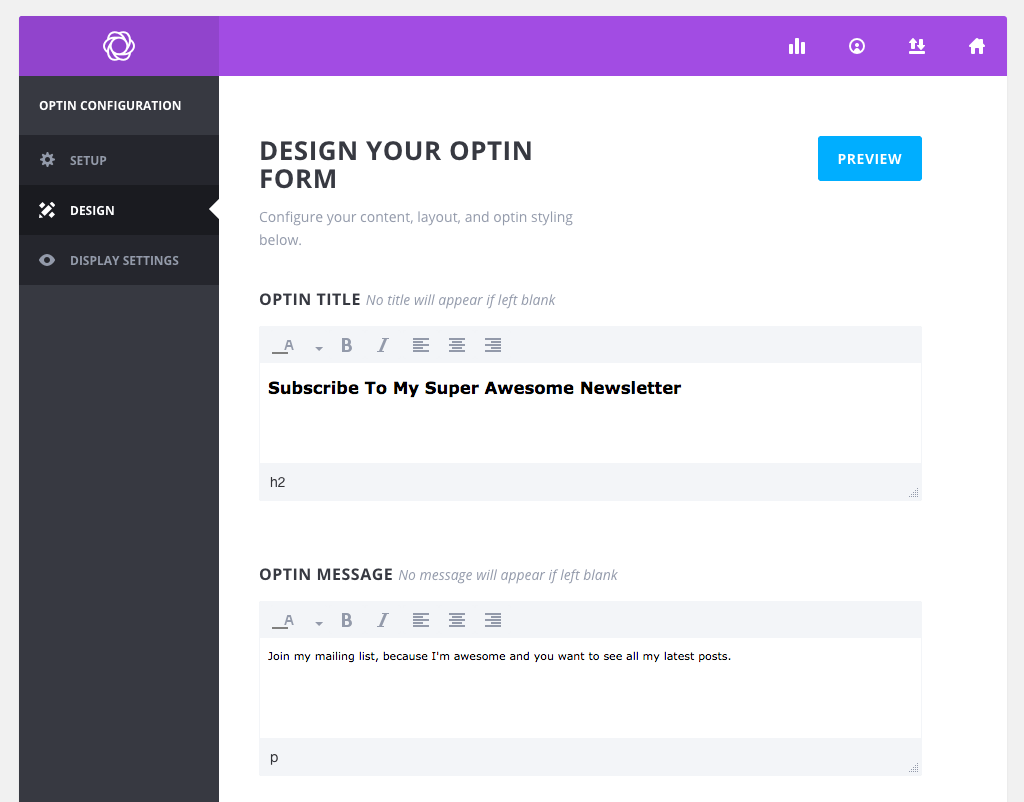
This is where Bloom gets fancy. There are tons of great options to create your own custom optin form. Add a custom title and message to let your readers know what your newsletter is all about, and why they should subscribe.
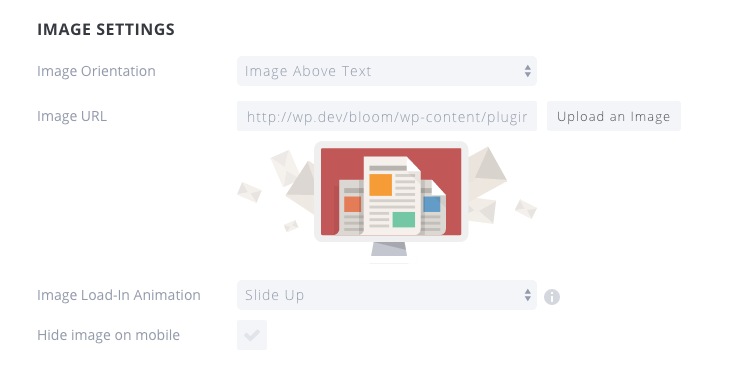
Then add a custom image to add impact to your optin and make visitors want to subscribe asap. You can add your image about, below, to the right or to the left of your content (or have no image at all – it’s up to you). You can also add an animation to our image to help catch people’s attention. And Bloom even has a built-in check-box so yo can hide your image on mobile – which is a great way to make your optin readable on small devices.
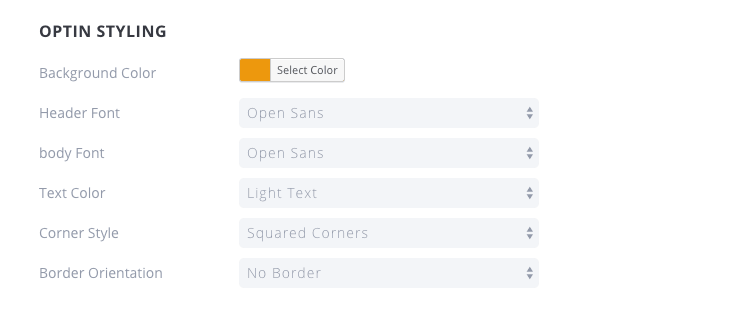
AS you scroll down you’ll see your first chunk of styling options for your opt-in. From this section you’ll be able to choose from unlimited background colors, 80+ custom Google fonts, light or dark text and the style and border for your opt-in. There are limitless combinations here, so you can really create the look you want.
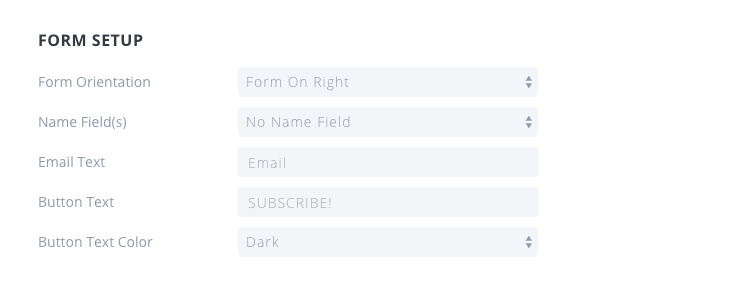
Next up – form setup. This includes where you want your actual newsletter signup form (to the right, left or below your opt-in content), and what information you want to collect from your visitors when they subscribe. You can also customize your signup button text as well so that it matches the rest of your opt-in content and features.
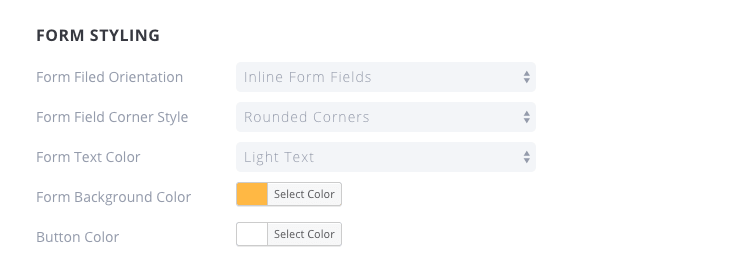
Moving on, there are also form styling options. These are pretty similar to the opt-in styling options, only they apply to the newsletter subscription form you just added. This includes more color pickers and layout options for a custom form.
The last design option you’ll find is for your form edge. These options are for the edge between your opt-in content and your newsletter form, and they all work no matter which layout you choose for your form location.

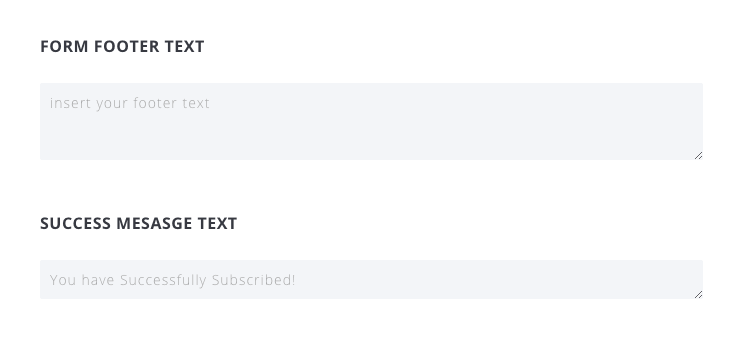
You can also add a footer text to your form, which might be a good place if you want to add a disclosure or link to your privacy policy. And you can add a custom success message as well – it’s as easy as typing it in.
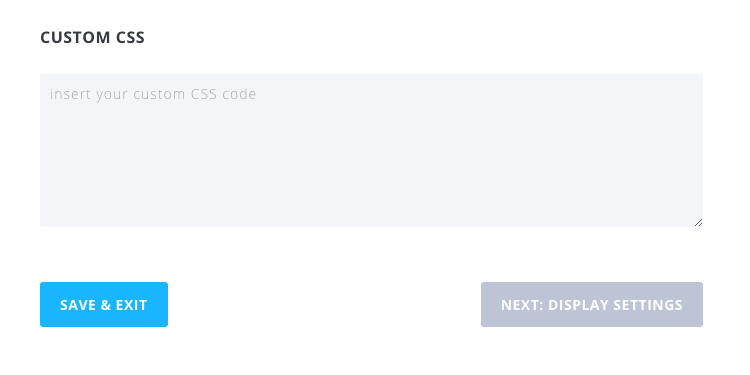
And last but not least, Bloom also includes a custom CSS field where you can truly make your opt-in form one of a kind. If you aren;t familiar with CSS, or don’t feel confident in your coding skills, it’s best to skip this box or hire someone to help you create a piece of custom code that you can use to further style your optin form (checkout Microlancer if you’re looking for a bit of help from a developer).
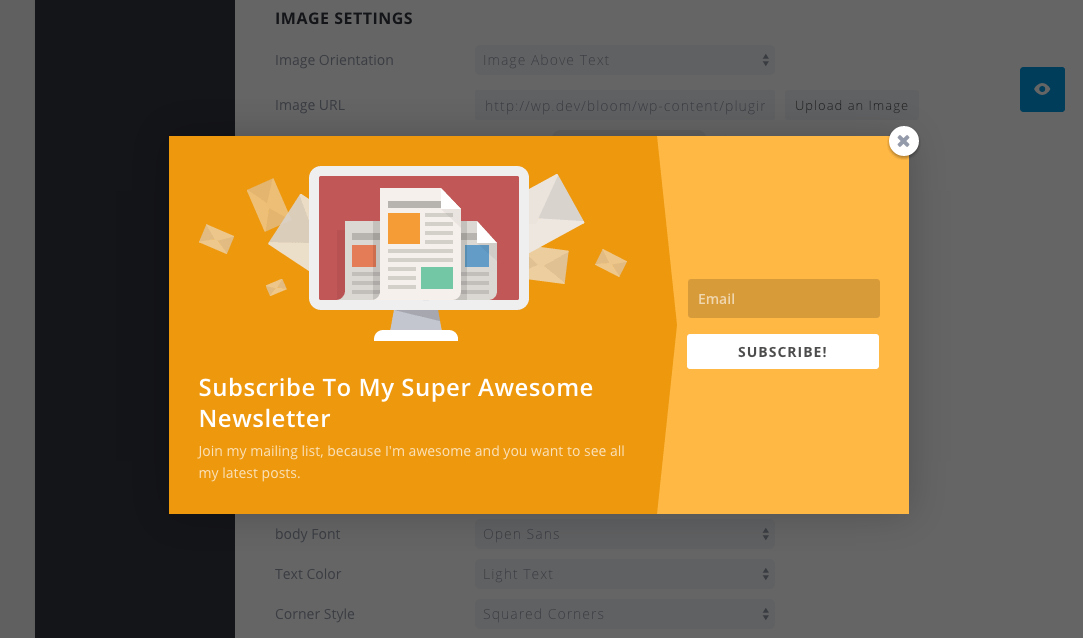
Oh, and at any point in the process you can click on the little blue eye in the upper right hand corner to view a live preview your work. This is a great feature, since you can tweak your design as you’re creating it to get it just right.
Bloom Display Options
Ok, now it’s time to choose when and how your opt-in appears. Bloom is full of options and settings so you can create opt-in forms for every situation. Choose the delay or trigger action for your opt-in, as well as the specific pages, posts or categories you want to use it for. If you want to create a custom opt-in for your homepage, a separate one for your store and another opt-in that triggers only after someone comments you can! You can see a snapshot of all the display settings below.
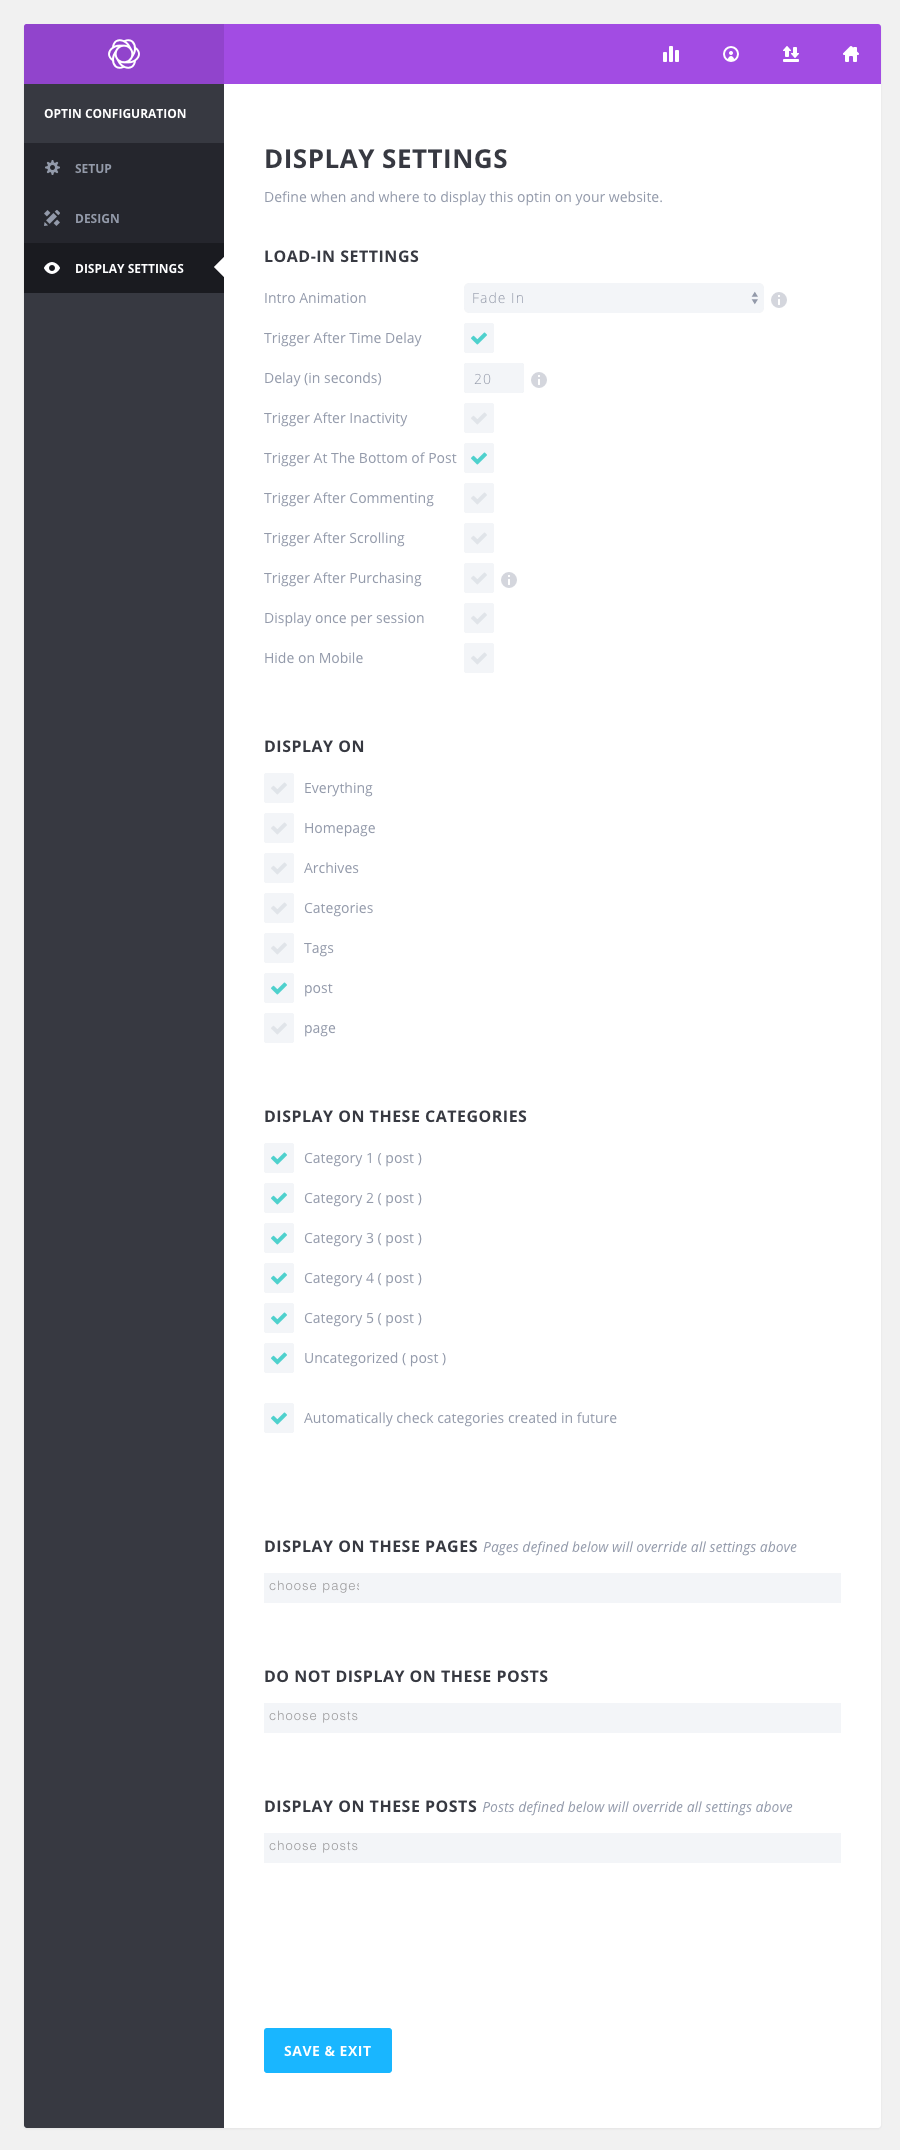
Once you’re done setting up your display options your can click to save and exit. That’s it! You just created a custom opt-in form using Bloom. Nice work!
Wrapping Up
Bloom is a great plugin, with all kinds of great features that you’d want in an opt-in plugin. Split testing, statistics and customizations are all built-in to make it easier for you to create an email opt-in form that works. Plus the clean ui and straightforward options make using the plugin a breeze. Hopefully we’ve been able to help you get setup with the plugin, but if you have any comments or questions feel free to leave them below! And if you want to learn more about Bloom, you can checkout the full release post over on the Elegant Themes blog.


Thanks a ton, Kyla, for one of the most comprehensive reviews on this wordpress plugin. It seems to be a great plugin. Worth a try.
Hi. I was sondering if it only gives the option for name and email in the form. that is limiting.
Hey Kyla, I really like how Bloom lets you view optin stats and keep track of newsletters. I can see how they could be crucial to a growth strategy.
That’s quite a variety of email services that Bloom integrates. As does our Plugmatter Optin Feature Box plugin ( https://wordpress.org/plugins/plugmatter-optin-feature-box-lite/ ). Plus it dedicatedly makes the highest converting kind of optin – feature boxes.
Bloom’s templates really look sharp and professional – there’s plenty to split-test and arrive at one that works the best.
Great List. I found this new Retainly WordPress Option Forms plugin, which has an integrated email marketing automation too!
Very cool! I haven’t tried this one, but if you do let us know how it works out 🙂
MailOptin is also a great email optin plugin that goes a step further to include email automation such as new post notification to your subscribers.
Hi, is it possible to add the email of a customer who add his contact with bloom but not in an email provider as (mailchimp, activecampaign or others) I.ll like to add as a wordpress user (customer for example)
From my memory Bloom is an email/newsletter optin form. So you first connect the plugin to your email marketing service then as visitors complete the optin they are added to your mailing list. While I did find an Elegant Themes doc that says you can add custom fields, I’m not 100% sure if you can use Bloom for user registration forms.