How to Create Facebook Remarketing Campaigns for WordPress
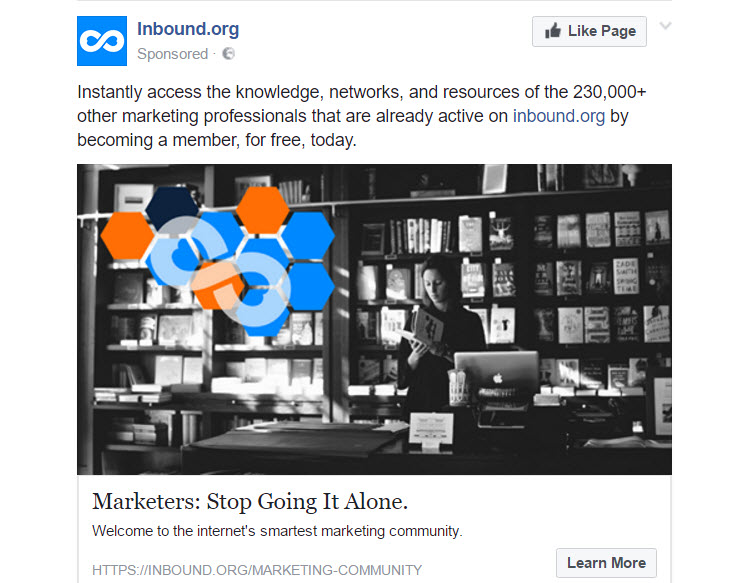
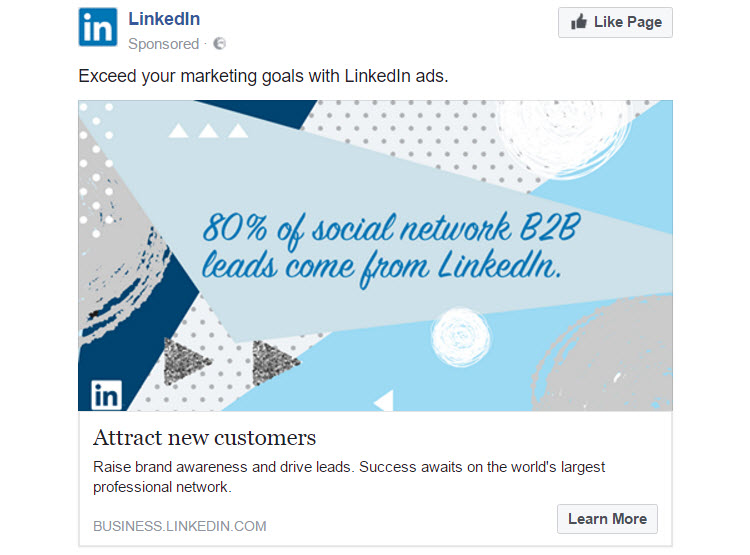
Have you noticed that when you search for a product on Amazon, or read an article online, the products or content you have viewed often turn up in adverts on Facebook? Well, that is remarketing right there.
Remarketing, also known as retargeting, has become widely used by big brands. But due to its ease of setup and low cost, it can also be extremely beneficial to smaller businesses. So let’s find out more about the benefits of Facebook remarketing, and how you can create your own Facebook remarketing campaign for your WordPress website.
What is Facebook Remarketing?
Remarketing on Facebook is essentially displaying adverts on Facebook to those who have already visited your WordPress website. Often people visit your website with an interest in your products or services but leave before making a purchase. Facebook remarketing uses Facebook ads to remind these potential customers of your website, content, and products, driving traffic back to your site.
Due to so many people being active on Facebook, the likeliness of your website visitors logging into Facebook on a regular basis is high. This makes it the perfect location to promote your blog or products, and re-engage with your audience.
The Benefits of Facebook Remarketing

There are numerous interlinking benefits to Facebook remarketing. Here are the most important…
Brand Awareness
Facebook remarketing helps with brand awareness. Showing adverts to those who have already had a connection with your website, keeps your site fresh in their mind. This, in turn, will increase the likeliness that it will be revisited, instead of competitors sites, when people need it.
Drive Traffic Back to Your Site
Using remarketing adverts will help you to reconnect with past website visitors. Engaging in this way with your audience through Facebook will remind them of your website and drive traffic back to your WordPress site. Once visitors are back on your website, you have more chance of converting against your goals.
Increase Sales
There are many reasons why people might not initially make a purchase on your website. Maybe they want to further research a product, compare prices on competitor sites, or just weren’t sure if they really wanted the item. However, just because someone doesn’t buy a product the first time, it doesn’t mean they won’t at a later date.
Re-showing a product will prompt people’s memories, helping them recall why they wanted it in the first place. They will already be familiar with your site, so seeing your advert will help encourage people to click through, make a purchase, and even become lifelong customers.
Convert Against Your Site’s Goals
Facebook Remarketing isn’t just about selling products. Remarketing campaigns can be created to help your website convert against a number of different objectives. You may be looking to sell a service or subscription, grow your email list or increase your following or social fan base. Facebook remarketing can display campaigns that will help you convert against all of these goals.
A Better Return for Your Money
Facebook remarketing has a higher success for generating sales than a bog standard ad campaign. This is because the adverts are targeted specifically at those who have already visited your site and shown an interest in your products.
Therefore, Facebook remarketing is a better financial bet in the short term, as you are more likely to get a return on the money you will pay out for the adverts. This can be an important factor for smaller businesses working within a tight marketing budget.
So, now we know a bit about Facebook remarketing, and why you should be using it, let’s run through how to set it up on your WordPress website.
How to Create a Facebook Remarketing Campaign on your WordPress Website
To get started with Facebook remarketing, log onto Facebook and under ‘Settings’ select ‘Create Adverts’. You will now be re-directed to the ‘Adverts Manager’.
There are four stages to creating an ad campaign with Facebook, which are shown on the left-hand side of your screen…
- Campaign
- Account
- Advert Set
- Advert Design
So let’s now look in detail at each stage…
1. Campaign
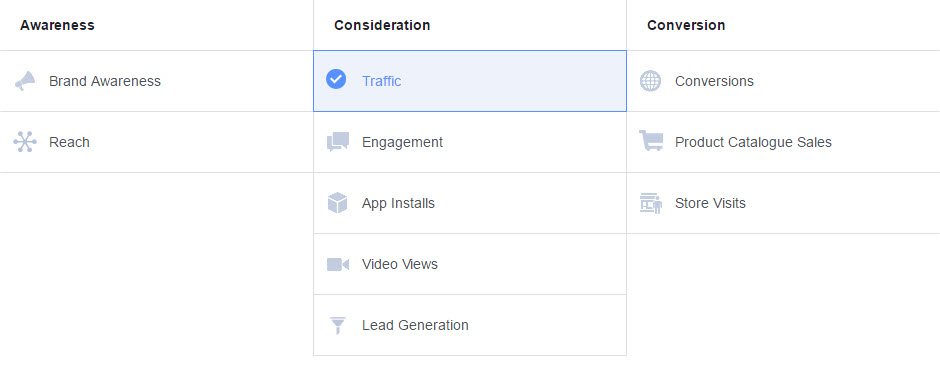
‘Campaign’ is the first step where you need to choose your campaign objective. As you can see, there are numerous objectives to choose from, but the one you select should be linked to one of your site’s most important goals. For this article I have chosen ‘Traffic’’. This means my adverts will be targeted at encouraging viewers to revisit my website, helping to increase the traffic it receives.
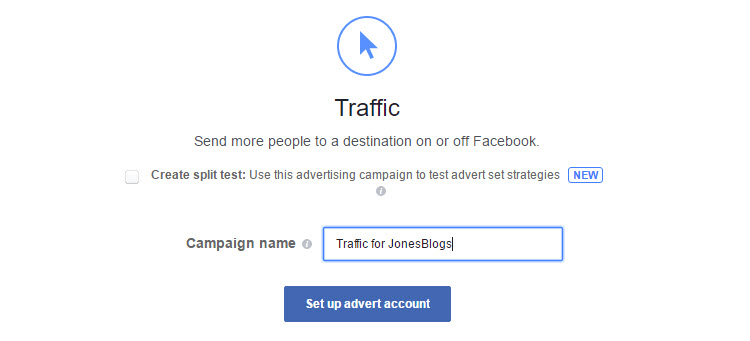
After selecting ‘Conversions’, you will need to give your campaign a name. Then click ‘Set up advert account’.
2. Advert Account

The second step to setting up your Facebook remarketing campaign is ‘Advert Account’. Here you will need to enter details on your ‘Account Country’, ‘Currency’, and ‘Time Zone’.
3. Advert Set
‘Advert Set’ is made up of a number of steps. It is here you select where you drive traffic to, the type of audience you want to show your ads to, where the ads will be placed, and how much you would like to pay…
Traffic
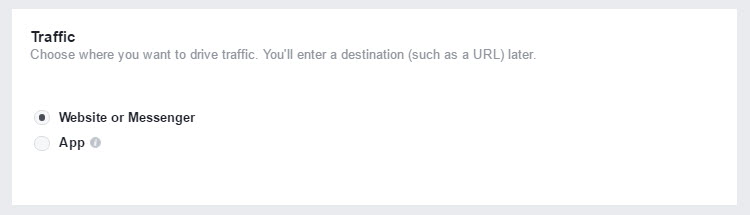
Under ’Traffic’ you need to select whether you want to drive traffic to your website or an app. As you can see, I have chosen ‘website’. Later on in the process, you can select a specific URL.
Offer

Here you can create an offer for your audience to encourage them to revisit your site. An offer in the form of a discount or redeemable coupon can be an extremely effective way to drive traffic to your website.
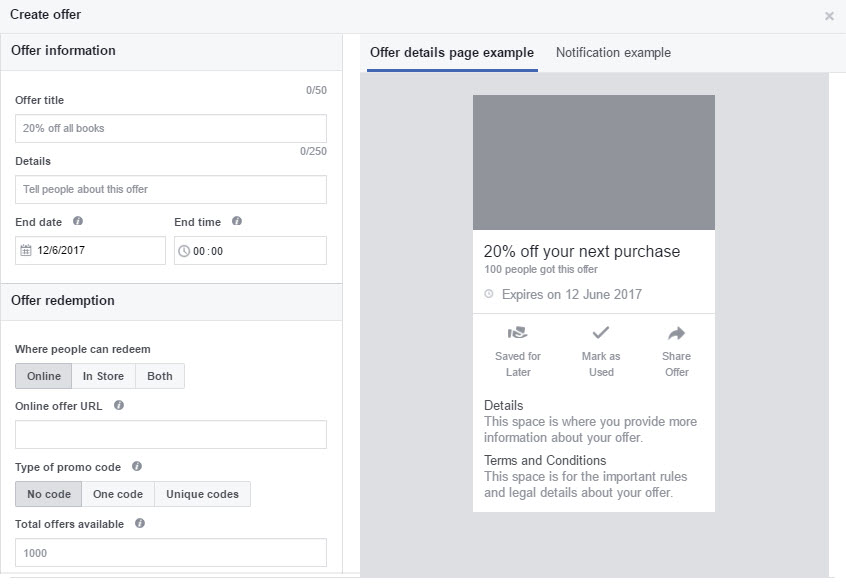
If this is something you are looking to set up, simply turn ‘Offer’ to ‘On’, select your Facebook page that is linked to your WordPress website, and then click ‘Create Offer’. Now fill in the details to complete the offer you want to include in your Facebook remarketing campaign.
Audience
Here you can define an audience to target your advertising campaign to. To set up remarketing, you will need to create a ‘Custom Audience’. This will enable Facebook to show your ads to those who have already visited your website and shown an interest in your business.
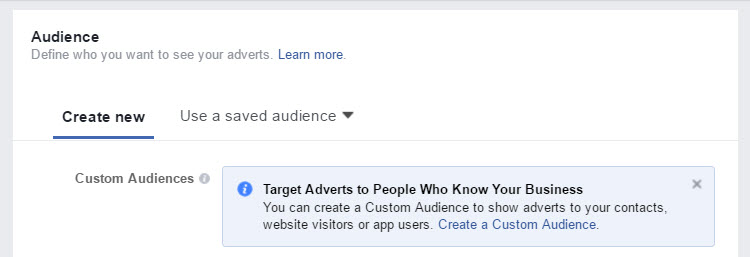
Under ‘Audience’ select ‘Create New > Create a Custom Audience’.
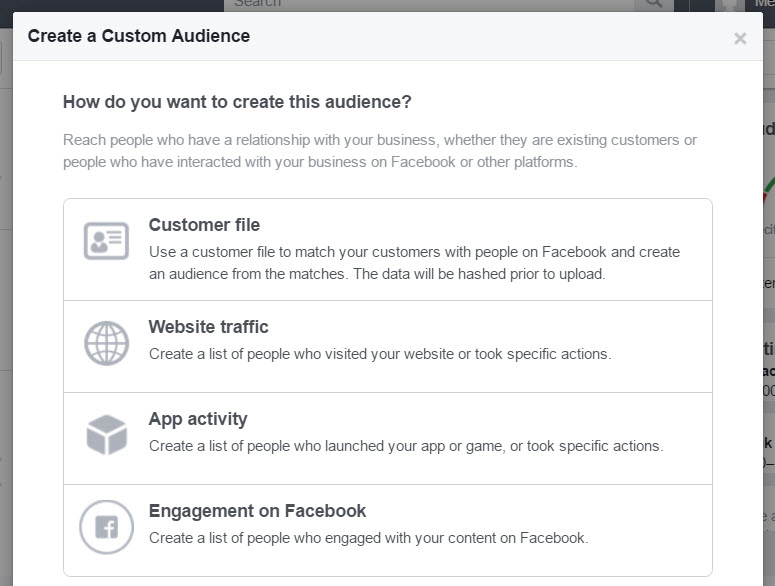
From the ‘Create a Custom Audience’ pop-up, choose ‘Website Traffic’.
![]()
You will now need to create a Facebook pixel. Your Facebook pixel will allow Facebook to compile a list of people who have visited your website. Importantly, it will also optimize and measure your adverts for conversions on your site. Give your pixel a name and click ‘Next’.
![]()
Re-select ‘Create a Custom Audience > Website Traffic’. Here you are able to customize the details of your custom audience, enabling you to target those who have visited certain pages on your site within a specific time span.
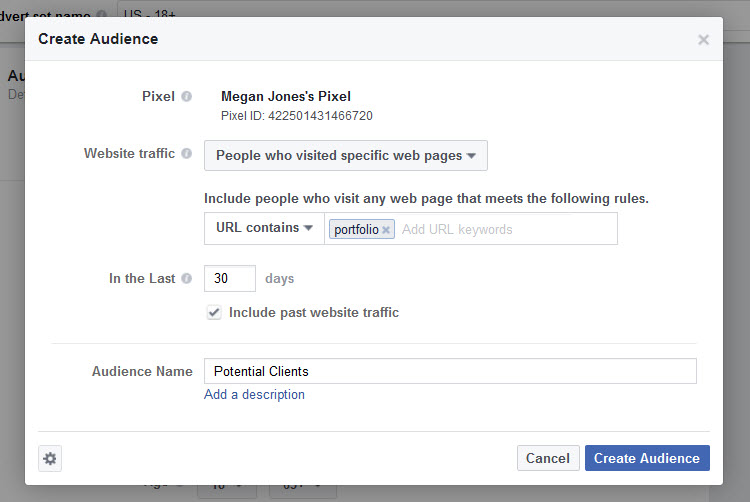
As I am a freelance writer, selling my writing services, I have selected ‘People who have visited specific web pages’. In the ‘URL contains’ box I have written ‘portfolio’. This means my Facebook ads will target people who have already looked at my portfolio page and so have shown an interest in my previous work. These are very likely potential clients, so are an important demographic to turn into a Custom Audience and remarket to.
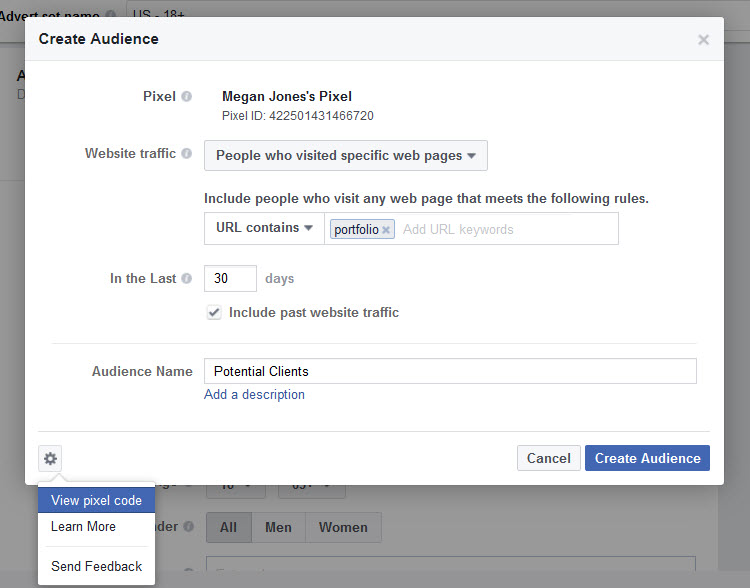
Once you have customized the information for your Custom Audience and given your Custom Audience a name, don’t click ‘Create Audience just yet’. Instead, click on the icon in the bottom left-hand corner and select ‘View Pixel Code’, as the next step is to add your Facebook pixel code to your WordPress website.
Installing the Facebook Pixel Base Code
Installing the Facebook pixel involves adding code between the <head> and </head> tags of all the pages of your site, and some specific pages that you would like tracked. There are two types of code that will need to be added to your WordPress website: pixel base code and event code.
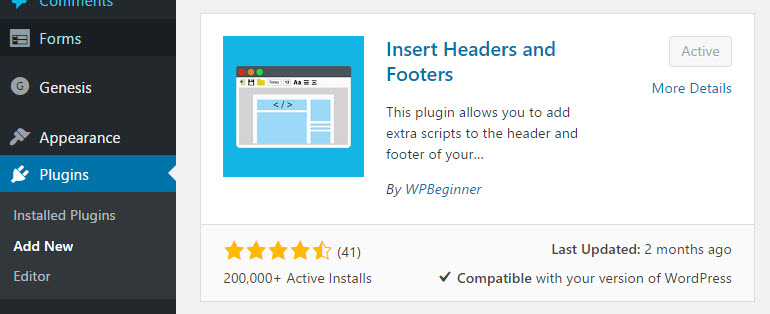
If you are not confident dealing with code don’t worry. There are a couple of plugins that will help you out with this process. Insert Headers and Footers is a free WordPress plugin that will let you insert code into your site’s header and footer. So no need to edit your theme files yourself. Install and activate this plugin within your WordPress website’s dashboard.
![]()
Switch back to your Facebook Ads Manager tab to view the pixel code. Copy the base code.

Within your WordPress dashboard, click on ‘Settings > Insert Headers and Footers’.
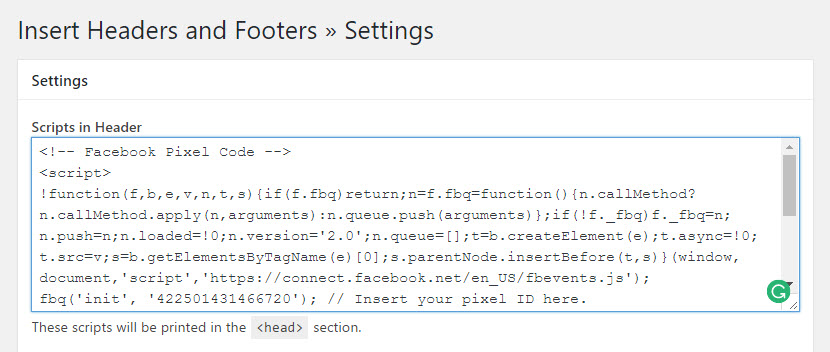
Paste the pixel base code into the box titled ‘Scripts in Header’, then click ‘Save’.
Installing the Facebook Pixel Events Code
The event codes are slightly more complicated, as they have to be added to individual pages that you are looking to track and optimize. An event is an action that happens on your website and the event code lets you track those actions and use the results to optimize your ads.
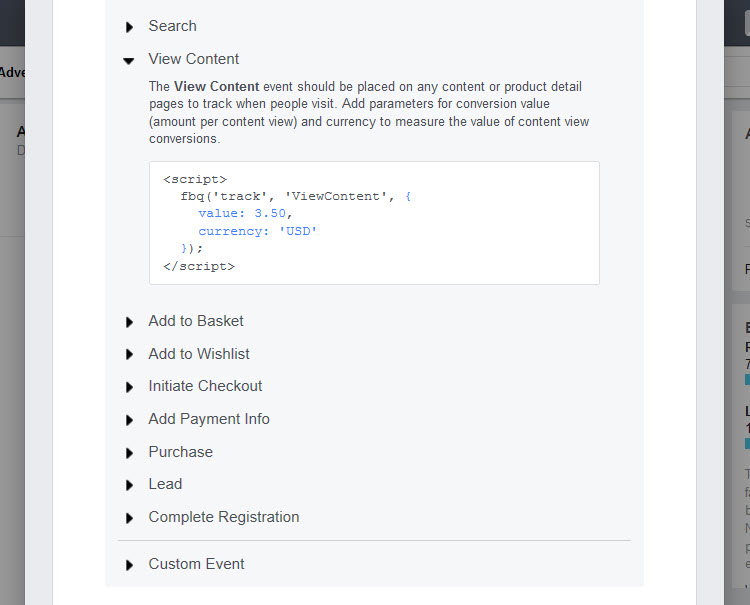
There are nine types of events you can select from, but the one you choose should be related to your objective. For example, my objective is driving traffic to my website so I will select ‘View Content’. If you are looking to increase leads, select ‘Lead’ and/or ‘Complete Registration. Or for eCommerce stores, choose from a number of events including ‘Add to Basket’, ‘Add to Wish List’ and/or ‘Purchase’. To find further information on ‘events’, check out Facebook’s Help Pages.
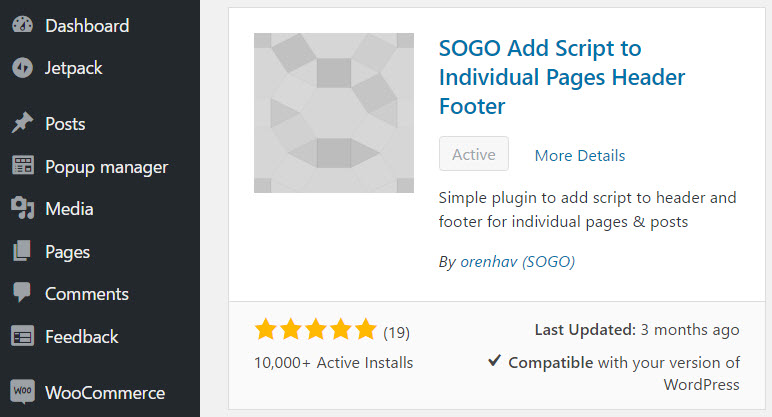
To add an events code to your website via a plugin, install and activate the free WordPress plugin SOGO Header Footer. This plugin allows you to add script directly to individual page’s headers and footers.
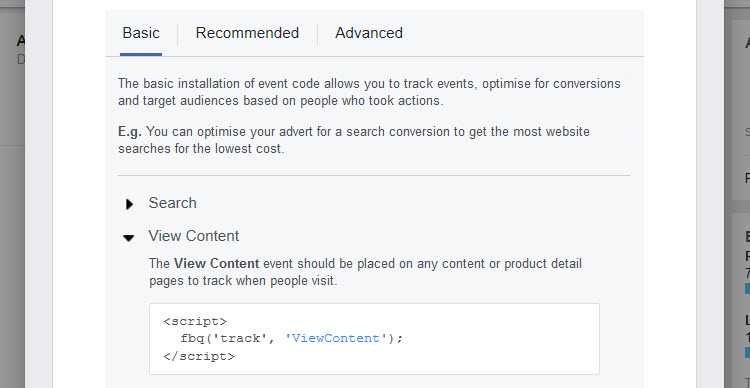
Copy the Facebook events code/s that are relevant to your objective. I have copied the ‘basic’ code for ‘View Content’, but for those who want to track your ads ROI, then you should opt for the ‘recommended’ or ‘advanced’ code.
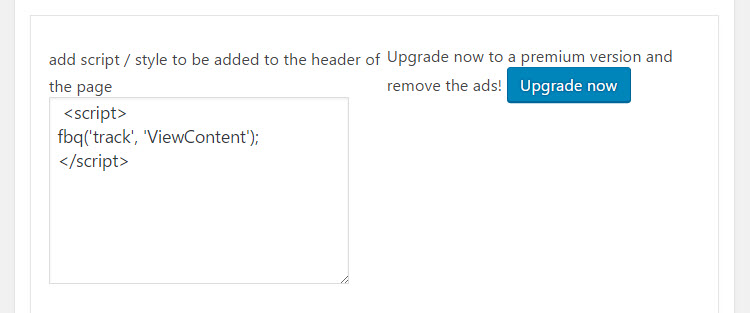
Open the page of your WordPress website that you would like to add the events code to. At the bottom of the page, paste the event code into the SOGO editor. Here I have pasted the ‘View Content’ code into my portfolio page, as that is the page I am looking to track. Then re-publish the page.
Using the Facebook Pixel Helper
![]()
Your pixel should now be installed and working. Facebook will notify you when it is working, but from experience, this may take about 24 hours.
![]()
The Facebook Pixel Helper is a free troubleshooting tool that works in real-time. Activate the browser extension then load up your WordPress website. The Facebook Pixel Helper will let you know if your pixel is firing and is working correctly, or help you to detect and fix errors.
Finish Creating Your Custom Audience
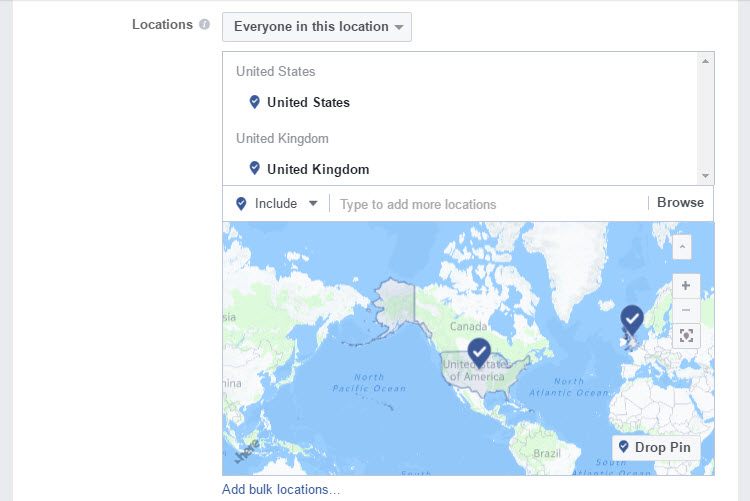
Now your Facebook pixel is installed on your WordPress website, you can finish creating your Custom Audience. Switch back to your Facebook Ads Manager and go ahead and add any extra details you want to use to customize your audience pool. These include location of audience, age, interests, behaviors and more.
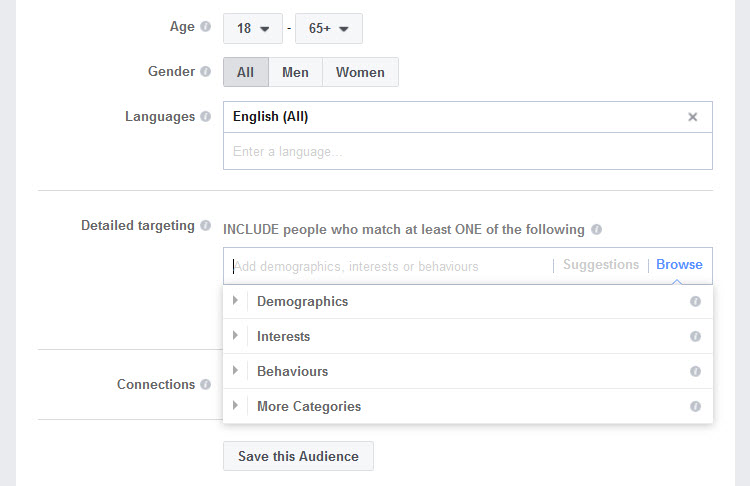
Once finished, select ‘Save this Audience’.
Budget
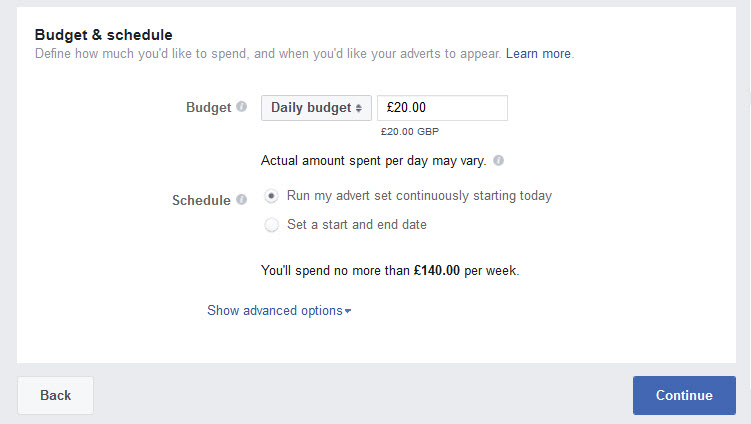
Here you will select an appropriate budget for your remarketing campaign and create a schedule for your ads. It is important that once your ads are up and running you monitor the results carefully. Check that your ads campaign is effective and you are getting a return for your money.
Create Your Advert
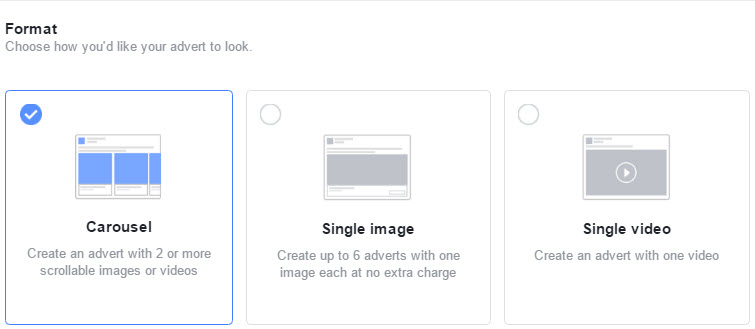
The last step is to create your advert. You can choose from a simple image, a carousel, video or slideshow. Add your own media, text and appropriate links. Make sure your ad is dynamic and unique. It needs to stand out from the crowd but at the same time represent your brand and appeal to your target audience. Facebook has great info and examples of powerful ads, so have a look before you get started.
Final Thoughts
Once your ad is up and running, you work isn’t over. Facebook provides a range of strategies to help your ads convert against their objective. Try split testing your ads, creating a range of different Custom Audiences and Lookalike Audiences, and lots more. Always monitor your results carefully to see if your remarketing campaign is successful, and learn what you can do it further increase conversions.
What objective will you choose for your Facebook remarketing campaign? Please share your thoughts in the comments below…