Accept Crypto Payments with WordPress & CoinGate

When the Bitcoin bug bit back in 2009, it was pure jargon that made sense to a few tech-savvy people. But a lot of things have changed in a decade. Today, cryptocurrency is all the buzz as more businesses – big and small – rush to adopt this tech-forward mode of payment.
As more people understand the nuances of blockchain technology and cryptocurrency, it’s worth considering accepting crypto payments on your WordPress website. It’s fairly easy thanks to cryptocurrency payment processors, digital wallets, and WordPress plugins that make the process a breeze.
And in today’s post, you will learn why it’s worth accepting crypto on your WordPress site. You will learn how to configure the entire thing using a popular payment gateway known as CoinGate. In other words, you will learn how to enhance your customer’s journey by offering more payment options during checkout.
With that preamble, let us get down to work.
Why Accept Cryptocurrency?
In layman’s language, cryptocurrency is a digital currency that is not controlled by any bank or government. The currency uses encryption (or rather cryptography) to process transactions and keep everything secure. Due to its decentralized nature, crypto offers you some benefits that traditional methods (such as credit cards) can’t.
- Faster transactions – Unlike traditional methods that take days to process payments, cryptocurrency payments process immediately, offering you faster access to your funds. Faster transactions can help you stay on top of things as far as your business cash flow goes.
- Lower transaction fees – Merchants pay conventional credit card companies and payment process a fraction of each transaction. If you process many transactions, these fees can quickly add up. Cryptocurrency has significantly lower transaction fees compared to credit card companies and services such as PayPal.
- Broader customer base and increased sales – Offering more payment methods on your checkout page give you access to a broader market of tech-savvy customers in the crypto community. On top of that, cryptocurrency allows users to send money anywhere in the world, which allows you to open doors to consumers who don’t have credit cards or access to PayPal in their countries.
- Better security – Cryptocurrency is a peer-to-peer form of payment meaning the transaction occurs only between you and the buyer. Middlemen, such as banks and credit card companies don’t exist, which reduces the chances of eCommerce fraud. Once the transaction is complete, the buyer or the middlemen cannot reverse the transaction, which protects you from fraudulent chargebacks. Additionally, cryptocurrency uses complex coding and encryption, which makes it hard for hackers to intercept transactions.
- Convenience for your customers – Accepting cryptocurrency payments on your WordPress website offers your customers more payment options while keeping their information extra safe.
As you can see, accepting cryptocurrency has some notable benefits for your business. In the upcoming section, you will learn what makes CoinGate a great choice as you add cryptocurrency to your WordPress site.
What Makes CoinGate a Great Choice
CoinGate is one of the best cryptocurrency payment processors around. What that means is they help you to process crypto payments on your website. Once they process any cryptocurrency payment, you can withdraw to your bank account (in fiat currency i.e., USD, Euro, or Pound) or keep the crypto coins in your digital wallet.
It’s advisable to send the funds to your bank account since Bitcoin and other cryptocurrencies are highly volatile. So, what makes CoinGate a great choice out of the many crypto gateways out there? Here are a couple of reasons that influenced us to choose CoinGate for today’s tutorial.
Feature Highlights
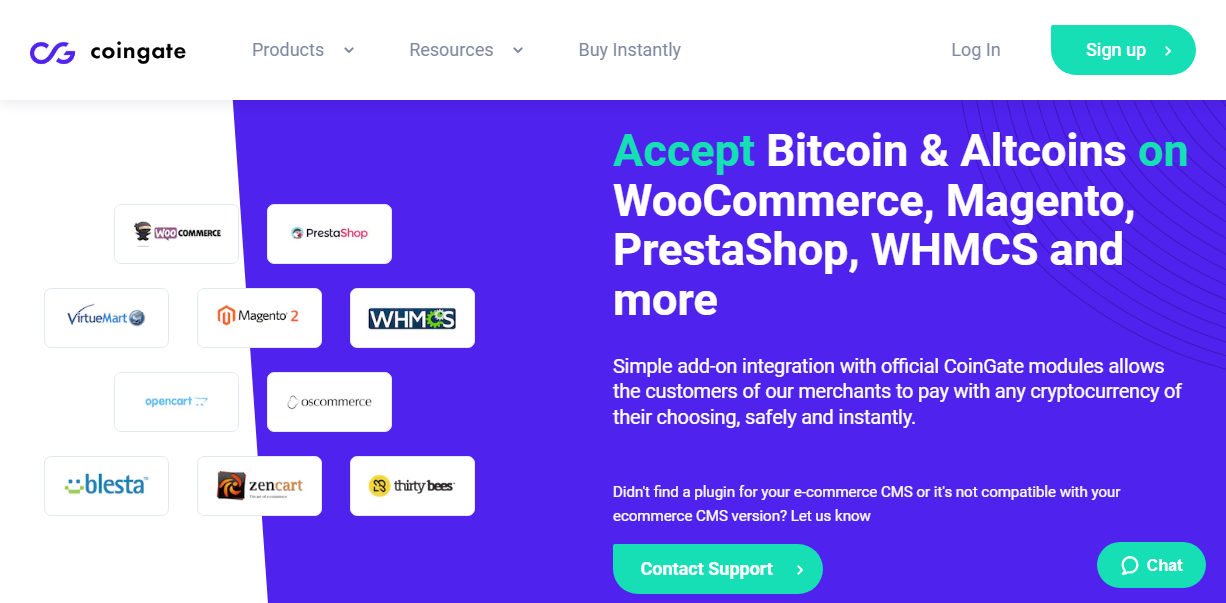
- Easy WooCommerce integration – Cryptocurrency is already complicated as it is. You don’t need technical hurdles to get in your way when integrating crypto payments to your WordPress website. That’s why CoinGate offers you a beginner-friendly WordPress plugin that integrates seamlessly with your WooCommerce store. On top of that, CoinGate is incredibly easy to use thanks to an intuitive user dashboard.
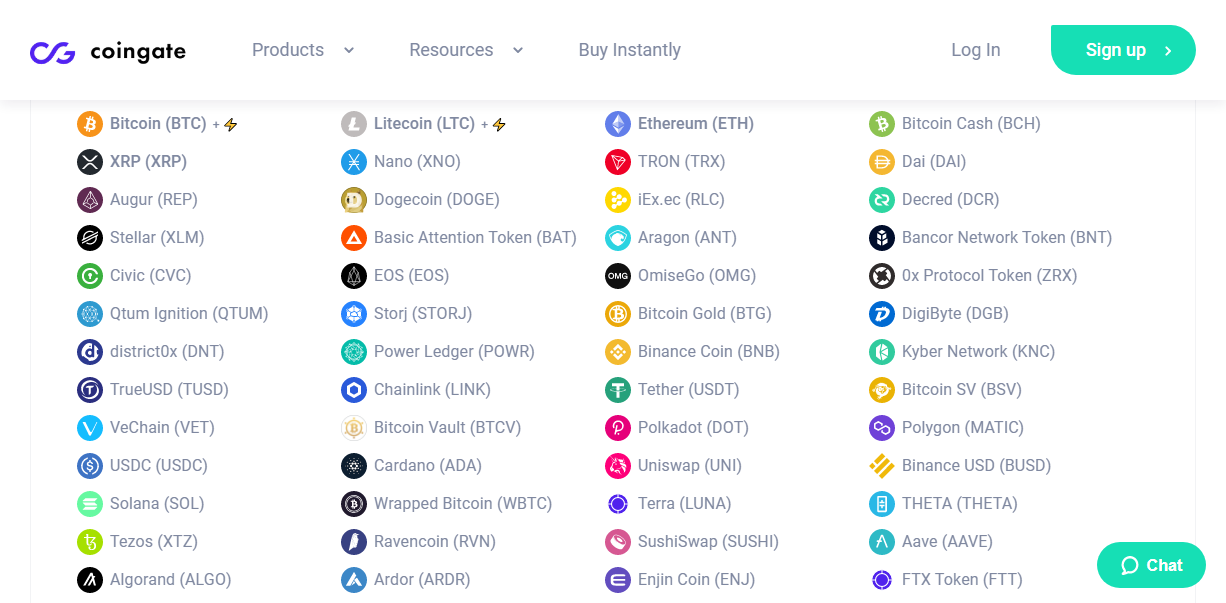
- Tons of currencies and countries – At the time of writing, CoinGate supports more than 75 currencies, and close to 100 countries. You can reach an international audience and process a ton of different currencies including Bitcoin, Ethereum, Litecoin, and so much more.
- Low fees – Of the cryptocurrency payment processors I came across, CoinGate charges some of the lowest fees in the industry. CoinGate charges between 0 and 1% processing commission for all buttons, plugins, web PoS, APIs, and billing. No setup or recurring charges as well. This will save you a lot of money in the long run.
- No chargebacks – CoinGate doesn’t initiate costly chargebacks. If a buyer needs a refund, they will have to pick that up with you, the merchant, directly.
- Merchant directory – When you earn cryptocurrency coins, CoinGate offers you a curated directory of stores and an assortment of more than 1,500 gift cards that allow you to spend your coins instead of converting them. Popular stores include Walmart, Overstock, and Alternative Airlines, among others. Popular gift cards include Fortnite, eBay, Amazon, Macy’s, and so much more.
Now that you know why CoinGate made the cut, let us learn how to connect the payment processor with WordPress and start accepting over 70 cryptocurrencies.
How to Accept 70+ Cryptocurrencies with CoinGate
Setup a Digital Wallet
Firstly, you need a digital wallet to work with cryptocurrencies. Unlike a physical wallet where you store your cash, a crypto wallet is simply a software app (or at times a hardware device that looks like a USB drive) that stores your private cryptocurrency data/keys.
You can save your wallet on your desktop, mobile phone, on hardware, or the web. Note that there are countless wallets out there, but CoinGate recommends the following Best Cryptocurrency Wallets for BTC, LTC, ETH & BCH. Do your research to find the best wallet for your needs.
It is worth bearing in mind that some digital payment processor services actually provide an online wallet service (Bitpay and CoinBase). Whereas other payment gateways simply deposit Bitcoin funds as equivalent currency into your bank (Mollie), resulting in you not needing a Bitcoin wallet at all. – Megan Jones
Unfortunately, CoinGate doesn’t provide an online wallet service such as Bitpay and CoinBase. It’s simply a cryptocurrency payment processor, meaning you need to set up a wallet separately. Here’s a fantastic post by CoinGate showing you how to set up the Electrum digital wallet one of the most secure and easy-to-use wallets.
Now that you have a working wallet, it’s time to create a CoinGate account.
Create a CoinGate Account
Before installing the CoinGate WordPress plugin, you need to sign up for an account on CoinGate. For production websites, create an account on the official website. To test CoinGate, create an account on the sandbox environment instead.
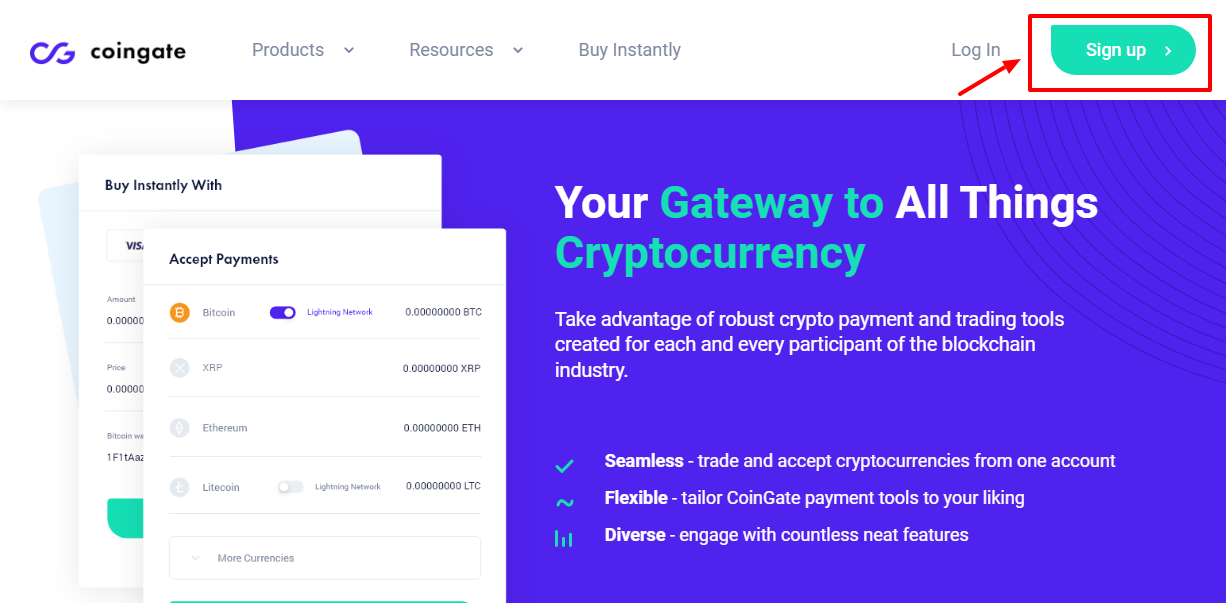
For illustration purposes, I will use the sandbox environment, but the process remains the same. Head over to the CoinGate website and click the Sign up button, as shown below.
Next, click the As a business button since you’ll be using CoinGate for business purposes.

After that, choose how you’d like to create your account. You can use Gmail, Facebook, or Email to sign up. I went with the third option but you can choose the service you prefer.

Enter your email and password, and click the Sign Up button at the bottom of the screen, as we highlight below.

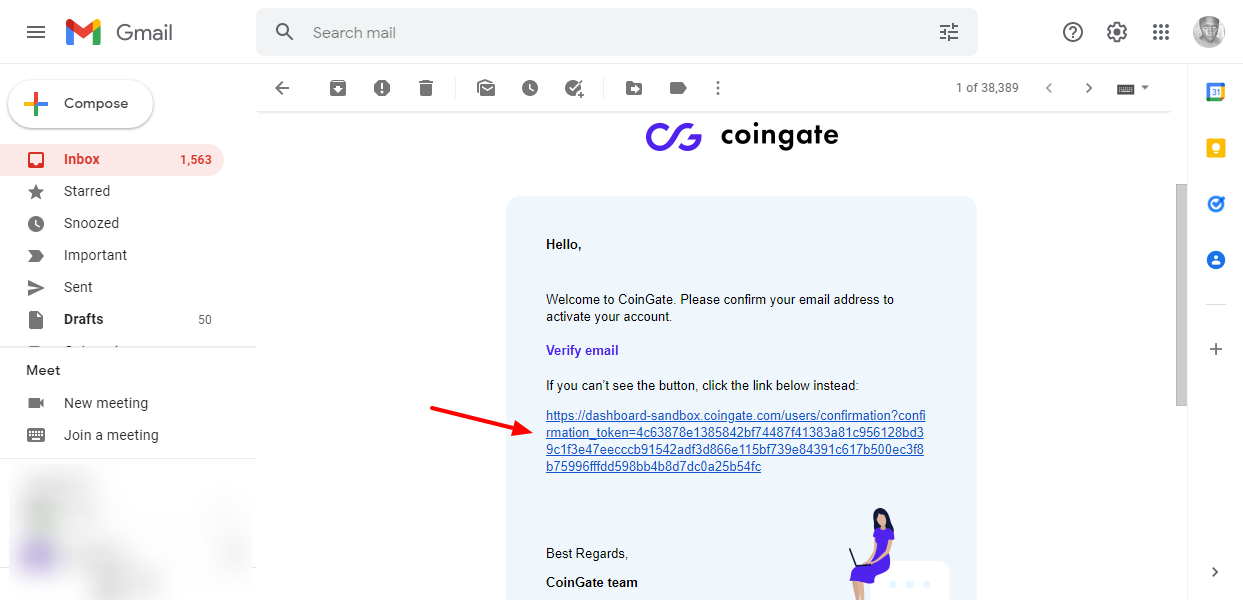
Before anything else, log in to your mailbox and click the link to confirm your CoinGate account, as shown below.
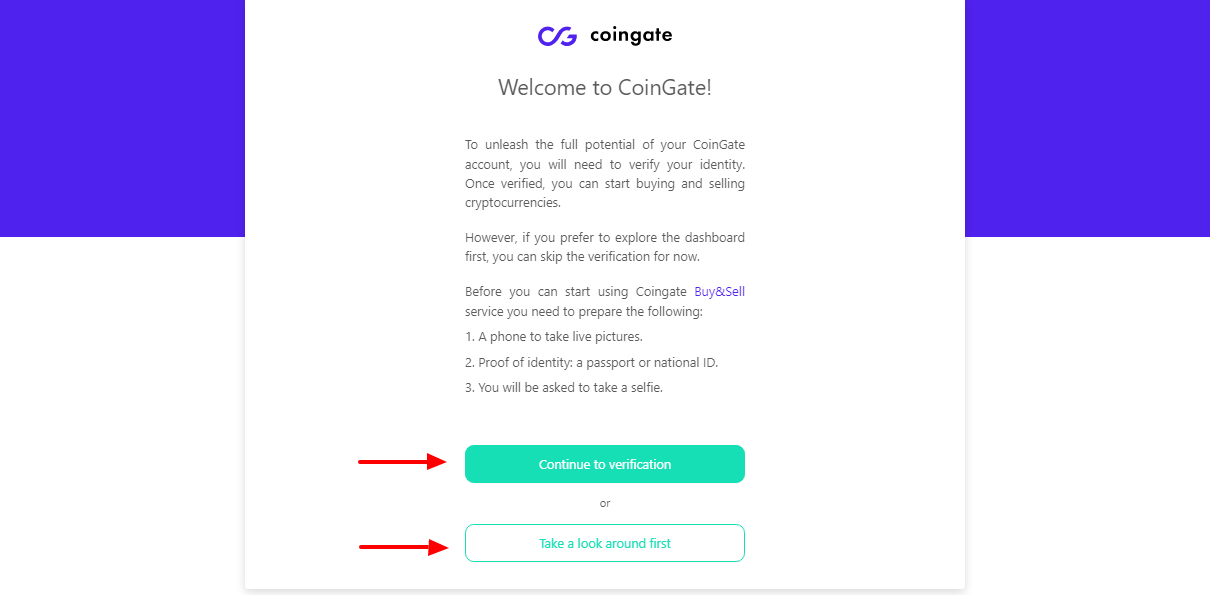
After confirming your account, CoinGate will redirect you to the dashboard where you can either start the verification process or look around. Note that verifying your account unlocks the full potential of your CoinGate account.
After a few clicks here and there, I successfully verified my trader account and added my first business:

Now, here’s how the CoinGate dashboard for my fictitious business looks:
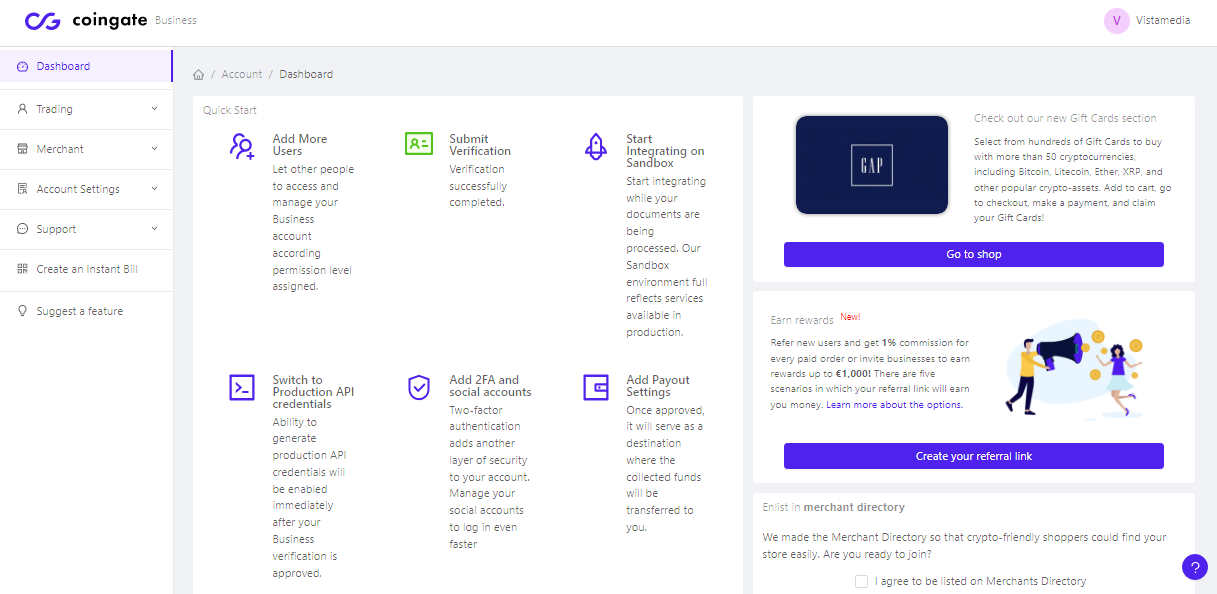
Not bad. I must agree the dashboard looks quite neat and organized. Now, let us connect CoinGate with our dummy WooCommerce store, and activate cryptocurrency payments. First, we must generate API keys that we will use to connect our site to the CoinGate service.
Here’s how…
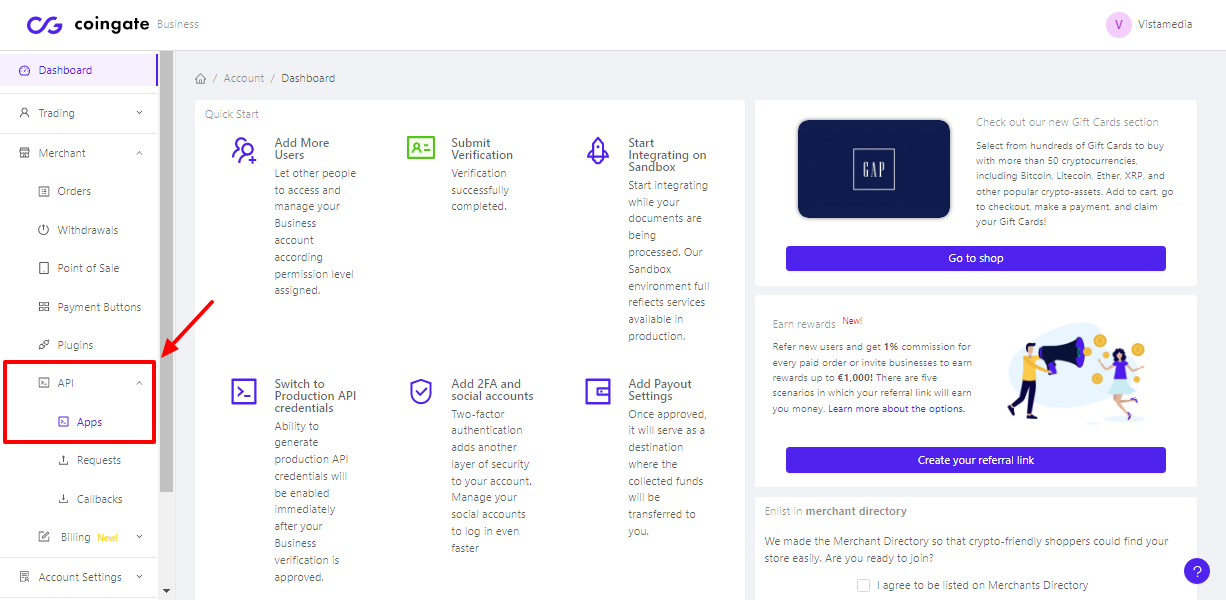
In your CoinGate business account, click the Merchant tab, as shown below.

Next, click API > Apps, as we detail below.
After that, click the New App button:
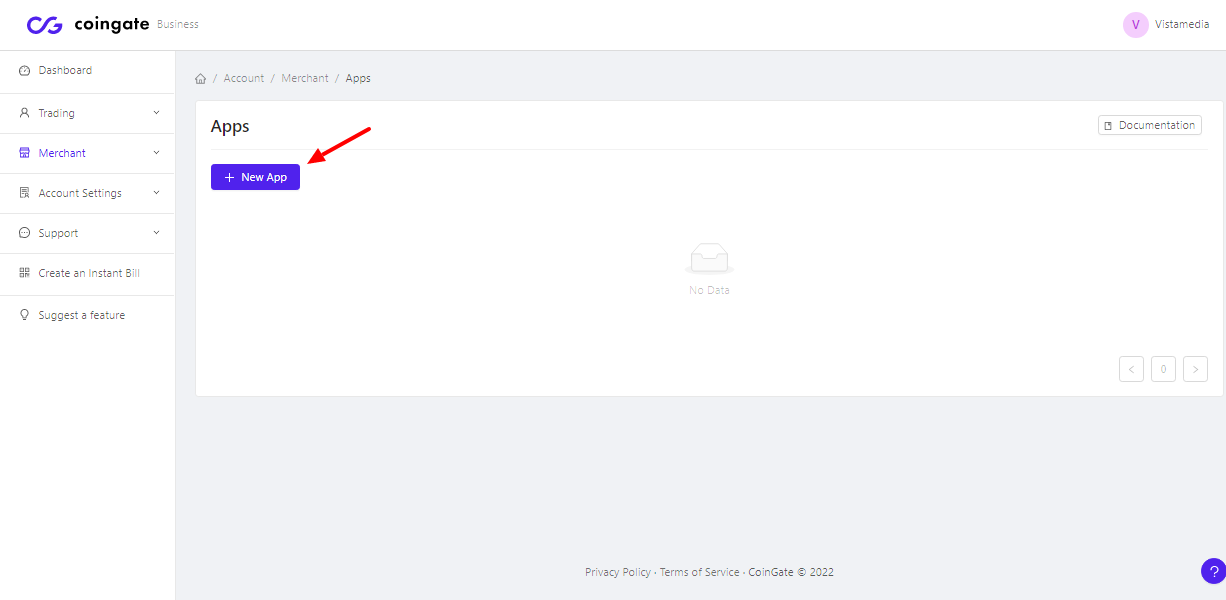
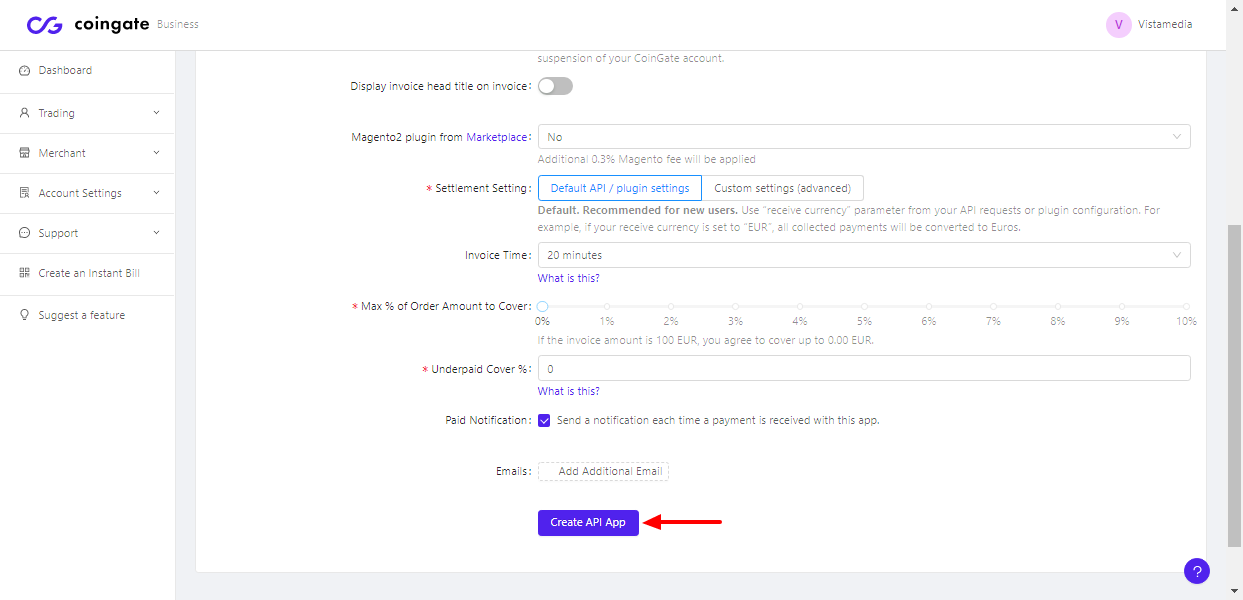
Fill out the next form accordingly, and click the Create API App button at the bottom:
Now you have your API key (Auth token), as shown below.
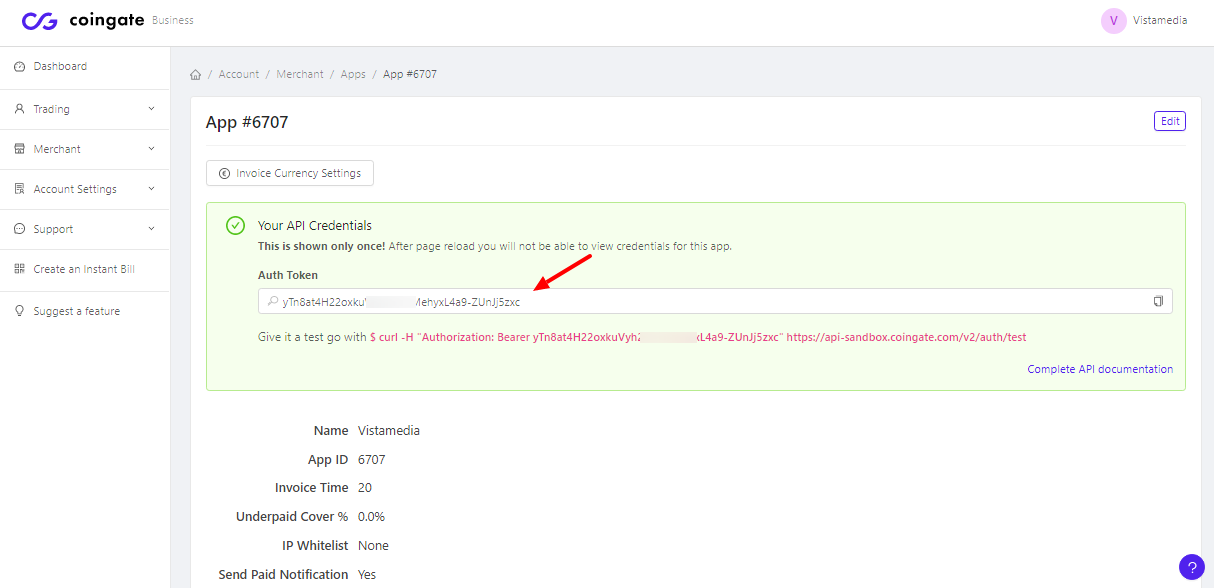
It’s time to install the CoinGate WordPress plugin. The plugin is available on the free WordPress.org plugin repo, which means we can install it right inside your WordPress admin dashboard.
Installing CoinGate WordPress Plugin
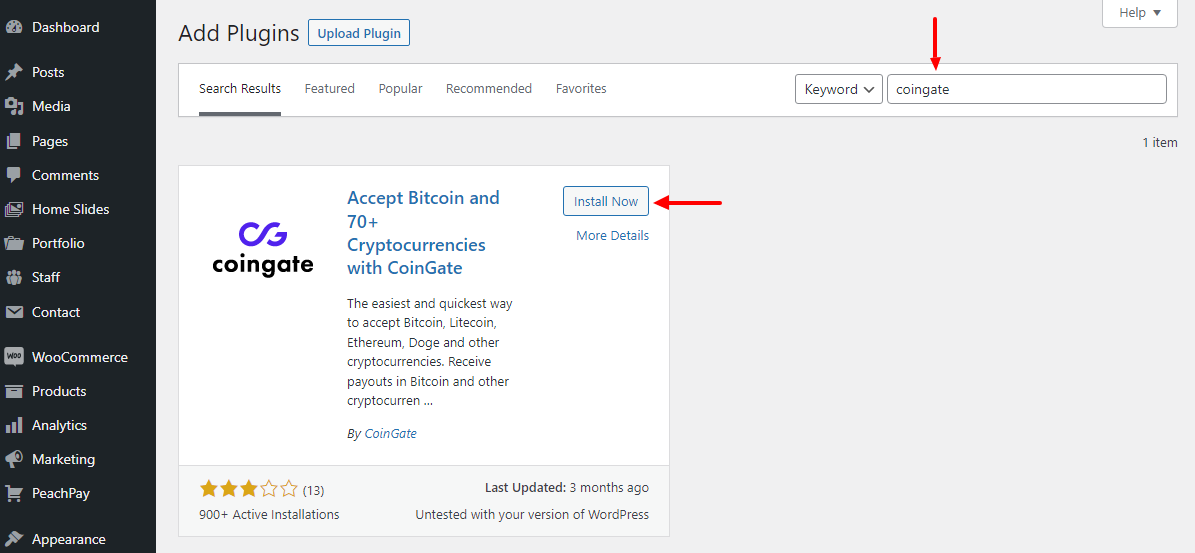
Log in to your WordPress admin dashboard and navigate to Plugins > Add New:

In the keyword search box, enter “coingate” and click Install Now when the plugin appears, as shown below.
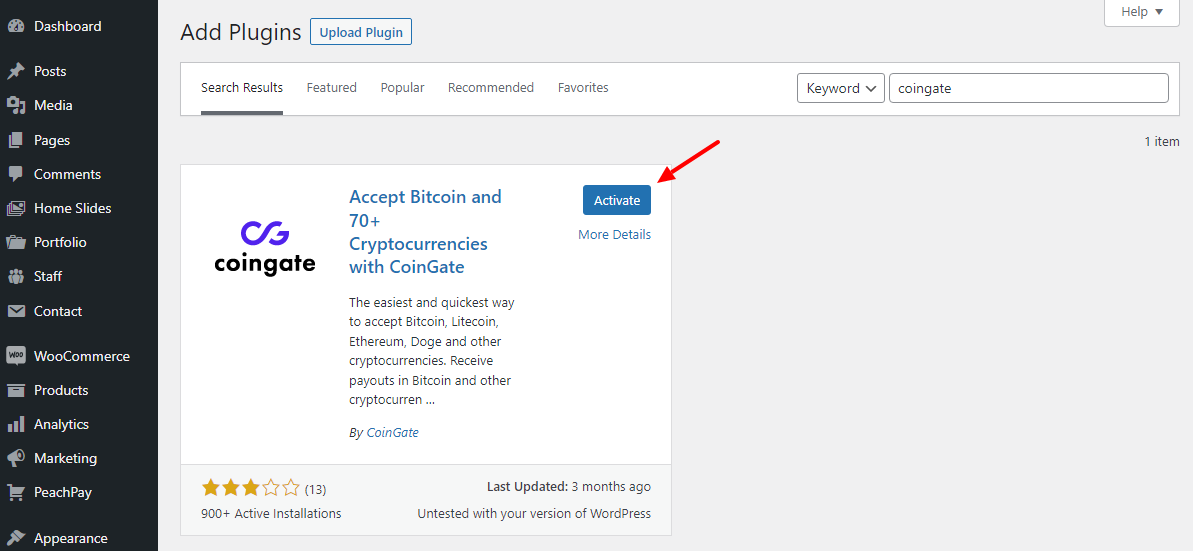
Next, activate the plugin:
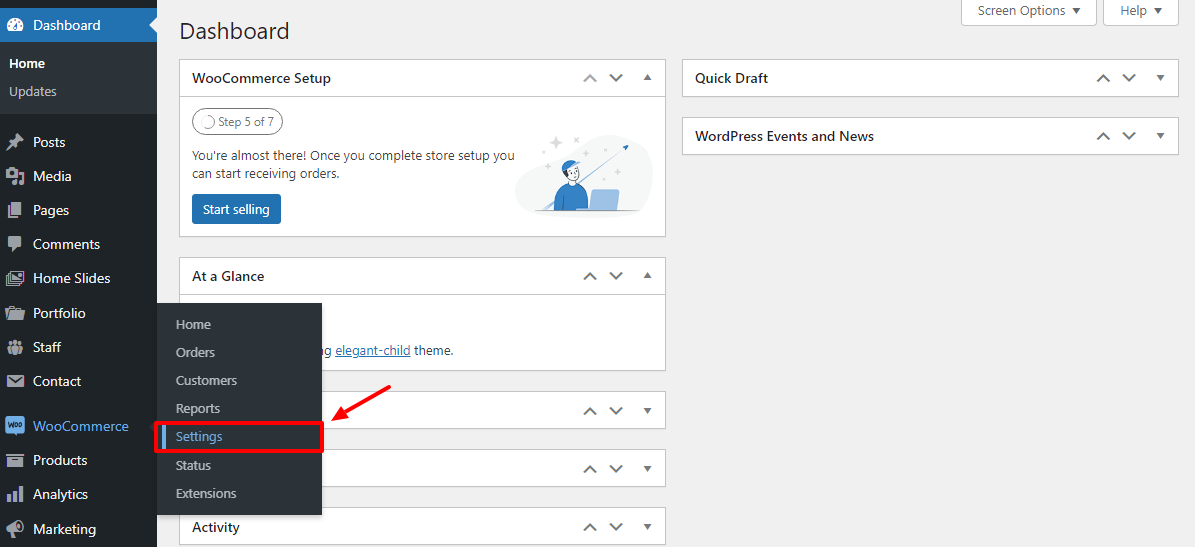
Go to WooCommerce > Settings:
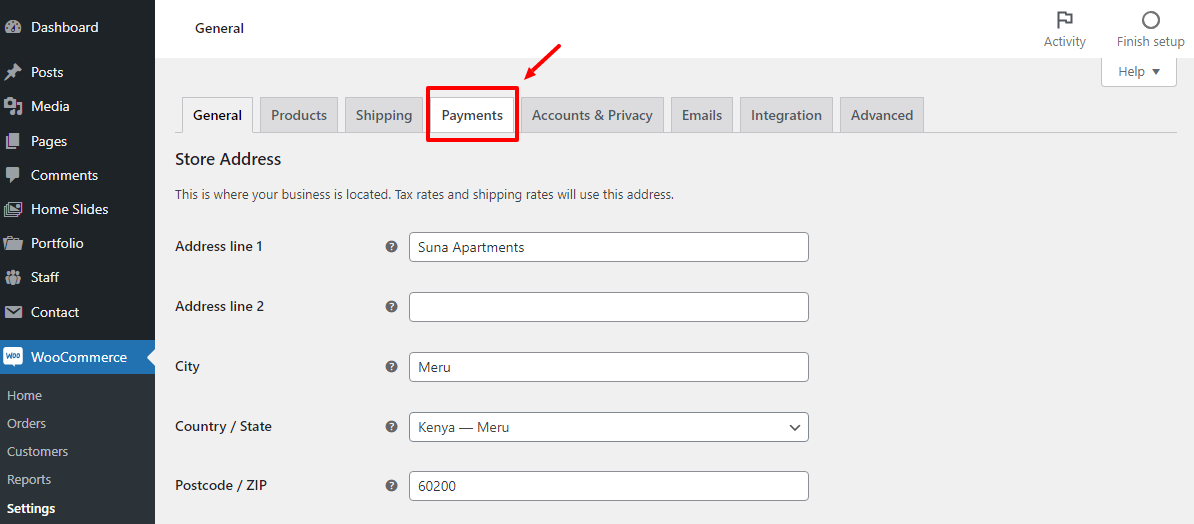
After that, click the Payments tab, as shown below.
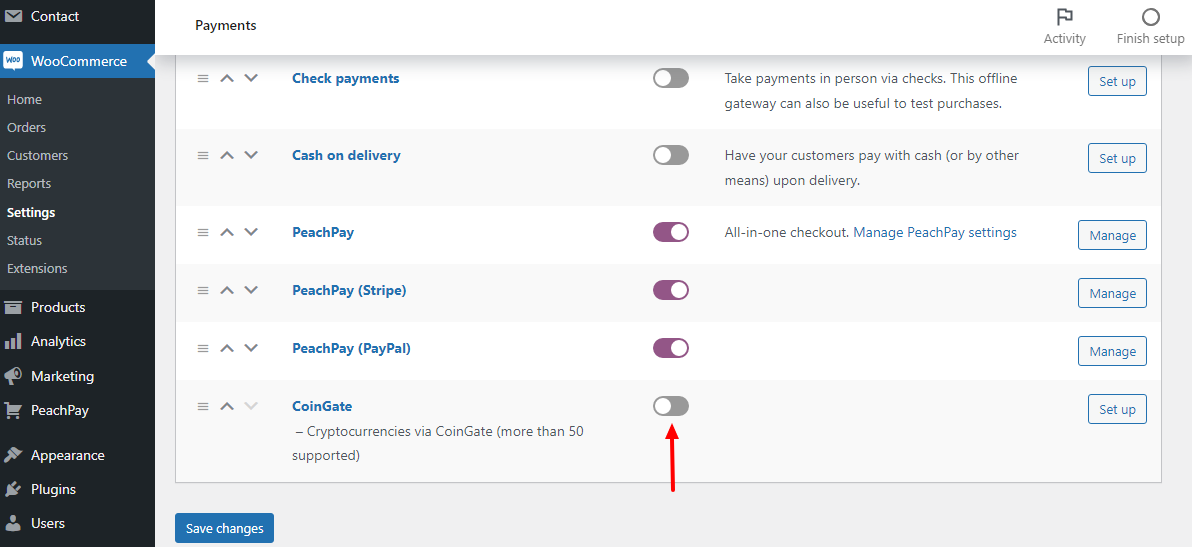
Toggle on the CoinGate button, as shown below.
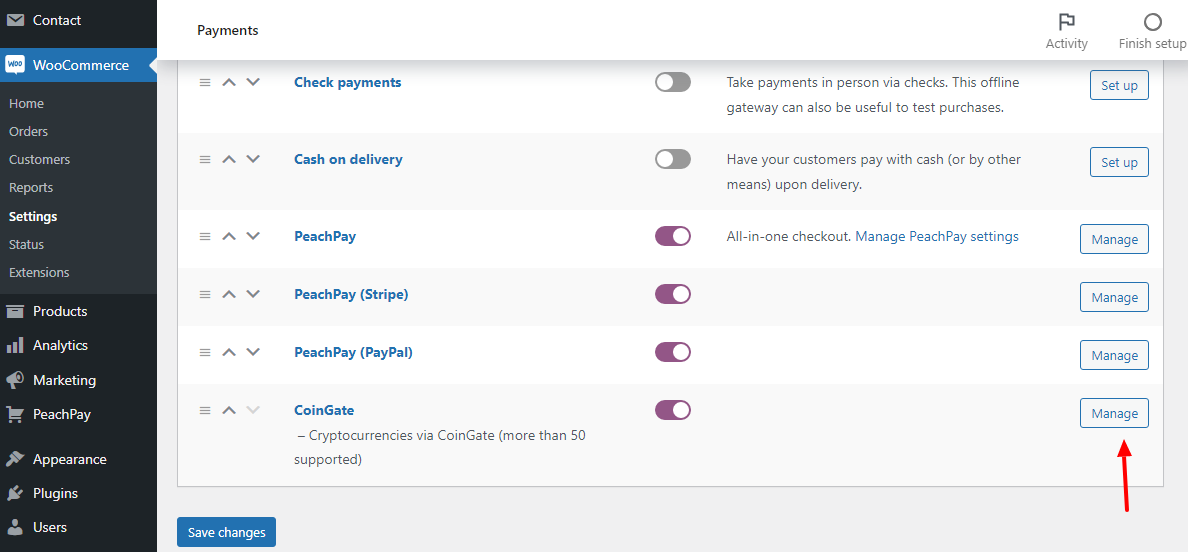
After that, click the Set up/Manage button, as we highlight below:
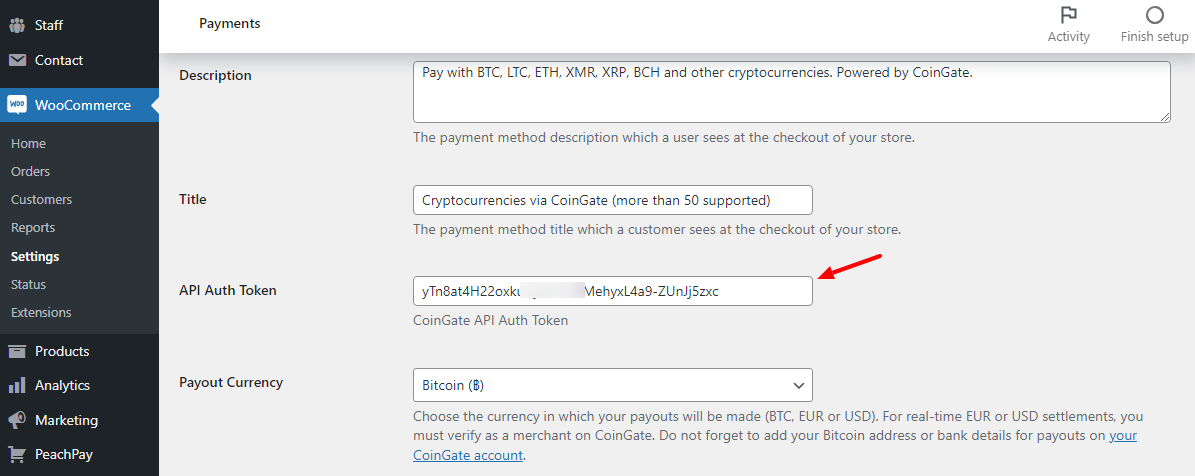
On the next page, copy-paste the Auth Token you generated in your CoinGate account earlier:
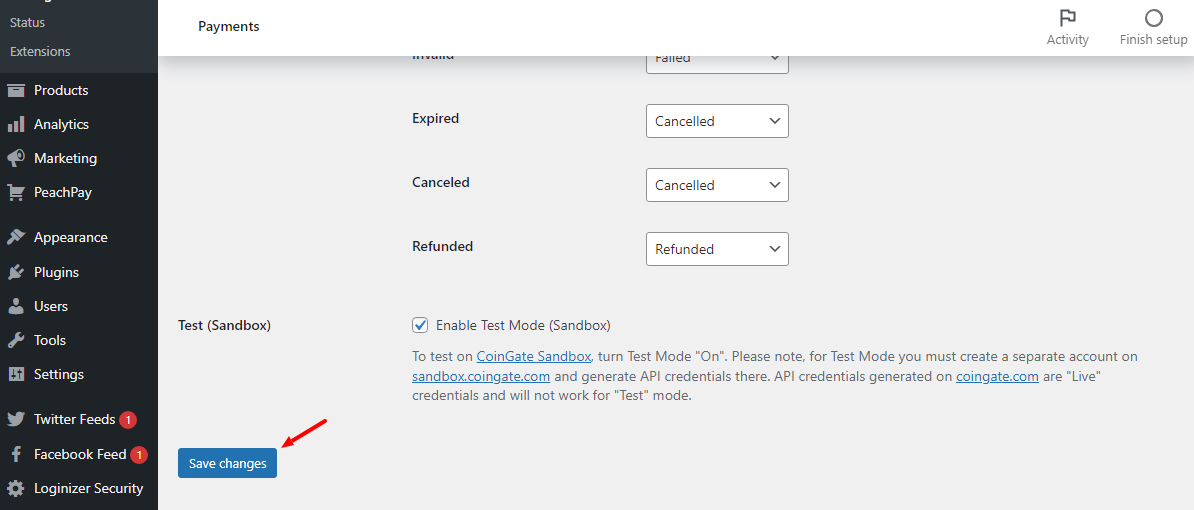
Scroll to the bottom of the page and hit the Save Changes button:
And that’s it! Your WordPress website is now connected to CoinGate and you can start accepting cryptocurrency payments. Now if I check my checkout page on the front-end, I will see this nice box that lets my buyers pay using bitcoin and other cryptocurrencies:
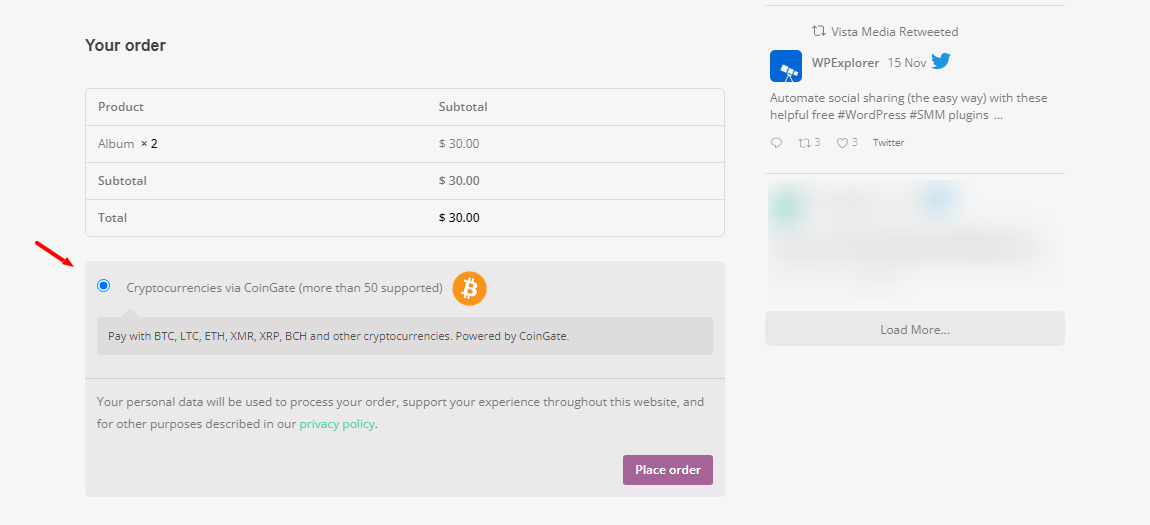
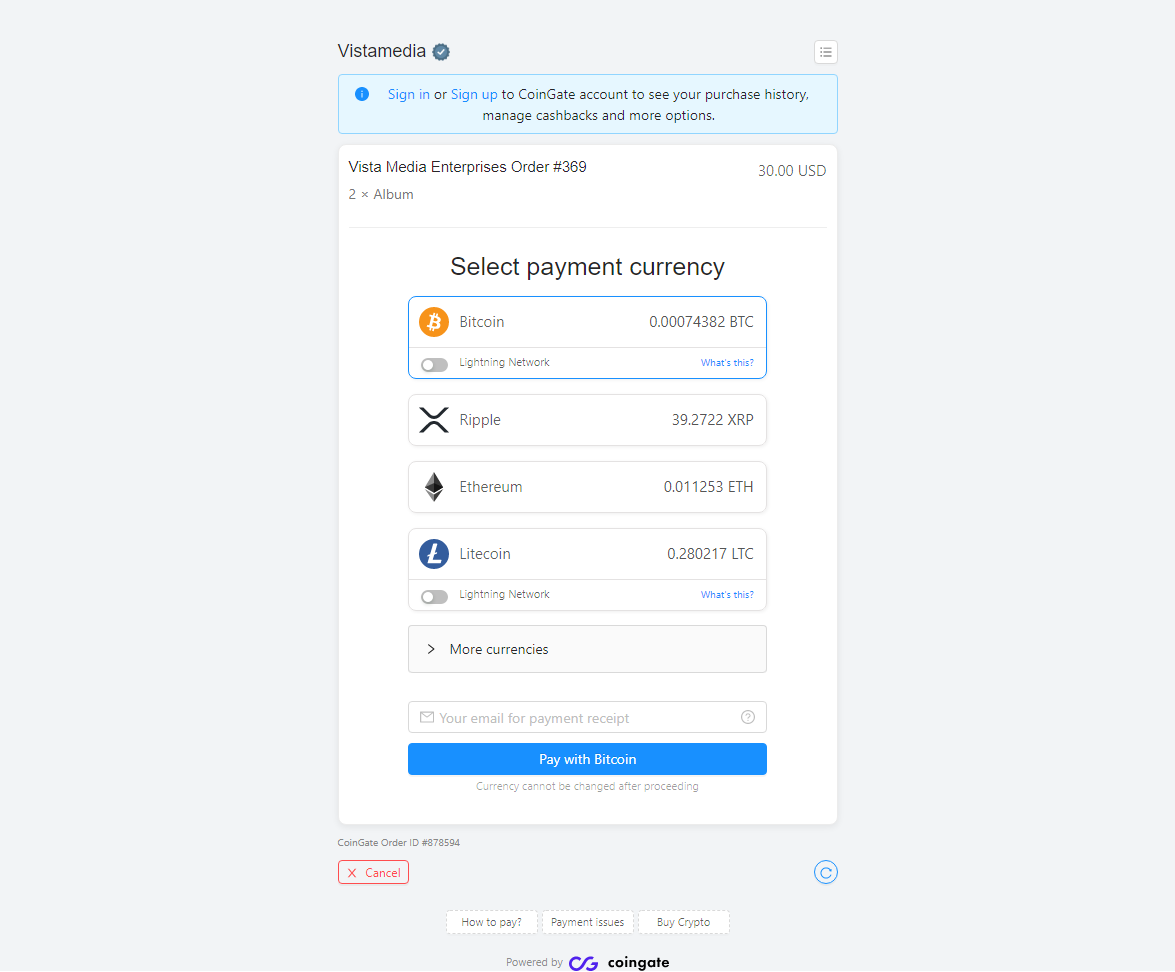
As simple as A, B, C. If I click the Place order button above, CoinGate will redirect me to the following page, where I can finalize the payment using the cryptocurrency of my choice:
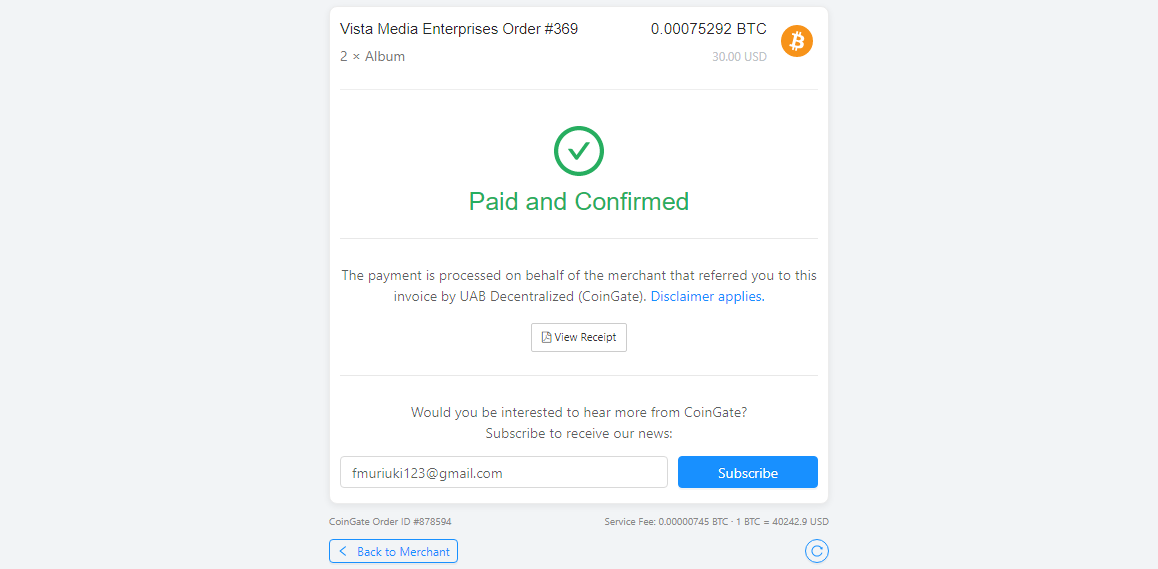
When I finalize the payment, I will eventually land here:
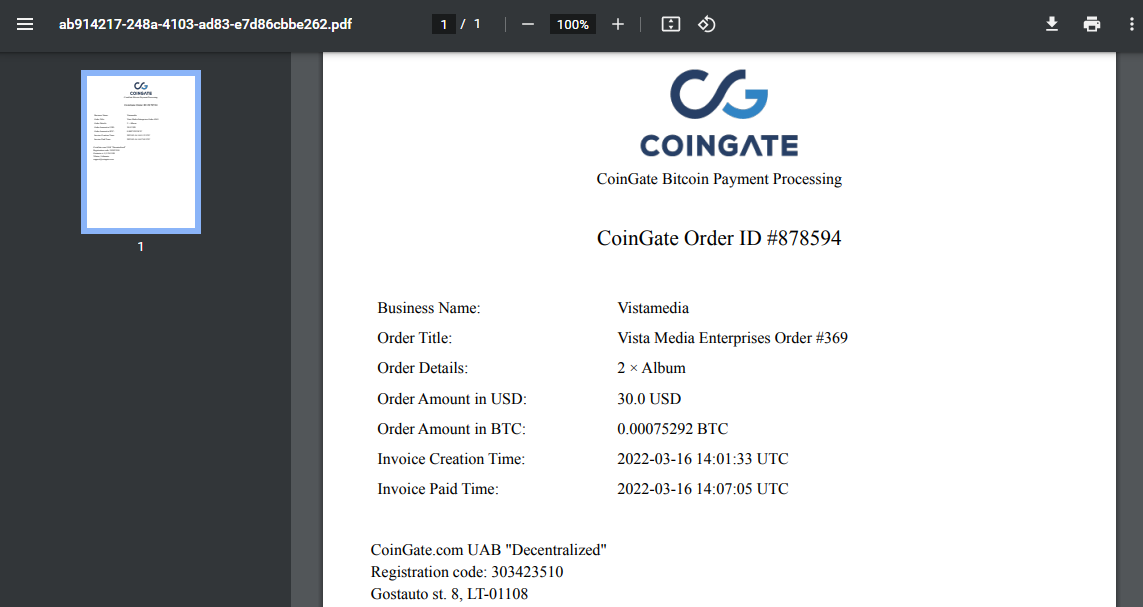
And you get a nice PDF receipt to go with it. Note that you can customize the receipt:
I really had fun with CoinGate. Every step of the process is straightforward that I was up and running in less than 10 minutes. If you need a solid cryptocurrency gateway, these guys won’t disappoint.
To recap, offering your consumers crypto payments comes with its benefits. You can reach a broader audience and process transactions faster without breaking the bank. All while providing your buyers an extra layer of protection. To boot, cryptocurrency is in its infancy and the future looks bright. You can expect better things in the future, so what are you waiting for?


