2FA WordPress Authentication with Google Authenticator


As an internet entrepreneur, your website is like your home on the Internet. And you want to keep that home safe, don’t you? If you’re using WordPress to run your site – kudos! You’ve got a great home, in an awesome neighborhood. (Your home being WordPress and the neighborhood being the WordPress community!)
Today we’re gonna talk about how to improve WordPress security – using two-factor authentication – ‘2FA’ in short. In my last article, we talked about how to setup two-factor authentication using Duo Security – a renowned security firm with clients like Sony and Esty. In this article we’re going to learn how to setup two-factor authentication using the Google Authenticator WordPress plugin.
In order for this process to work, you’ll need a smartphone – either an Android phone, iPhone or a BlackBerry. Other operating systems like Symbian and Samsung’s JAVA based mobile operating systems are not supported. This is because our authentication software will be the Google Authenticator app in our phone. If you’ve used Gmail or Dropbox’s 2FA feature in the past, then you’ve had had to install the Google Authenticator app. For folks who haven’t used the app – don’t worry. It’s a pretty easy process!
Installing Google Authenticator
We begin by installing the plugin in WordPress. To do this, go to WordPress Dashboard > Plugins > Add New.
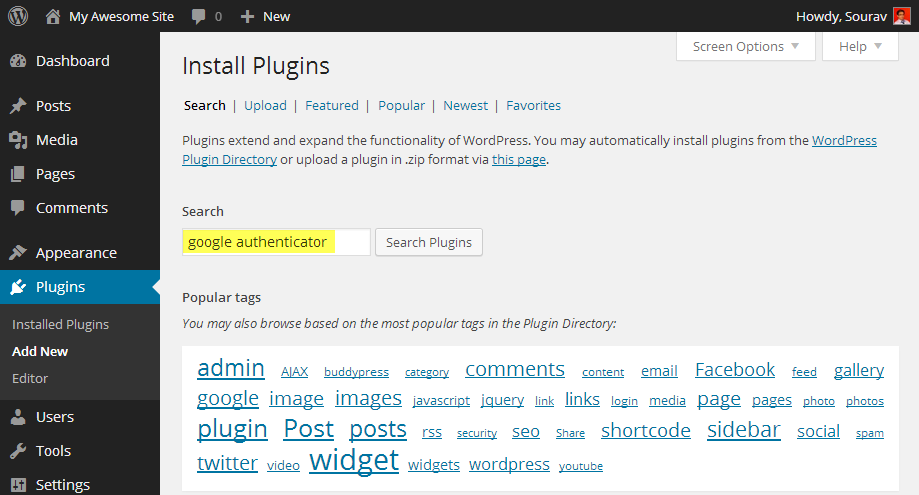
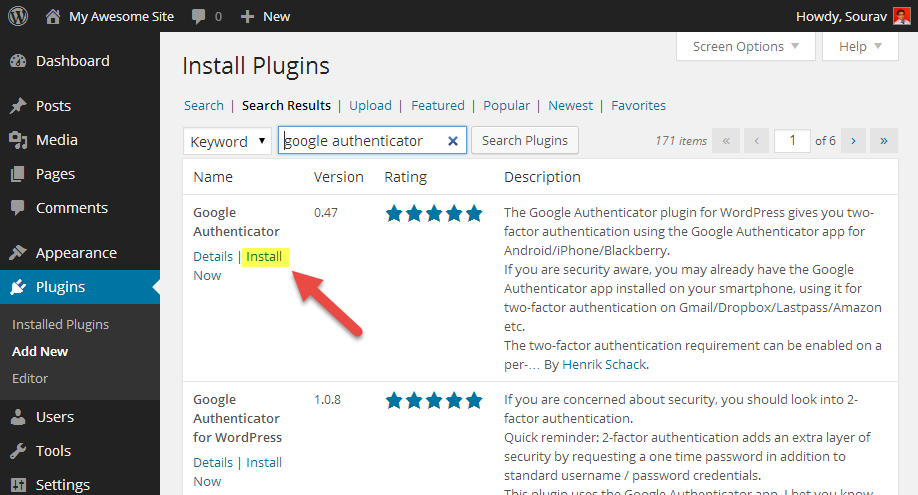
Search for “google authenticator” and install the first result that is displayed.
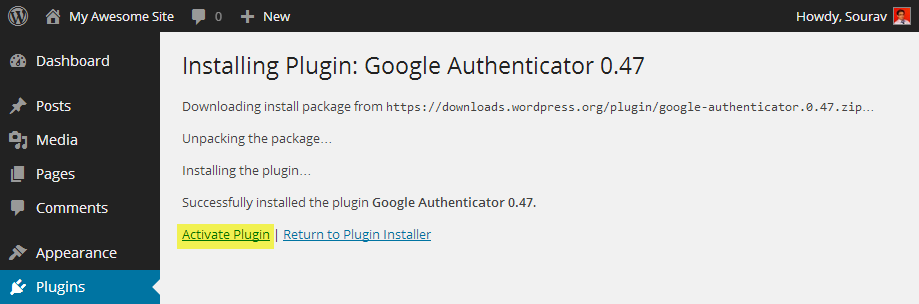
Once the plugin is downloaded and unpacked, Activate it.
Configuring Google Authenticator in WordPress
The Google Authenticator for WordPress plugin does not have a dedicated menu entry in the WordPress dashboard menu, nor does it have a sub-menu item under Settings. You need to activate this plugin on a per-user basis, just like in our last 2FA tutorial. You can access the individual user setting, by going to WP Dashboard > Users > Your Profile. Scroll down a bit and you’ll find the settings headed under Google Authenticator Settings.
Google Authenticator Settings Explained
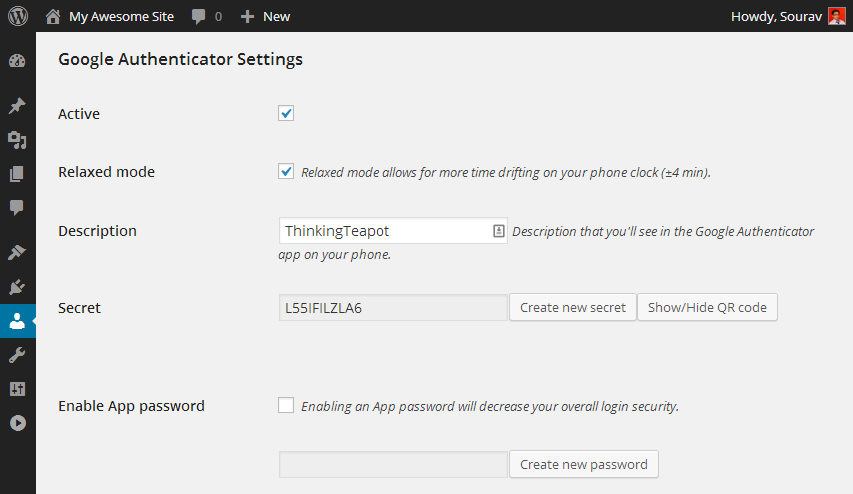
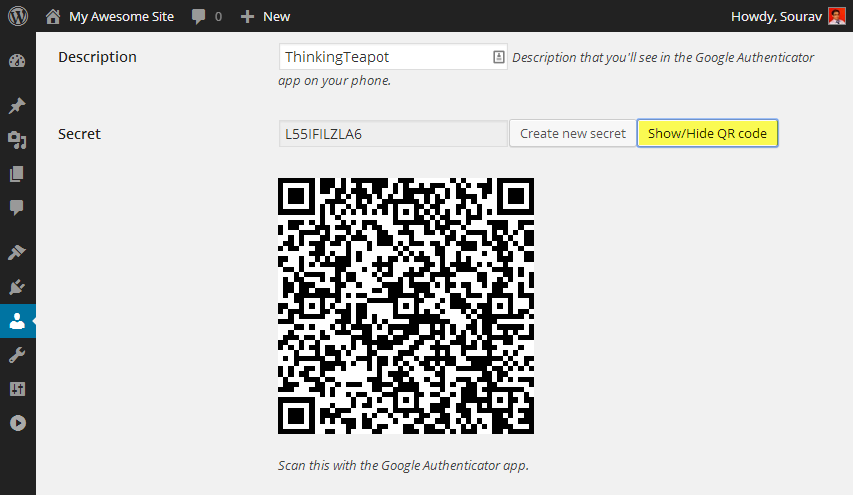
Description: First up, you need to add a Description for your blog. This description will help you recognize the site in the Google Authenticator app. Since you might have a lot of other apps linked to Google Authenticator, it’s always best to use a proper identifier (description). The blog’s name will suffice. Let’s use ThinkingTeapot as the identifier in our tutorial.
Relaxed Mode: The Relaxed Mode extends the password entry time from one minute to four. This means you’ll have four minutes to enter the 6 digit authentication code in the login page. You can enable this setting or leave it disabled – the choice is yours!
Secret: This key is needed if you want to manually add the WordPress account to Google Authenticator app, i.e. without using the QR code. To enter the secret key in the Google Authenticator app, run the Google Authenticator application on your smartphone, and select Menu Key > Add Account > Enter Key Provided.
You can also add your WordPress account to the Google Authenticator app by scanning the QR code. This is the recommended/easiest way since it does now involve any typing. Click on the Show/Hide QR code button.
Open Google Authenticator in your smartphone, and look for an option called Set up Account in the menu. Select it and it’ll take you to the Add an Account settings page.
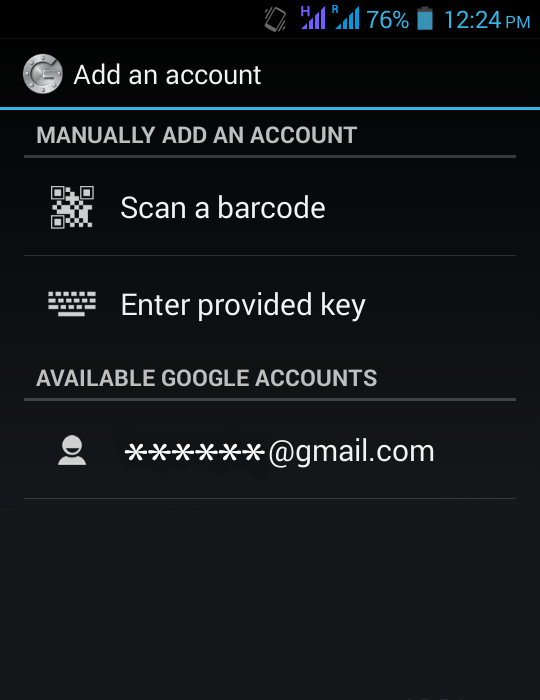
Click on Scan a barcode and hold you camera steadily, to capture the QR code. It usually takes a second or two for Google Authenticator to recognize the barcode.
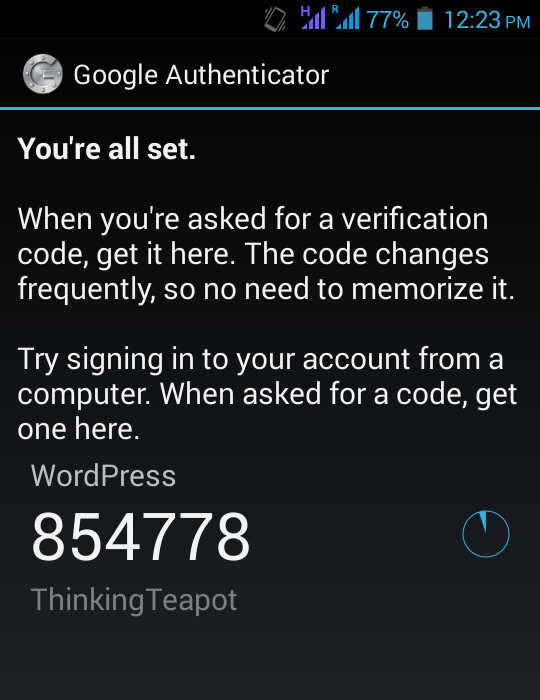
It will then automatically recognize your WordPress blog, and add it to the list of connected services/websites in Google Authenticator. Now our site is properly linked to Google Authenticator. The final step is to activate Google Authenticator in WordPress itself. Tick the Active button right below the Google Authenticator Settings.
App Passwords: App Passwords enable you to login to your WordPress blog using the XML-RPC interface. It’s meant for third party blogging apps like Windows Live Writer or Microsoft Word 2013. It allows the apps to bypass the Google Authenticator security check. However, it is not recommended to enable App Passwords since they present a serious security flaw for hackers to exploit.
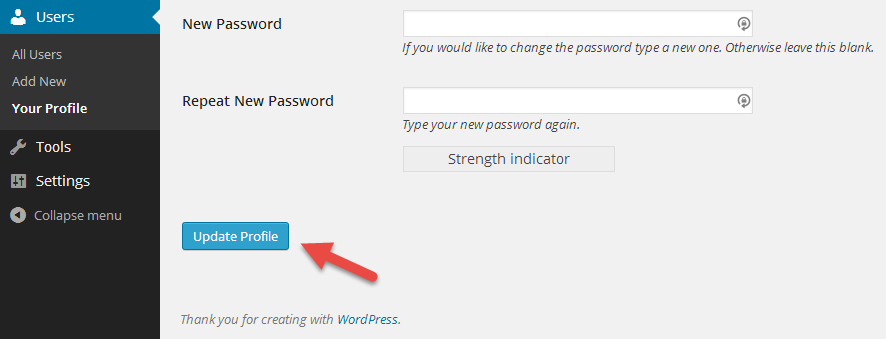
Save the Settings: Finally, to save all these settings, click on Update Profile, found right at the bottom of the User Profile page. If you fail do to this, all your settings will be lost!
Working the Magic
Now that’s everything is installed, let’s test this baby out!
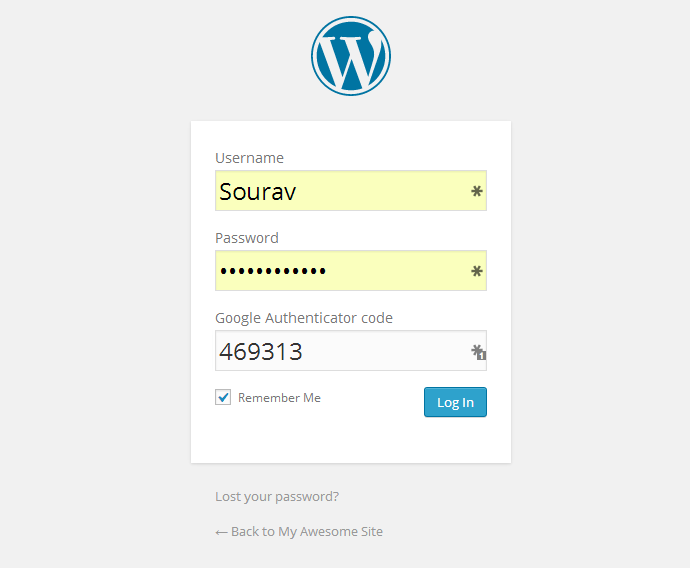
We logout from our WordPress account and visit the login screen again. Only this time, we’re greeted by a simple but immensely powerful two-factor authentication. We copy the code from the Google Authenticator app shown in our phone and paste it in the respective field. Enter this one-time password and open sesame!
Which Two-Factor Authentication Plugin should I Choose?
The choice between Duo Security and Google Authenticator boils down to this – the website that we’re trying to protect. If you’re focussed on security, then two-factor authentication is a great step. Google Authenticator for WordPress will get the job done.
But if you want to amp up the game, then Duo Security is your best bet. Especially for people who’ve had their site hacked in the past or those who find a lot of unauthorized login attempts in their site should use this protocol.
Conclusion
The Google Authenticator WordPress plugin is a simple and elegant solution to entry level two-factor authentication protocols. Duo Security provides much more features like OTP (one time passwords) generation through phone calls and SMS. Of course, the service is chargeable after certain point, but it includes a wide range of compatibility. For example, with phone and SMS OTP generation, any mobile phone with a carrier signal can be used.
Moreover, Duo Security uses a real-time PUSH protocol, which only works when your phone is connected to the Internet. When you attempt to login, an automation Push notification is sent to your mobile. Once you press the Approve button, you’re automatically logged into your WordPress site.
I personally would recommend using Duo Security since it has a lot more authentication mediums for obtaining the one-time password, along with a plethora of other options. If you’re running a site where there’s e-commerce involved, then using two-factor authentication would certainly help improve security.
Over to you – what’s your favourite two-factor authentication plugin? Got some awesome security tips for us? We’d love to hear from you! Oh and please let us know how you liked this tutorial. I look forward to your comments and suggestions.


