How to Create a Staging Site for WordPress
Ever found yourself in a situation where you tried to update WordPress or a plugin only to be greeted by the white screen of death? Or maybe you love experimenting with new themes and plugins? Or adding custom functionality to your website and you’ve encountered the same thing?
No matter what the case might be, in the above scenarios, a staging site is the best solution. With a staging website, you’ll create an exact copy of your website where you can safely test any kind of change. Those changes will only be visible on the copy of your site and not on the live version. Which means you can test without anything breaking on your site.
But how do you create a staging site for WordPress, exactly?
In this post, we’ll show you five different ways to create a staging site for WordPress so you can safely and easily test changes without the fear of breaking your website.
There are several options for setting up a staging site for WordPress which we’ll explore below. By the end of this article, you’ll understand the pros and cons of each method so you can choose the best staging site setup for you.
1. Staging A WordPress Site Through Your Host
The first option for staging a WordPress website is to set it up through your host. Most managed hosting providers offer the ability to create a staging environment for your website.
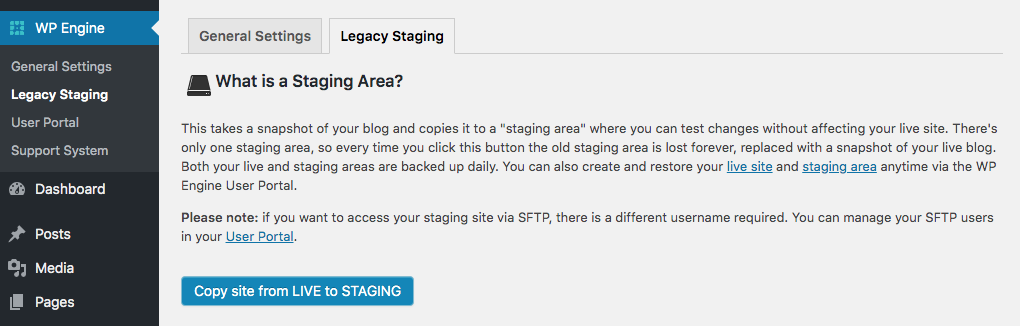
The process is relatively easy and completely integrated into your hosting dashboard. A few popular hosts that offer staging include:
This method is one of the easiest methods to create and set up a staging environment as most of these hosting companies allow you to easily do it with a few clicks.
All it takes is entering a name for your staging website and selecting the correct domain name of the website you want to create a staging environment for.
Once you’ve created a staging environment, you can safely test any new updates that WordPress rolls out, experiment with new themes, test plugins before installing them on your site, and generally make all kinds of changes without affecting your live website.
If you’re happy with the changes, in most cases, you can push them to your actual website with a click of a button.
If your hosting company doesn’t offer staging, read on for the other four methods to create a staging site for WordPress.
2. Creating A Staging Site With Site Testing Tools
Another option for creating a staging site is to use site testing tools like DevKinsta or Local. You’ll install these tools on your computer and then you’ll have the option to import your existing website.
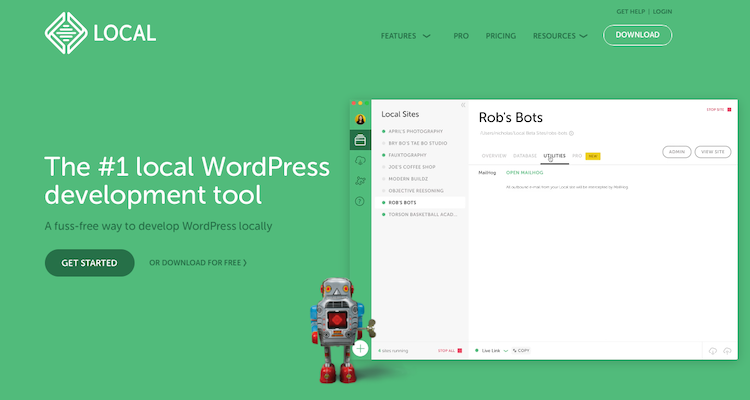
This, essentially, gives you a local copy of your live website where you can test new themes, redesign your entire website, test plugins and updates without making any changes to your site.
For example, to create a staging site for your WordPress installation with Local, simply follow the steps below:
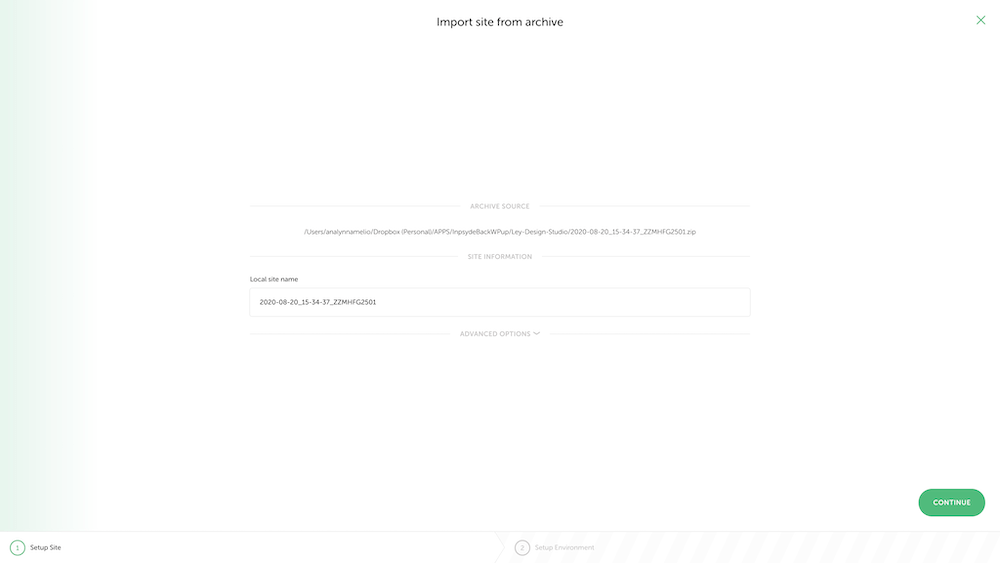
- Download and install Local onto your computer
- Use a tool like BackUPWP to create a backup of your site and store it in Dropbox, Google Drive or similar. You can also opt to have the backup emailed to you if your site is relatively small.
- Download the zip folder of your site backup to your computer
- Launch Local and then drag the zipped folder straight onto Local’s interface
- Enter the name of your site and then choose your WordPress environment. You can opt for the default configuration or you can enter your own PHP version and the type of server if you’re familiar with it.
- Wait for the setup process to finish and you’ll be able to login to your staging website.
Once you’re done making changes or testing new functionality, you can export your site and manually upload it to your web hosting server. If your site is hosted on WPEngine or Flywheel’s servers, you’ll be able to instantly push those changes to your live site.
3. Creating a Staging Website Manually
A third way of creating a staging website is to create one manually. Before getting started, be warned that this process is time-consuming and there are several ways to do it:
- Use a subdirectory of your live website
- Create a subdomain of your live website
- Setup a local server environment like WAMP, LAMP, and XAMPP
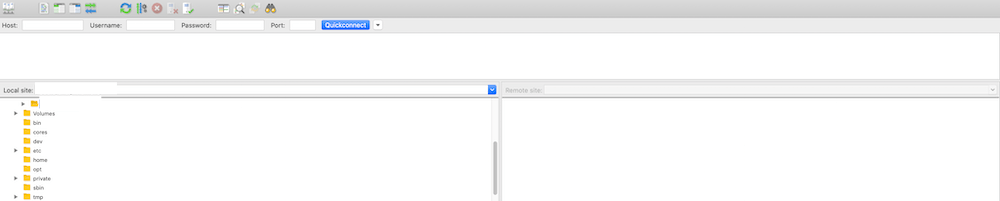
No matter which of these options you choose, the process will be relatively the same. First, you’ll need to download all of the files from your live website using an FTP client like FileZilla. You’ll also need to download your website’s database using phpMyAdmin or any other database management tool
You’ll then need to create a new database and a database user with admin privileges for your new domain, subdomain or local server.
After you have your database setup, you’ll need to edit the wp-config.php file. Enter the new server’s URL and database information.
Then, you’ll upload files to the new server with your FTP program and import your WordPress database.
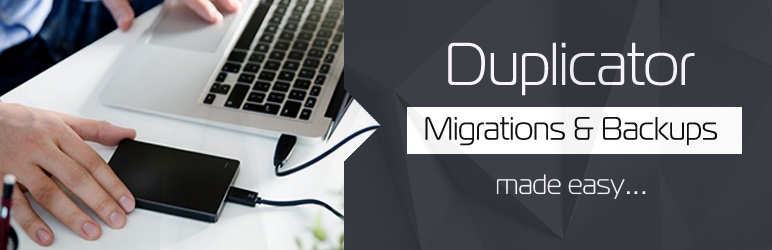
Keep in mind that this process can seem daunting but you can make it easier with plugins such as WP Migrate DB or Duplicator. These plugins will facilitate duplicating your website and migrating your database to a staging area. You can also use these plugins to install the changes onto your live WordPress website.
4. Staging A Website With A Staging Plugin
Another easy method for staging your website is to use a dedicated staging plugin. There are several options such as the WP Staging plugin. This plugin is free to use. Although it does have a premium version which offers a few extra features such as the ability to use a separate database, migrate plugins to live websites, and more.
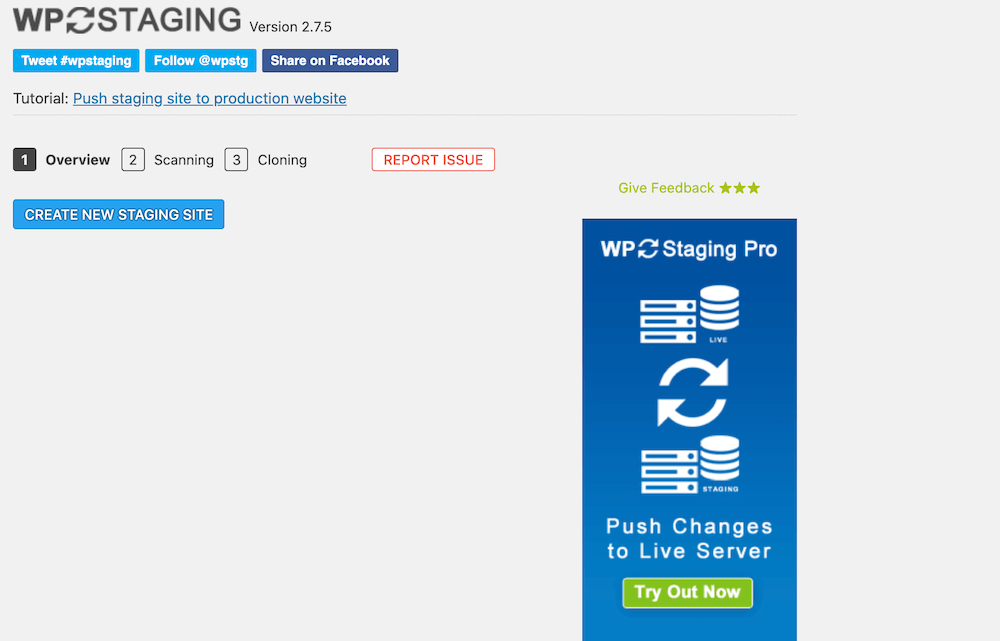
To get started with WP Staging, log into your WordPress website and navigate to Plugins > Add new. Search for the plugin, install it, and activate it.
Once the plugin has been installed, you’ll see the option to create a new staging website. Click the blue button and on the next screen give the staging site a name. You can also choose which databases and folders should be copied over to the staging website on this screen.
The last step of the process is to press the blue Start Cloning button and wait for the process to finish. After the process is finished, you can login to your staging website with the same username and password that you use for your live website.
5. Staging A Site With A Dedicated Test Account
Finally, the last method for staging a site could be setting up a dedicated hosting account. This method is similar to setting up a local WordPress install of your website. Except in this case you’ll need two separate domain names and WordPress installations.
You’ll need to set up a new hosting account and then download the website files and the database. You’ll then create a new database on your hosting server for your live WordPress website and use the FTP program to migrate the files over.
Creating A Staging Site For WordPress: Which Method Should You Choose?
So now you know five different ways to create a staging site for WordPress and you’re probably wondering which method is the best. The easiest method is to use your hosts’ staging tools if they offer them. This is the fastest way to create your staging website and to push changes to your live website.
If your host doesn’t offer staging tools, your best bet is to use a plugin like WP Staging to create a staging site yourself. This is a fairly low-tech method to create a staging site. Plus it won’t take up a lot of time to set it up.
If you’re more tech-savvy, setting up a local staging site with tools like WAMP or using a dedicated testing account with another hosting company is a good way to go. It gives you more control over who can access your site and what gets copied over.
As you can see, there are several different ways to create a staging website for your WordPress site. However, some methods are better than others. Manually creating your staging site or using a dedicated test account can be error-prone and time-consuming. As such, your best best is to use staging tools provided by your host, using site testing tools or using a staging plugin.
Now all that’s left to do is to pick one method and create your staging site! Then you can ensure that changes and updates don’t impact your live website. Good luck!


Comments
No comments yet. Why don't you kick off the discussion?