VikAppointments: Book & Schedule Appointments Like A Boss

If you run a service-based business, scheduling and managing your appointments manually is challenging and time-consuming. Additionally, booking appointments manually means you’re prone to human errors that can cost you business.
What to do? You can streamline the process using a plugin such as VikAppointments. VikAppointments is the perfect solution for any service business that books appointments. Packed to the brim with all the features you need to manage bookings like a pro; the plugin is one of the best appointments plugin for WordPress.
And in today’s post, we cover the features that make VikAppointments a fantastic WordPress booking plugin. To sweeten the deal, we install the PRO version and test drive the plugin. That way, you know exactly what to expect and can hit the ground running.
How does that sound? If it sounds excellent, roll up your sleeves and let’s get down to work.
What is VikAppointments?
VikAppointments is a powerful appointment management system initially created for Joomla. But we aren’t interested in Joomla. We cover the WordPress version, which – by the way – is one of the most advanced appointment plugins for WordPress.
In a matter of clicks, the plugin helps you to book appointments and manage them quickly on your WordPress site. On top of that, the plugin offers tailored options that are perfect for various businesses such as doctors, lawyers, medical centers, spas, and salons, among others.
But even with a million and one features, VikAppointments remains incredibly easy to configure and use. At the end of the day, the plugin helps you to save a lot of time that you can channel towards growing your business. Instead of wasting time booking appointments manually, you can focus entirely on your clients.
That out of the way, let us cover several features that make VikAppointments one of the best WordPress plugins to manage appointments on your website.
VikAppointments Features
The VikAppointments plugin doesn’t disappoint in terms of features, what with an impressive list that is bound to impress beginners and developers alike. In the following section, we highlight some of the features available in VikAppointments. Don’t sweat it; we see most of the features in action when we test drive the plugin.
That out of the way, the VikAppointments plugin boasts of features such as:
- Ability to create multiple services with varying durations and rates
- A central dashboard to manage employees
- Seamless front-end appointment booking
- Monthly or weekly calendars showing availability for every employee or service
- Coupon system to offer discounts for reservations
- Capability to create manual reservations in the WordPress admin dashboard
- Search widget that helps prospects to find and book appointments easily
- Extended working days with custom shifts
- Front-end dashboard for employees
- Employee locations via Google Maps
- Option to add purchases for service packages
- Cart system to schedule multiple appointments at once
- Custom payment gateways
- Email, SMS and ICS notifications
- Multiple widgets to enhance how your booking system looks on the front-end
- Integrated customer management system
- And much more
In a nutshell, the VikAppointments plugin offers you enough features to manage your appointments effectively. With an outline of the features guiding us, let us install and test VikAppointments.
How to Install VikAppointments
Installing the VikAppointments plugin is extremely easy, seeing as it is available free to download at WordPress.org. However, to enjoy premium features, you must purchase a PRO license for about $108 on the official VikAppointments website. The license is valid for a year, and while renewals aren’t mandatory, you need an active license to receive updates.
Now, let us install and configure VikAppointments to start scheduling and managing appointments on our test site.
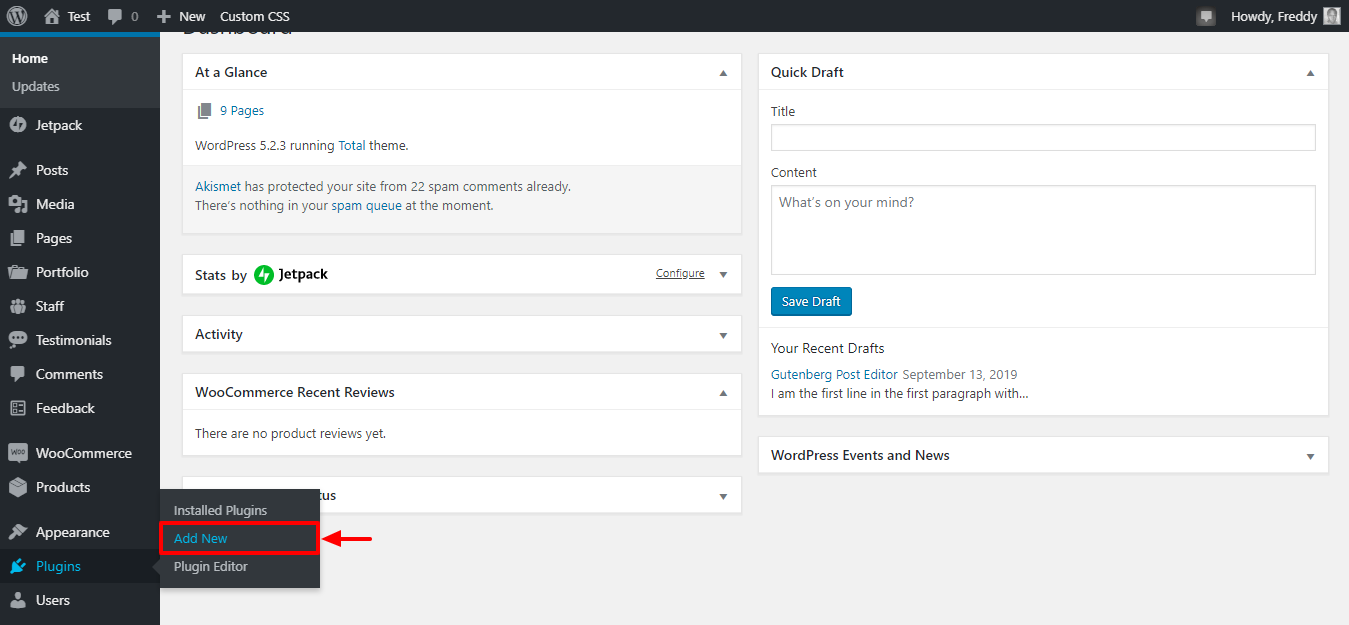
In your WordPress admin menu, navigate to Plugins and click Add New as we highlight in the image below.
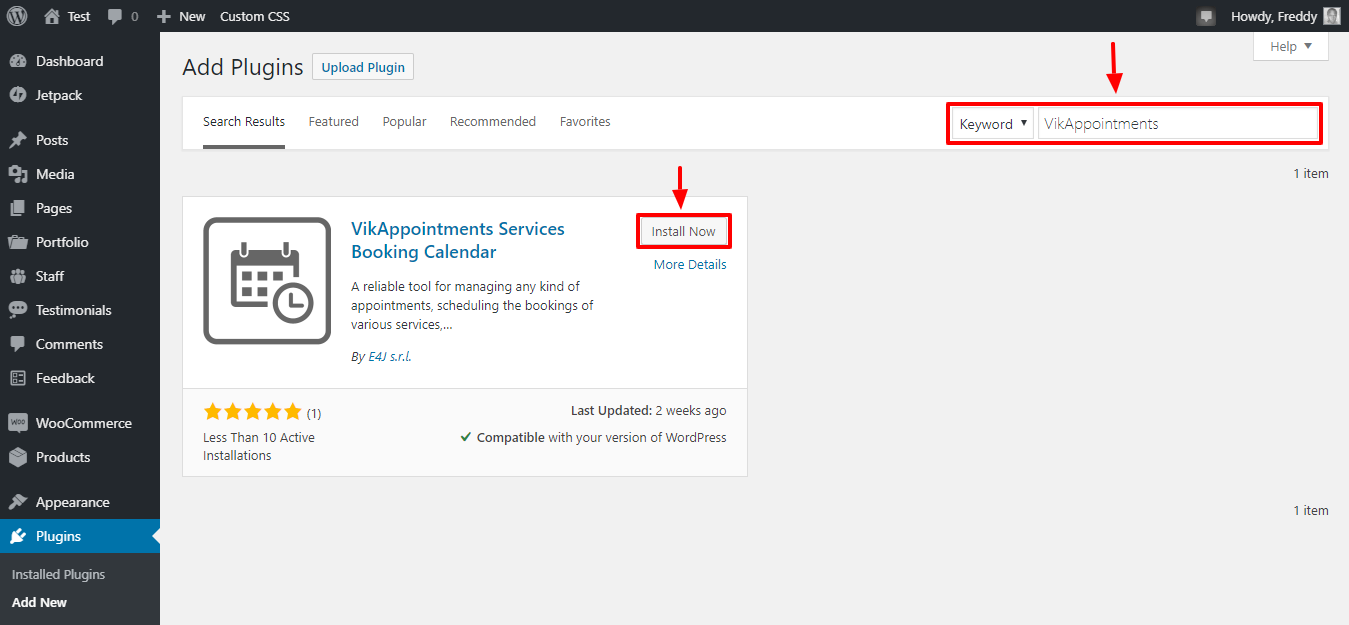
Doing so leads you to the Add Plugins screen, where you can either install a plugin from your computer or the official WordPress repository. Type in “VikAppointments” in the keyword search box, and once you find the plugin, hit the Install Now button as we detail in the following image.
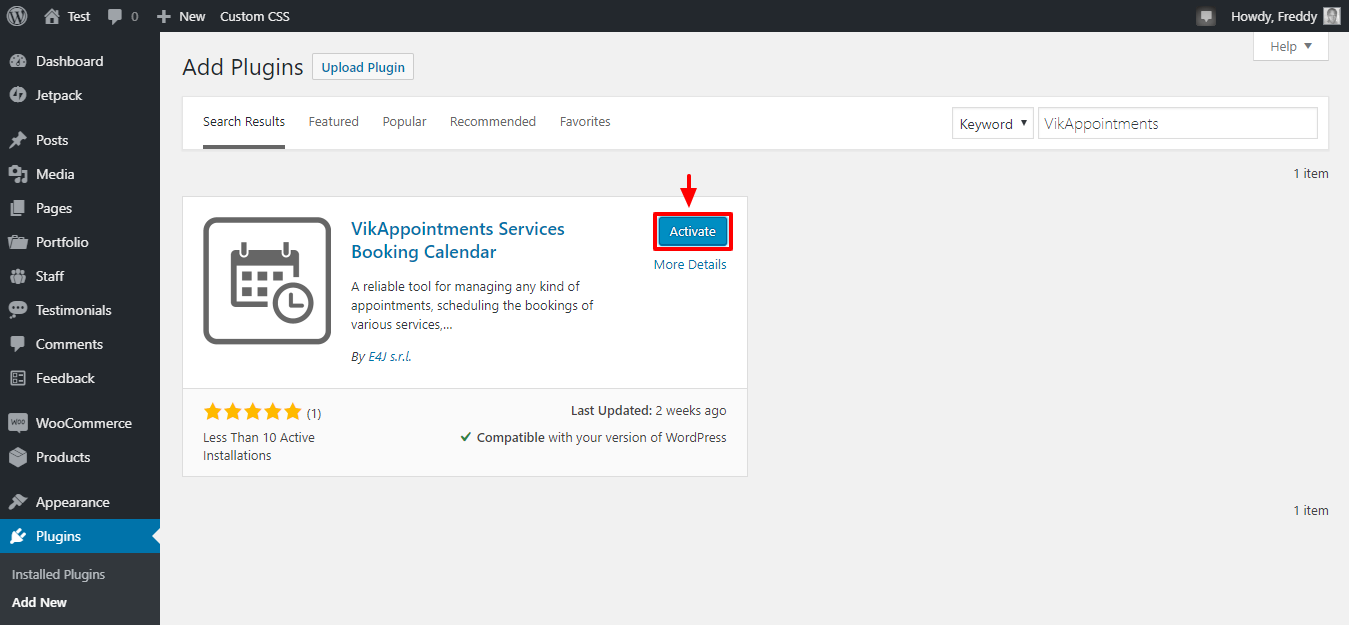
After that, click the Activate button as shown below to get the ball rolling.
Now we are getting somewhere. All you need to do now is configure the plugin, which is easy, so let’s get down to work.
How to Configure VikAppointments
Once you activate the plugin, it adds a beautiful VikAppointments item to your WordPress admin menu. To set up your booking system, click the VikAppointments menu item, as shown below.
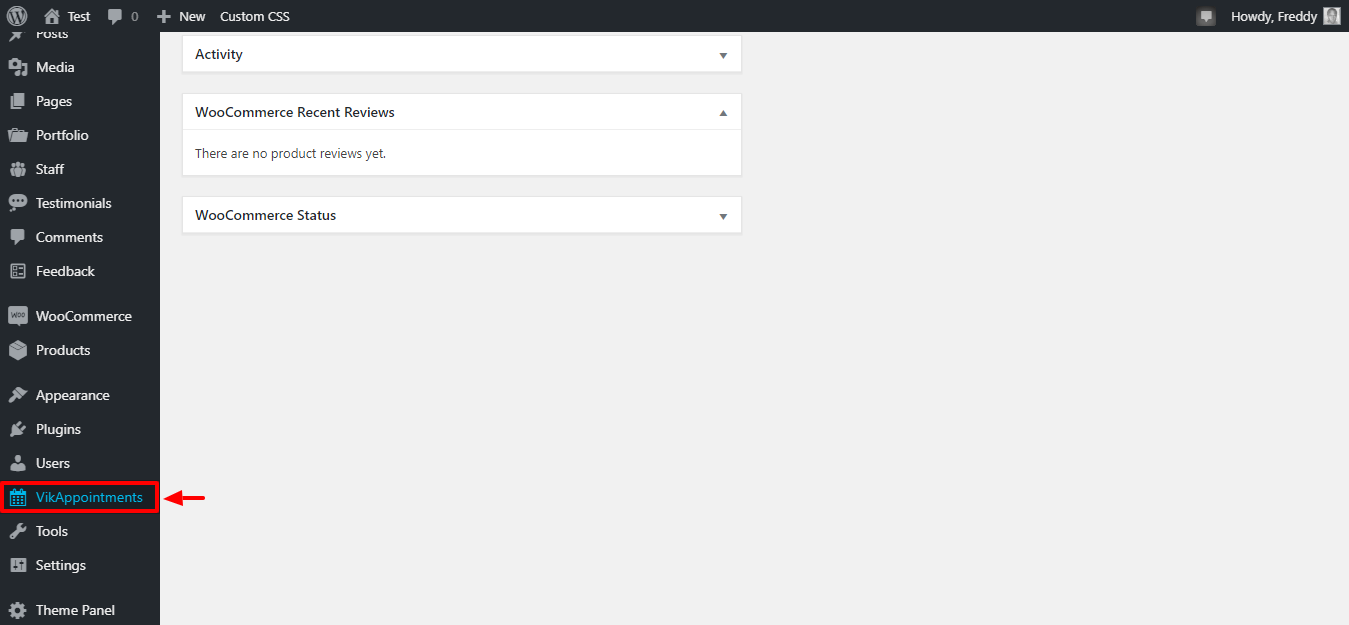
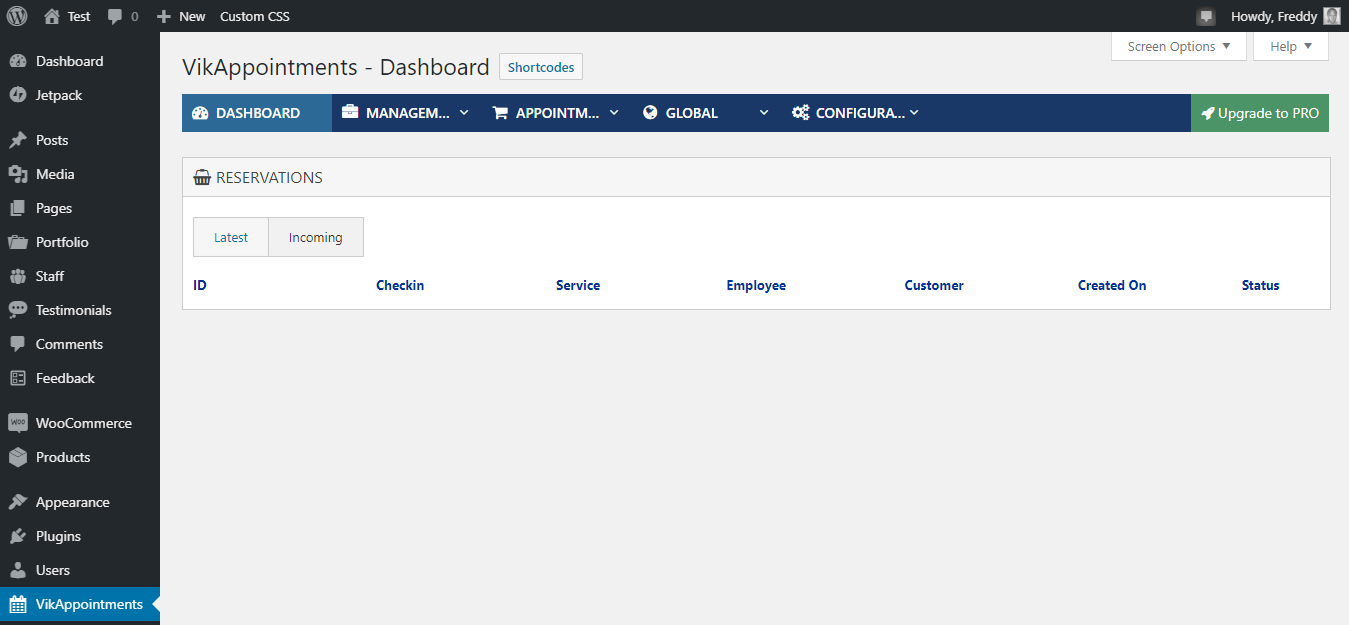
The menu item leads you to the attractive VikAppointments dashboard shown below.
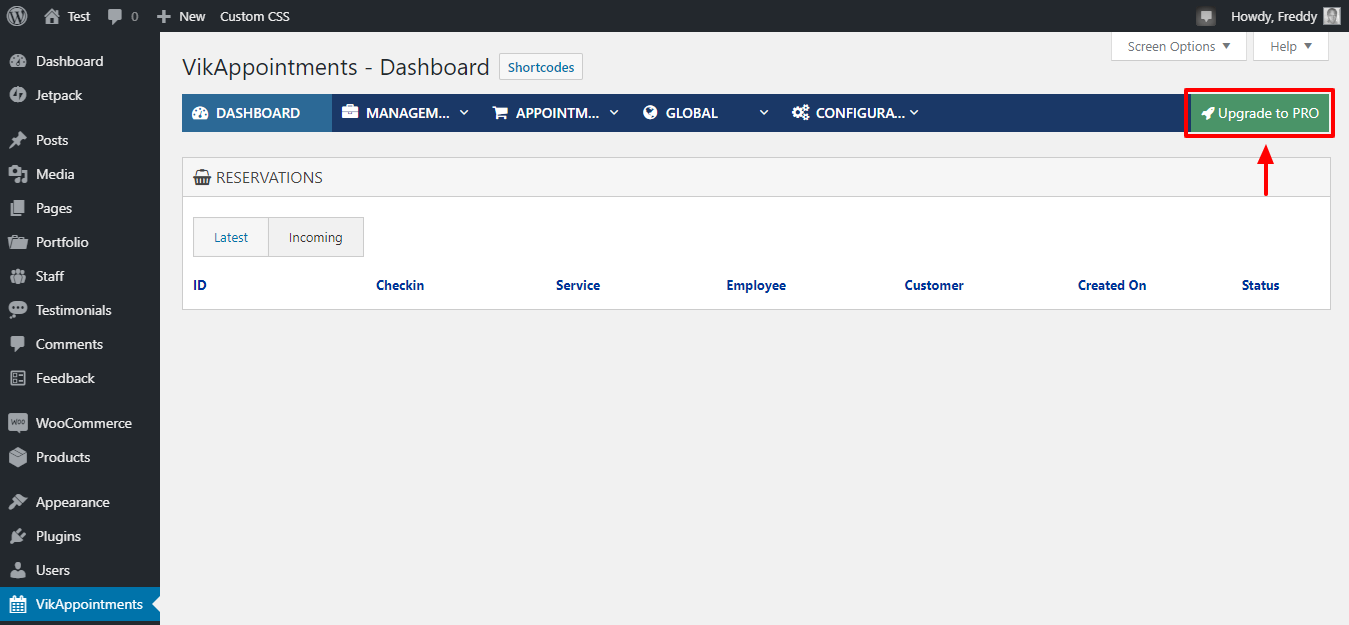
Activating PRO License
We are using the PRO version for the tutorial, so I must activate the license first. To do that, click Upgrade to PRO, as we show below.
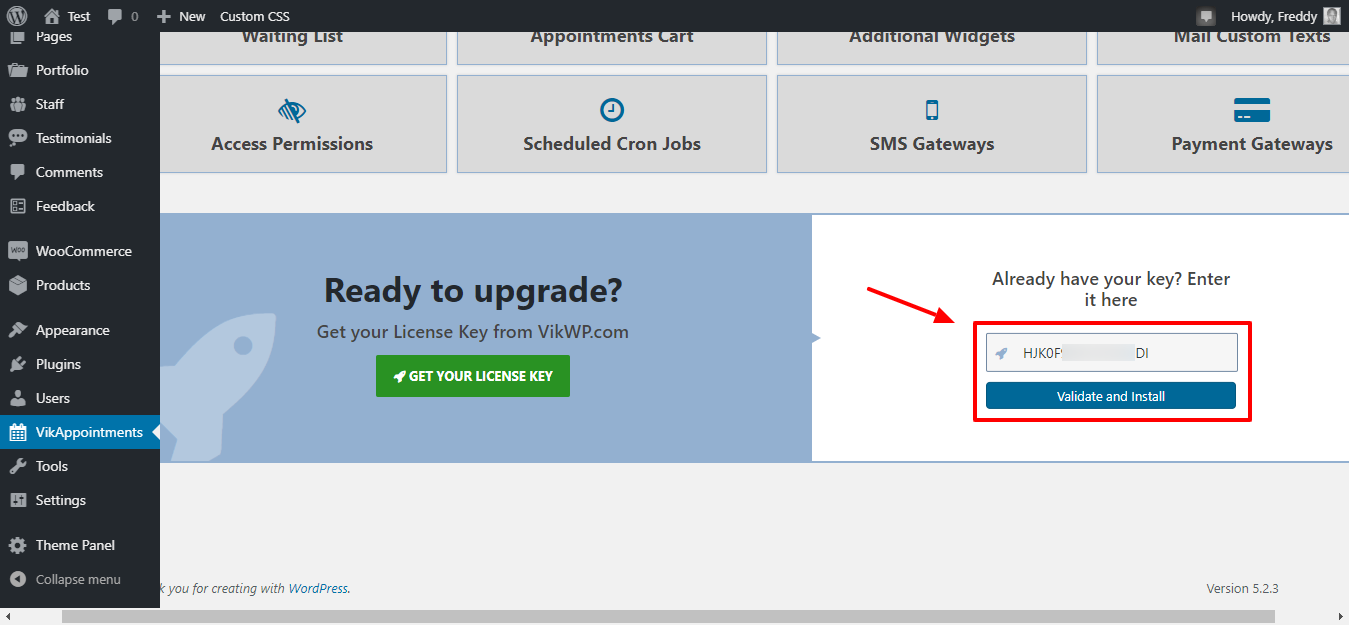
On the next page, scroll to the bottom of the page, paste your license key, and hit Validate and Install, as shown below. If you don’t have a license key, click the Get Your License Key button.
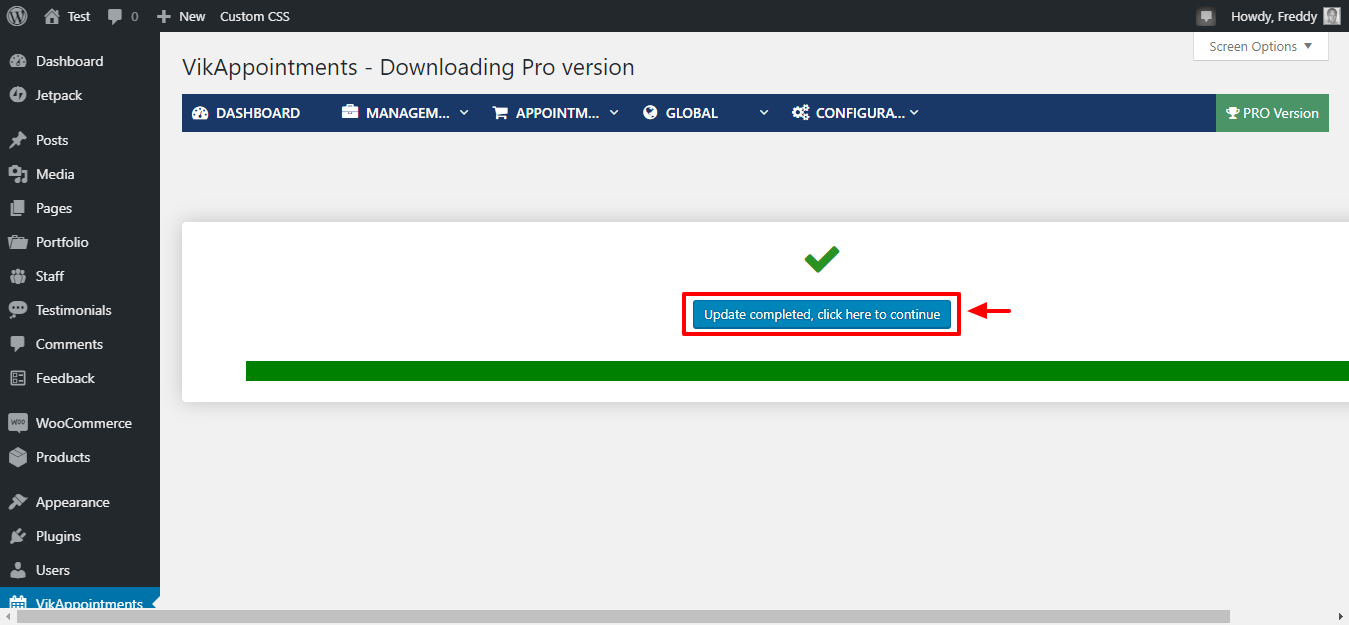
The plugin kicks in and upgrades to the pro version automatically. Next, click the Update completed, click here to continue button as shown below.
Now, the pro version is locked and ready. Btw, below is how the VikAppointments admin dashboard looks after upgrading to the pro version.

Nothing much to see here, so now what? That’s alright anyway since we aren’t booking appointments yet. Let us add some employees, services, and simulate a live booking website.
Creating Groups in VikAppointments
Groups in VikAppointments are similar to categories in blog posts. Groups help you to categorize employees and services, letting you keep things organized, especially if you have many employees or services. At the same time, it’s not mandatory to add groups in VikAppointments.
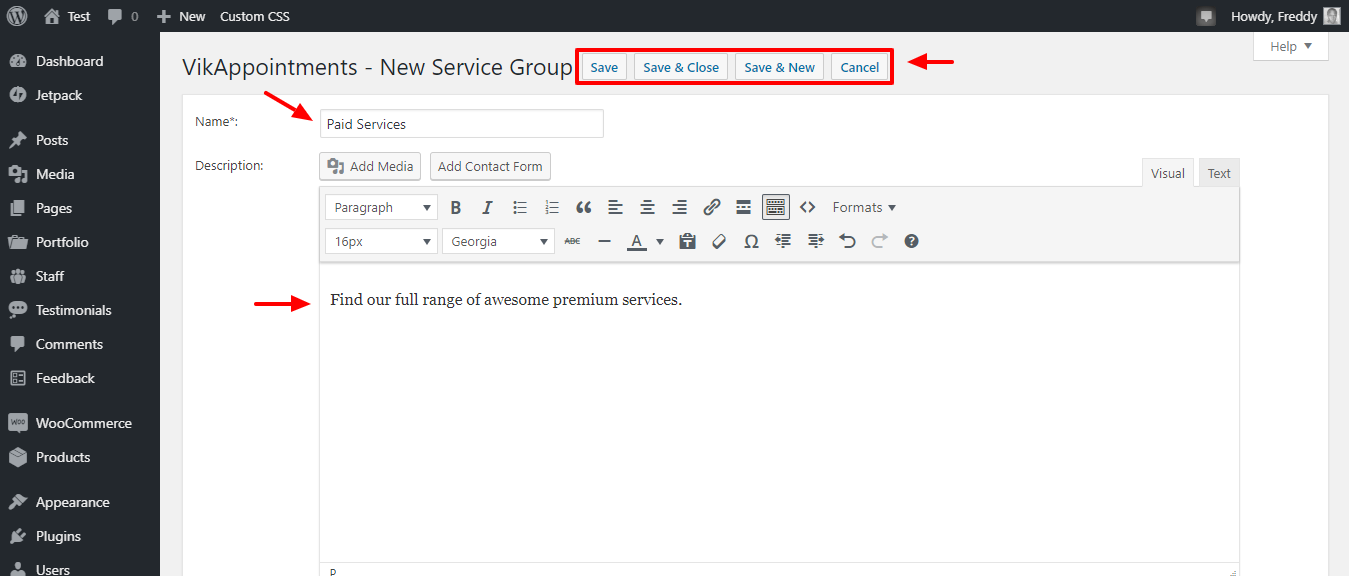
That aside, let’s add one group for our five services, which for illustration purposes are law consulting, business consulting, life coaching, dental health, and spa. We shall call the group “Paid Services.”
Click Management and then Groups, as we detail below.

Next, click the New button, as we show in the image below.
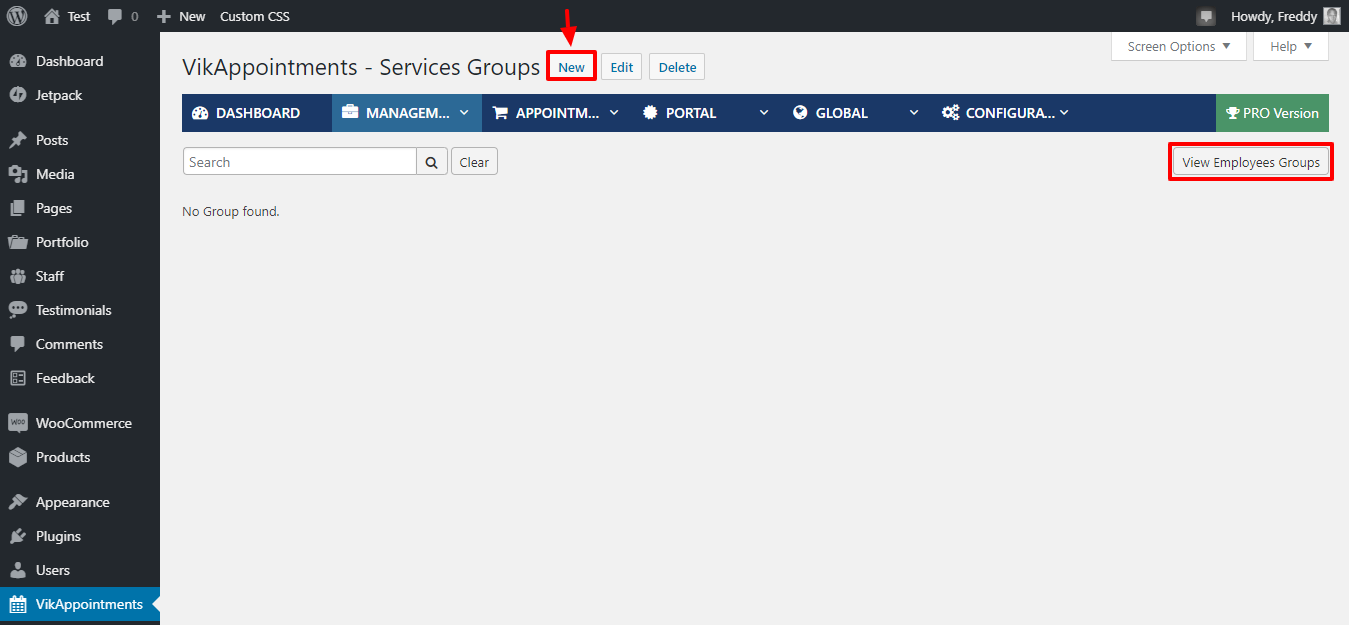
Aside: Notice, also, the View Employees Groups button to the right of the screen. Clicking on the button allows you to create, edit, and view employee groups.
Back to creating a service group.
Clicking the New button leads you to the following screen.
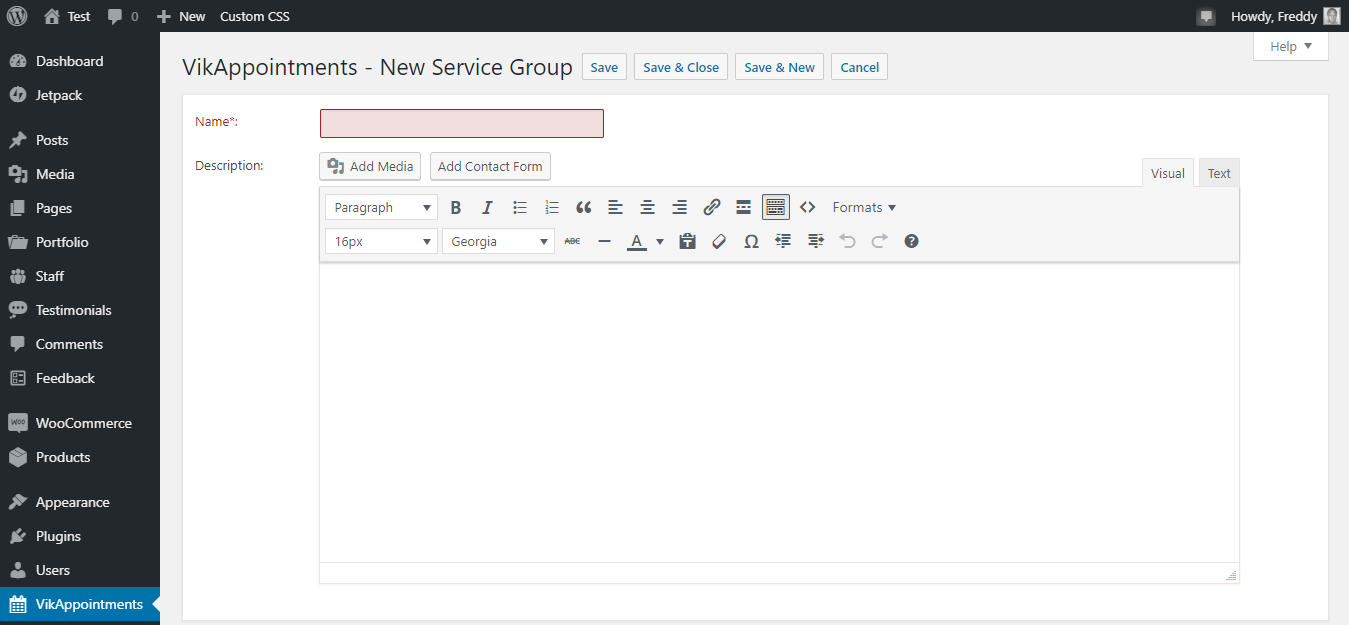
All you have to do on the page above is add your service group name and description. Next, click the Save & Close, as shown below.
With a services group in place, we can now categorize our five services under Paid Services. Now, let us add some employees and then the actual services.
Adding Employees in VikAppointments
We are adding employees first so we can assign services to them later on. Additionally, you must add at least one employee to receive online reservations.
Remember, you can represent an employee as a person, room, object, or anything else. In most cases, however, an employee is a person, e.g. dentist, masseuse, lawyer, coach, etc.
Back in the VikAppointments dashboard, click Management and then Employees as we highlight below.

Next, click the New button, as we highlight in the screenshot below.

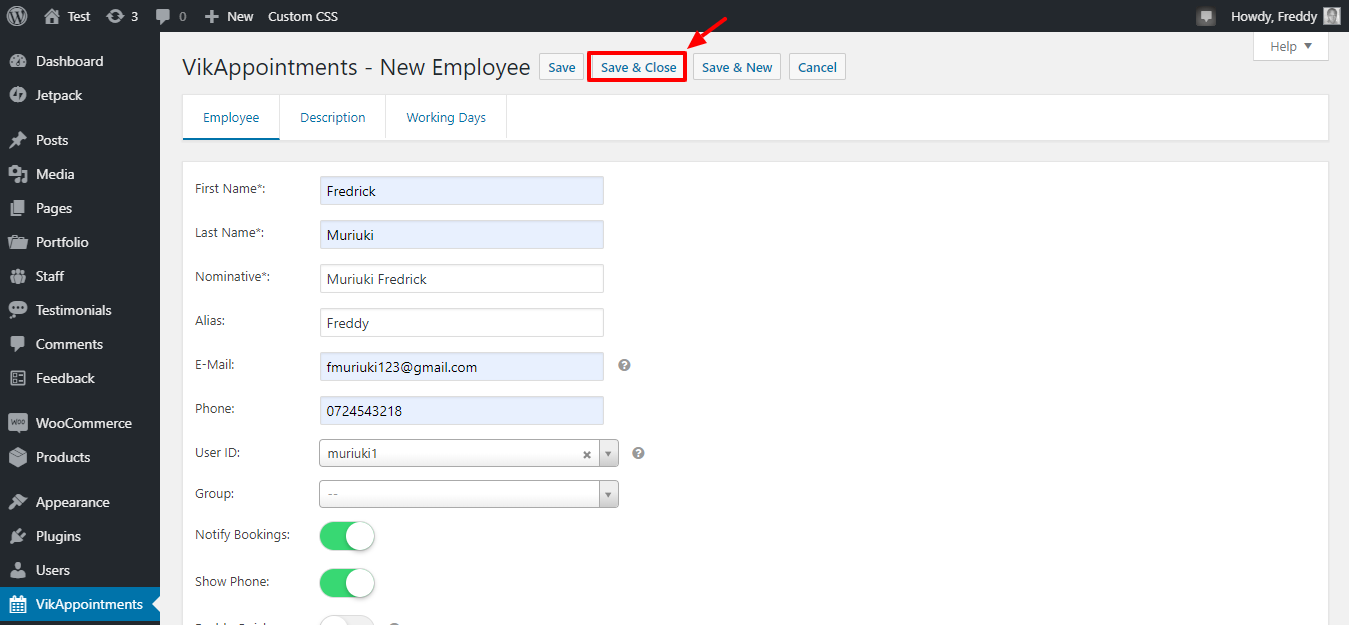
After that, add your employee details. Next, click the Save & Close button.
To add more employees, repeat until you’ve entered all employees into the system. You can even clone employees easily, so yay!
I’m using just two employees for illustration purposes, but you can add as many as you desire. Remember to set each employee’s shifts under the Working Days tab found on the screen above.
Moving on swiftly, let us now add our services.
Adding Services in VikAppointments
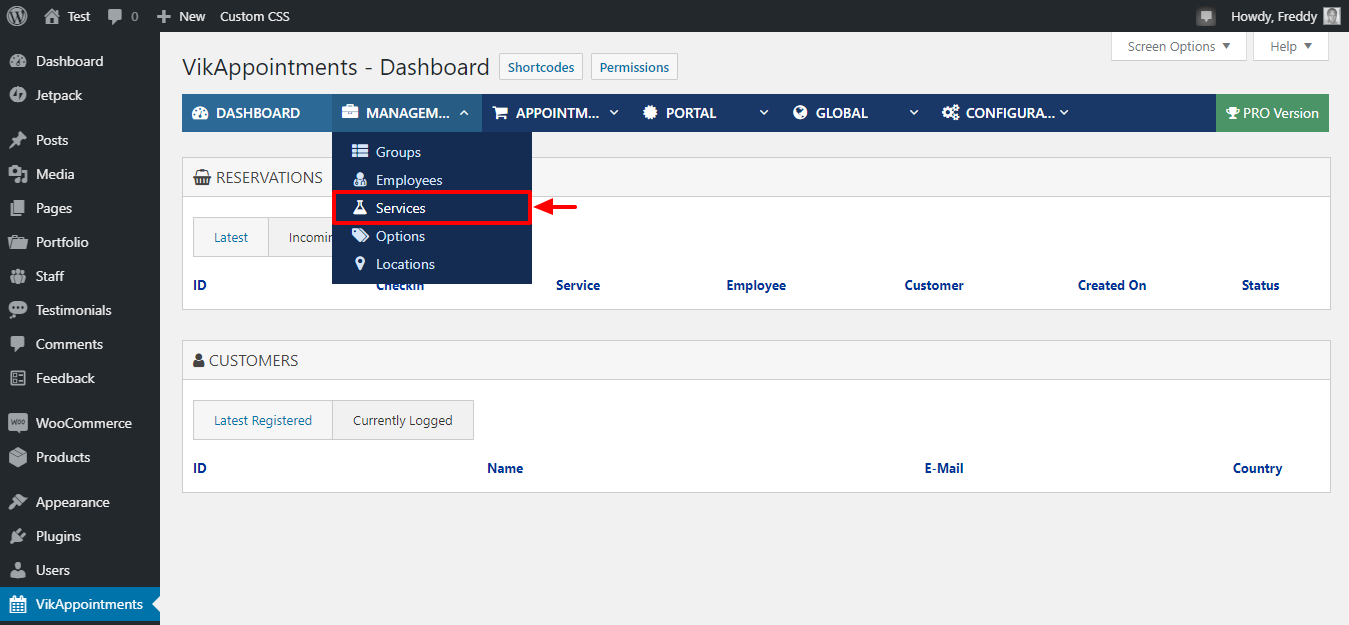
In your VikAppointments dashboard, choose Management and click Services, as shown in the image below.
After that, hit the New button, as we highlight below.

That should lead you directly to the New Service screen, where we can watch you Nae Nae you can add all manner of details. See the image below for more information.
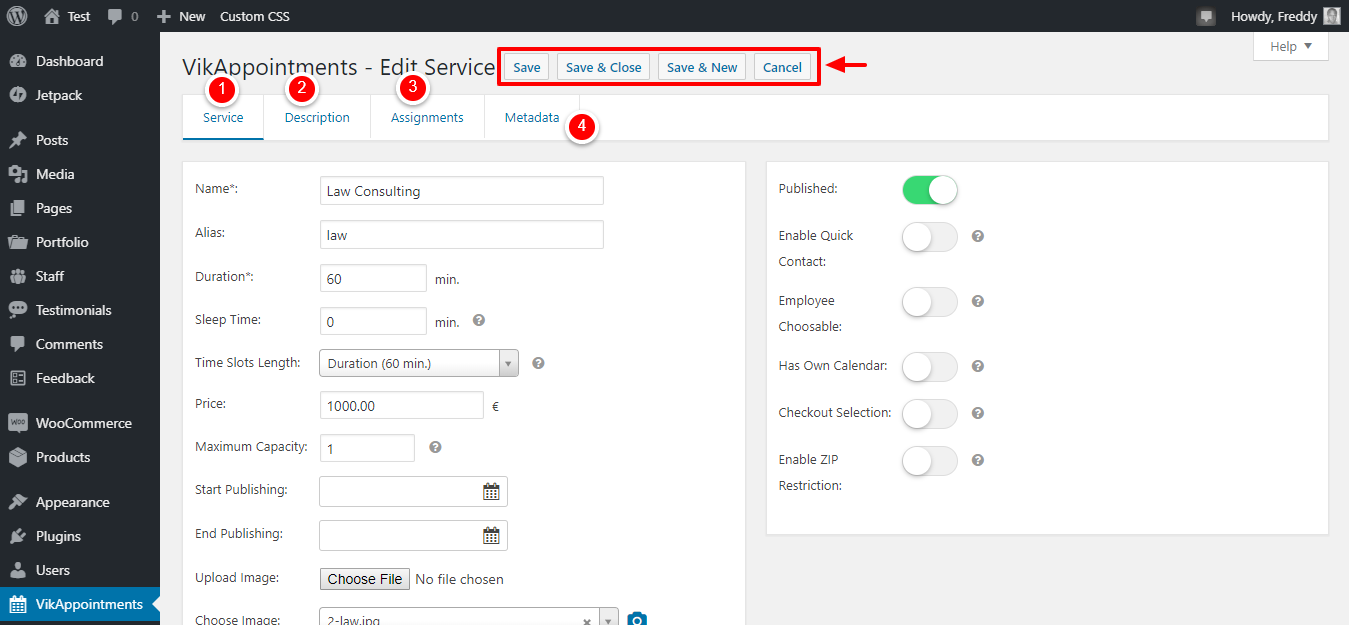
Here, some notes for the above image (our numbered list corresponds to the marked items above).
- Service – Add necessary service details here. You know, the service name, pricing, capacity, and so on. Btw, enter a search engine friendly (SEF) slug in the Alias field
- Description – Here, add your service description
- Assignments – Under this tab, you can assign services to various employees
- Metadata – The tab is especially essential for SEO. You can add your page title, meta descriptions, and meta keywords.
Once you add your services, please don’t forget to click the Save & Close button. You can click Save, Save & New, or Cancel depending on where you are in your workflow.
By the way, I have five services in our system now, which look like this:
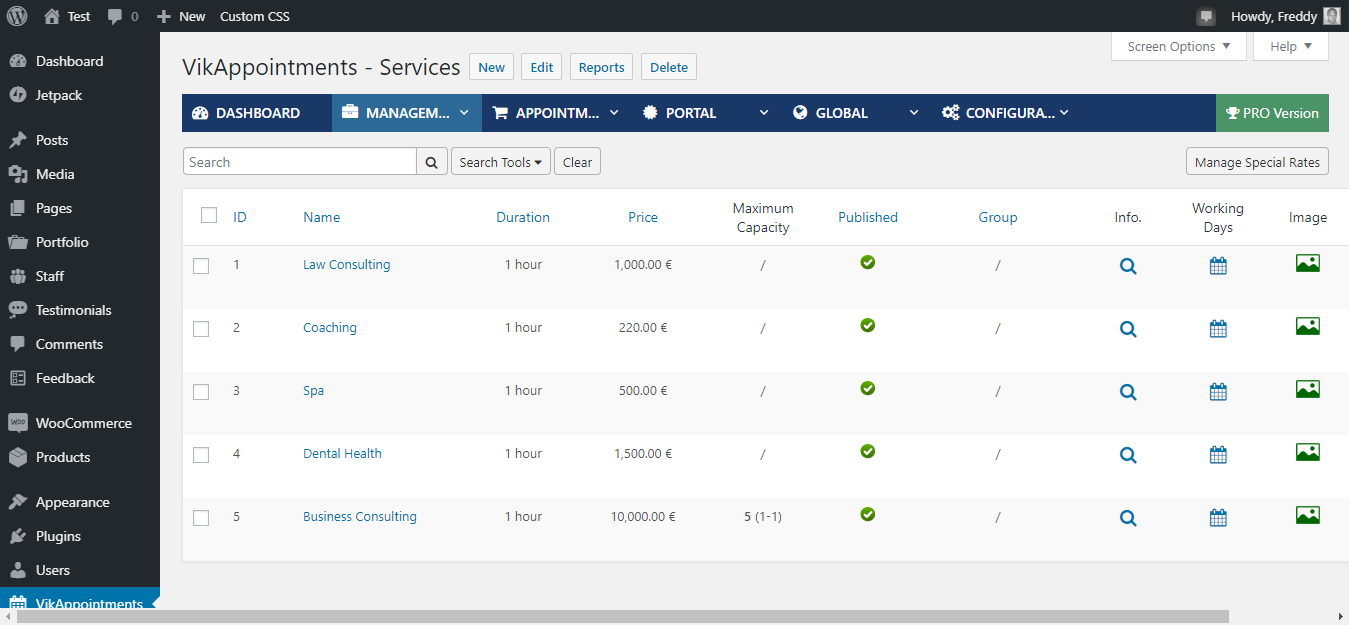
Not bad, right? Note that I have already assigned the services to various employees, but you can’t see that from the above image. If you have questions about what I did, I am available to answer any question in the next 24 hours, so don’t hold back.
Now that I have groups, employees, and services in place, let us display a form in the front-end so prospects can book appointments right away.
VikAppointments in the Front-End
Since we have groups, employees, and services going for us, can we start booking appointments? Yes, we can!
All we have to do is create and add a booking shortcode on a simple page. But how do we do that?
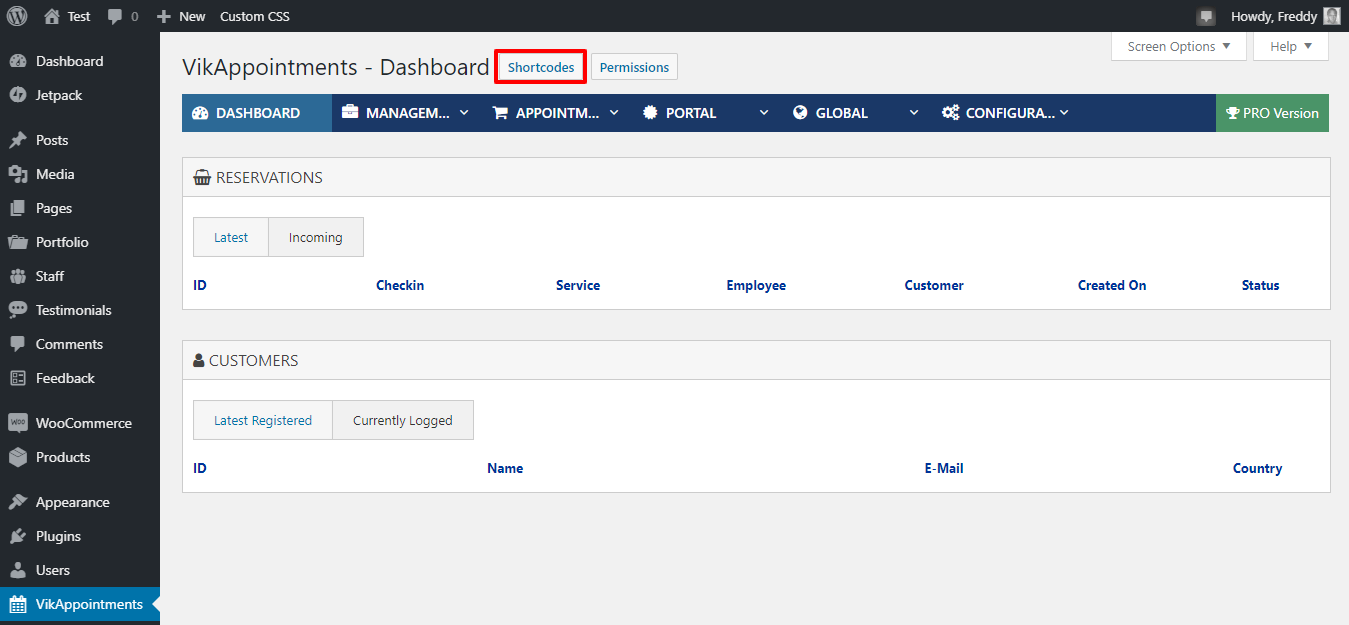
Launch the VikAppointments dashboard and click the Shortcodes button, as we highlight below.
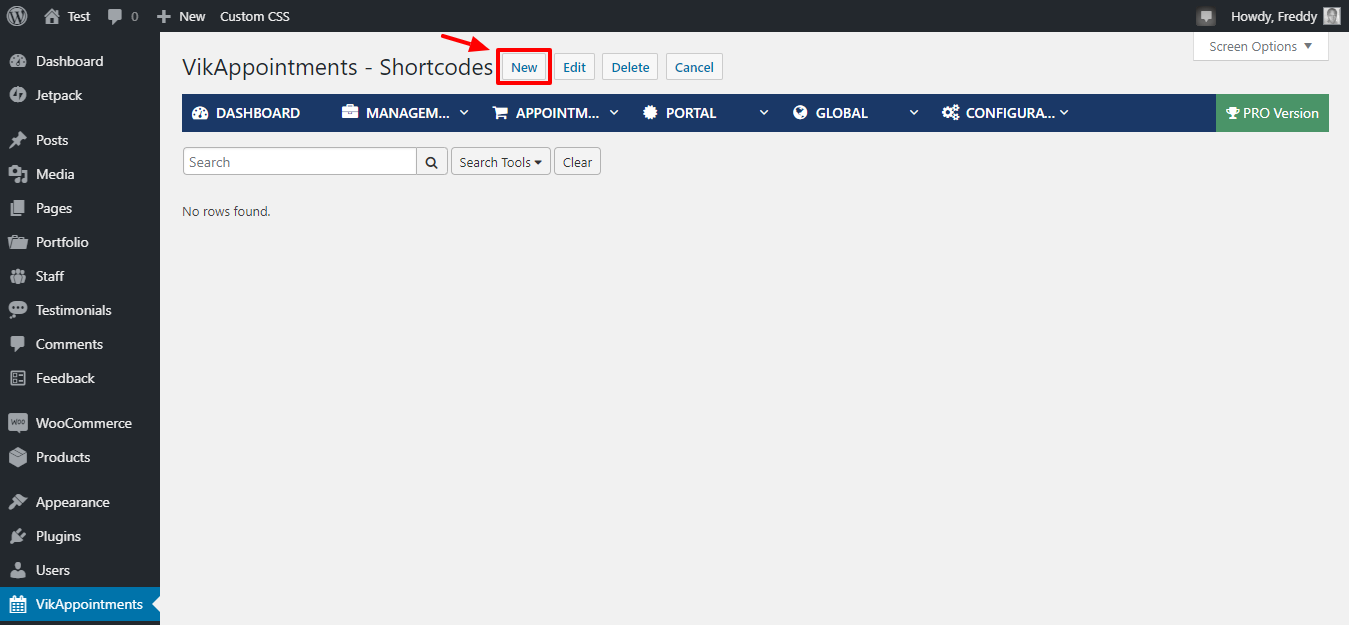
Next, hit the New button, as shown in the following image.
We shall create a shortcode for our business consulting service as an example. After that, we shall display the service details, so prospects can start booking.
Add your (1) shortcode name, (2) choose Service Details from the drop-down, and (3) select your service (ours is business consulting), as shown in the image below.
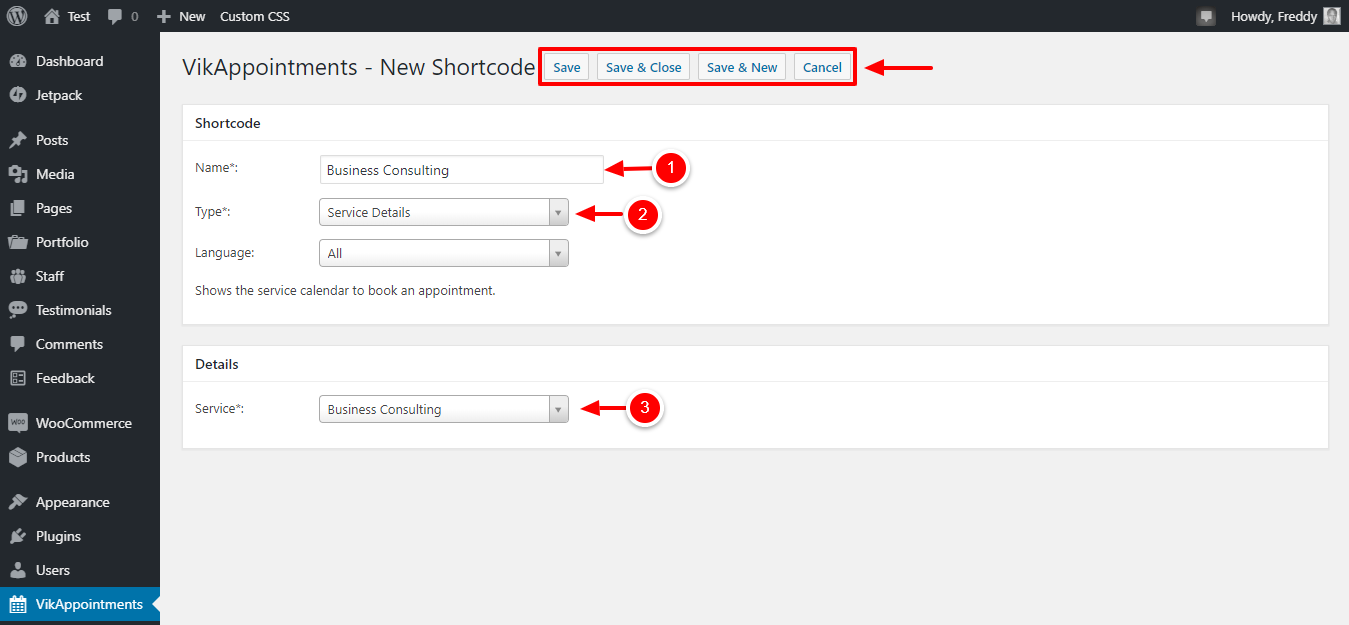
Don’t forget to click the Save & Close button.
Other VikAppointments Shortcode Types
VikAppointments comes with different shortcode types including:
- All Orders View – Add the shortcode to a page so that logged-in users can view all their orders
- Confirmation – The shortcode shows a checkout form if there is an item in the cart
- Employees Area – Here, employees can see their front-end management panel. They can manage their profiles, working days, assigned services and locations
- Employee Details – The shortcode allows you to display the details of a selected employee
- Employees List – Allows you to display a list of employees that clients can book
- Order View – The shortcode shows the summary of any selected order
- Packages – Shows all the packages that can be purchased, grouped by category
- Service Details – The shortcode shows the detail page of any chosen service (HINT: it’s the shortcode we use to display our business consulting service)
- Services List – The most critical shortcode according to the developers. The shortcode shows a list of all services that clients can book
How to Add VikAppointments Shortcode to WordPress Page
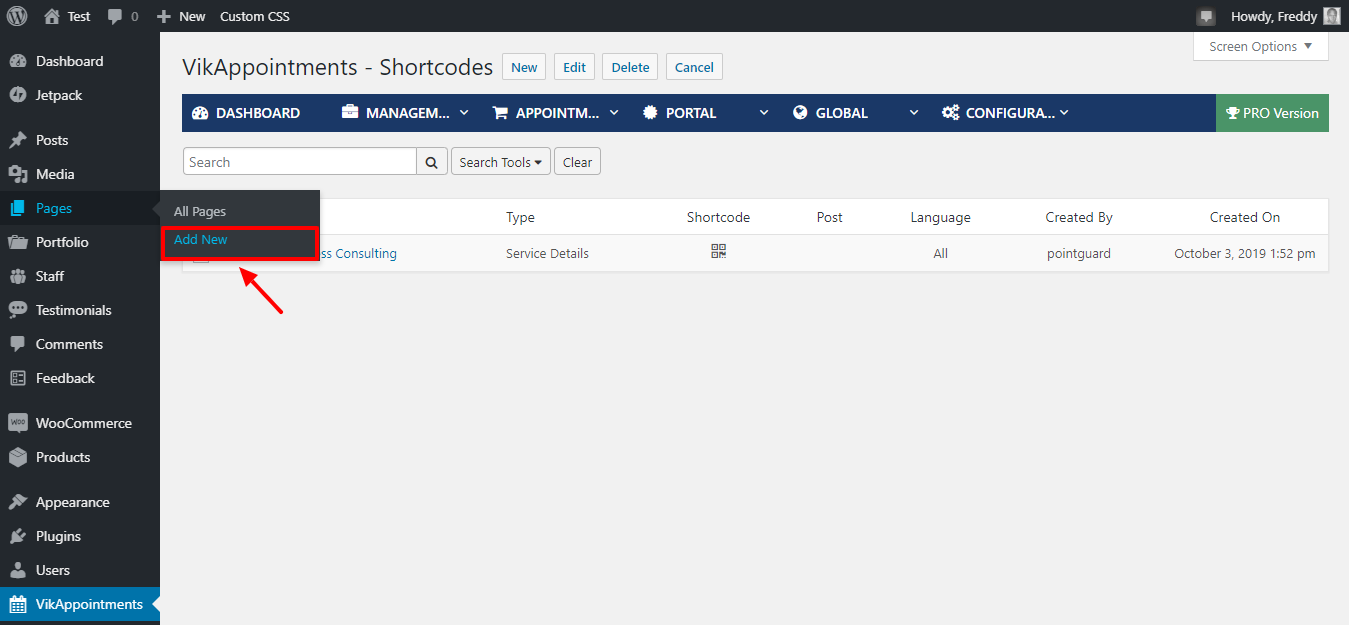
Adding the shortcode you created to your WordPress website is as simple as A, B, C. First, navigate to Pages > Add New as shown in the screengrab below.
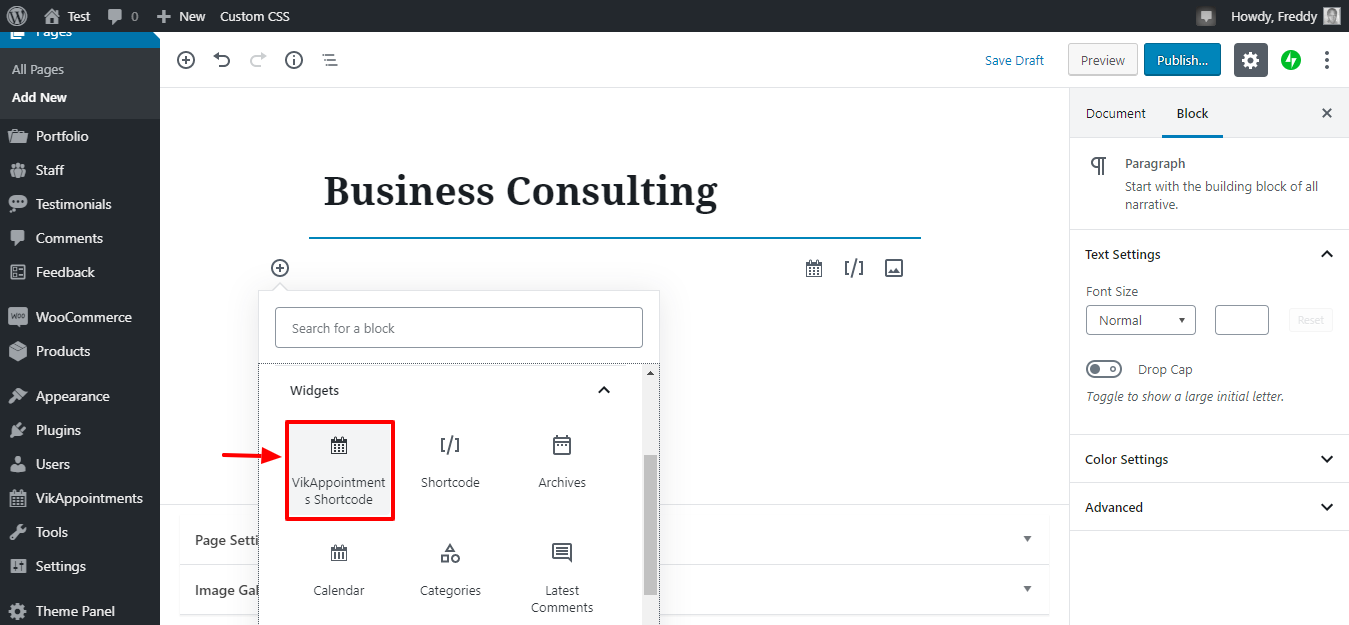
Name your page, click the plus (+) icon and choose the VikAppointments Shortcode block, as shown below.
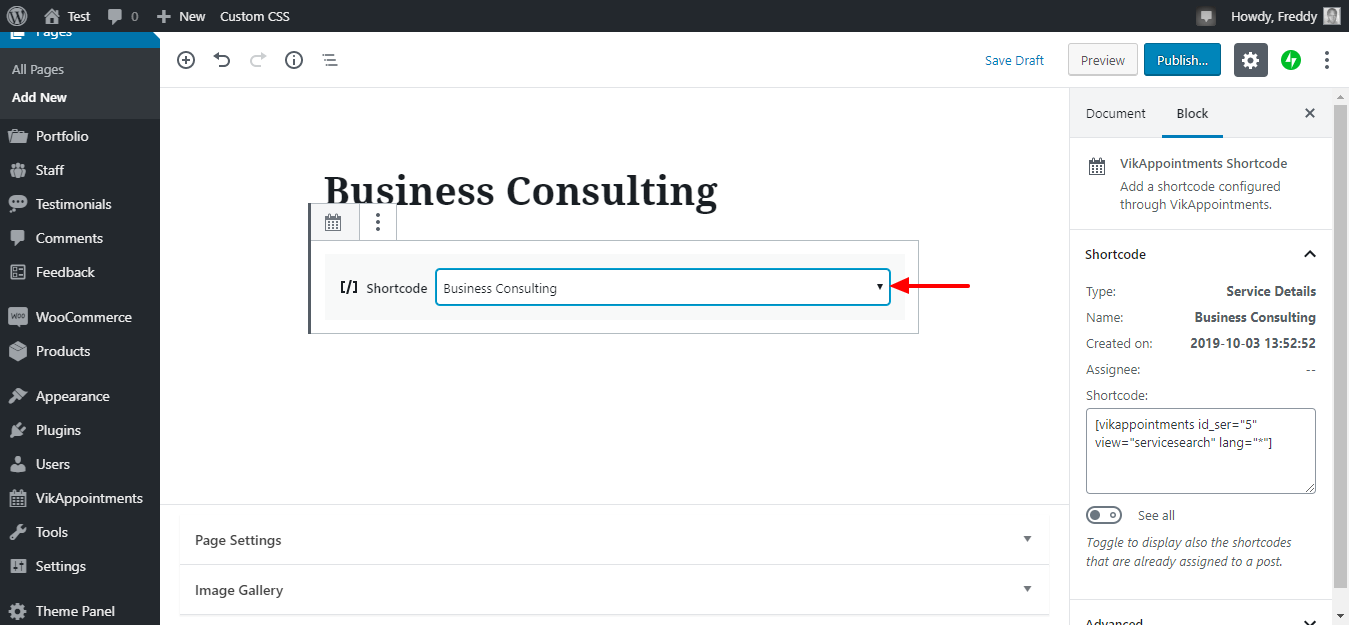
Next, choose the shortcode you created earlier, as shown in the image below.
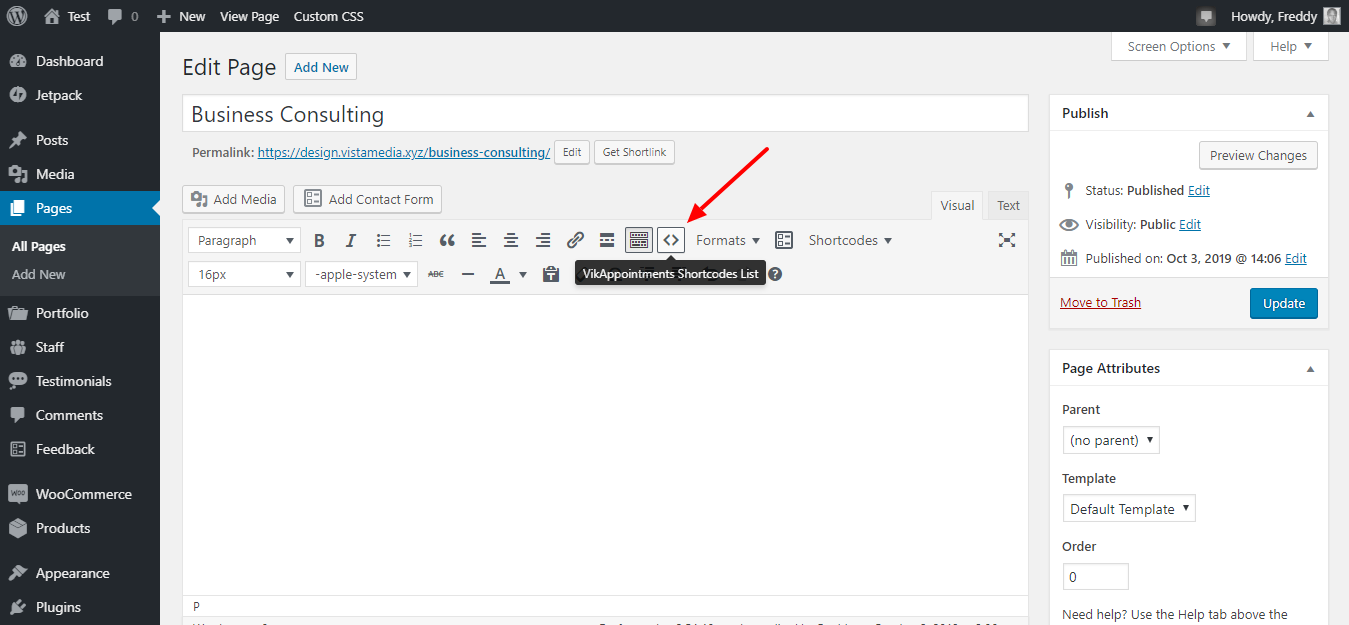
If you’re using the classic editor, you can add the shortcode by clicking the VikAppointments Shortcodes List button, as shown in the image below.
After that, click the Publish button. Here is what I got:
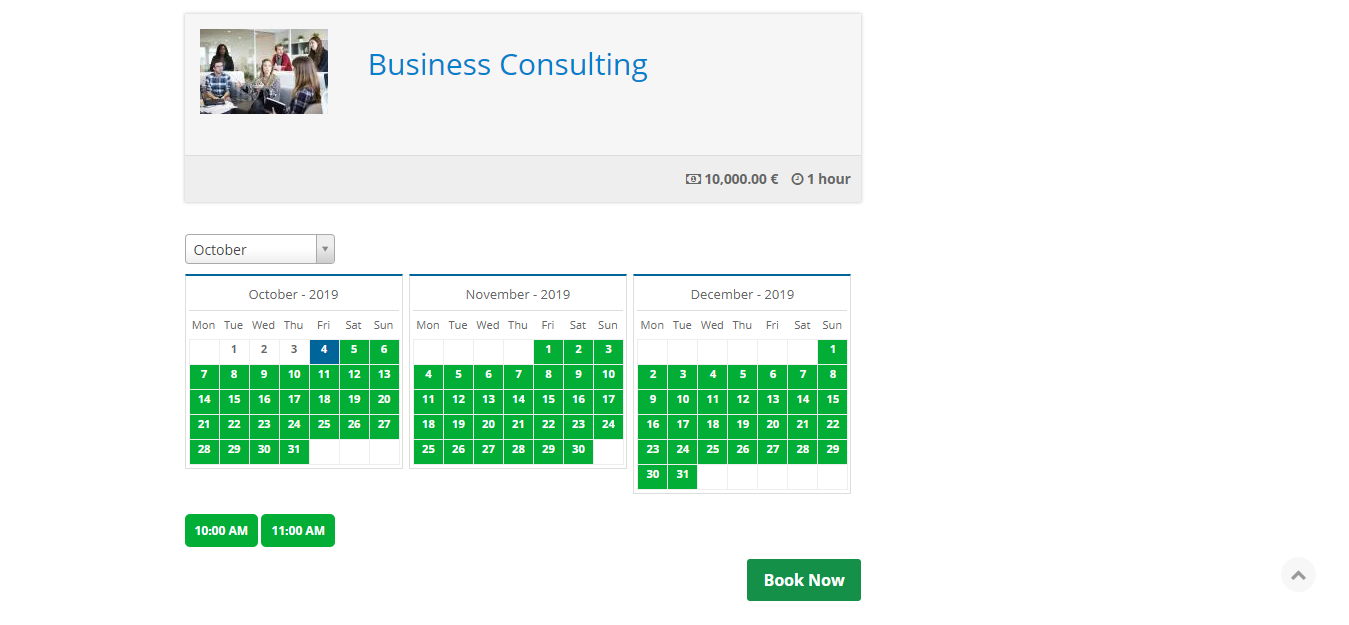
Not bad, right? The page comes complete with a functional Book Now button. Now, all the client needs to do is pick a date and time and hit the Book Now button.
Once your client hits Book Now, the plugin leads them to the following page to view and confirm the booking.
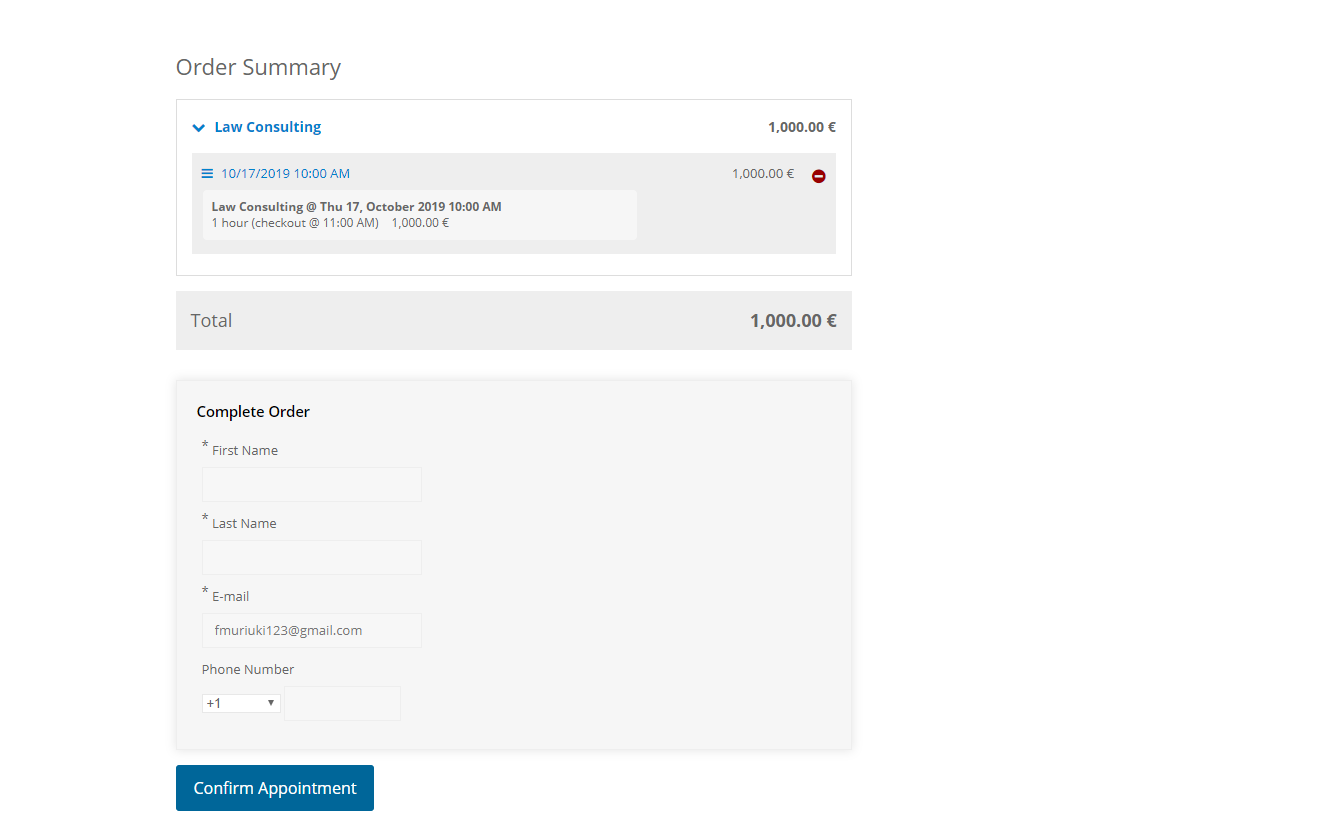
Pretty sweet, don’t you agree? Ah, I forgot to remove my email address; the plugin fills out the form automatically if you’ve booked appointments previously.
Now that we have the basics out of the way let us explore the VikAppointments dashboard for other options.
Other VikAppoinments Features
VikAppointments Help
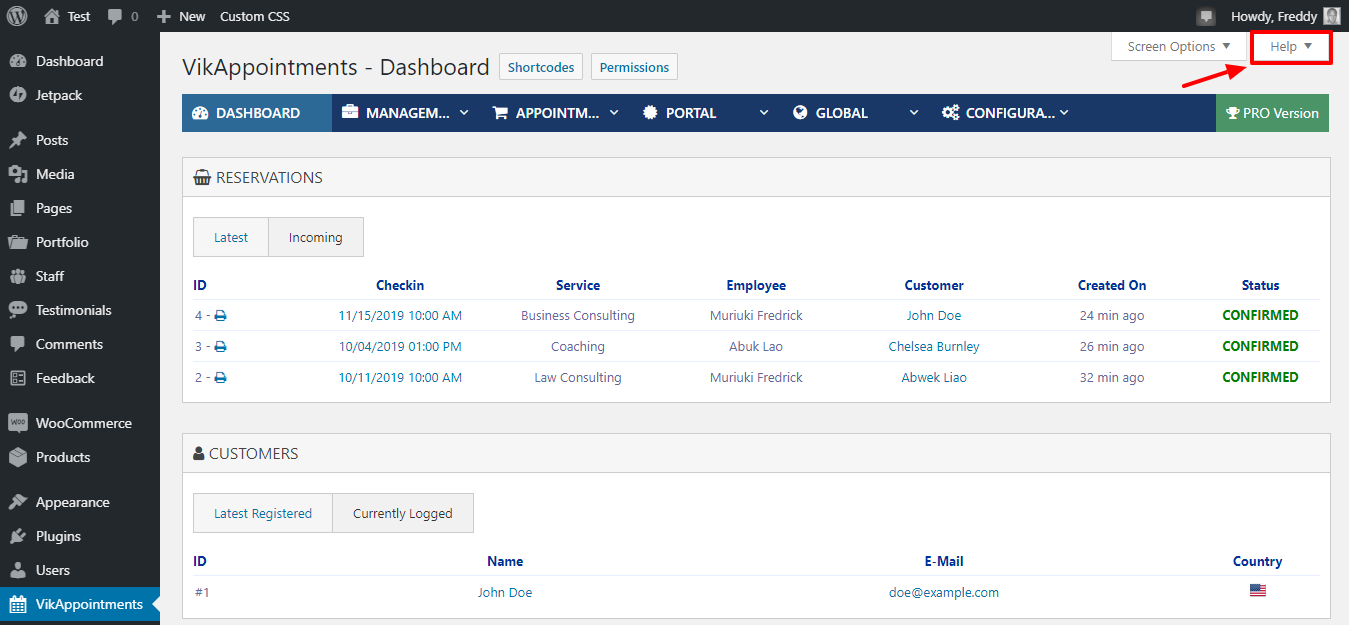
If you’re stuck for one reason or another, you can get help right from the VikAppointments dashboard. Click the Help button, as shown in the image below.
Appointments Tab
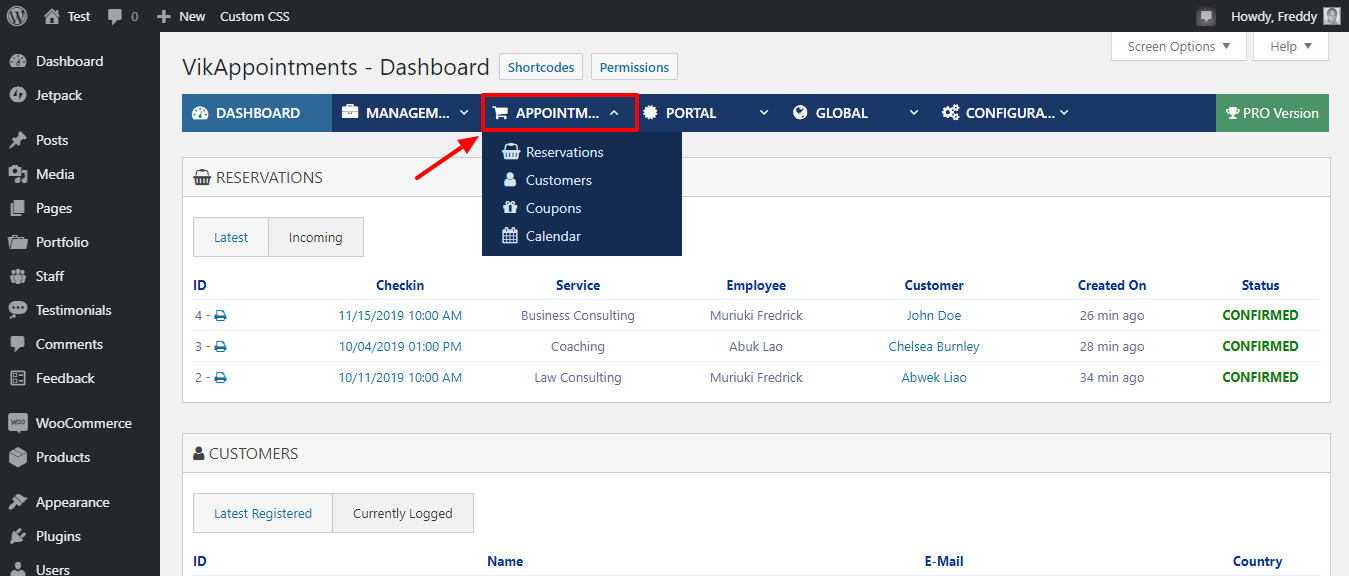
The Appointments tab shown in the image above carries a couple of options, as we detail in the list below.
- Reservations – Here, you can view all bookings
- Customers – This page displays a list of your customers
- Coupons – Because, who doesn’t love a well-timed discount?
- Calendar, which shows your entire calendar year, and total earnings from bookings
Portal Tab
Then you have the Portal tab, as shown in the image below.
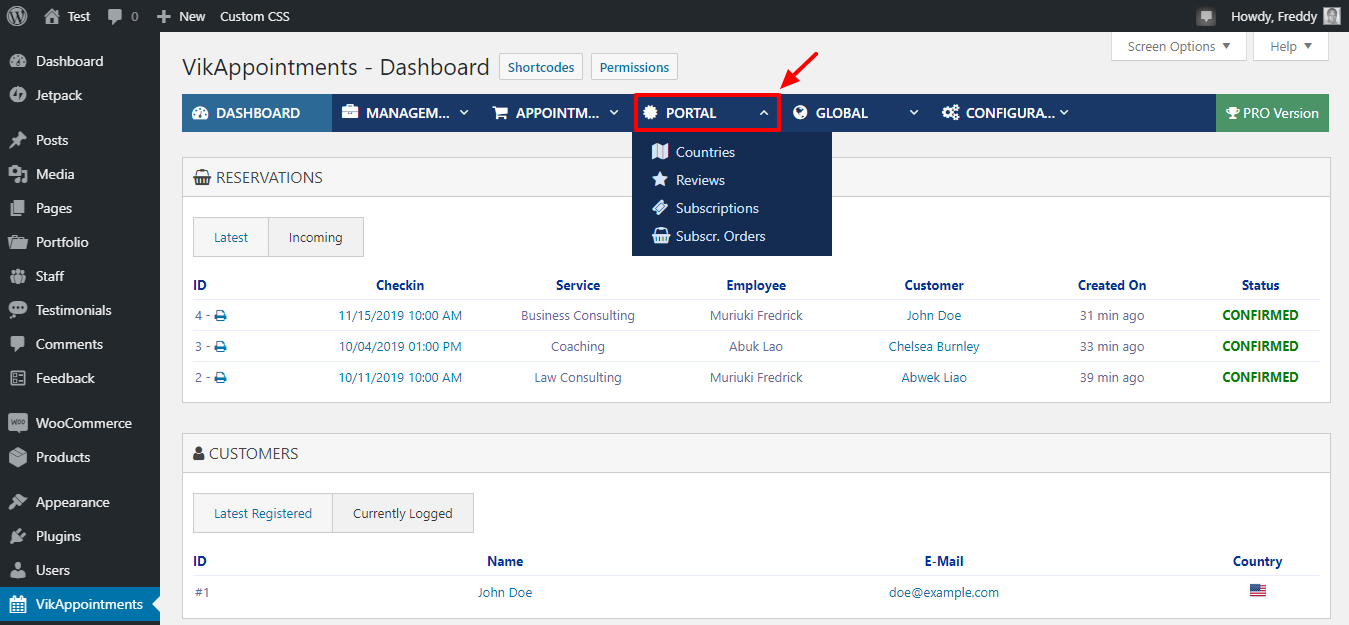
The Portal tab has several options, including:
- Countries – Where you can add, edit and remove countries
- Reviews – The page allows you to add reviews to your services
- Subscriptions– Here, you can create recurring subscriptions
- Subscr. Orders – View all subscription orders that clients purchase
Global Tab
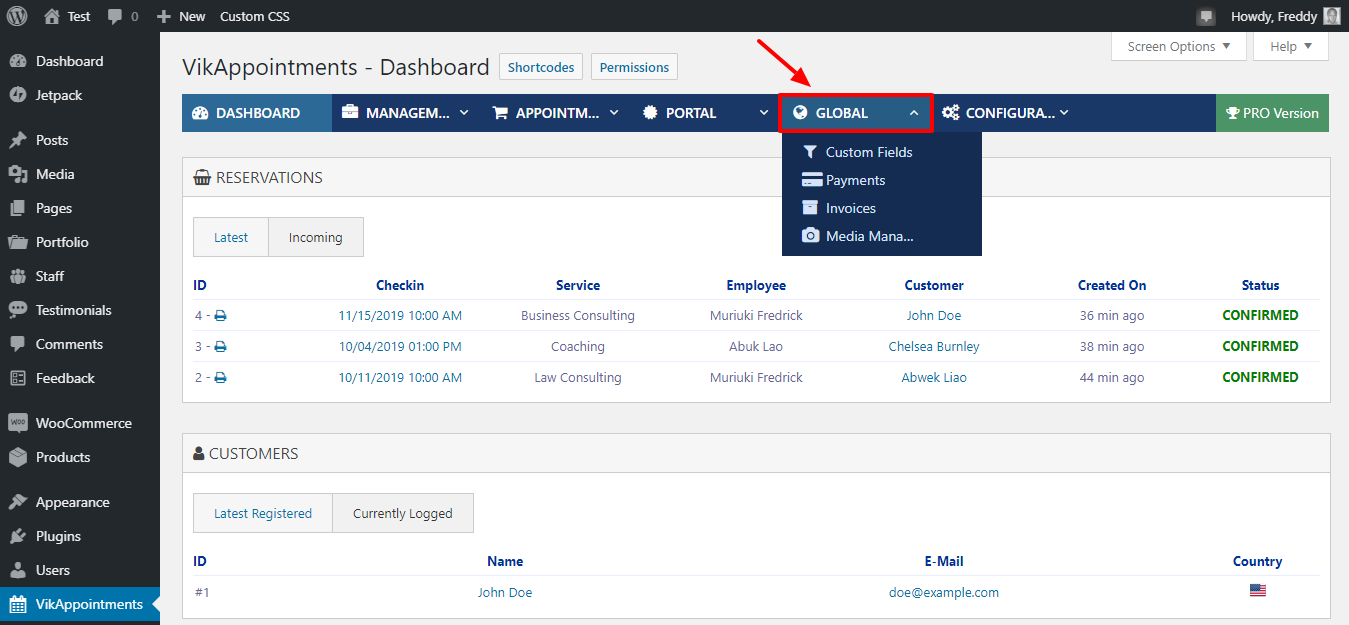
As you can see in the image above, the Global tab allows you to manage a couple of options, namely:
- Custom Fields – You can add custom fields to your order forms so you can collect all the information you require from your clients
- Payments – Allows you to activate payment gateways
- Invoices – You can view all your invoices here
- Media Manager – This option allows you to manage all the media files you upload via the VikAppointments plugin
Configuration Tab
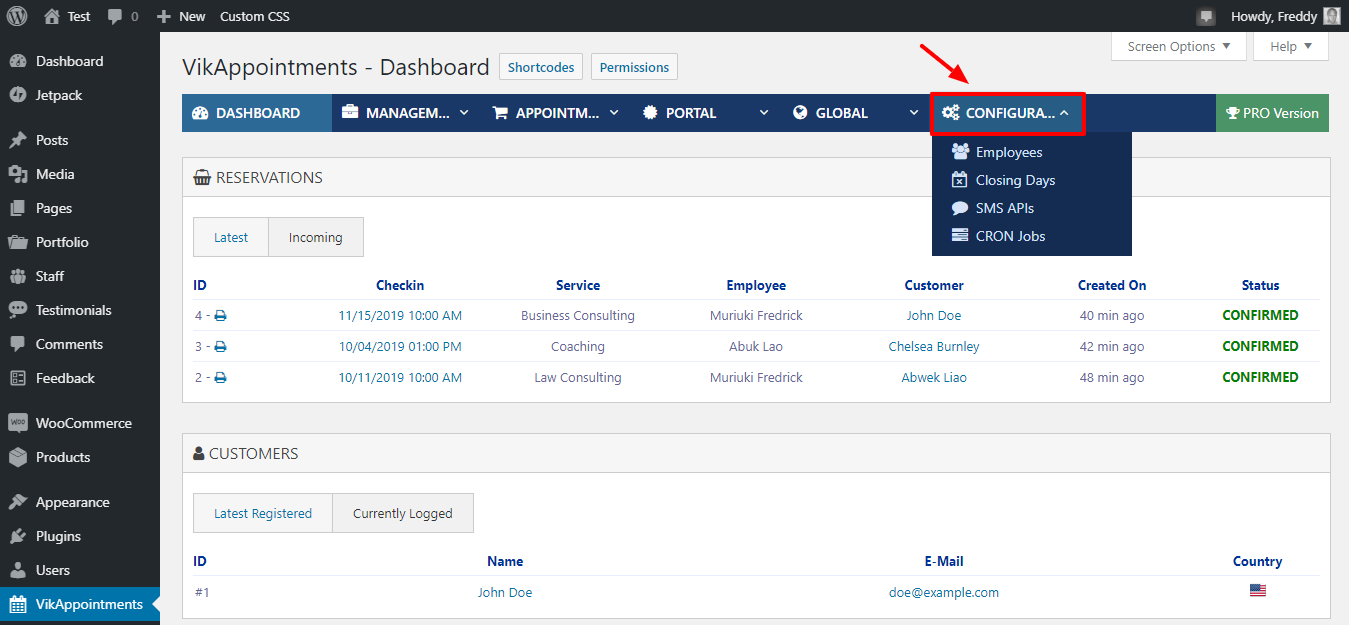
The Configuration tab helps you to manage a couple of options. Under the tab you have:
- Employees – Manage your employee options and permissions
- Closing Days – Set days that your business remains closed. Could include weekends and holidays
- SMS APIs – Configure your SMS API options so you can send text messages to your clients. You can even send automatic messages
- CRON Jobs – Settings for VikAppointments CRON jobs
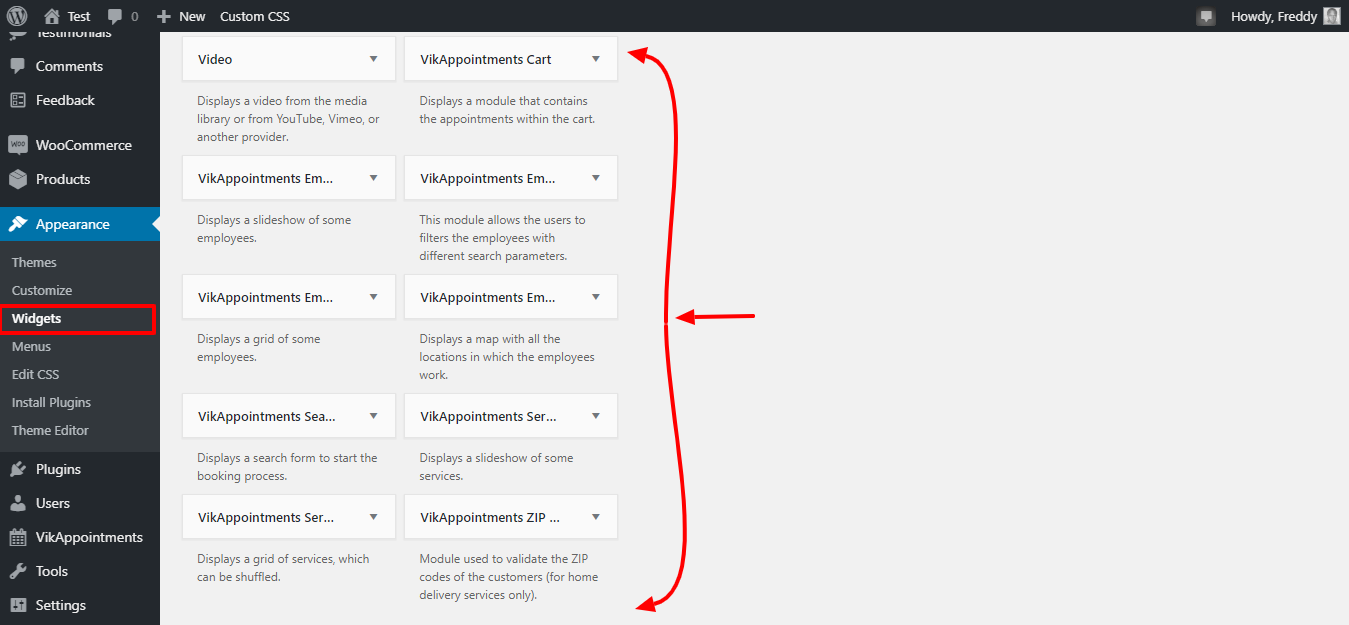
VikAppointments Widgets
The VikAppointments plugin comes with a couple of widgets that make your work even easier. To view and use the widgets, simply navigate to Appearance > Widgets, as we highlight in the image below.
And there you have it; VikAppointments in its full glory.
Between you and me, VikAppointments is a beautiful appointment scheduler for WordPress. Once you set up the plugin, it takes over bookings on your website, saving you a lot of time and money.
The plugin is easy to use; I checked out the documentation once or twice to confirm a couple of things, but that was it. In no time, I was bending VikAppointments to do my bidding.
Once you try the plugin, I am confident you won’t look for another booking plugin for your business. It’s full of all the features you’d need to schedule and manage appointments on your website.
Do you have concerns, questions, or suggestions? Please share in the comments.


Comments
No comments yet. Why don't you kick off the discussion?