Social Rabbit: Automate Your Social Media Marketing
I think you will agree when I say: social media marketing is a lot of work! You must find content, post, post some more, like and follow, among other things. When you do it manually, social media marketing is time-consuming and pricey, more so when you’re handling other business tasks.
But guess what?
I found a gem, a nifty plugin known as Social Rabbit. The plugin posts amazing human-like content to your four favorite social networks: FB, Instagram, Twitter, and Pinterest on auto-pilot 24/7. If that doesn’t get you going, you can use the plugin to post (grab) content from popular accounts, follow users, comment, and like.
It’s social media marketing in a box.
According to the developer, Alidropship:
The smart bunny draws attention to your accounts through following, liking, and commenting on users’ posts and accounts. Your social traffic and sales grow like crazy!
With this handy plugin, you can fully automate your site’s social media accounts posts, but make them look like you’ve spent hours on thoughtful planning and crafting of every post.
In today’s review, we install the Social Rabbit WordPress plugin and discover what makes it such a game-changer.
Without further ado, let’s start.
First, Buy the Social Rabbit WordPress Plugin
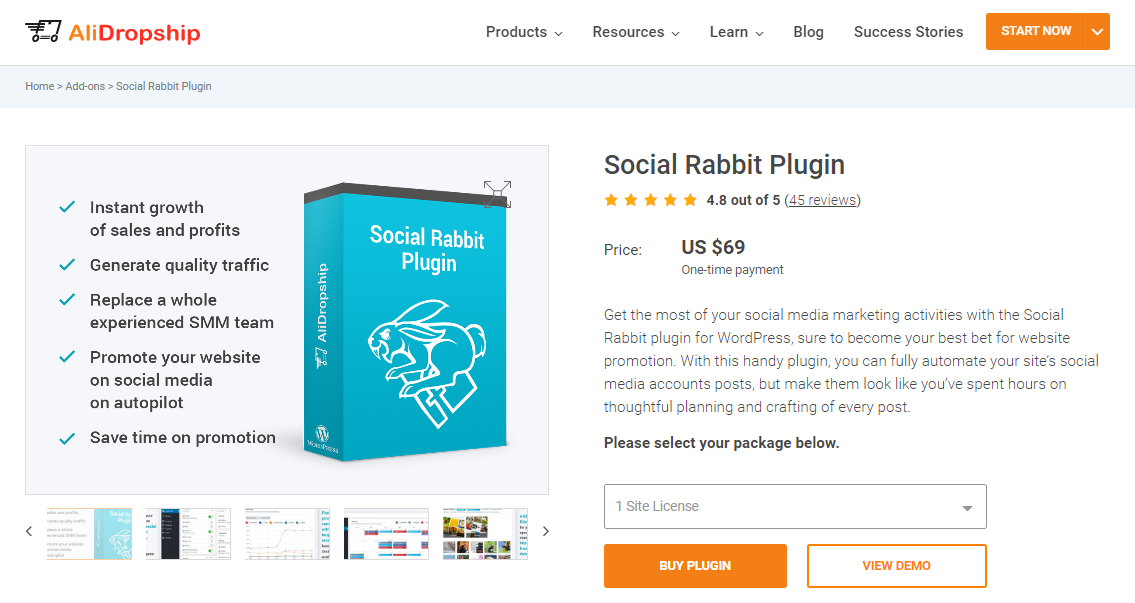
Social Rabbit is a premium WordPress plugin. You can’t get it from the free WordPress plugin repository. You need a valid license, meaning you must head over to the Social Rabbit website and hit the Buy Plugin button.
They offer three packages: one-site license at $69 bucks, three-site license at $149, and five-site license at $209. Choose the package that’s suitable for you. There is a slight learning curve, but it is smooth sailing all the way. Plus, you have video documentation and included lifetime professional support, so yay!
FYI: Although Social Rabbit is an add-on for the famous Alidropship plugin, you don’t need the latter. Social Rabbit is a standalone plugin that you can use on any WordPress website, even if you don’t have the Alidropship plugin.
After purchase, download the plugin to your computer. Note that you should select the archive compatible with your PHP version – 7.1 or 7.2/7.3. To check your PHP version, use the Display PHP Version plugin by David Gwyer. Alternatively, you can check your PHP version inside cPanel.
Now, you’re ready for the fun part 🙂
Install the Social Rabbit WordPress Plugin
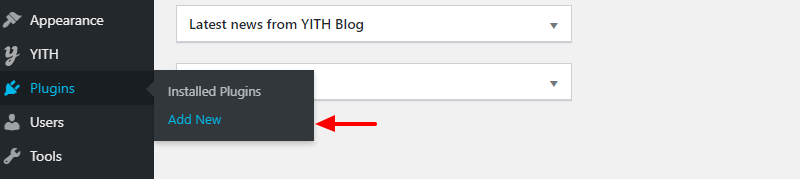
By now, you must know how to install WordPress plugins. Log in to your WordPress admin dashboard, and go to Plugins > Add New:
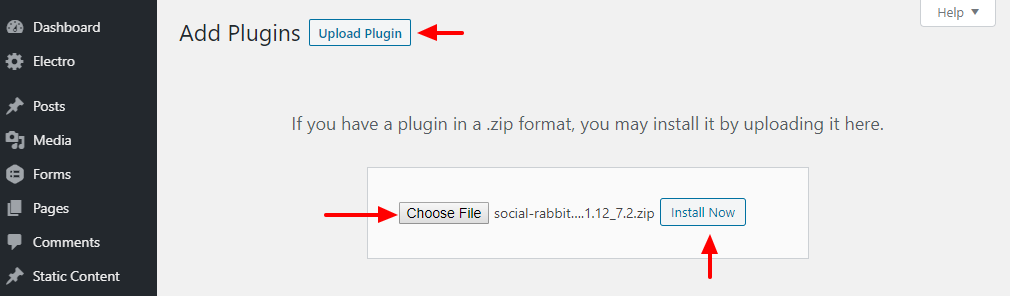
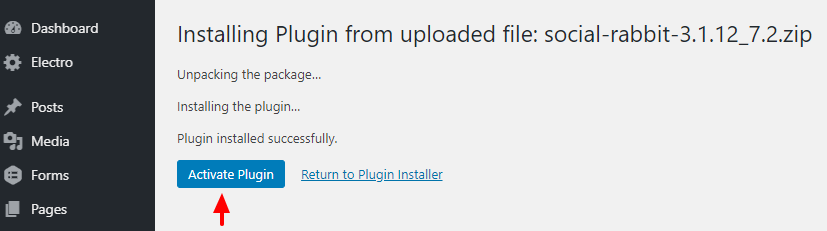
Next, click the Upload Plugin button, choose the Social Rabbit .zip file, and hit Install Now.
Next, click the Activate Plugin button.
If ionCube Loader is not installed in your web hosting, you’ll see the following error:

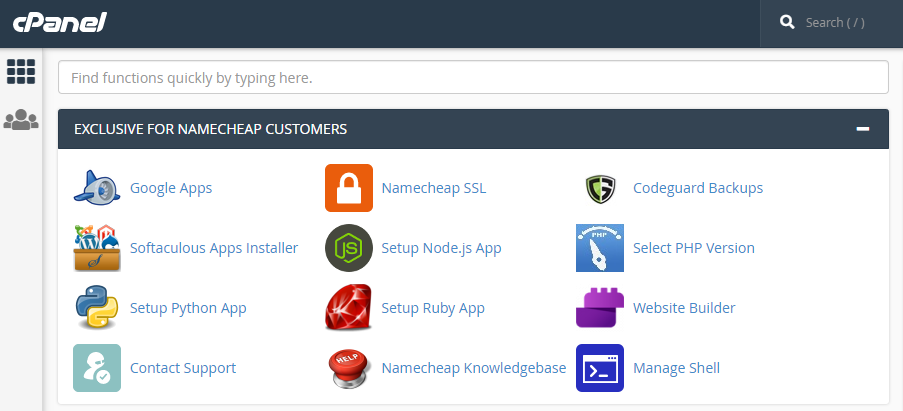
Don’t worry, installing ionCube Loader is as easy as A, B, C in popular hosting environments. To install ionCube Loader, log in to your web hosting account.
If you’re using cPanel, you see this:
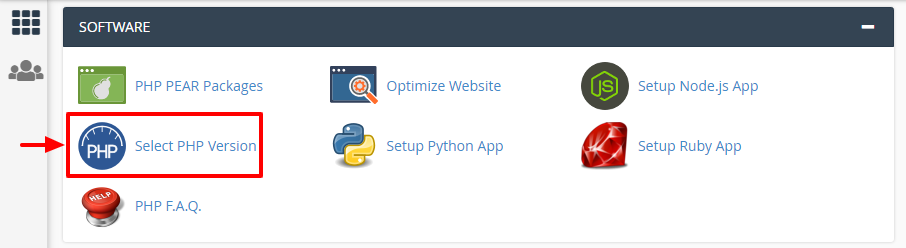
Next, scroll to the Software tab and click Select PHP Version, as shown below.
After that, tick the ioncube_loader checkbox and save your changes:
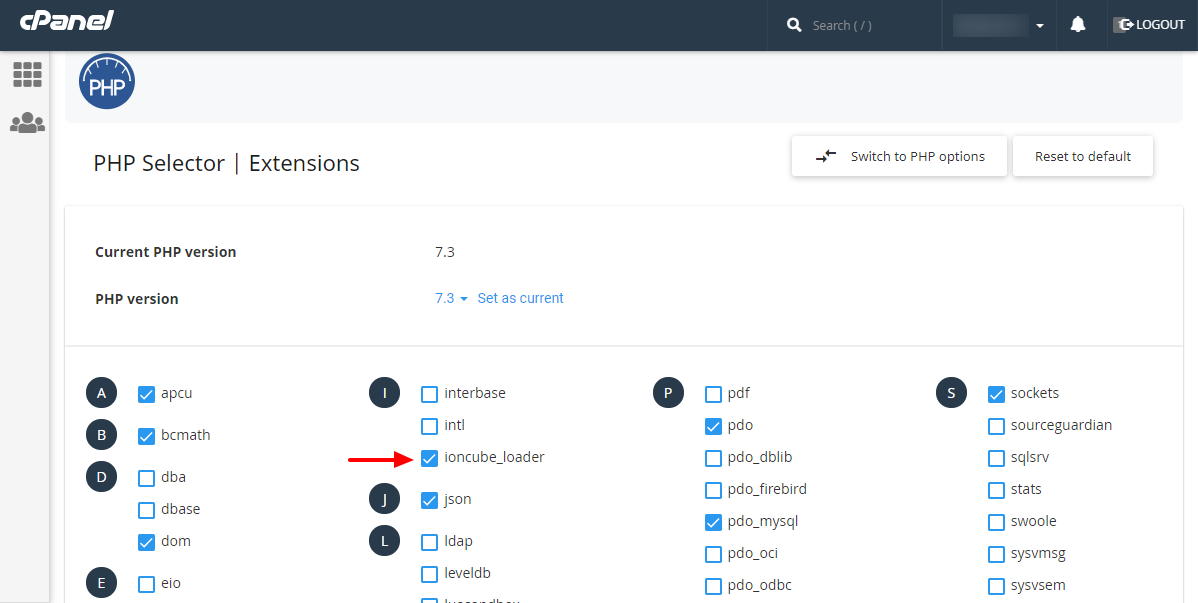
All done.
Log in back to your WordPress admin dashboard. Deactivate the Social Rabbit Plugin and click the “Activate” button again.

Now, you’re good to go. Your Social Rabbit plugin is ready to rock and roll. Let us configure the plugin.
Configure the Social Rabbit WordPress Plugin
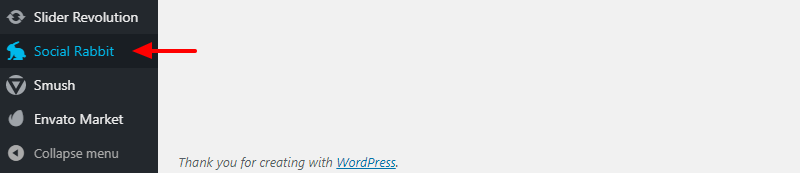
Click the Social Rabbit menu item, as shown below.
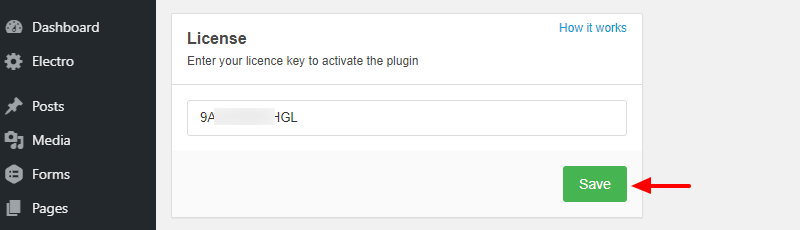
Next, enter your license key and click the Save button, as we highlight below.
Doing so leads you to the clean Social Rabbit dashboard shown below.
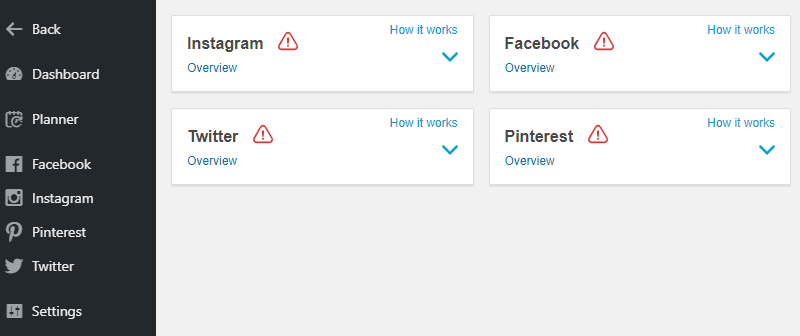
We don’t have anything going on yet, so let’s authorize social network accounts.
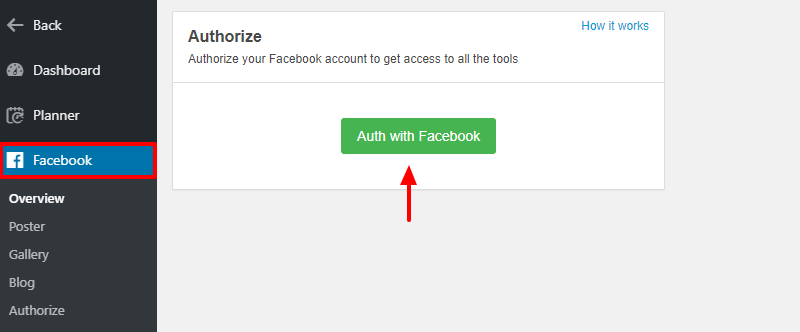
Click the Facebook menu item, and then the Auth with Facebook button as shown below.
Follow the steps to authorize Social Rabbit with Facebook. It’s super-duper easy to authorize you won’t have any problems. It’s a matter of point and click. Next, authorize Social Rabbit with Instagram, Twitter, and Pinterest. With your social network accounts connected, let’s activate some features.
Activating Media Gallery
Social Rabbit offers you a powerful media gallery to keep the images you share to social media in one place. The plugin allows you to add pictures to the gallery in three ways.
You can upload images, import them from external databases, or activate automatic image download from photo websites.
For this review, we show you how to add media in all three ways.
Automatic Image Uploads
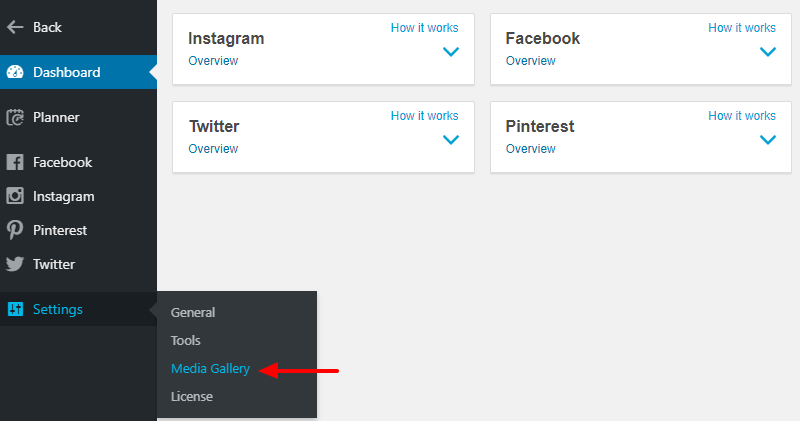
On your Social Rabbit dashboard, navigate to Settings > Media Gallery, as shown below.
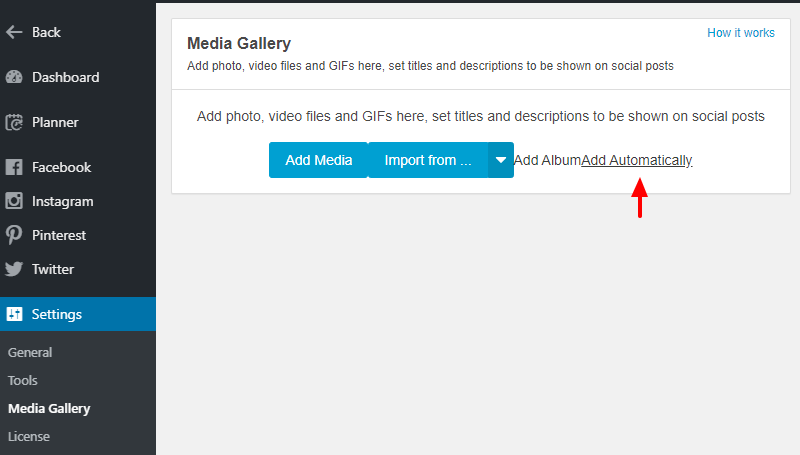
Next, click Add Automatically, as seen in the following image.
After that, enter your keywords, choose the photo service, and hit the Save button:
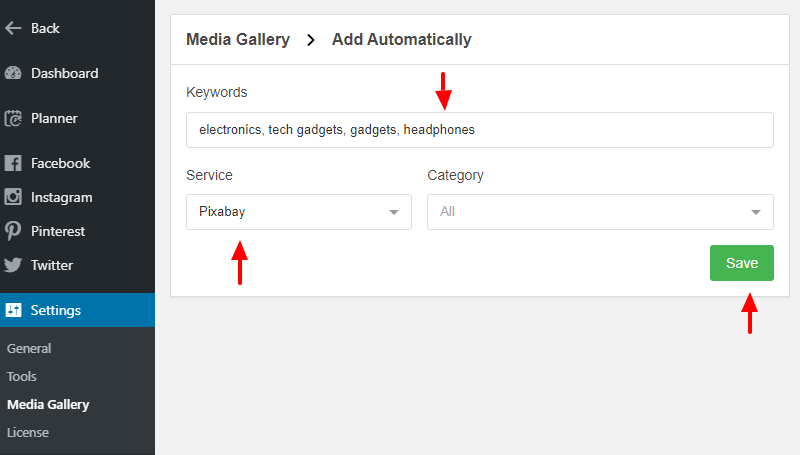
All done! After 10 minutes, your newly created album will start uploading images depending on your keywords. If you’d like a more direct approach, remember you can upload media directly from your computer or import from external services manually.
Uploading Images Manually
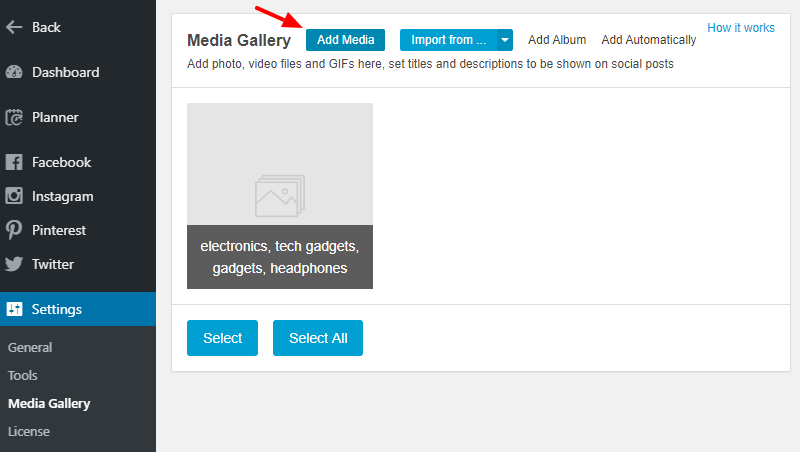
Navigate to Settings > Media Gallery and click the Add Media button:
Next, drop files to upload or click the Select Files button:
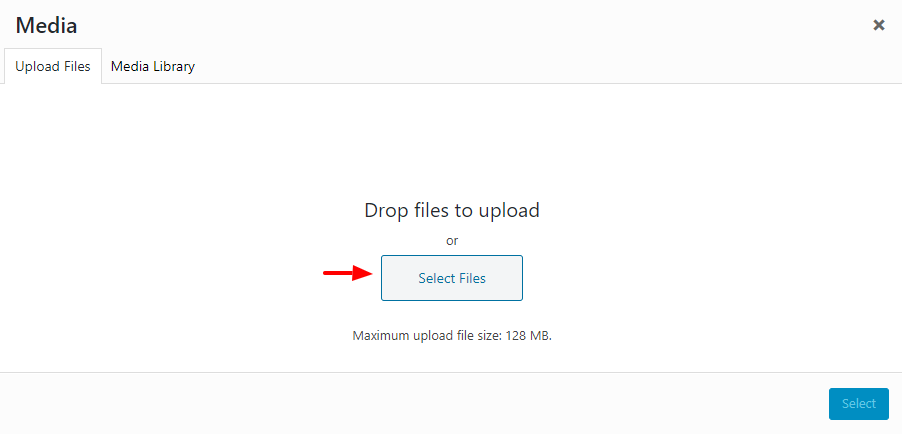
Next, choose the images you’d like to use with Social Rabbit and click Select:

Done 🙂
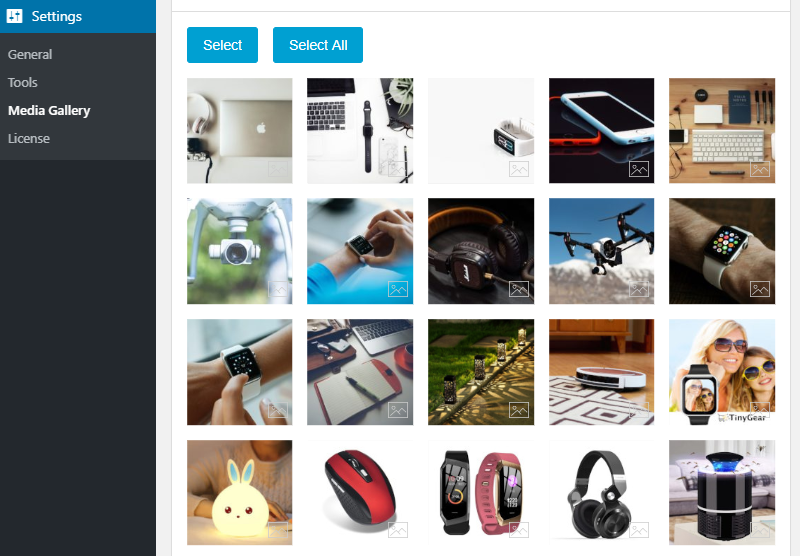
Import Images from Photo Services
Go to Settings > Media Gallery, click the Import From button, and choose a photo service, as shown in the image below.

Next, enter your keywords and click the images you’d like to import to your Social Rabbit media gallery:
After importing your images, head back to your Social Rabbit media gallery, and you’ll see all of your images:
As you can see, adding images to Social Rabbit is as easy as A, B, C. On top of that, you can easily edit your images using the built-in Image Editor tool.
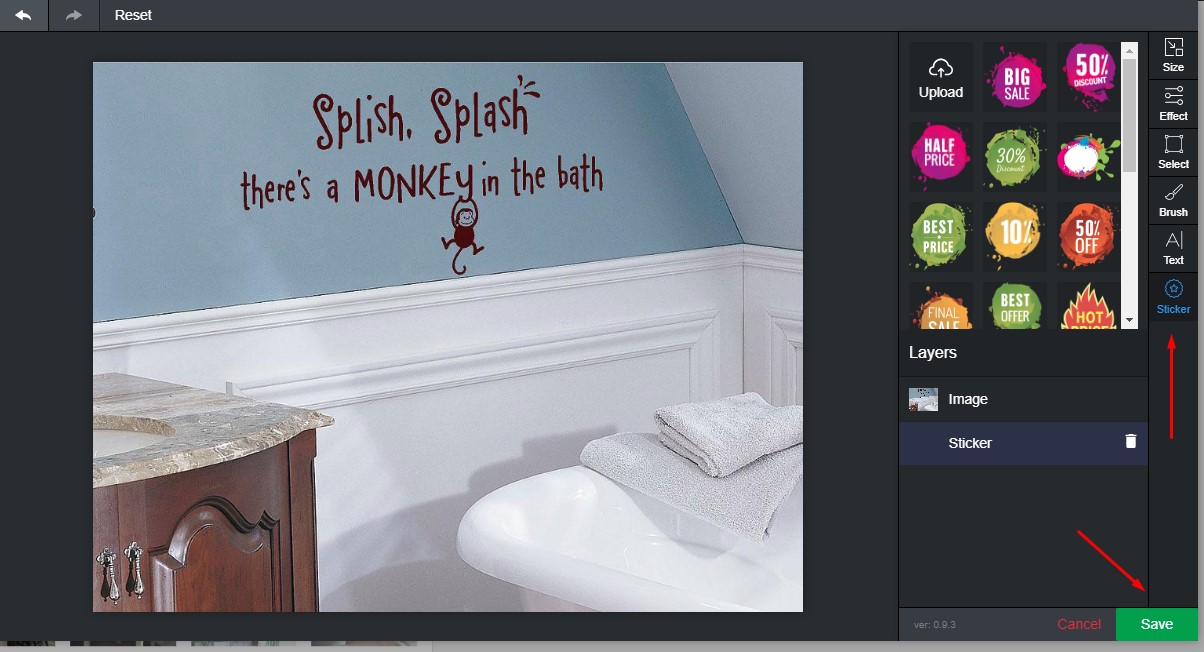
Social Rabbit Image Editor
To use the image editor, mouse over an image and click the brush icon:

Next, perform the necessary edits and click Save, as shown below.
Further, you can schedule your social media image posts, as we highlight in the following section.
Scheduling Image Posts
To schedule image posts right in the Media Gallery, mouse over an image and click the calendar icon, as we detail below.
![]()
Next, choose your settings and hit the Save button:
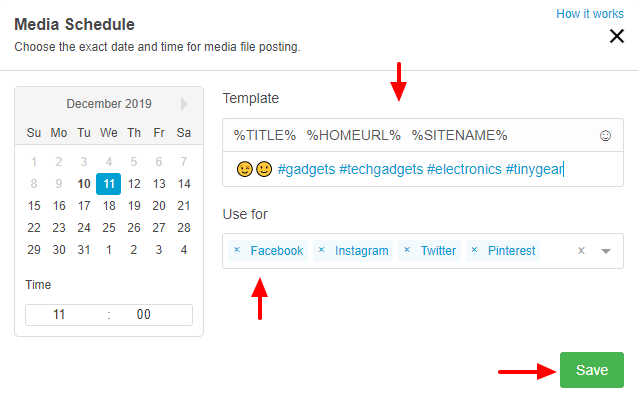
There you go, you’re getting the hang of this 🙂 Aren’t you a quick study.
Now that we have images going, let us activate sharing tools so that you can automate social media marketing on your WordPress website. We will begin with Facebook.
Social Rabbit Facebook Tools
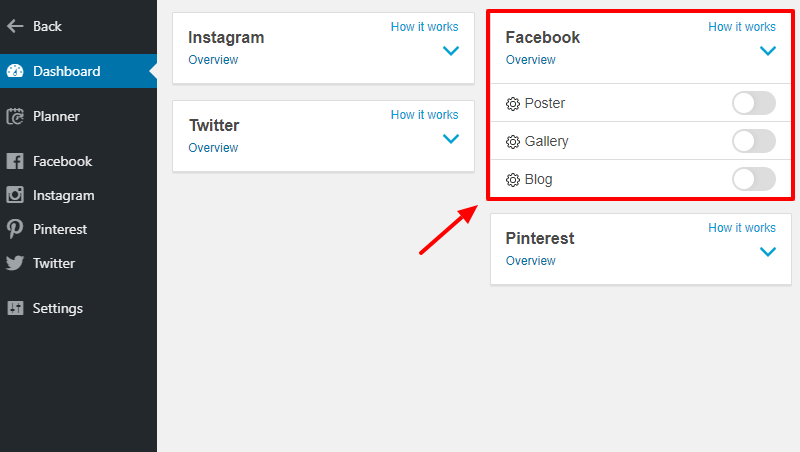
The Social Rabbit plugin offers you three Facebook tools, namely, Poster, Gallery, and Blog. We shall go over each tool briefly. Let’s begin with the Facebook Poster tool.
Facebook Poster Tool
The Poster tool allows you to publish products from your store to your Facebook account automatically.
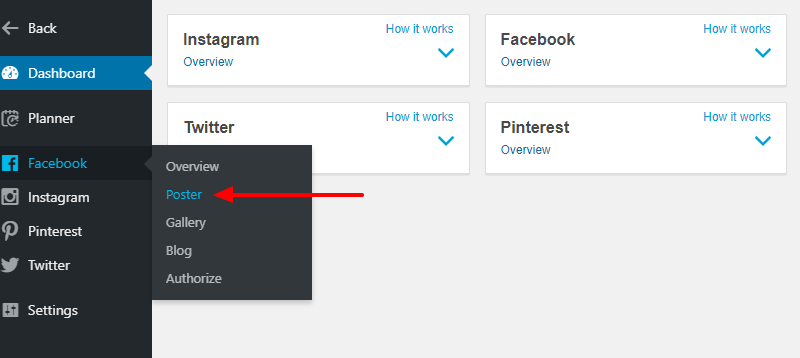
Head over to Facebook > Poster, as shown below.
On the next screen, do the following:
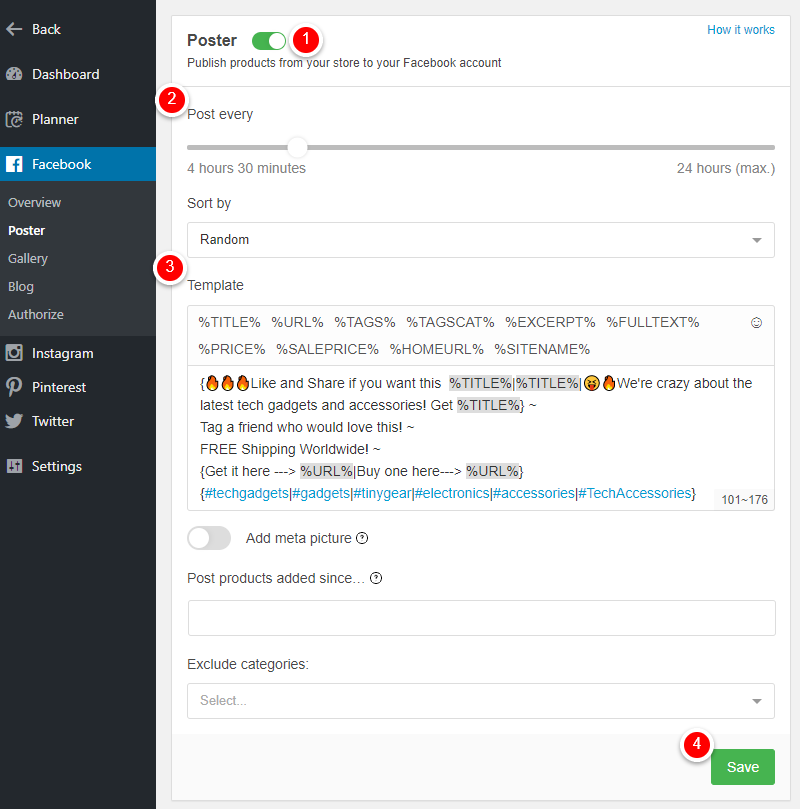
- Toggle the button to activate the Poster tool
- Set your posting frequency
- Edit your template here. Take advantage of the template field to create engaging posts. You can use tags, #hashtags, and create multiple variations of your post. Separate variations using | as shown in the image above.
- After you’ve configured the Poster tool, hit the Save button, and Social Rabbit will start posting to your Facebook page automatically
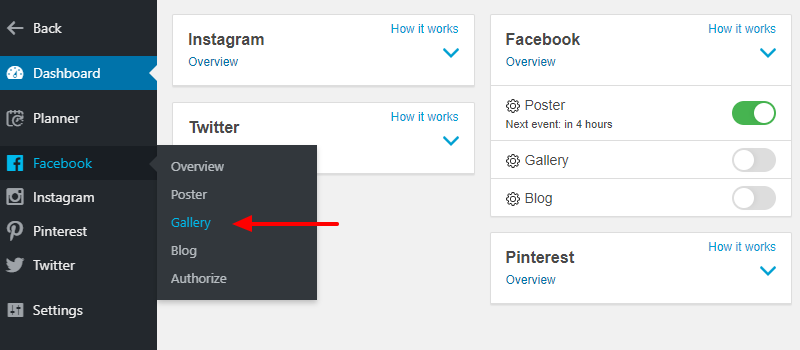
Now, let us configure the Facebook Gallery tool.
Facebook Gallery Tool
The Gallery tool allows you to publish images and videos from your Social Rabbit media gallery to your Facebook account.
Go to Facebook > Gallery:
Next, turn on the Gallery tool, choose your posting frequency, edit your template, and hit Save, as shown below.
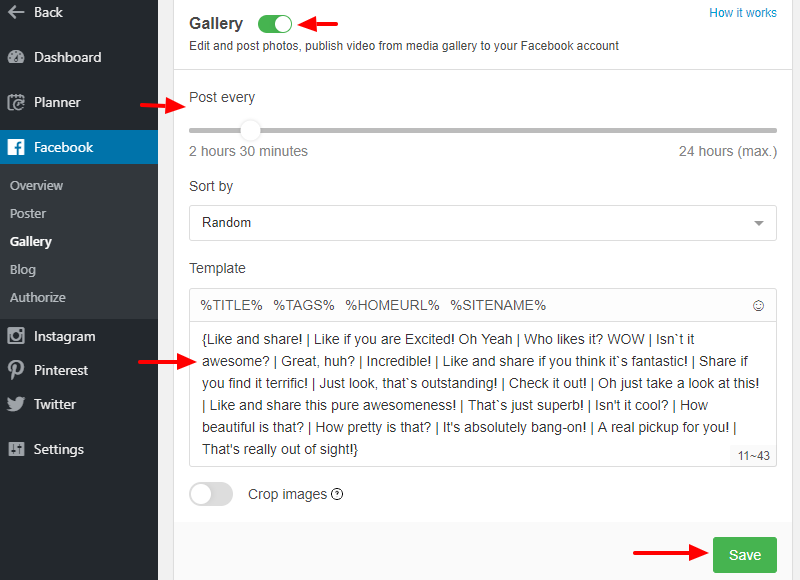
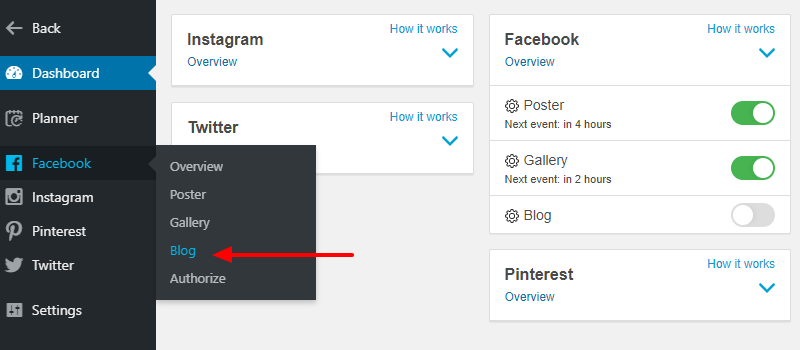
Now, Social Rabbit will pick images and videos from the Social Rabbit media gallery and post to Facebook automatically. That out of the way, let us activate the Facebook Blog tool.
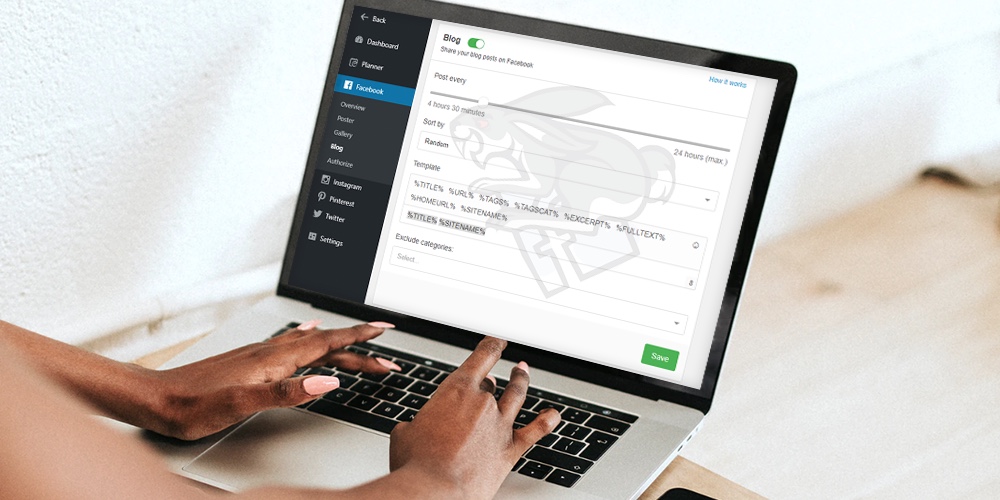
Facebook Blog Tool
As the name suggests, the Blog tool helps you to share your blog posts to Facebook automatically.
Navigate to Facebook > Blog:
Next, activate the Blog tool, set your posting frequency, edit your template, and click the Save button.
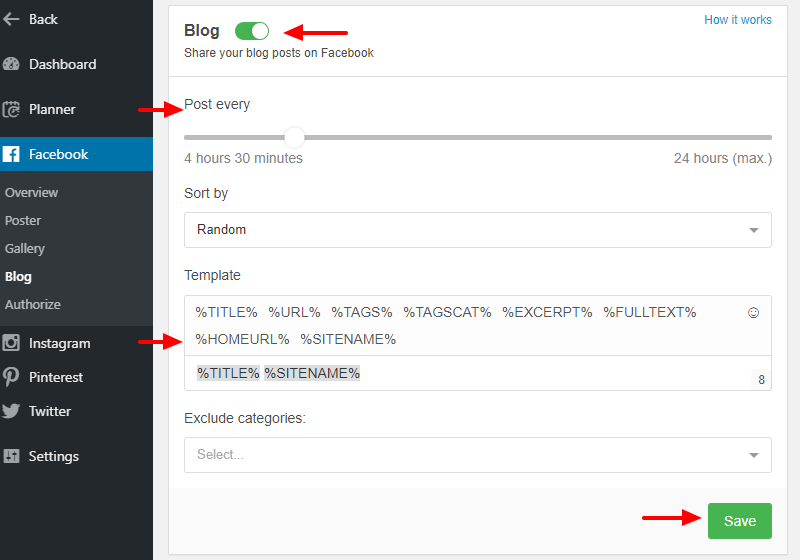
Social Rabbit will take posts from your blog and post them to your Facebook account automatically.
Facebook Tools out of the way, let us cover Instagram tools next.
Social Rabbit Instagram Tools
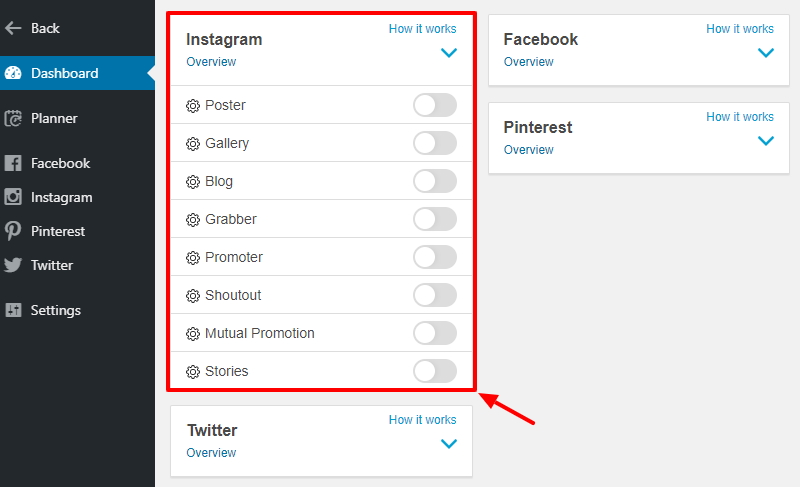
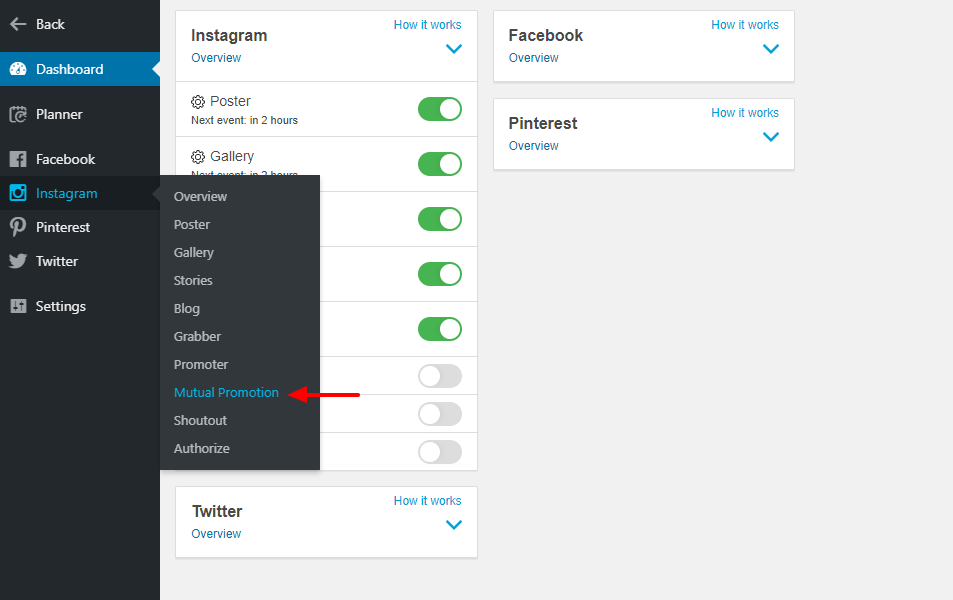
Social Rabbit offers you eight Instagram tools, namely Poster, Gallery, Blog, Grabber, Promoter, Shoutout, Mutual Promotion, and Stories. Let’s begin with the Instagram Poster tool.
Note: To authorize your Instagram account you will need to login via Social Rabbit (not sure how? Follow along with the video in Social Rabbit’s official Instagram Authorization Guide).
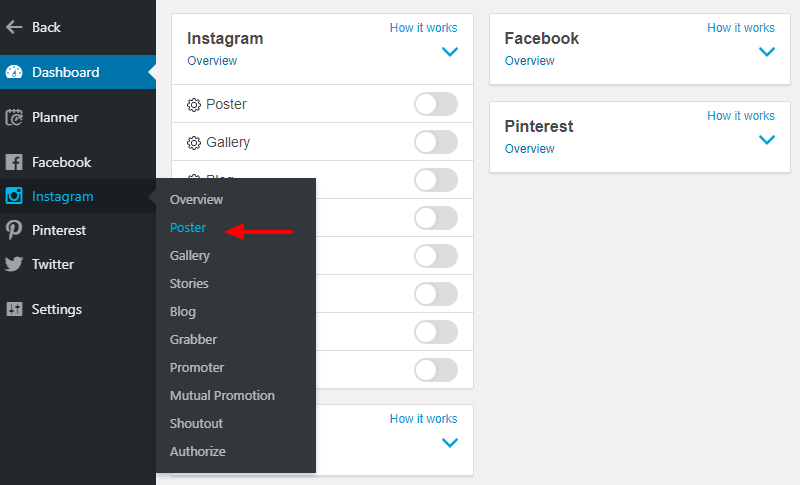
Instagram Poster Tool
The Instagram Poster tool allows you to publish products from your store to your Instagram account.
Head over to Instagram > Poster:
Again, turn the Instagram poster tool, choose a posting frequency, edit your template, and other settings. Finally, hit the Save button, as shown below.
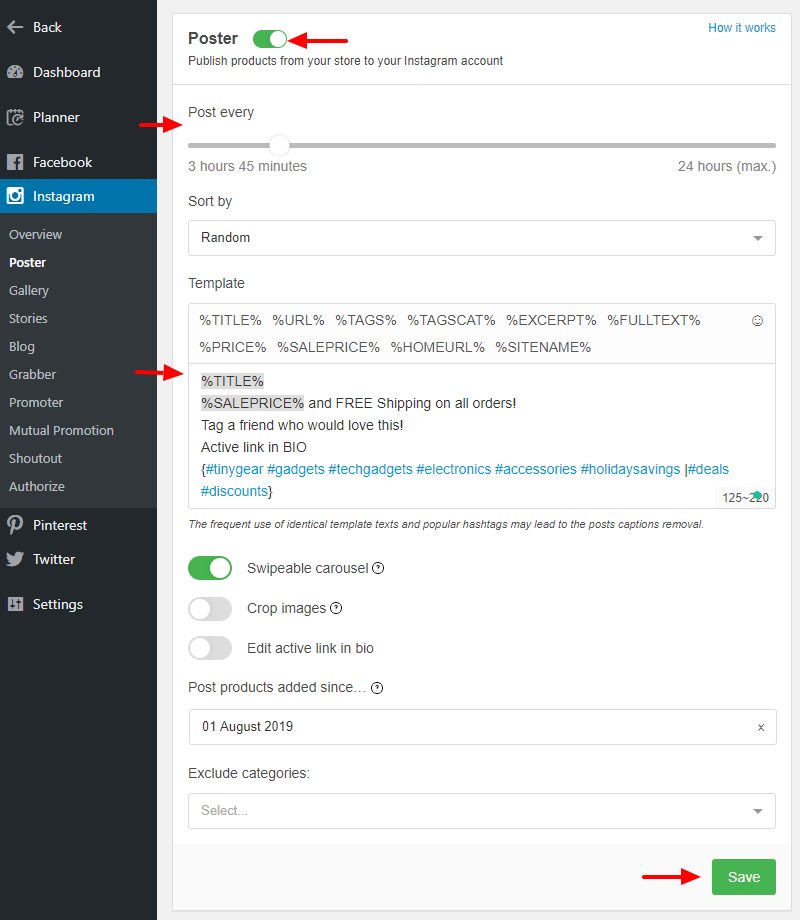
Easy peasy; Social Rabbit will start posting your products to your Instagram account automatically. Now, go ahead and activate the Gallery tool.
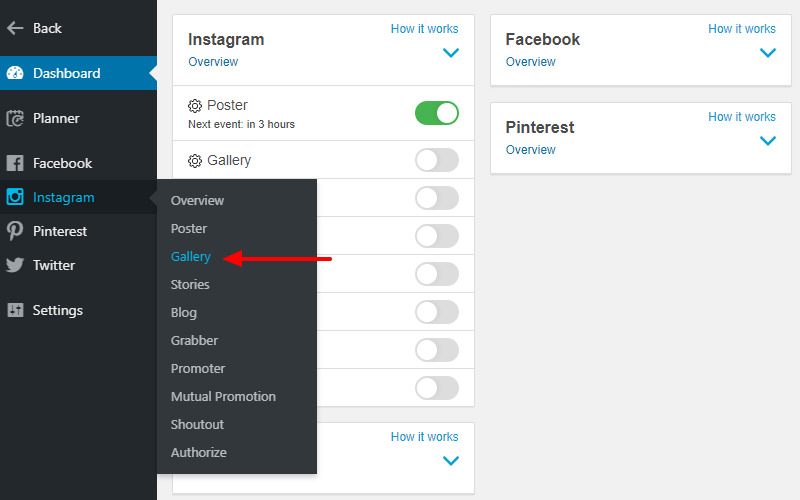
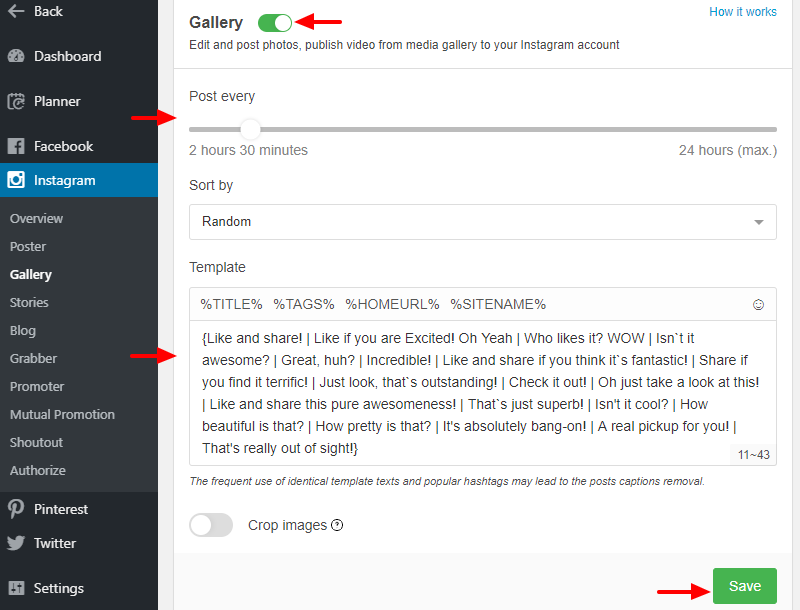
Instagram Gallery Tool
The Instagram Gallery tool allows you to post images and videos from the Social Rabbit media gallery to your Instagram account.
Go to Instagram > Gallery:
Turn on the Gallery tool, set a sharing frequency, edit your template, and click the Save button:
This is all too easy. Just point and click, and that’s all. You don’t need to activate all the tools, just what you need. Check out marketing tips & tricks from Social Rabbit, which covers how to use hashtags effectively, when to post and how often you should post. You need to read the article if you don’t want to come off across as spammy.
Out of curiosity, I activated the Grabber, Promoter, Mutual Promotion, and Shoutout tools, and here’s how that went.
Instagram Grabber Tool
The Instagram Grabber tool helps you to repost content from other niche related Instagram account. It’s the perfect tool to grow your Instagram influence.
Head over to Instagram > Grabber.
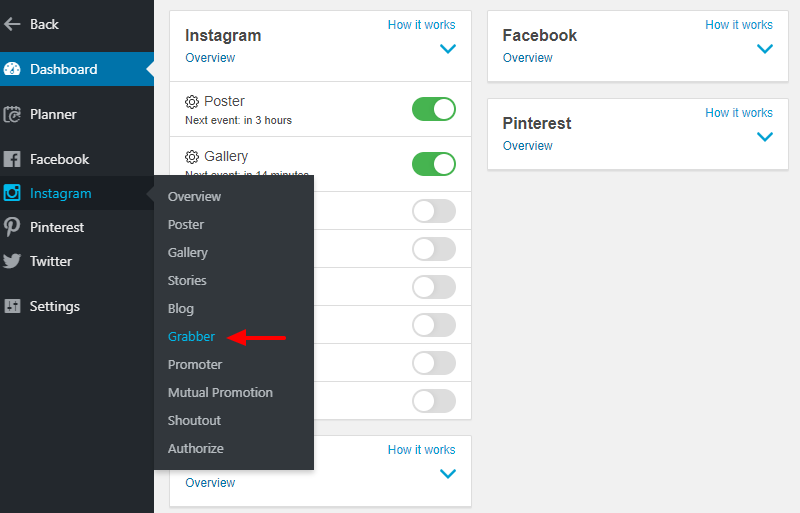
Next, turn on the Grabber tool, set reposting frequency, edit your template, and use the Search users or tags tab to add Instagram users.
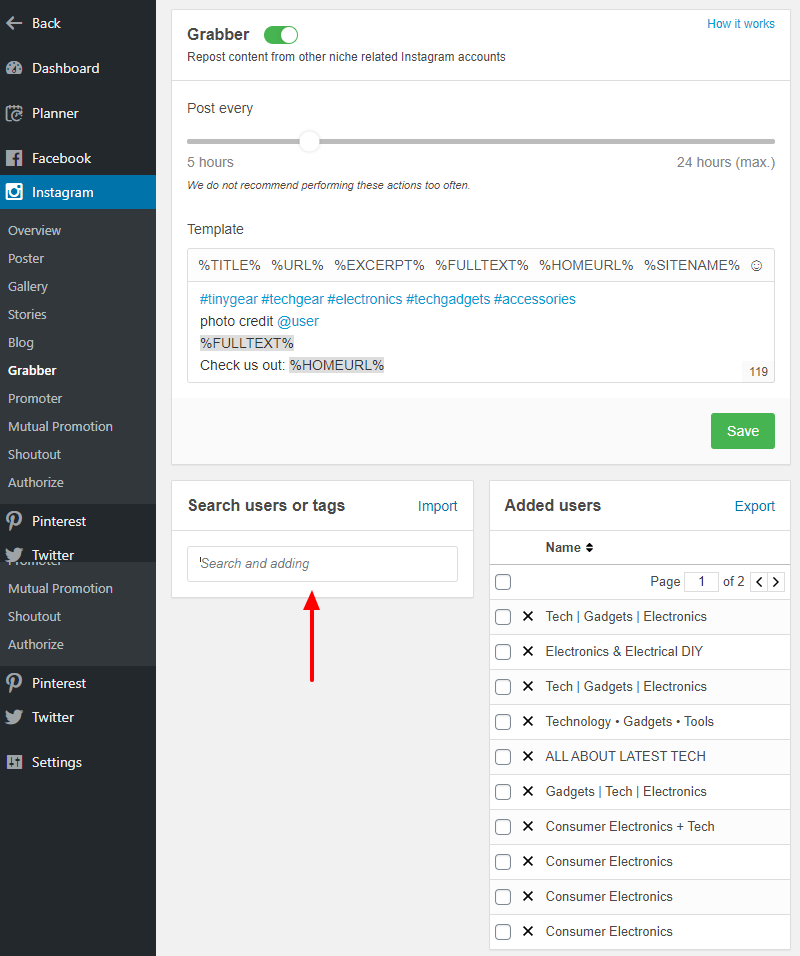
All done! Social Rabbit will now curate and repost content from the Instagram accounts you added. How sweet? Especially when everything runs silently in the background 24/7.
There’s more! You have a Promoter tool that helps you to get your name out there.
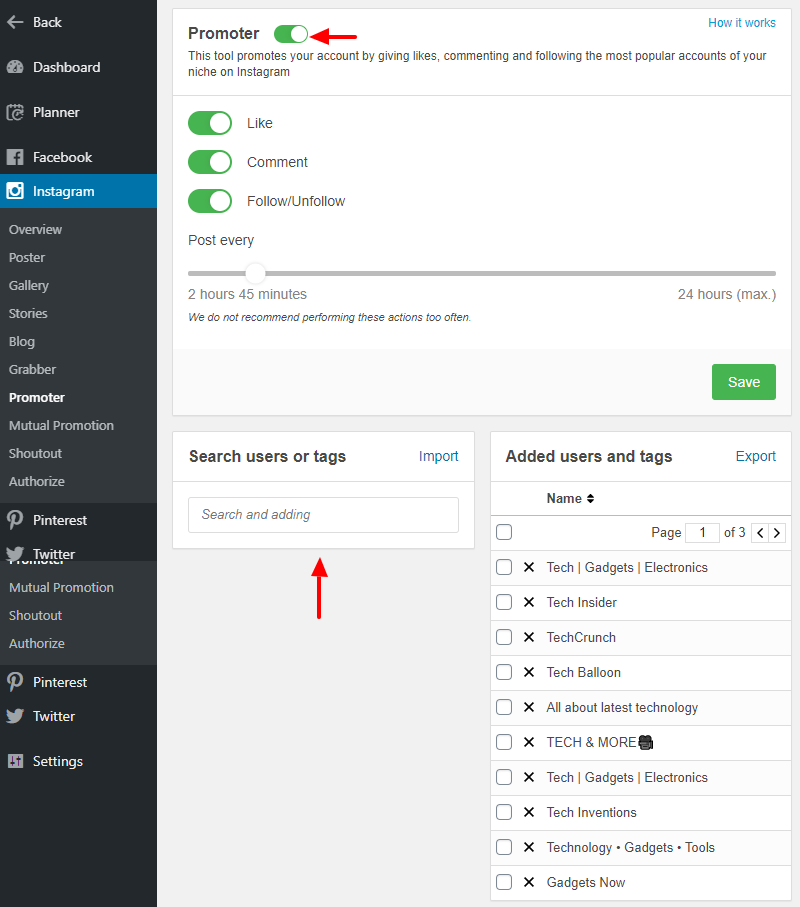
Instagram Promoter Tool
The Instagram Promoter tool helps you to promote your account by giving likes, commenting and following the most famous accounts of your niche. Now, you don’t have to like posts, follow, and comment manually.
Go to Instagram > Promoter:
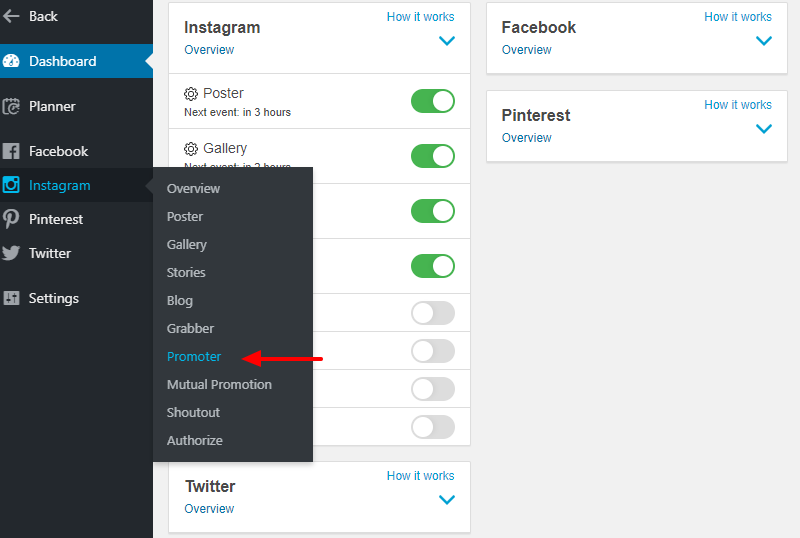
Next, turn on the Promoter tool, and add users via the Search users & tags tab, as shown below.
Simple as 1, 2, 3. So far, so good, I haven’t had any challenges configuring Social Rabbit. And it’s working; I noticed a spike in the number of users the day I activated Facebook Poster. Here’s the proof:
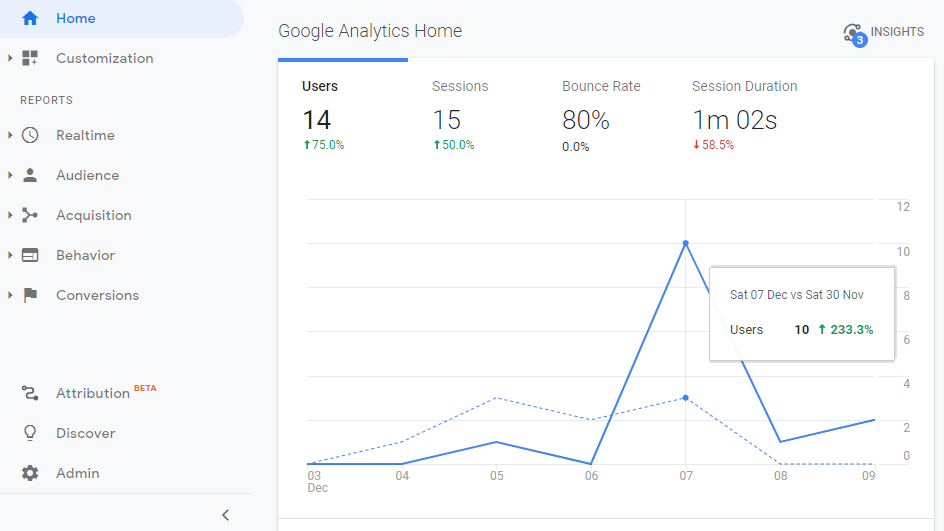
For a dummy website that doesn’t get traffic, that 233.3% bump is a noticeable improvement. Suffice to say; all the users came from Facebook. Now, let us look at the Mutual Promotion tool.
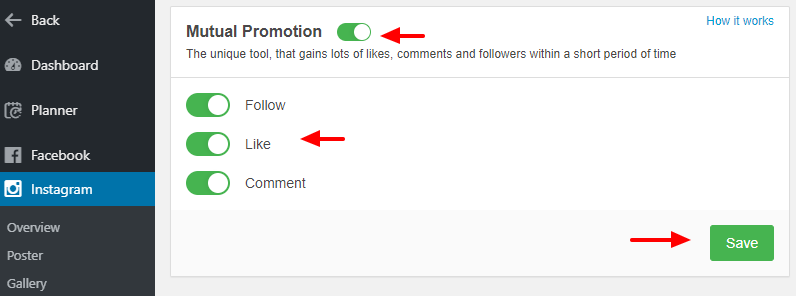
Instagram Mutual Promotion Tool
The Mutual Promotion tool helps you to get many comments, followers, and likes within a short period by exploiting Social Rabbit plugins installed on other websites. The tool likes, comments, and follows Instagram accounts belonging to other Social Rabbit users.
Navigate to Instagram > Mutual Promotion:
Next, turn on Mutual Promotion, switch on necessary options, i.e. Follow, Like & Comment, and hit the Save button:
And finally, we have the Instagram Shoutout tool.
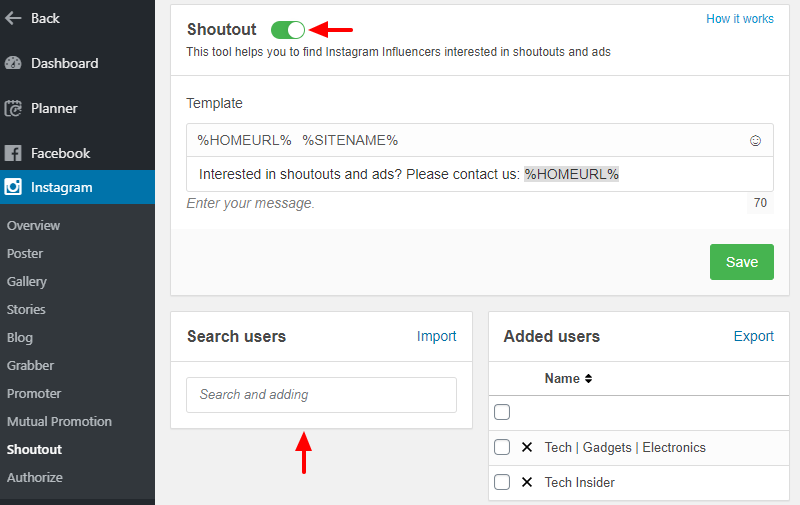
Instagram Shoutout Tool
The Instagram Shoutout tool helps you to find Instagram influencers interested in shoutouts and ads.
Go to Instagram > Shoutout:
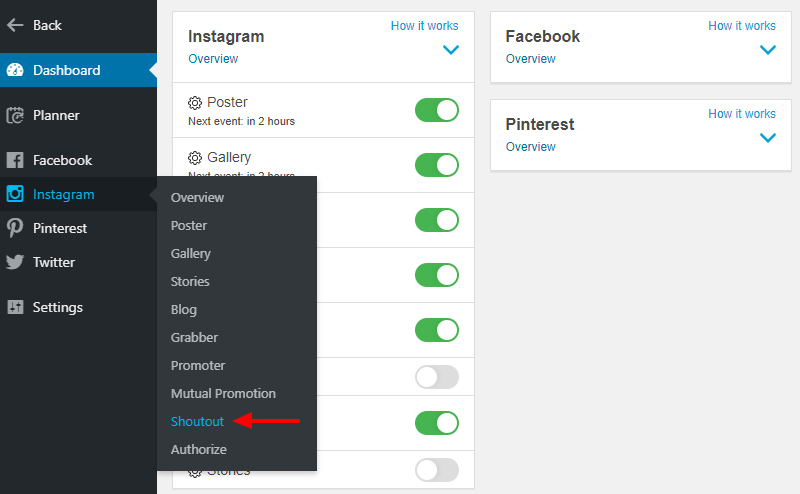
Next, configure your tool, add users, and click Save.
Configuring Social Rabbit is incredibly easy; I don’t expect you to run into problems. So, go ahead and similarly activate Twitter and Pinterest tools.
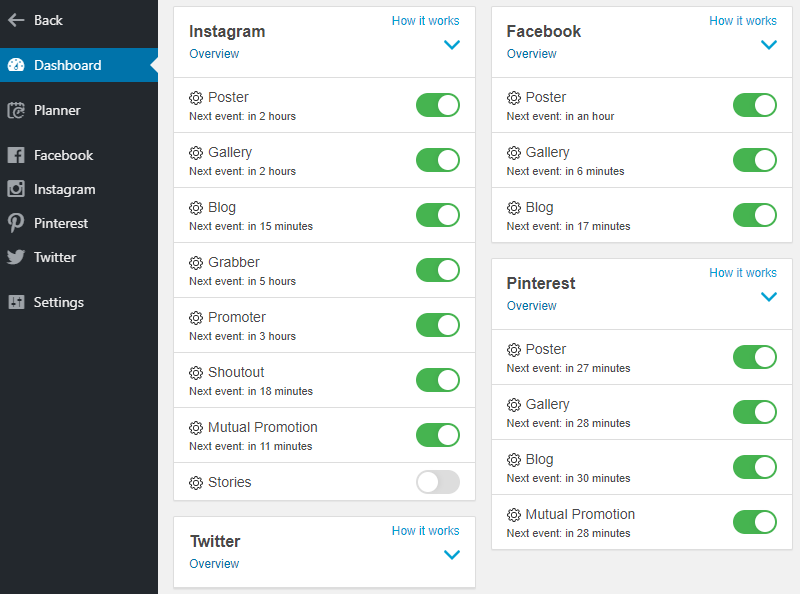
Now, if we go back to our Social Rabbit dashboard, everything is looking all green and pleasant:
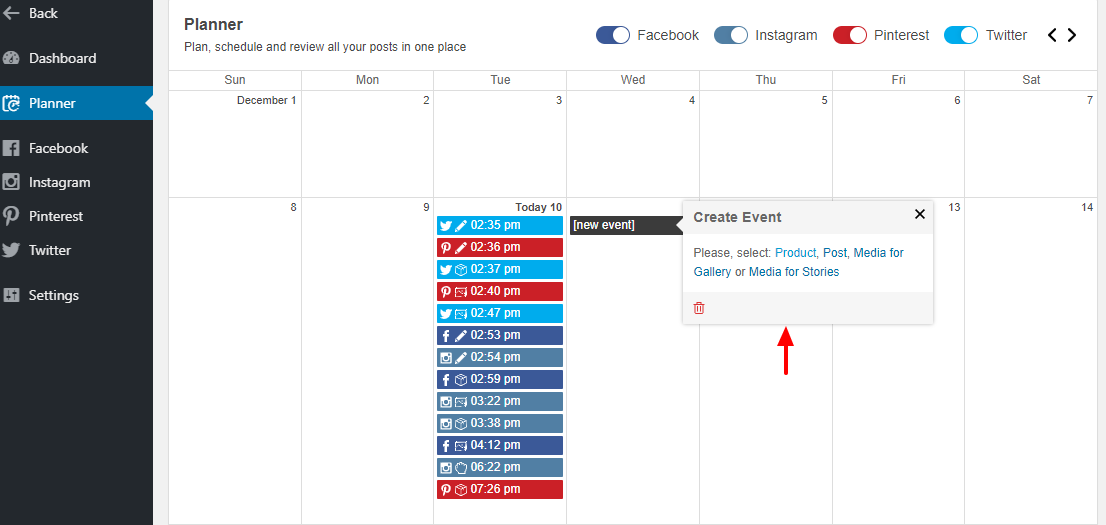
Do you know what else looks colorful? The Planner:

Yup, the planner offers you a quick overview of your scheduled posts across all social networks. Additionally, you can create new posts directly from the Planner, allowing you to plan your social media campaigns easily. Just click any date, and a [new event] pop-up guides you.
Other Social Rabbit Settings
Social Rabbit is the gift that keeps on giving. Under the Settings menu, you will find more options to supercharge your social media marketing efforts. Let us find out more.
General Settings
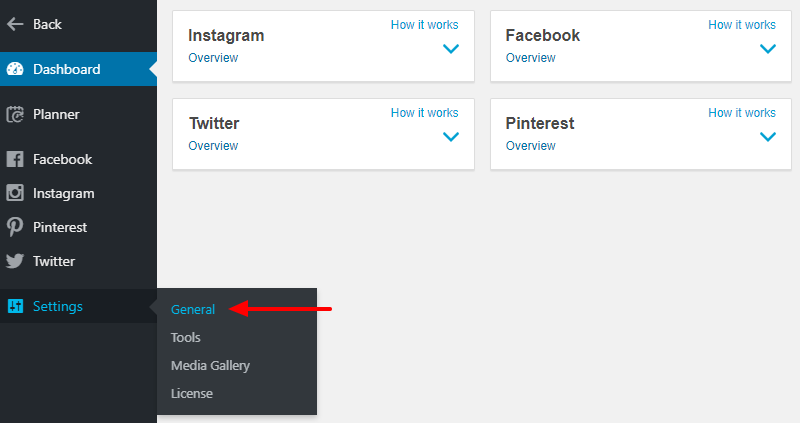
Navigate to Settings > General as shown:
Next, turn on email notifications, and create pre-made comments for the Instagram Promoter tool:
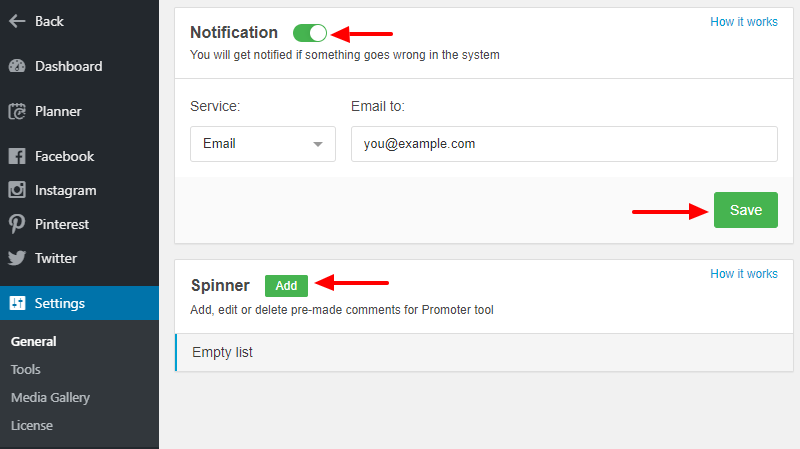
Don’t forget to hit the Save button after updating your settings.
Social Rabbit Extra Tools
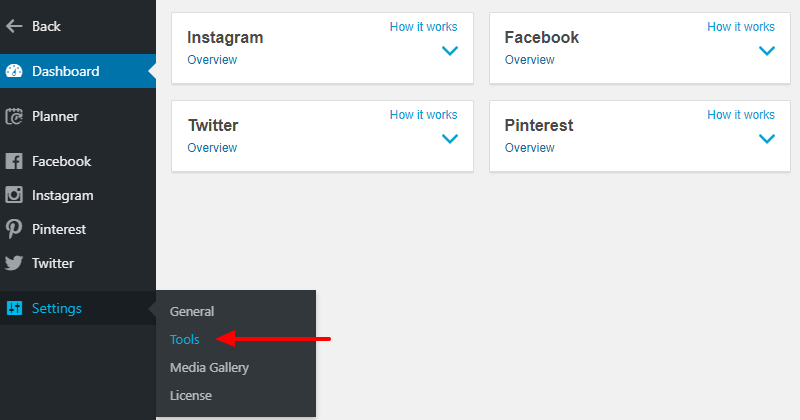
Navigate to Settings > Tools, as shown below.
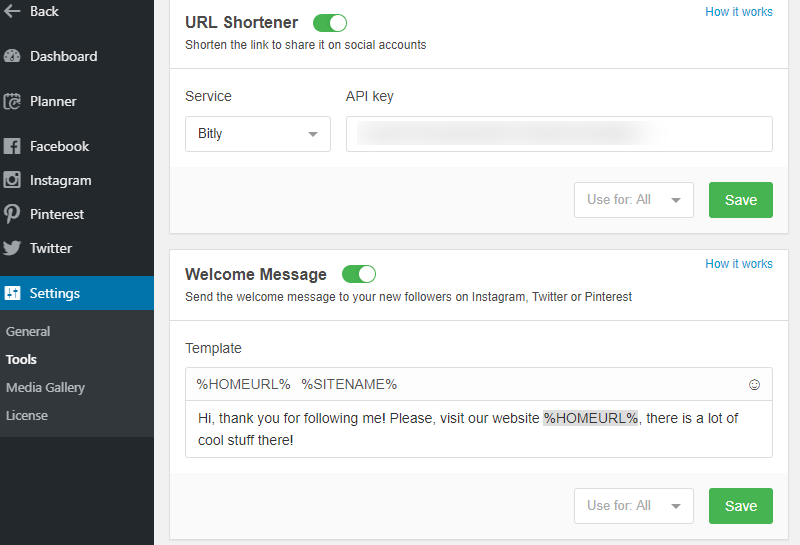
On the following screen, you can activate a welcome message, link shortening, and set up a proxy to avoid your IP access blocking by social networks.
And that’s it; Social Rabbit is working hard behind the scenes. You will experience immediate traffic increase when you deploy Social Rabbit, and this I guarantee you from firsthand experience.
If you’d like to learn more about installing and configuring the Social Rabbit plugin, be sure to check out the official Social Rabbit documentation. It’s full of useful videos and text.
Social Rabbit: Thoughts
Social Rabbit is a fantastic social media plugin for WordPress. It’s incredibly easy to use you should up and running in minutes. Once you setup the plugin, you need to fine-tune your social media posts, and Social Rabbit will take over from there. You will enjoy more social traffic and faster brand growth.
Do you have questions or thoughts regarding Social Rabbit? Which is your favorite social media plugin? Please let us know in the comments.


Just downloaded this plugin after reading this article. Early days yet, but will report back.
Hey James!
Thanks for passing by and commenting 🙂 Please let us know what you find out.
Cheers!
Thanks for sharing with us.