What is the WordPress Dashboard? (Quick Guide)
The first time you log into your new WordPress site, you might find yourself a little overwhelmed. You’ll see plenty of links and options, and you may not be sure what to do first.
As you’ll soon discover, however, WordPress is a beginner-friendly and easy-to-use platform. Once you’ve spent a little time familiarizing yourself with the different sections of the dashboard, as well as the various features and settings that are available, you’ll feel much more comfortable. WordPress makes it simple to orient yourself quickly, so you can get straight to designing your site and adding content.
In this article, we’ll cover the key features of the WordPress dashboard and explain how to use them. Let’s get started!
What is the WordPress Dashboard?
The dashboard is the main control panel for your WordPress site. It is also commonly referred to as the “backend” or “admin panel” or “admin dashboard.” The dashboard houses all of your website management features in a well labeled layout. From here you can create posts, change the look of your website with a new theme and even checkup on your site health.
How to Access the WordPress Dashboard?
This is a side of your site that you must have login to access, so it is not visible from the frontend (or live) version of your website that regular site visitors see. The default login page for your WordPress dashboard can be found at: yourwebsite.com/wp-admin
Who Can Log into the WordPress Dashboard?
Anyone who has been assigned a user account or has created an account can log into the WordPress dashboard. That said, what they can access or view within the dashboard varies according to their user role. We have an entire guide dedicated to WordPress user roles, but here is a quick look at what the default user roles can access in the backend of your site:
- Admin users can log in and view and edit the entirety of the dashboard including users, posts, pages, comments, themes, plugins, tools, site settings, etc. It’s best to limit the number of admin accounts on your site, and typically you want to be the only one with admin access.
- Editors have the ability to manage (create, edit, publish, delete) all posts and pages regardless of who created them in addition to moderating comments. They do not however have permission or control over site settings, themes, plugins or user accounts.
- Authors can create, edit, publish and delete their own blog posts, upload media to their posts, and of course manage/edit their user profile.
- Contributor users are one step below, with the ability to view and edit their user profile, create blog posts and edit their own blog posts before they are published. However they cannot publish posts, edit posts that have been published or upload media.
- Subscribers have the most limited access and typically can only access their own user profile.
The Main WordPress Dashboard
The main WordPress Dashboard is the first screen you’ll see when you log in to your site and view the back end. It’s a helpful hub area with useful shortcuts and basic information about your site. On your first visit, you’ll see a welcome message along with a variety of widgets.
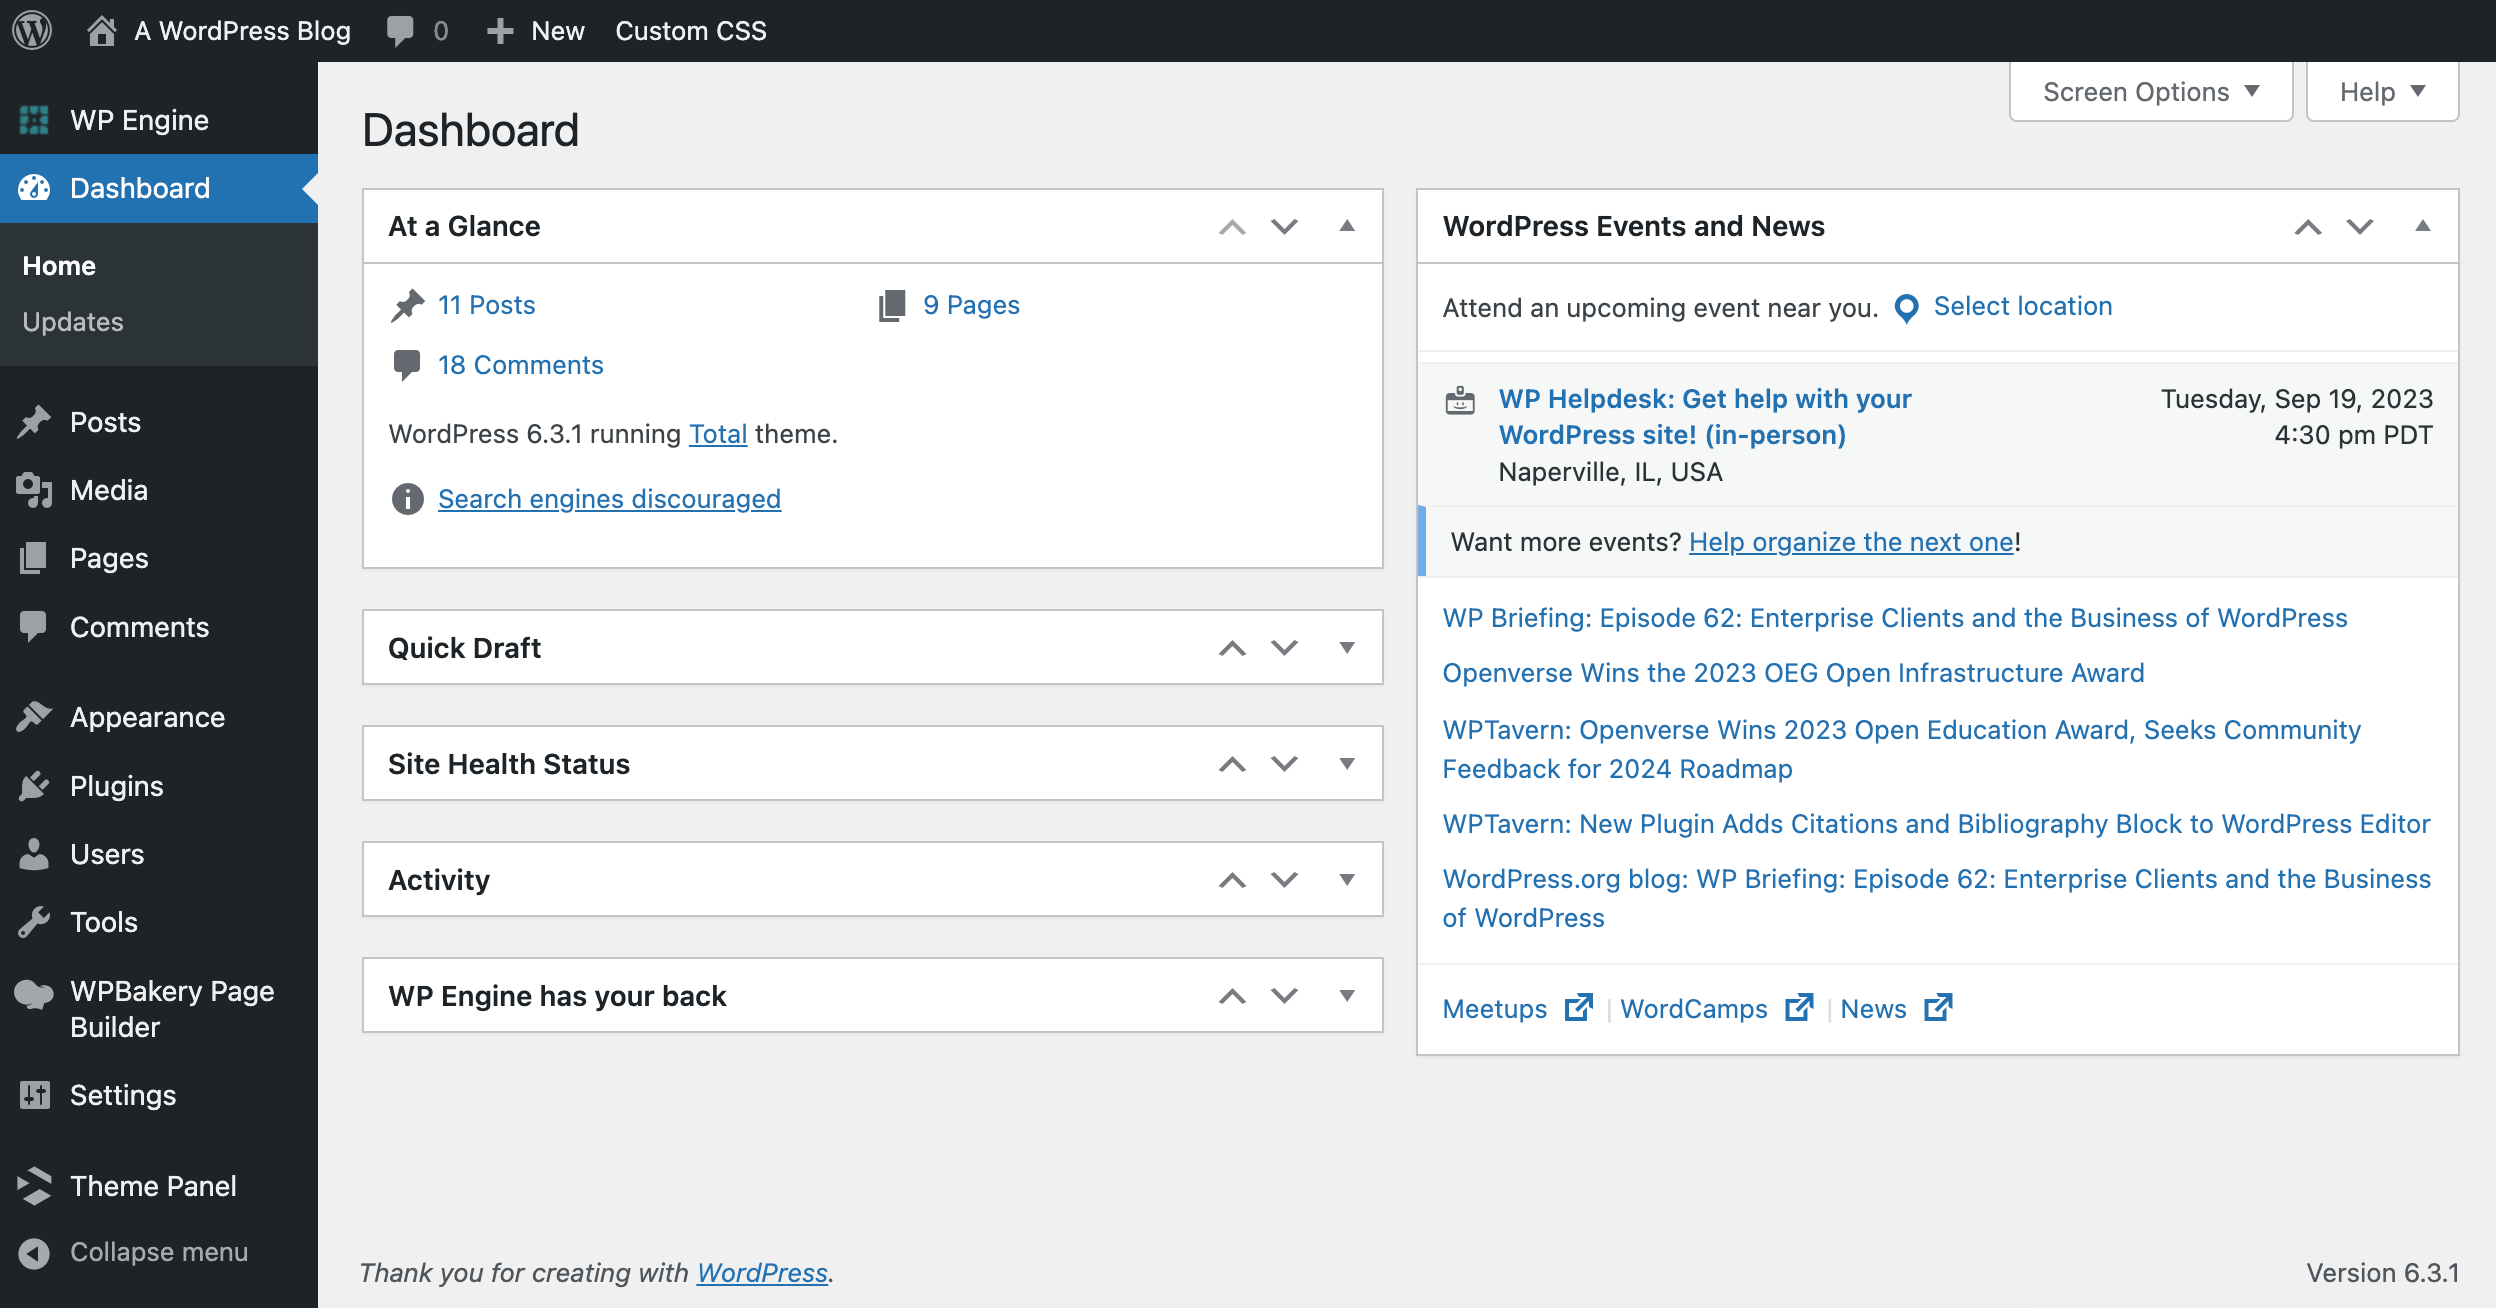
The dashboard widgets include a summary of total posts, pages, and comments on your site in At a Glance, quick link to start a new blog post in the Quick Draft box, a look at your site status and security recommendations in Site Health, recent activity and comments in the Activity widget, or the latest events and developments in WordPress News. (Note – all of these features are also accessible from the vertical menu to the left, which we’ll get to shortly.)
Each of these widgets can be moved around if you don’t like the way they’re organized – simply click on one and drag it to a new spot.
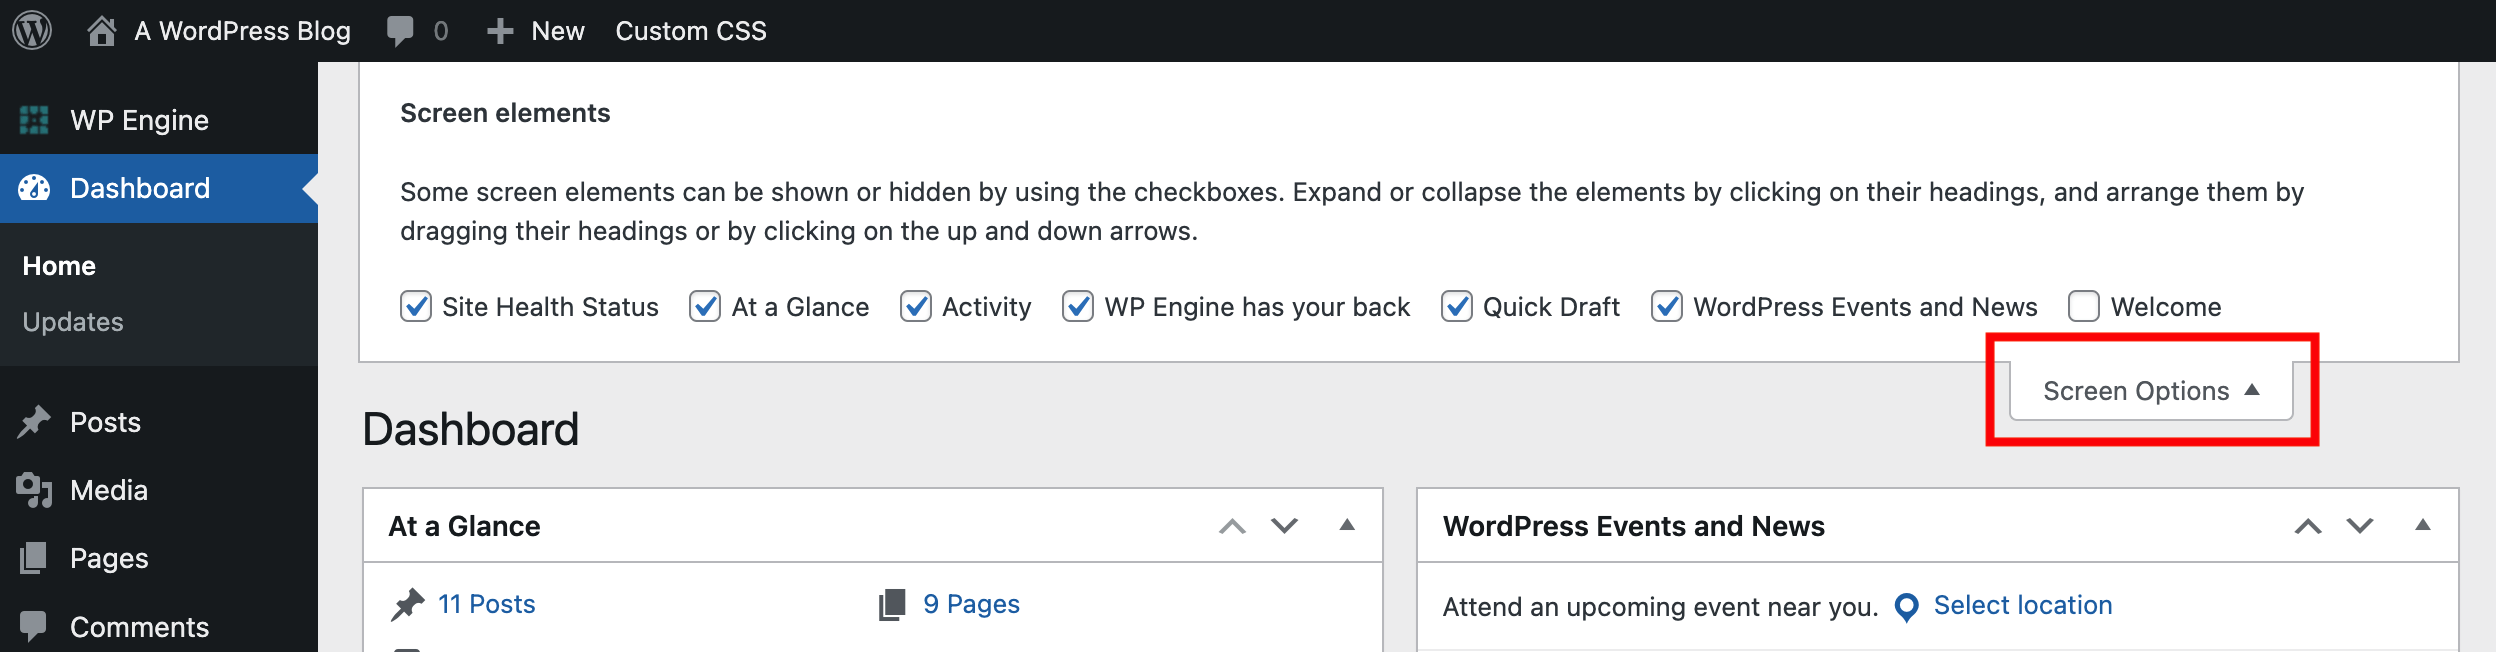
You can also remove unwanted widgets completely by clicking on Screen Options in the top right corner of your dashboard. You’ll find a Help tab in the same area. This appears on every page in the back end and links directly to the official WordPress documentation. It’s a great resource check out if you ever find yourself confused by a setting or feature while working on your site.
What is the WordPress Toolbar?
The Toolbar is a helpful set of quick links at the top of your dashboard. This can include alerts or links for updates, un-approved comments, new post creation and more (depending on your hosting, themes and plugins).
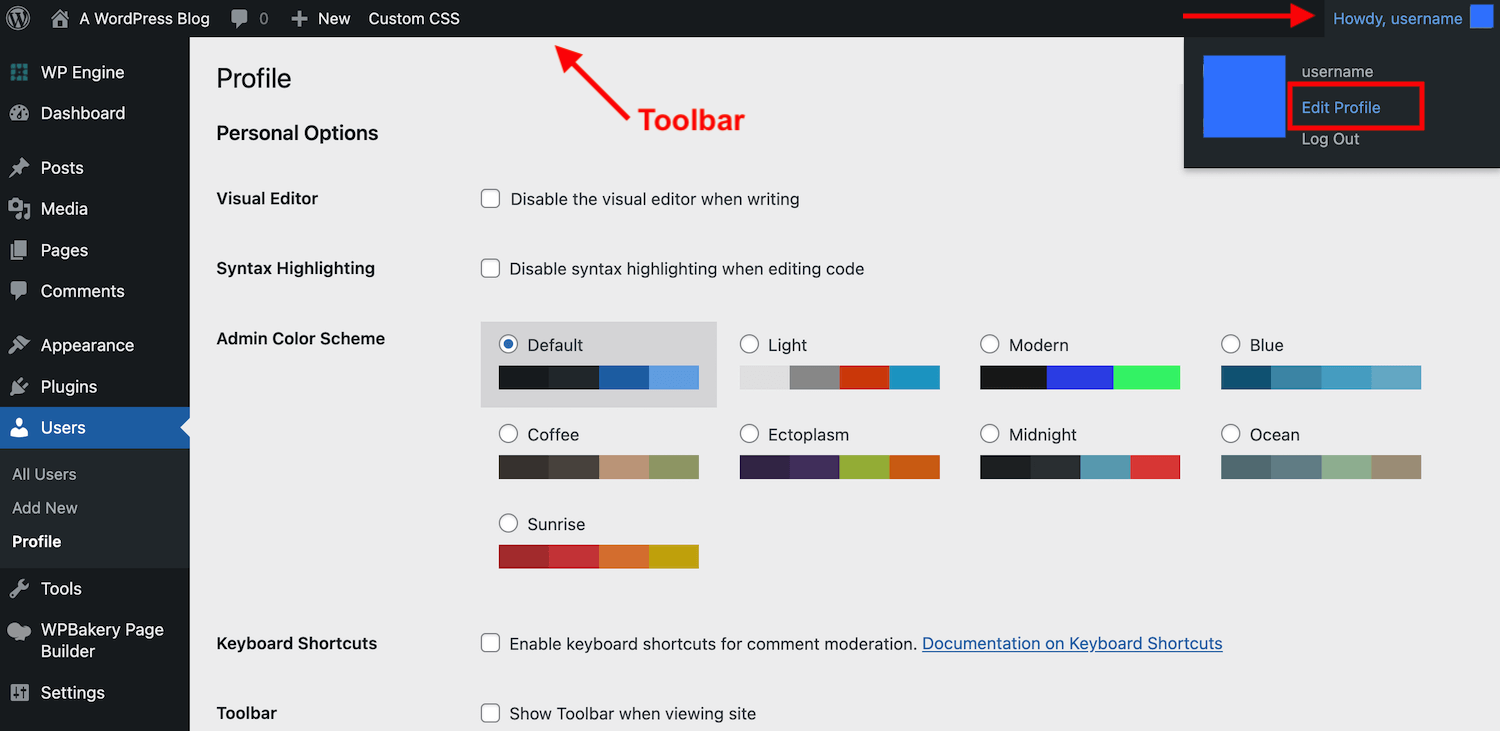
On the right side of the Toolbar is a quick link to your user account. If you click on your username this will take you to your profile page. From here you can customize your user profile name, display name, and possibly additional information depending on the theme or plugins you’ve installed. You can also edit the color scheme for the WordPress dashboard from your user account.
Posts, Media, Pages & Comments: Create and Manage Content
Now let’s start exploring the menu on the left side of your WordPress back end.
The first sections in your menu are posts, media, pages and comments. These are all used to add content to your WordPress site.
Posts are blog entries that are archived and categorized. Media includes all files your upload to your site (mostly images, but can also include video, audio, pdf and other files). Pages are static sections of your site such as a Home, About or Contact page. Comments are the pending and published comments or notes left by site visitors on your posts (or even pages if you have comments enabled).
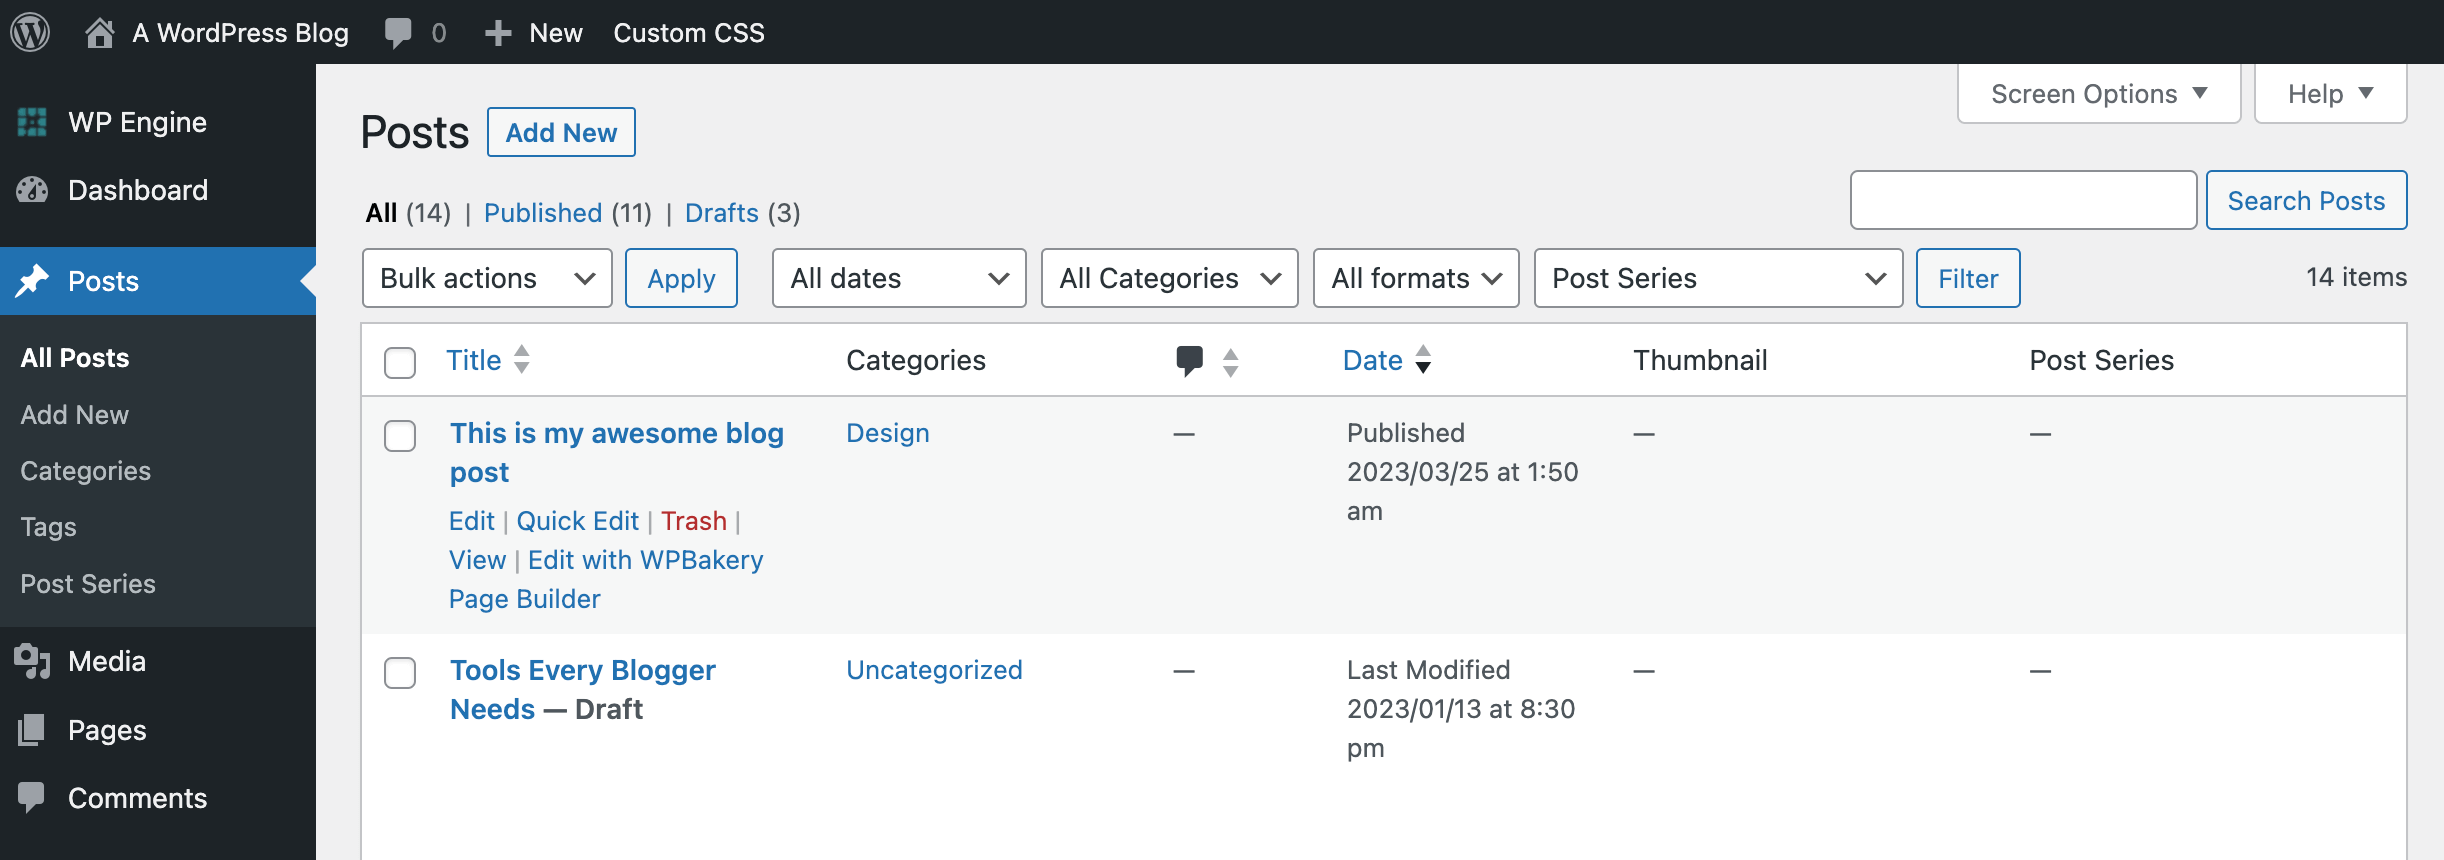
Naturally, the place to go to create blog posts is the Posts tab. Here you can start a new post by selecting Add New. You can also sort, edit, and delete your older posts. In addition, you can create categories and tags to organize your content by navigating to the respective sub-sections:
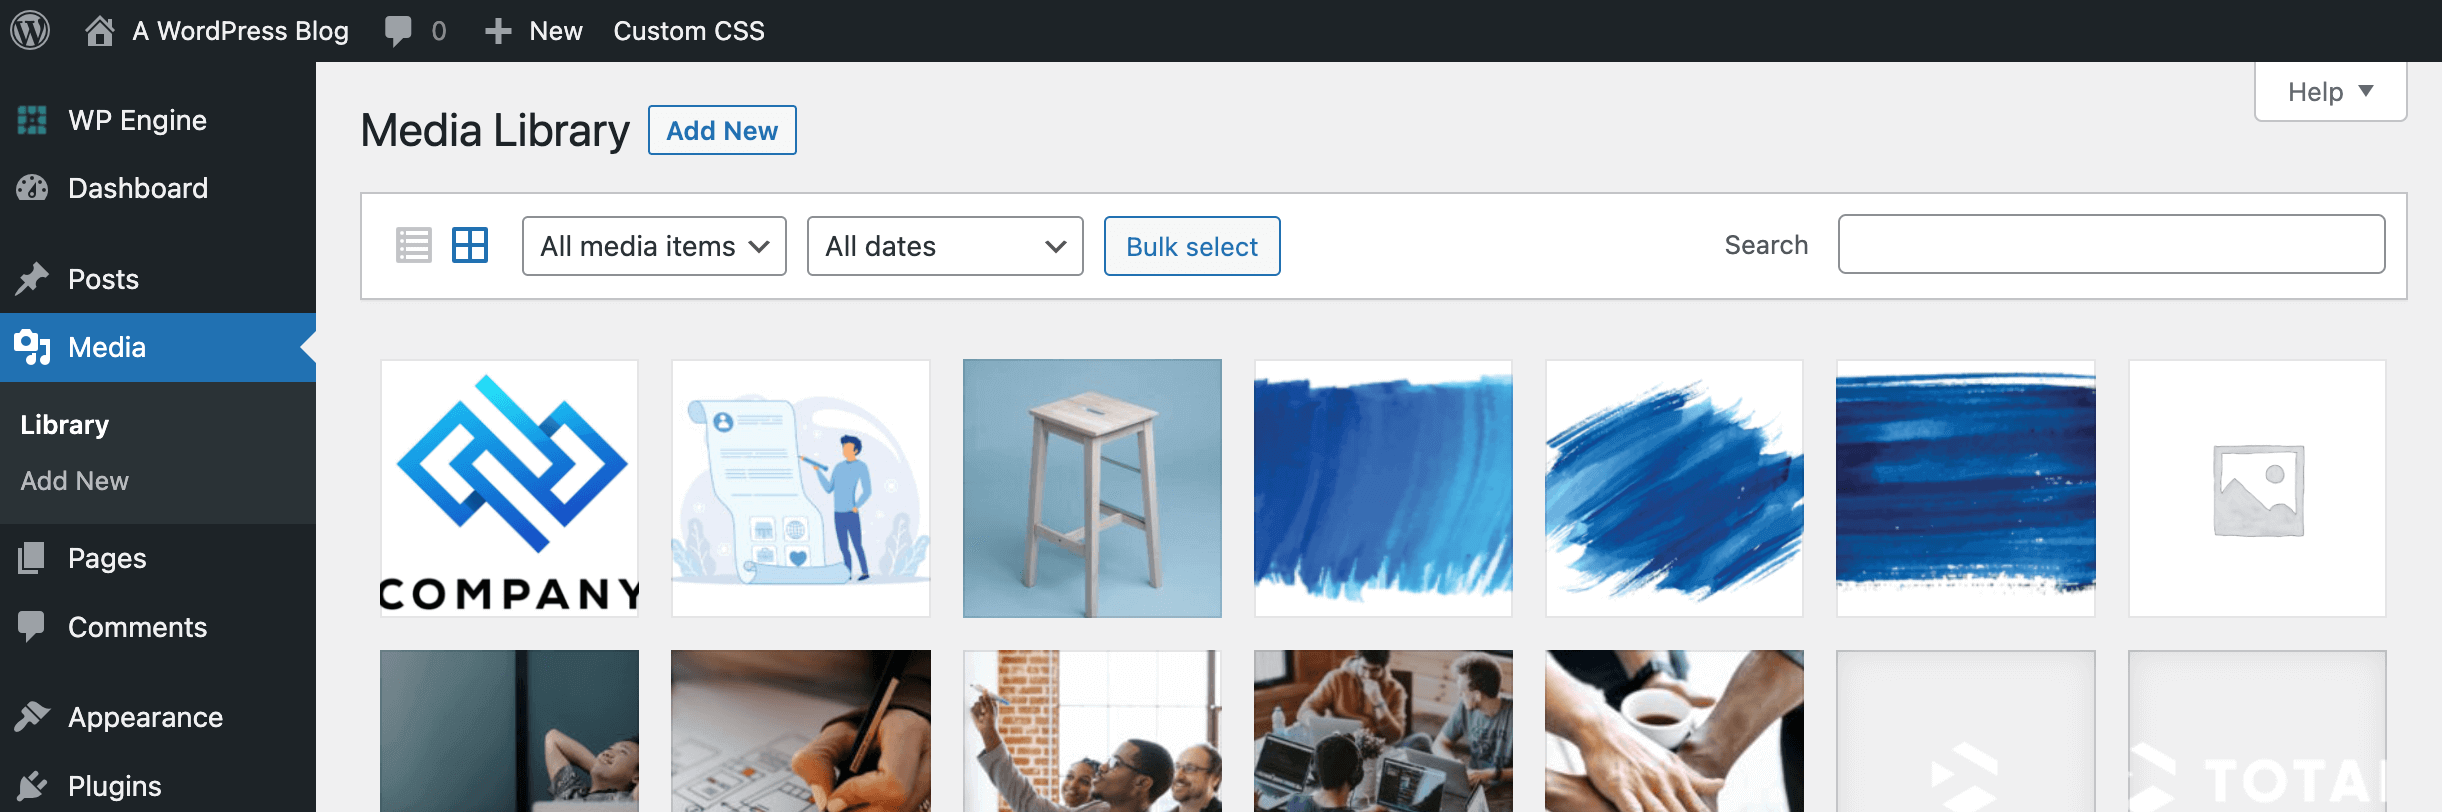
And when you add images or other media to your posts (or pages) you can view them all within your Media tab:
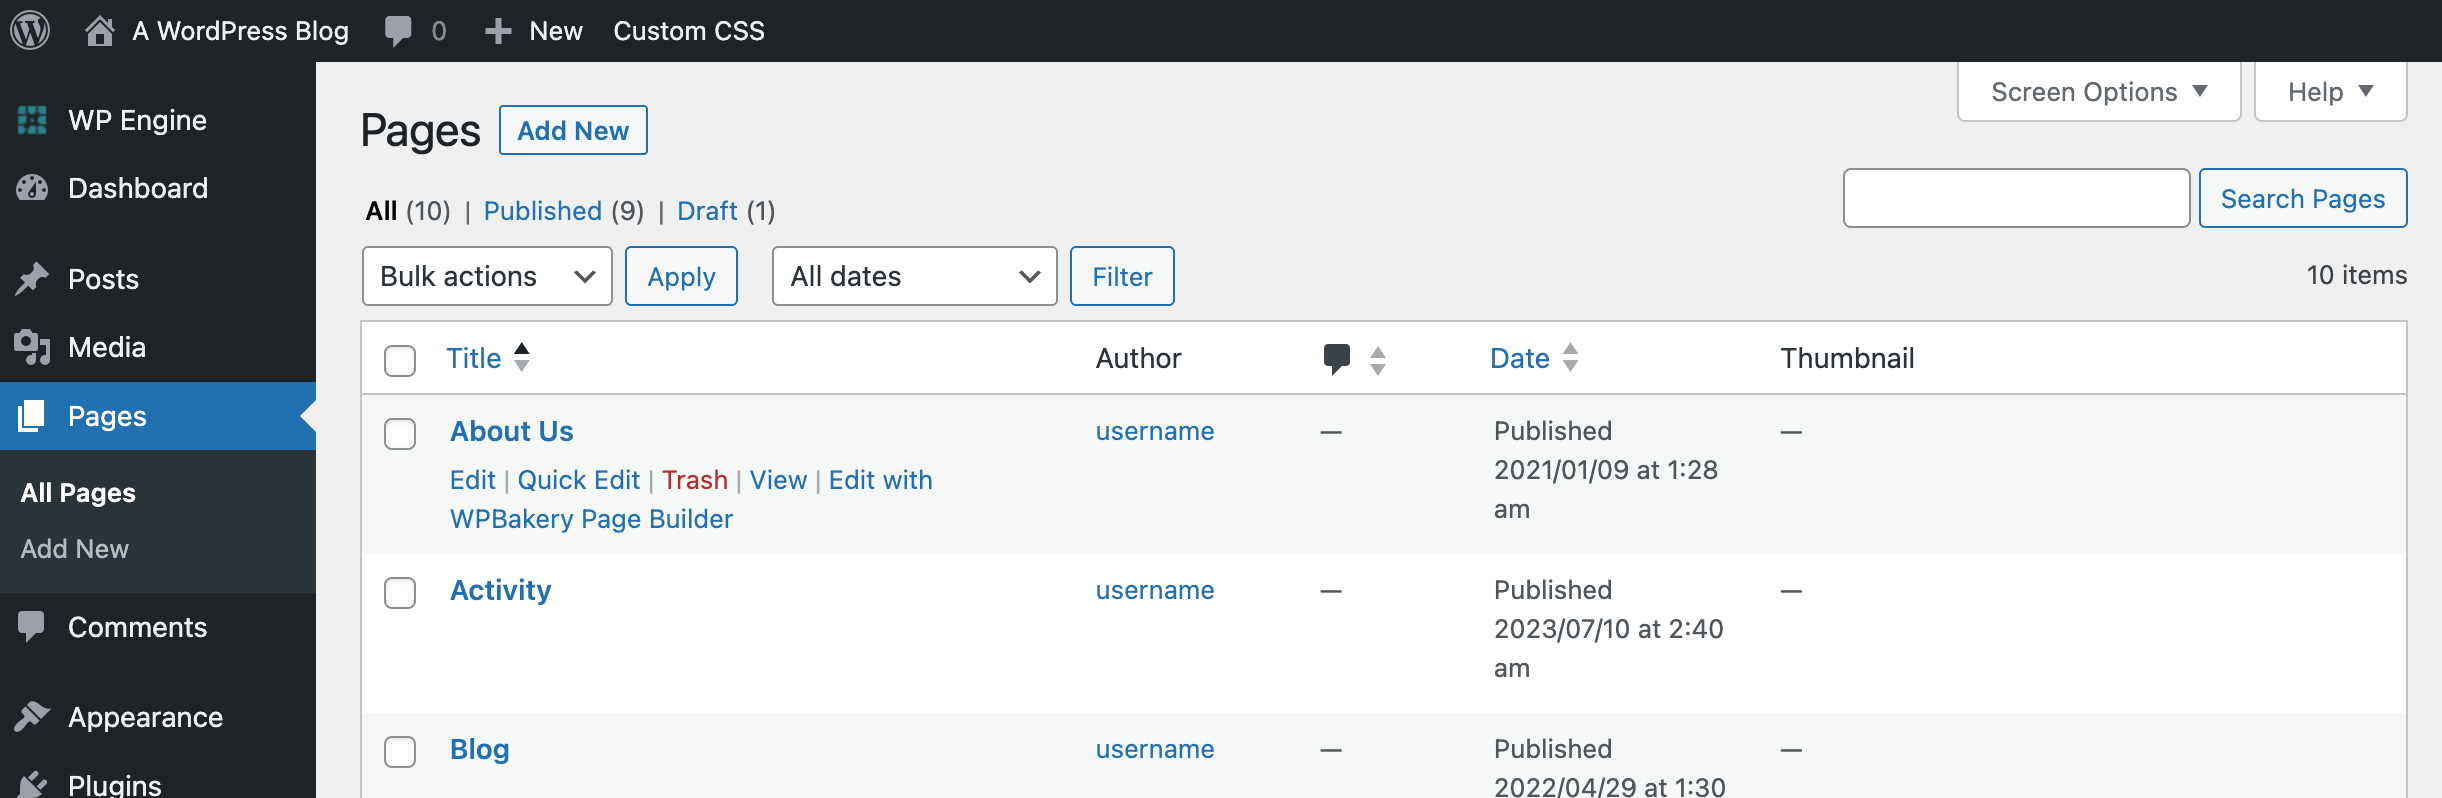
To create a static page instead, navigate to the Pages tab. In this section you can create a new page, as well as sort, edit, and delete existing pages:
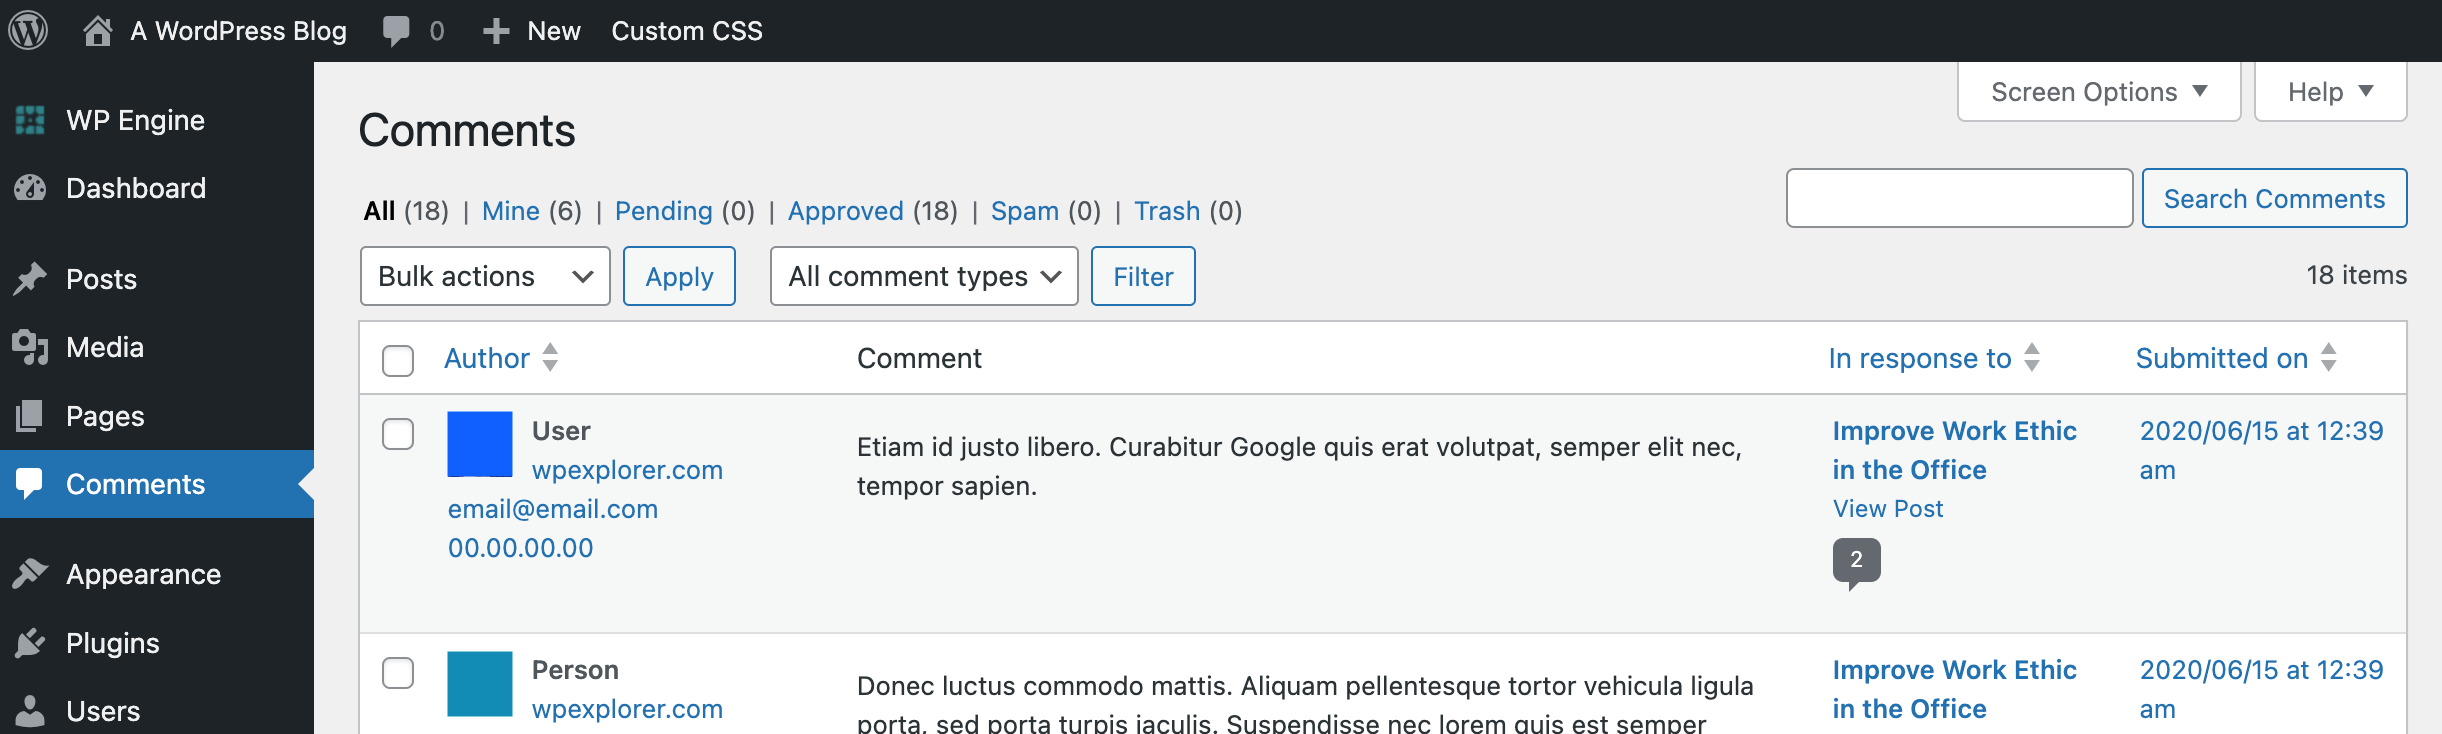
Any comments visitors leave on your site will be kept in the Comments tab. Here you can approve or delete comments help in moderation, check to see if any real comments were accidentally marked as spam, and review previously published comments:
WordPress includes a sample post, page and comment in these sections that you can look at to get a feel for how these types of content work.
Also, if your theme or any plugin you have installed adds custom post types you will find them in this section. For example, if you site has a portfolio or staff post type they will be here.
Appearance and Plugins: Add Style & Features
We’ll talk more about using themes and plugins in later posts, so to keep it simple for now, themes and plugins are used alter the way your site looks and functions. Themes affect the appearance and layout of your site, while plugins add features and alter what your site can do. For example, you could use a theme that simplifies your website to a single page or gives you access to a layout designed specifically for photography sites, and you could install a plugin that adds e-commerce functionality to your site or integrates your blog with social media.
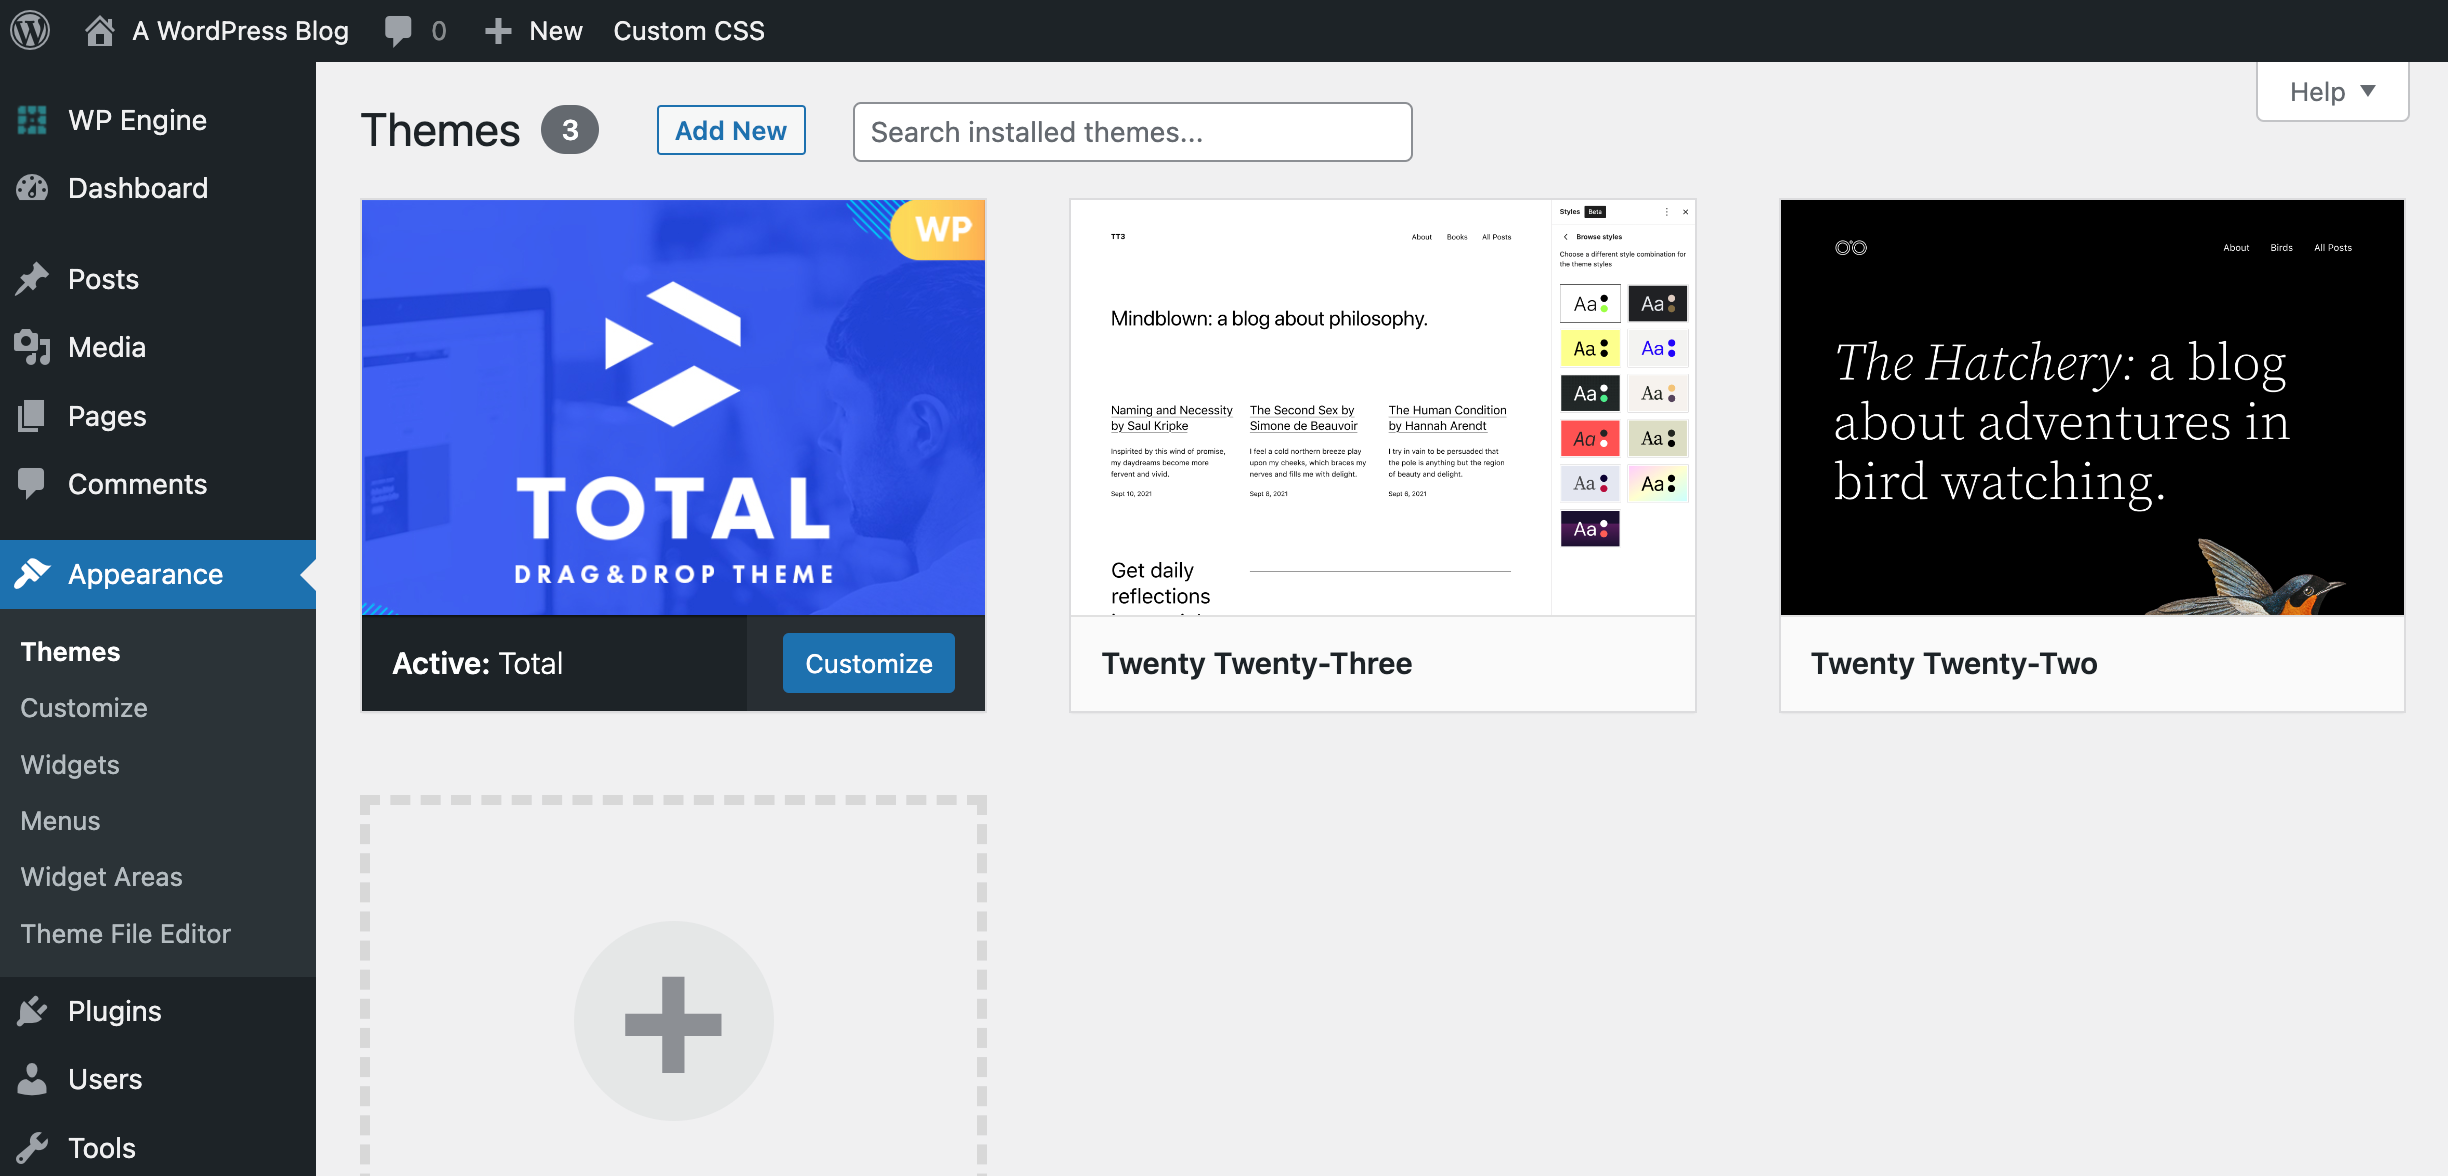
If you click on the Appearance tab, you’ll see that the first sub-section is Themes. This is where you can download and activate themes for your site. A few defaults will already be installed – you can hover over one and choose “Live Preview” to try it out before activating:
Depending on the theme you’re using, you may have extra options here. If you’re using a classic theme you will have the Customizer which has styling options, Widgets which can be used to add content to your sidebar or footer areas, and Menus to create your site navigation. If you’re using a Block theme these options are a it different and will include the Editor which is used to create your header, menus, footer, etc.
Now head over to the Plugins tab. Here you can install new plugins by choosing Add New, or you can manage your existing plugins using quick links to activate, deactivate or delete:
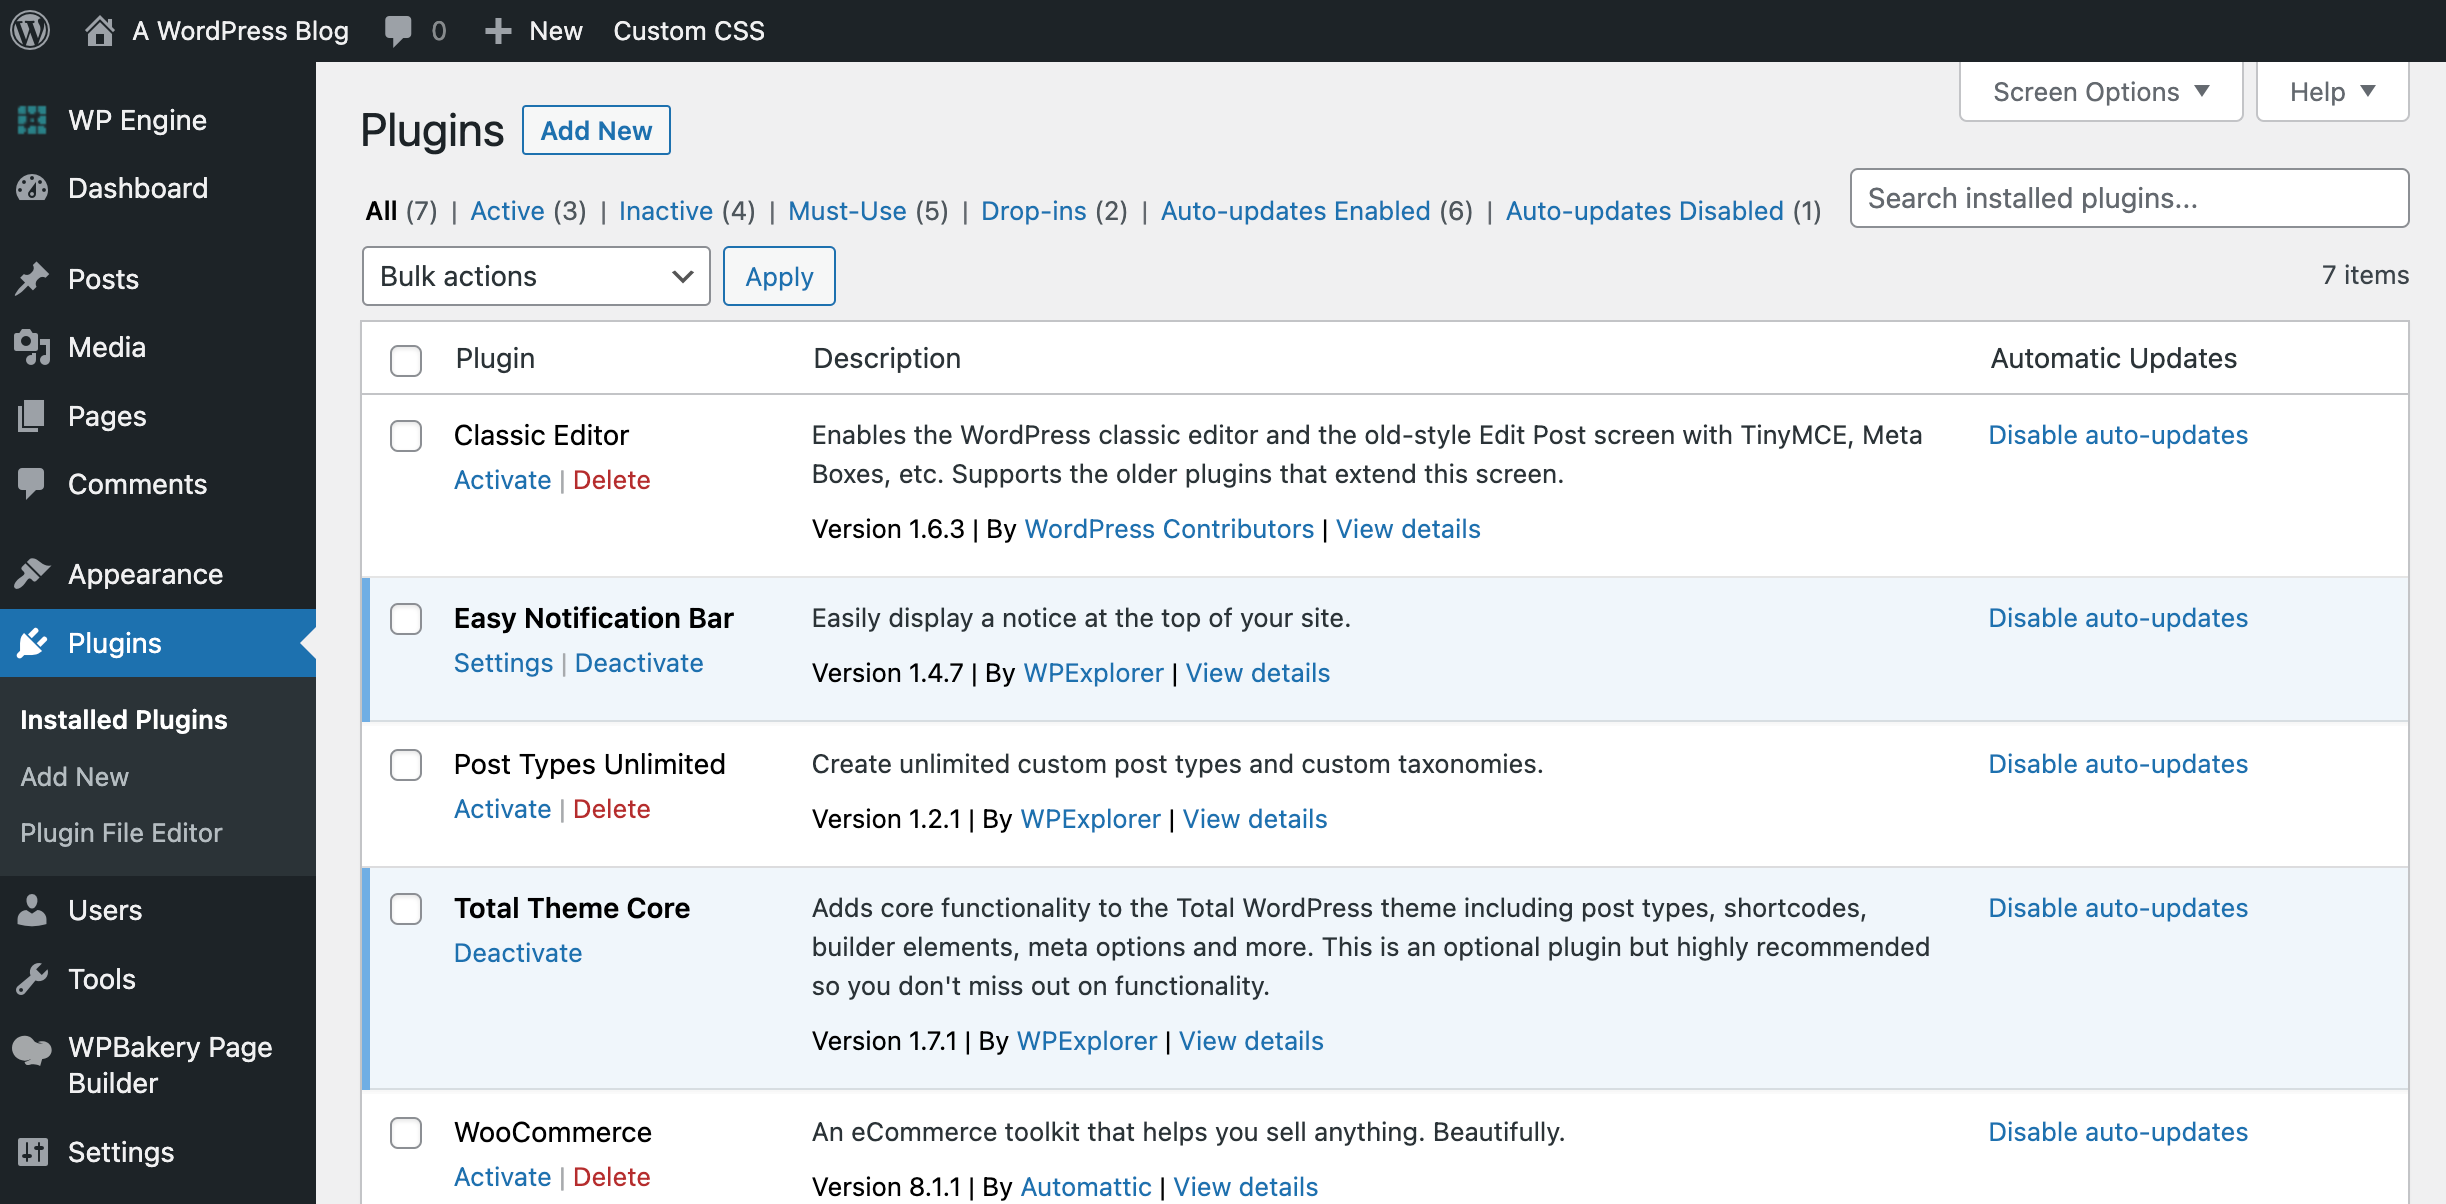
There is also a file editor tab, but we suggest leaving it alone (this is where you can edit plugin code, which is best saved for developers).
It’s also important to note that as you install and activate themes or plugins on your site you may see new sections added to your dashboard. For example, in our screenshot above you might have noticed there is a “WPBakery Page Builder” tab in the menu since we have the WPBakery page builder plugin active on our site. This is very common, and for the most part new menu items are well labelled so it should be easy to tell if they are related to a specific theme or plugin.
Users: Add & Edit User Accounts
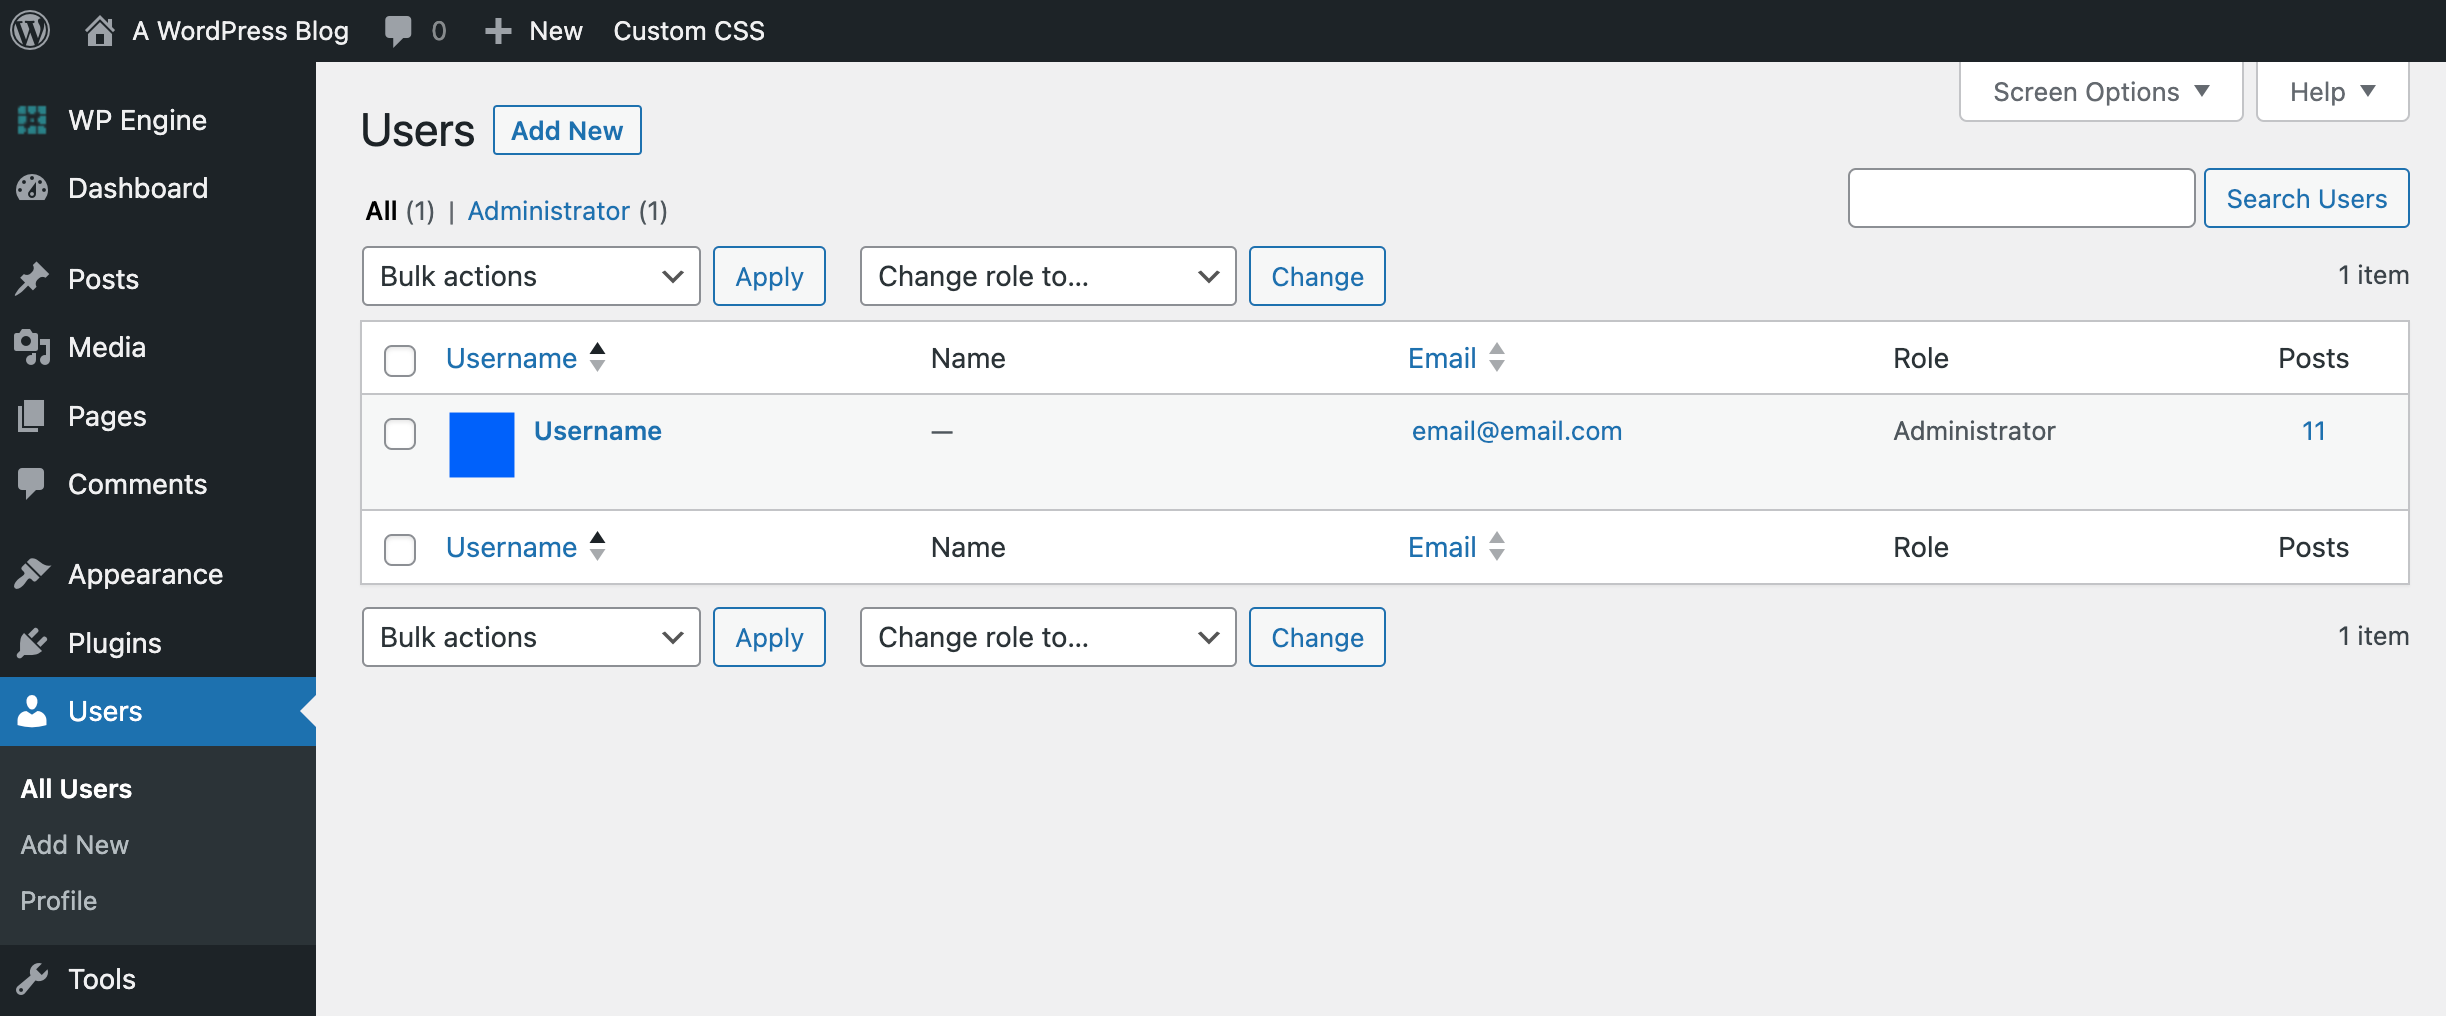
Moving along, the Users tab displays a list of all your site users which are organized according to role. From here you (as the admin) can approve or remove users, reassign a new role, update user info, etc. You can also access your own user account profile.
Tools: Check Your Site Health
The Tools tab includes a handful of important operational options. The most important section here is for Site Health.
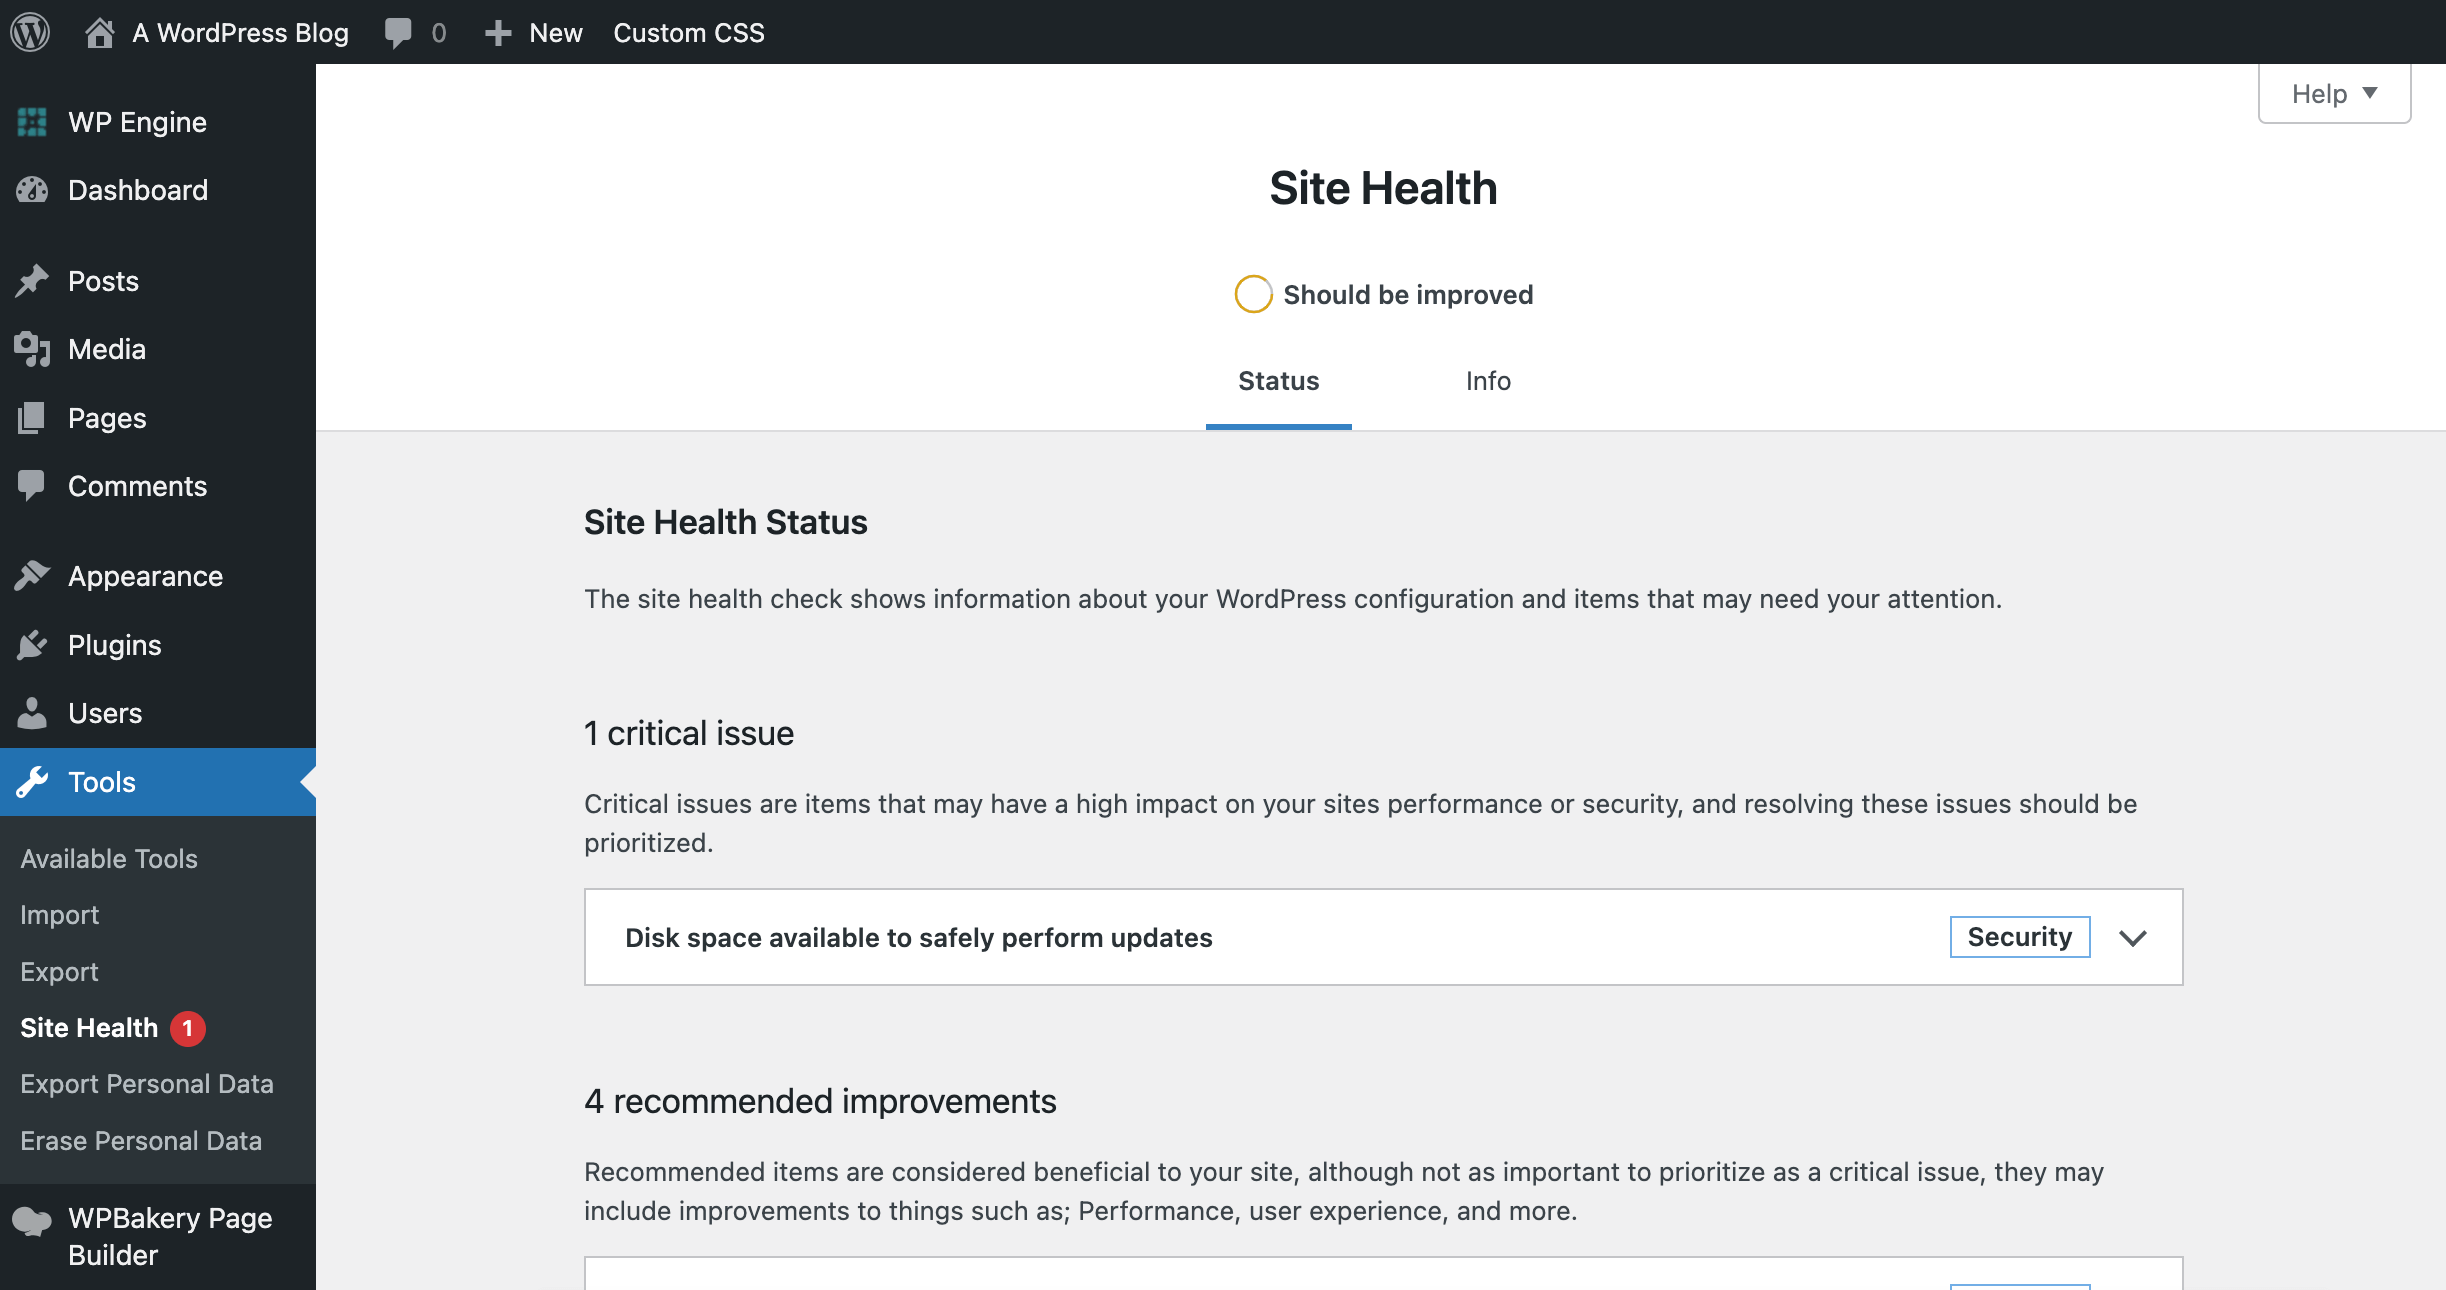
This provides a quick look at your WordPress site, with recommendations listed under the Status tab and a summary of your site setup in the Info tab (installed themes, active/inactive plugins, server and database info, etc). This is mostly helpful for troubleshooting, for example if you want to double check that your hosting server is using a supported version of PHP for WordPress before updating.
There is also an Import section used to import sample data that is included with your WordPress theme or information that you’re transferring over from another website. And the Export section is used to download a copy of the content on your WordPress site to use somewhere else.
The Personal Data sections can be used to export or erase user data if you receive a request from a user about their personal information stored on your site. This is a legal requirement, so if you do receive a data erasure request this is where you will find the resources to comply.
Settings: Reading, Comments, Permalinks and More
If you click on Settings, you’ll see six sub-sections. This is where you’ll change various settings for your site. We won’t go over each in detail right now, but we’ll point out a few key features so if you need to access them you’ll know where they’re at.
When you clicked on Settings, it should direct you to the General Settings sub-section.
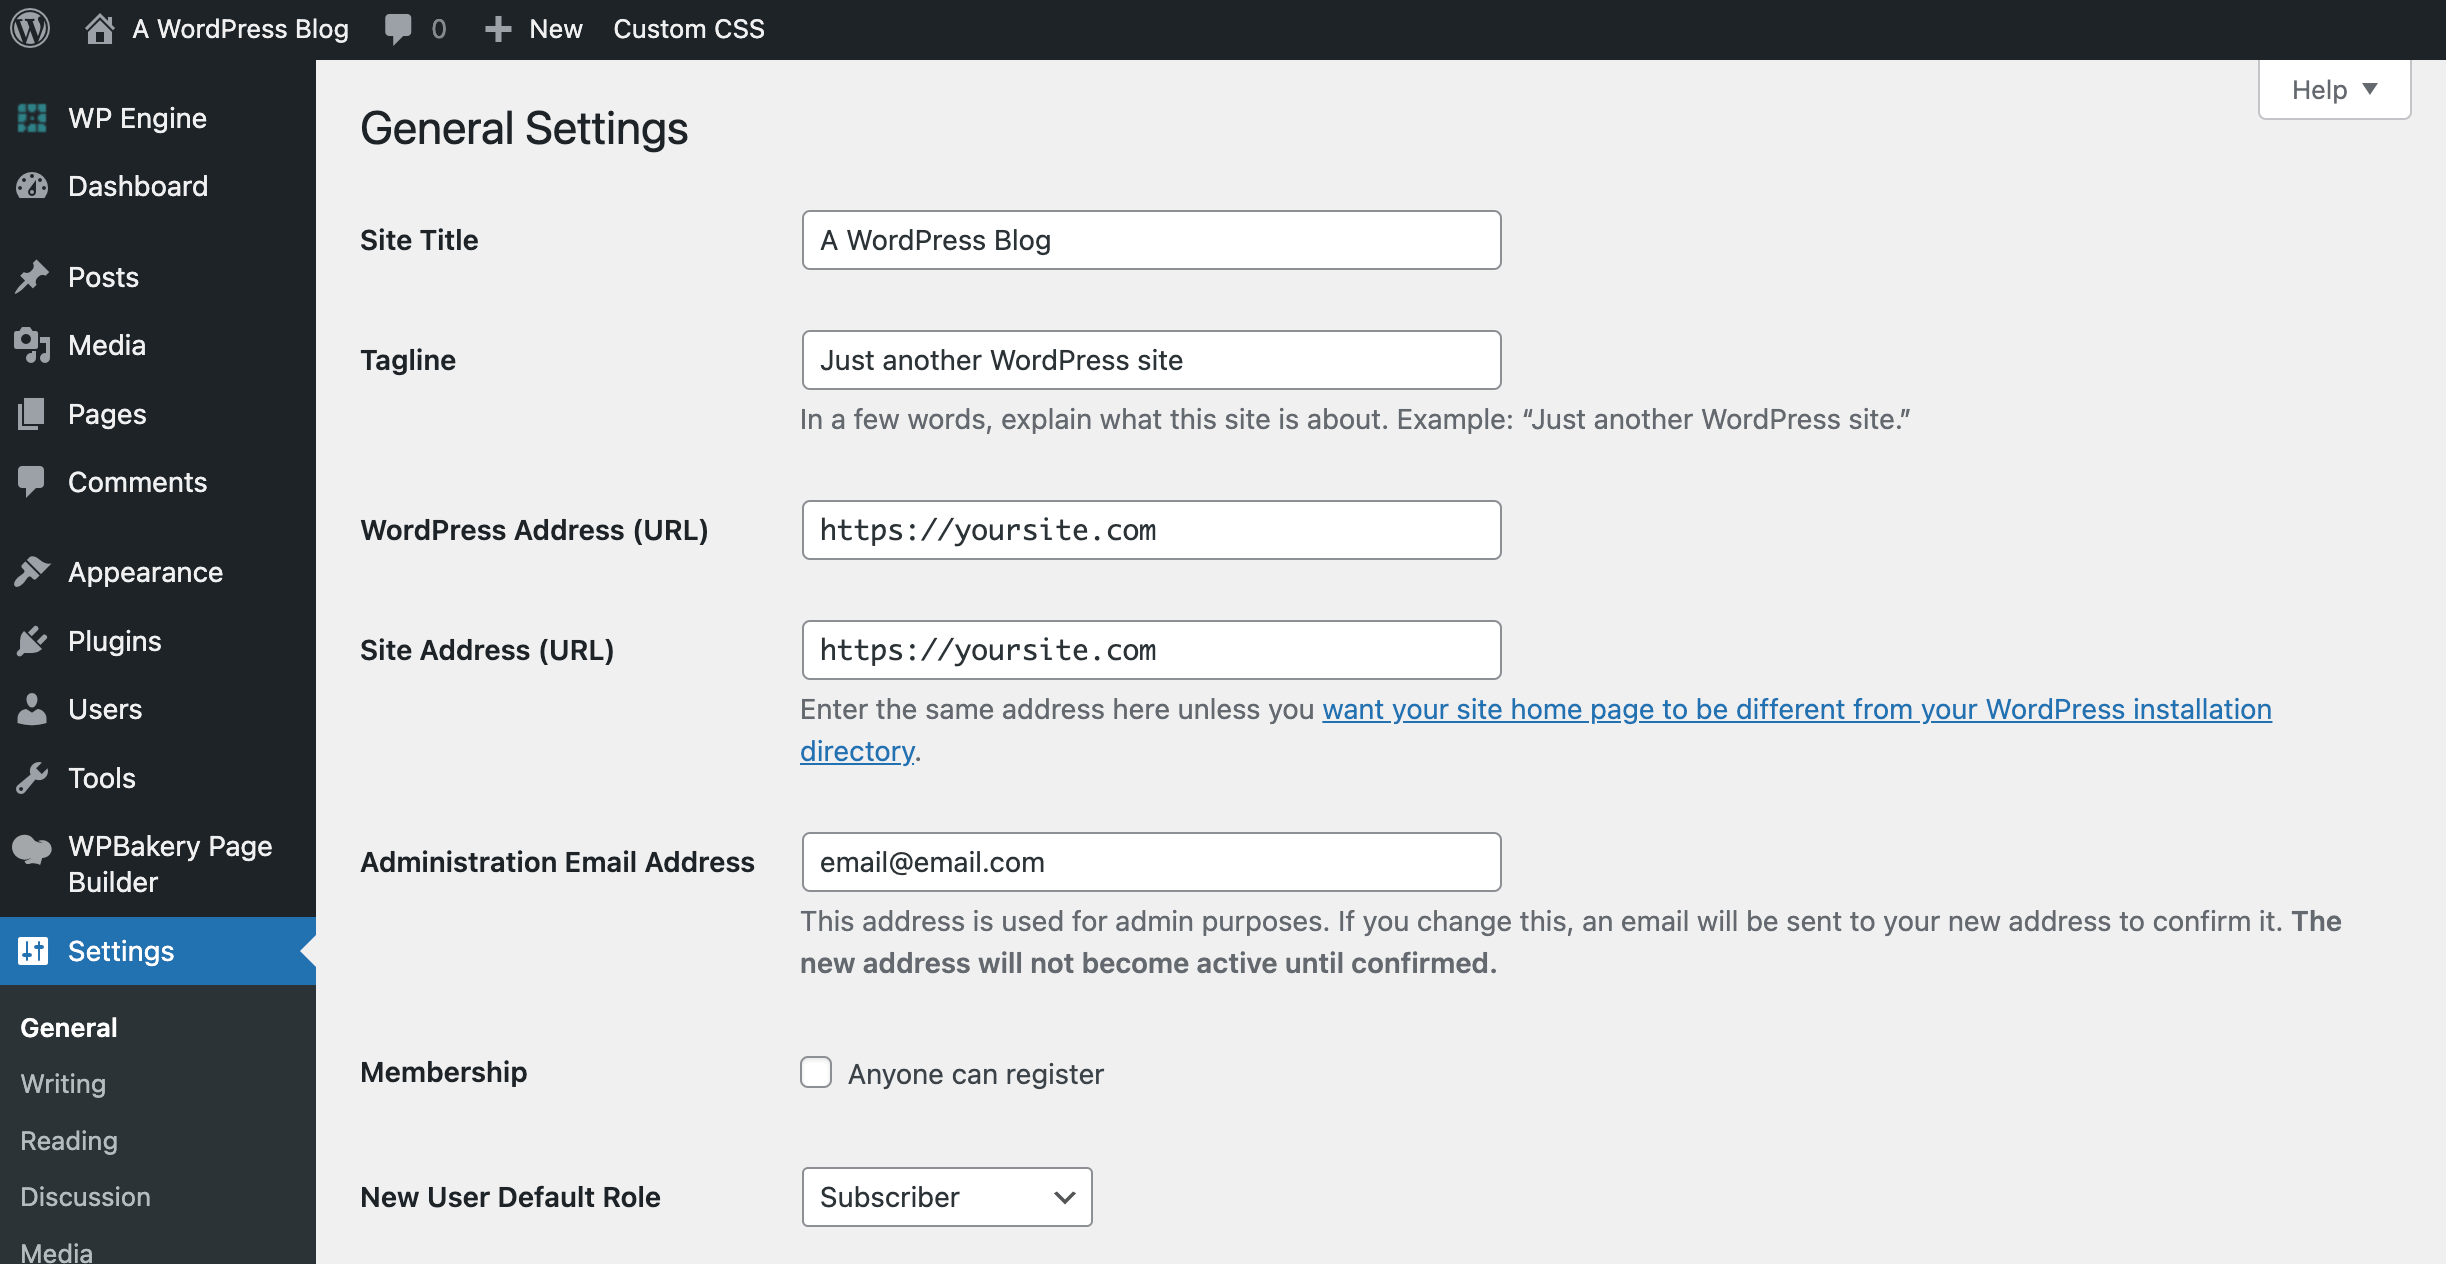
Here you can edit your site title and tagline (which might be used for your header or on your homepage as a title), view your website URL, change the admin email, and set the default site language as well as time/date format.
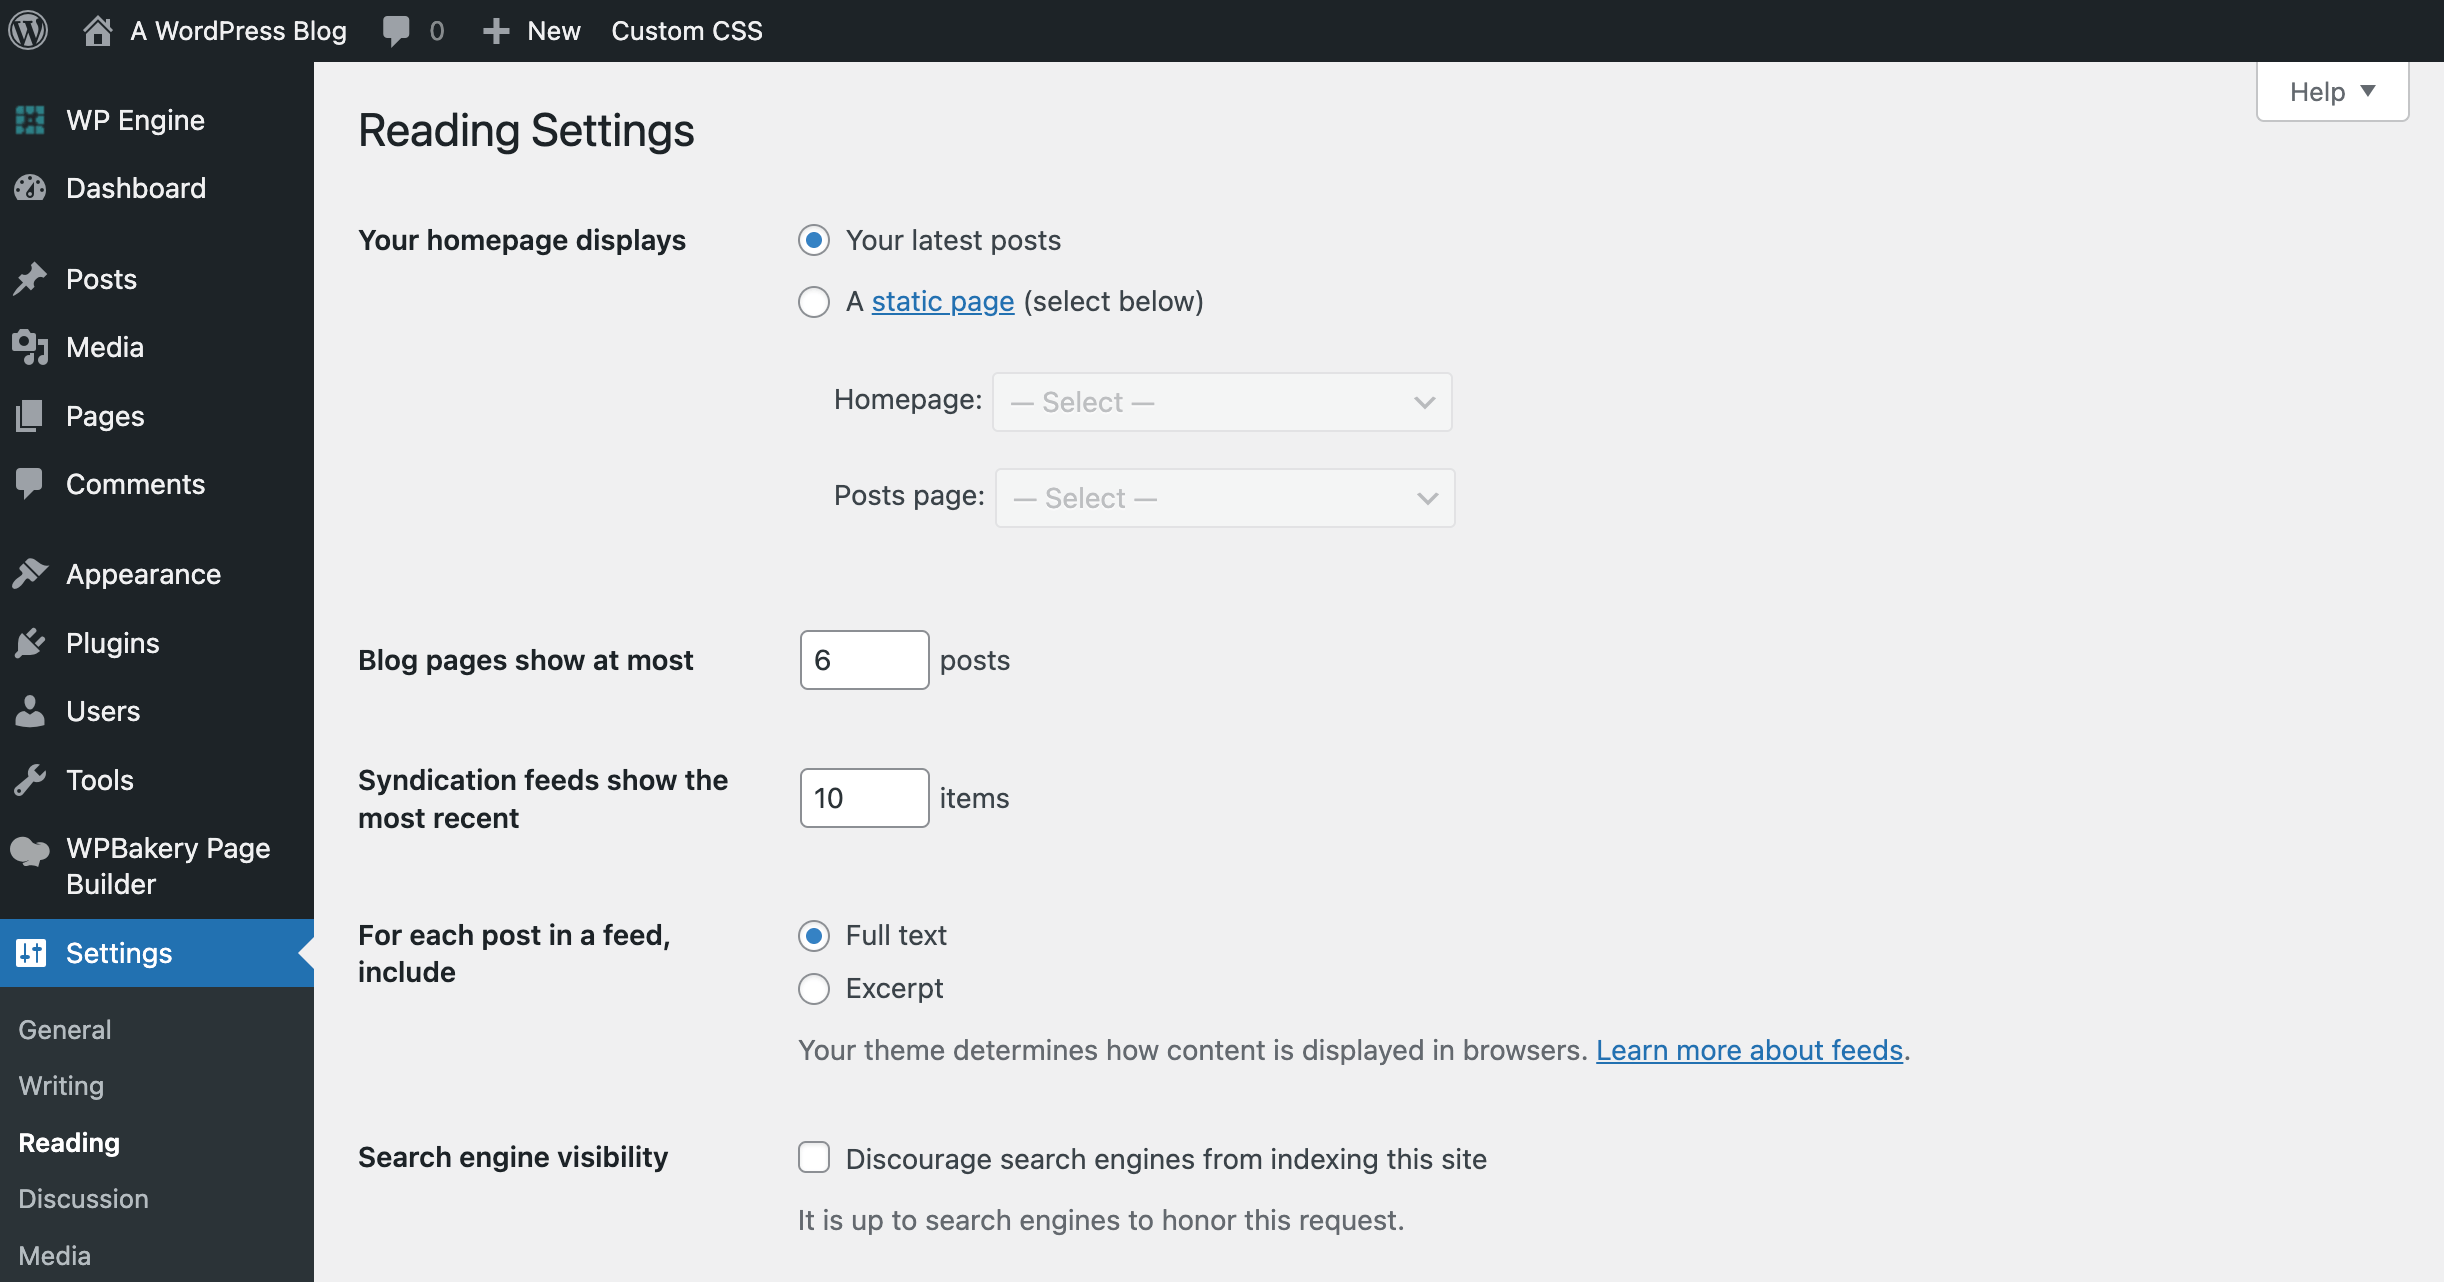
In the Reading tab, you can set your homepage. By default WordPress displays a list of your latest posts (e.g. a standard blog), but you can change it to show a static page instead (which you can learn more about in our guide on how to edit your homepage). This is also where you can edit how many blog posts show up on your blog pages and archives.
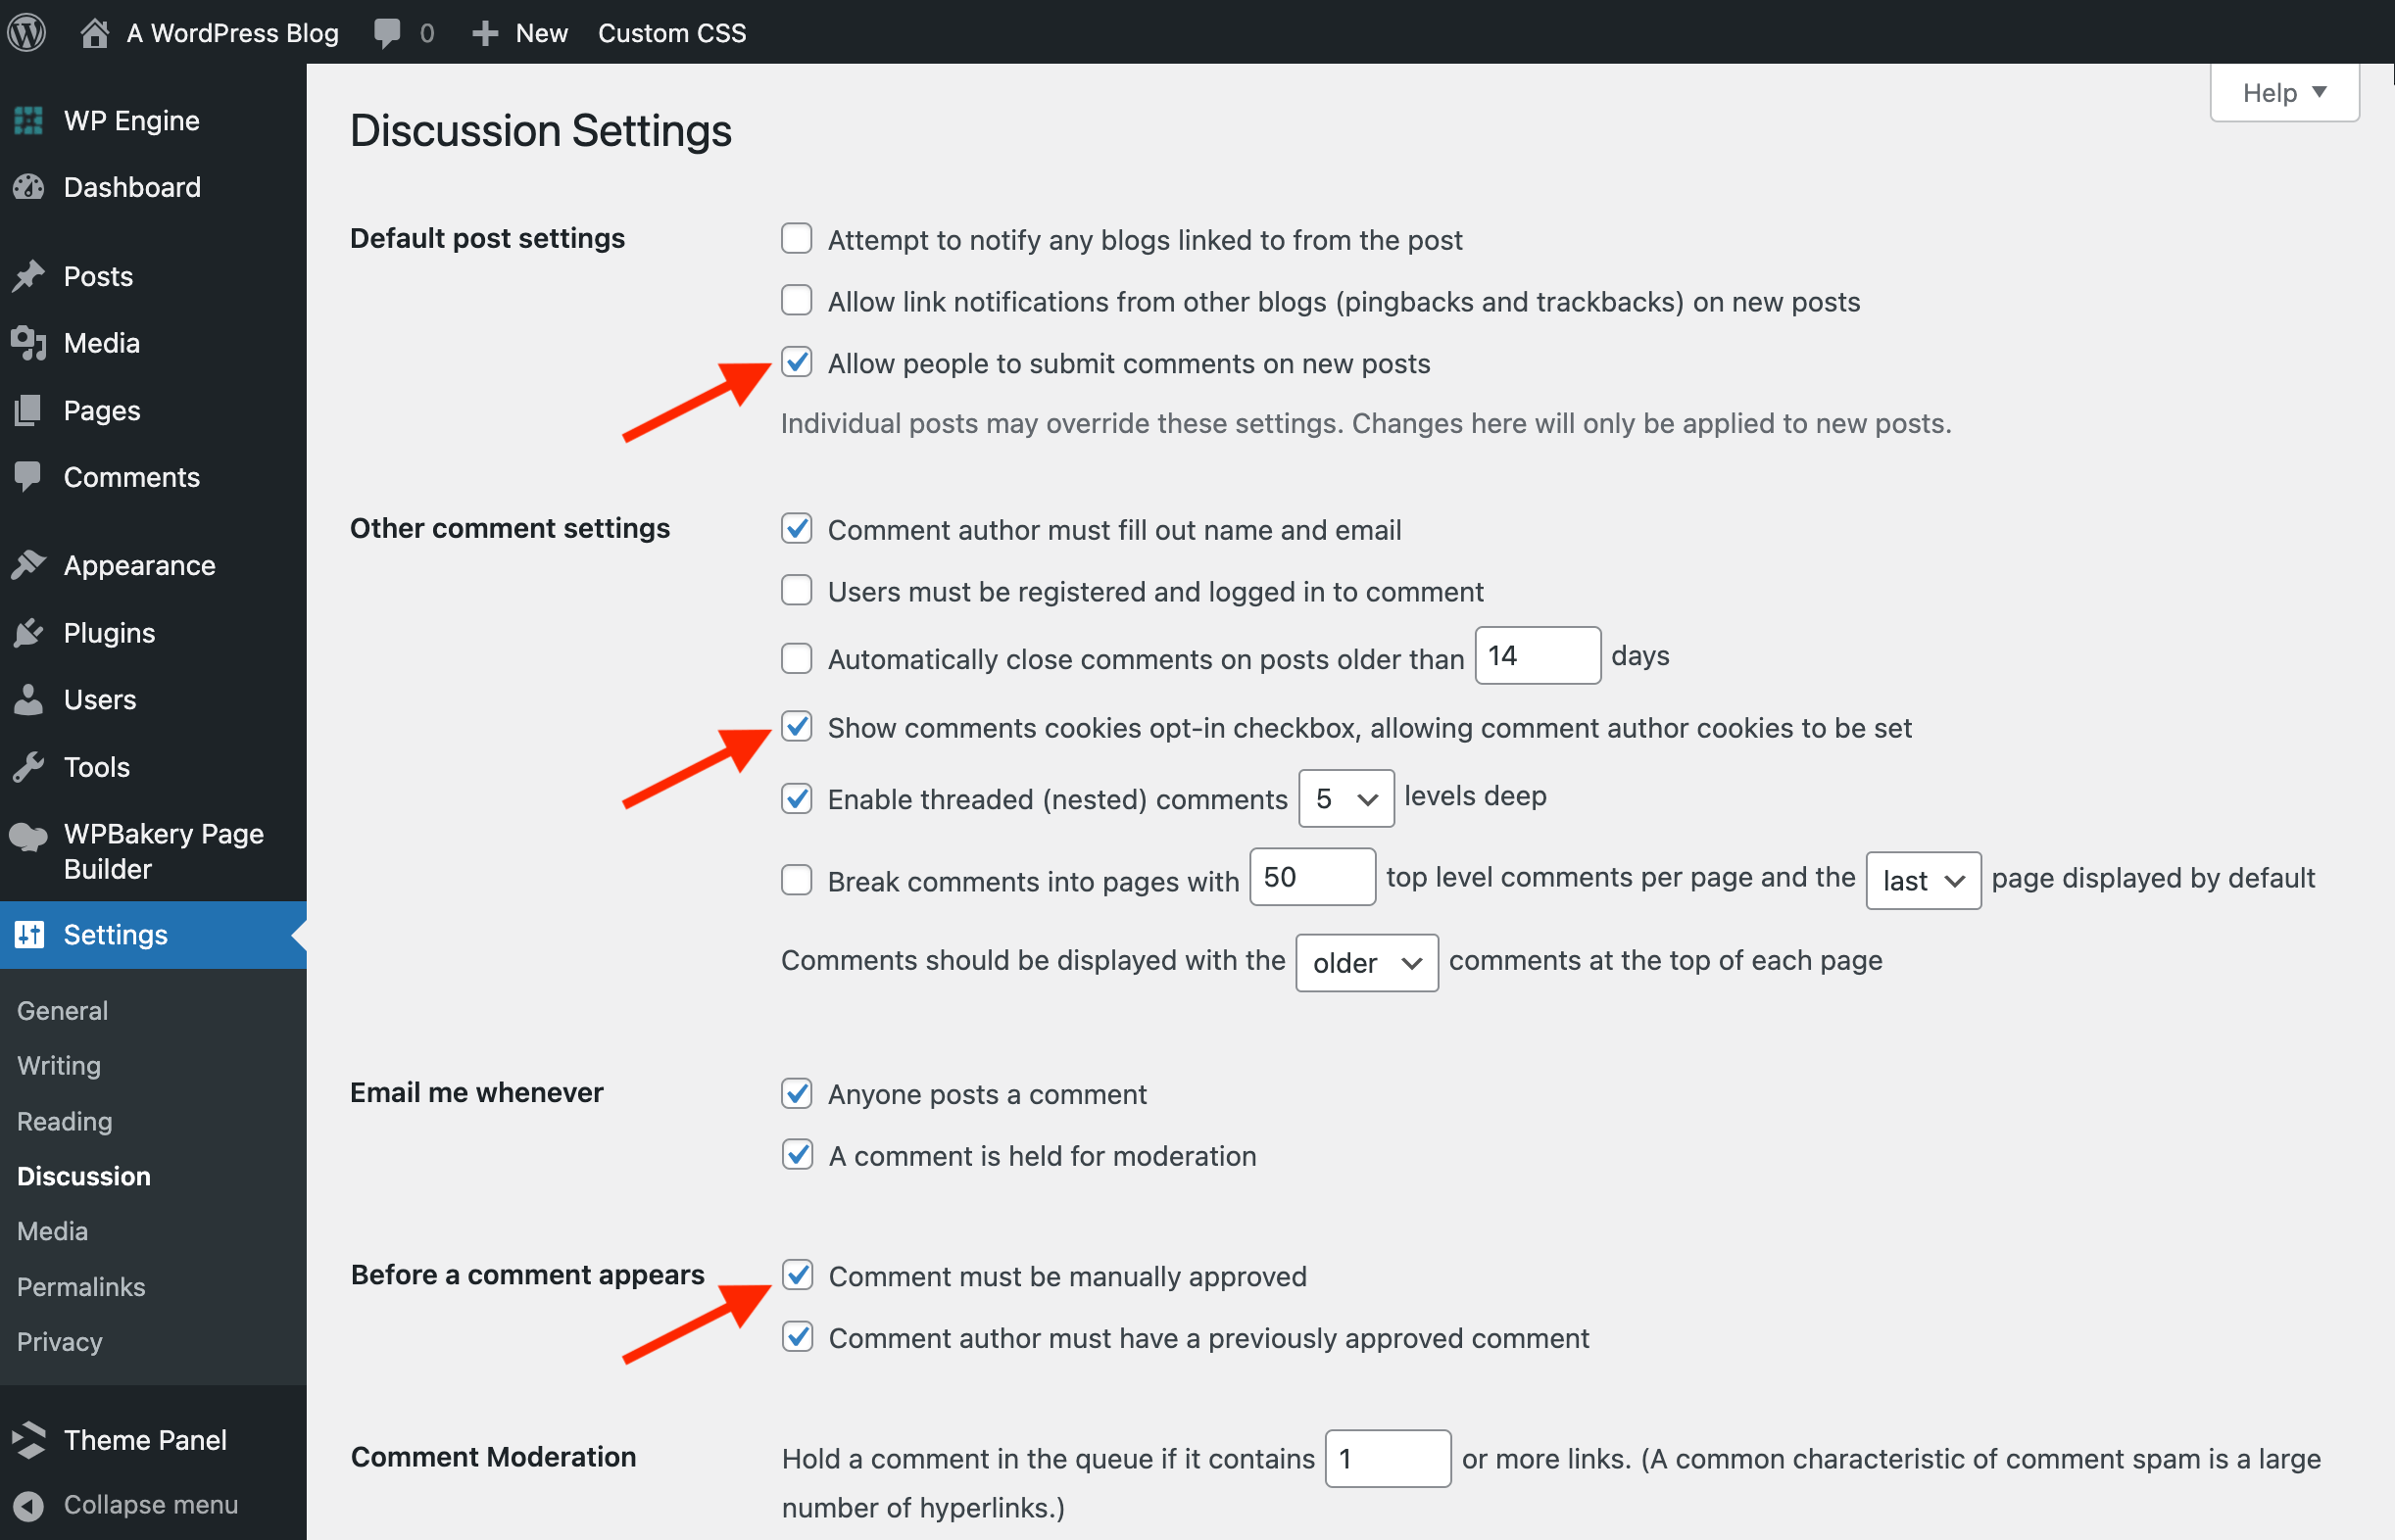
Next, the Discussion sub-section. This is where you can enable or disable WordPress pingbacks and trackbacks (personally, we disable this), enable comments on new posts, display the comments cookie (which is required by GDPR) and choose if you want to manually comments. You also have access to a lot of other comments-related options here. Define whether users will need to log in or provide personal information before they comment, can change approval and moderation settings, add word based filters, etc.
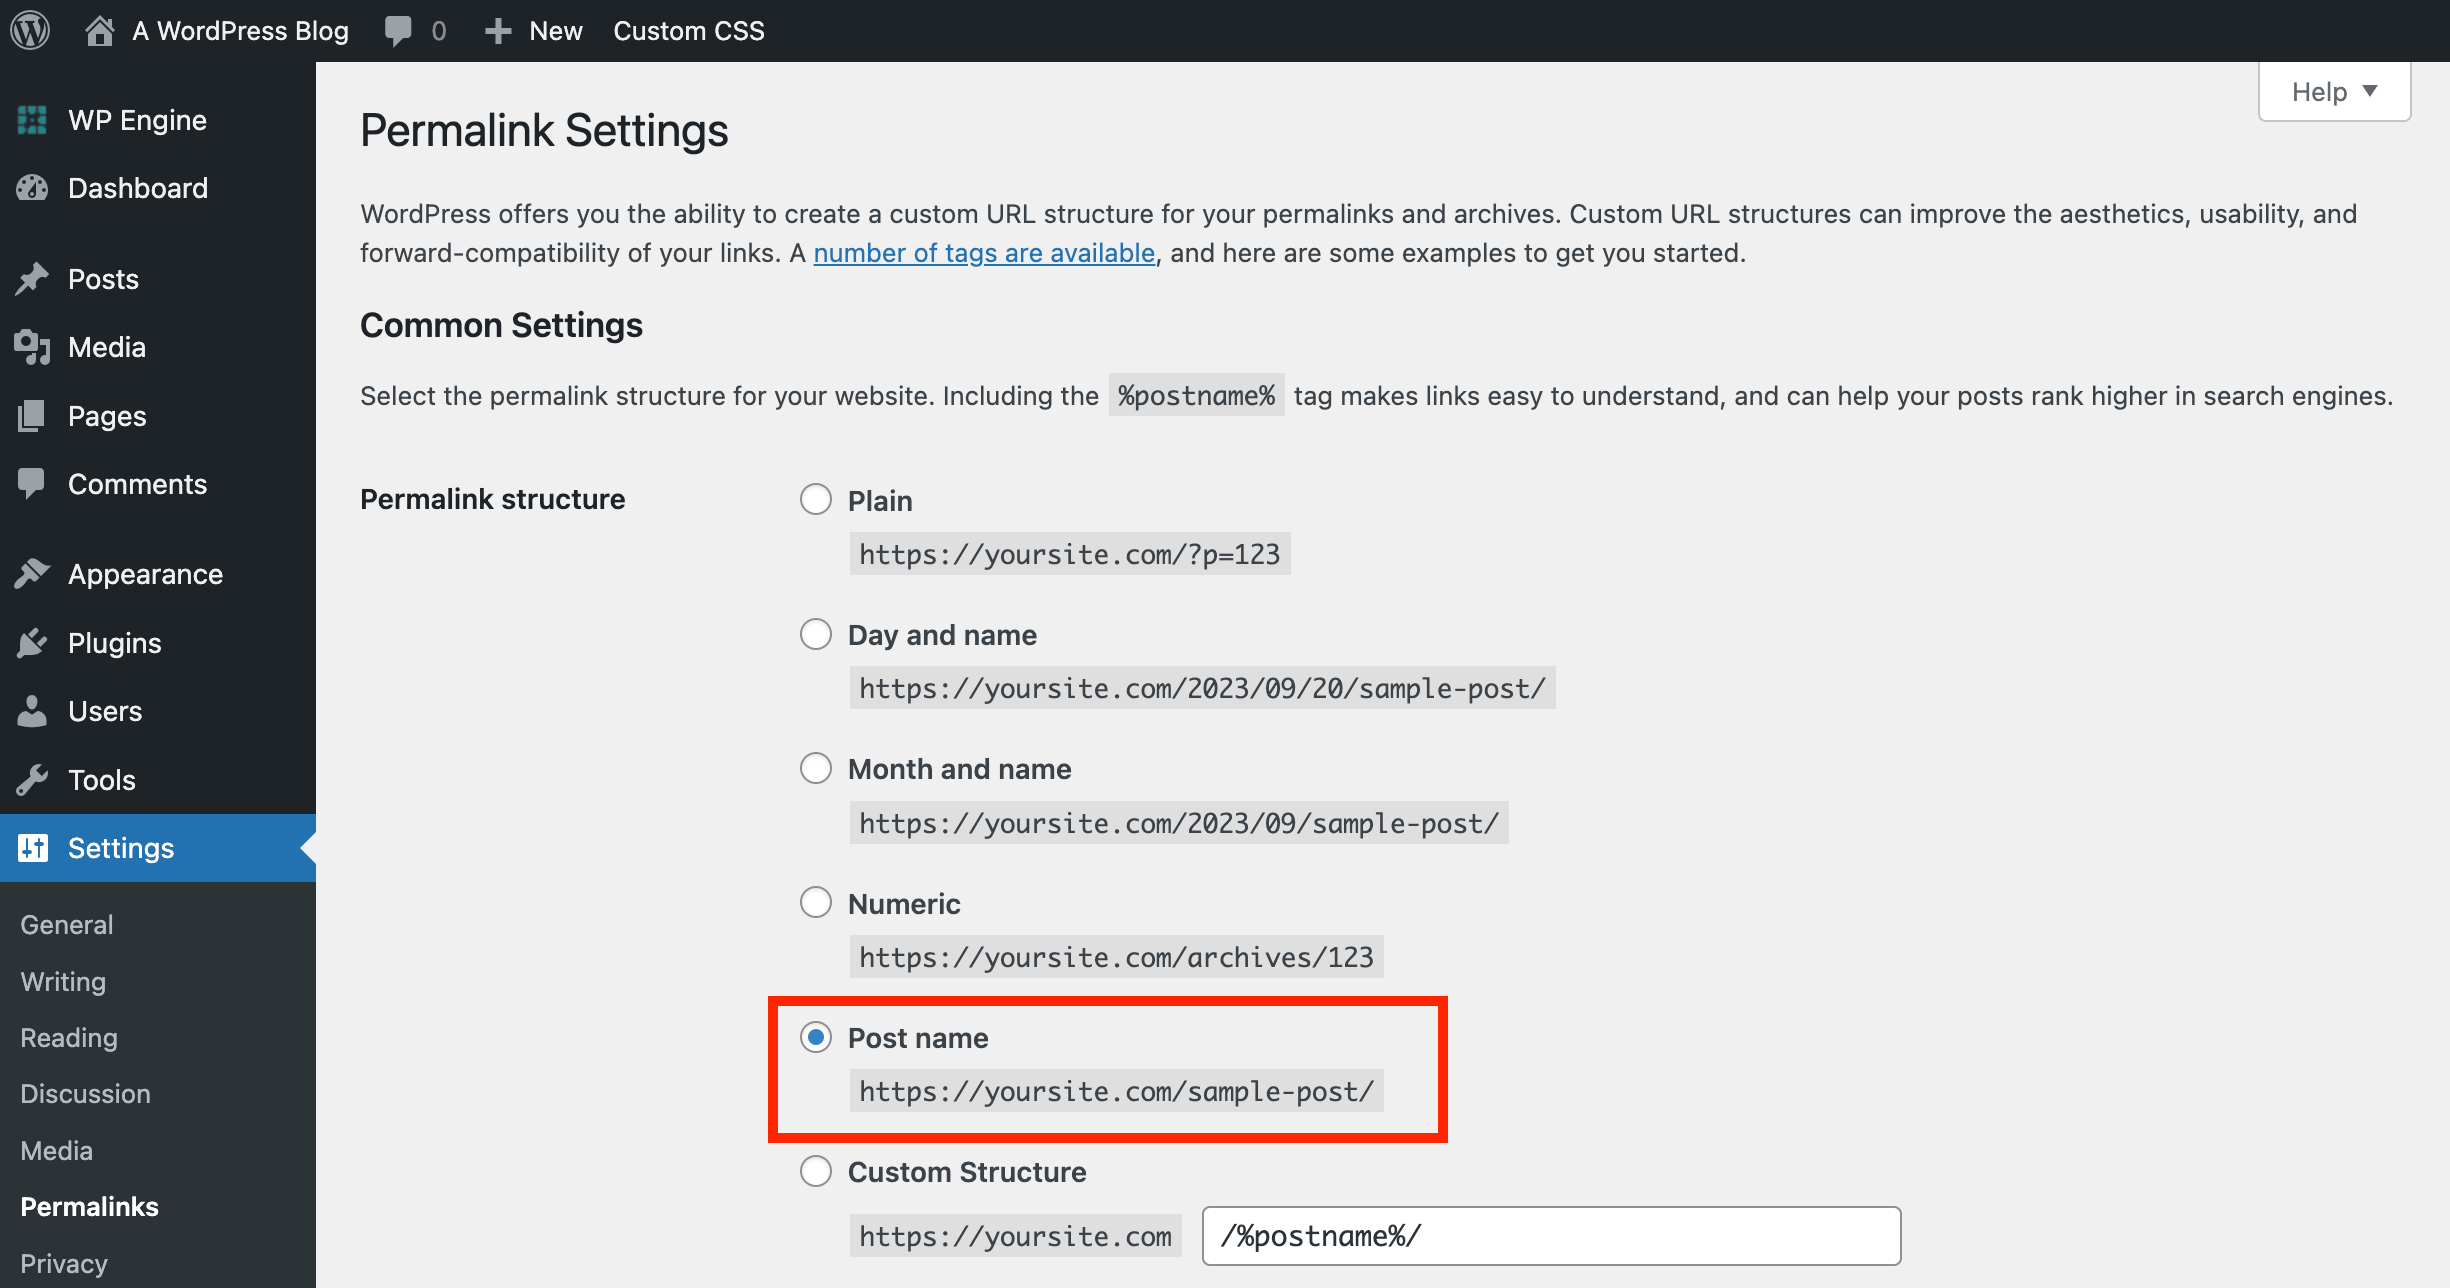
Scrolling along you’ll come to Permalinks. This is an important part of your WordPress site setup as this is where you can set your permalink structure. For most websites we recommend using the “Post name” format as it’s often the best for SEO (note – there are outliers where a different format might make more sense, but for the purposes of this beginner guide we recommend choosing the Post name).
And to wrap up Settings – the Writing tab has information for setting up WordPress’ post by email feature (which we don’t recommend, but you can use), the Media tab offers default cropping sizes, and the Privacy tab houses WordPress’ privacy policy generator (another GDPR legal requirement, and perhaps something you might want to use).
Some of the options here are advanced settings you may never need to touch. However if you want to change something about how your site functions in the future, this is the first place to check. You can also find more information about specific settings in the WordPress codex.
There’s a lot to do and see in the WordPress back end – so much that you might not be sure where to start. Fortunately, WordPress makes it easy to get accustomed to the platform by clearly organizing key features and settings, and by including helpful links in the dashboard.
Do you have any questions about how to use the WordPress back end? Ask away in the comments section below!
I was wondering if it is possible to add post to other WordPress page aside the default “Blog” page
Well that would depend on the theme and plugins you have installed. Posts are usually displayed on the main blog page and taxonomy pages (categories & tags). But if you’re using a page builder (like ELementor, Visual Composer, Motopress) you can create your own pages and add your blog posts to them, usually as grids or carousels. Another option is to use a theme or install plugins to add custom post types. These usually work just like normal blog posts (add a title, media, text, etc) except they appear on a page separate from the blog (like a portfolio, testimonials page, staff, events calendar).
I’m having extreme challenges redirecting my wordpress url to my bluehost domain. I need HELP!
It sounds like you were moving your website from WordPress.com to your own self-hosted WordPress installation? If that’s the case you can’t redirect pages on your own. Instead you’ll have to purchase WordPress’ premium Site Redirect Service (it should be available in the store menu in your dashboard for around $13).