Install WordPress in 5 Minutes (or Less) with Bluehost

Choosing WordPress is the perfect way to start your website off on the right foot. You’ll gain all the benefits of a powerful, flexible, and highly-regarded content management system that still manages to remain beginner-friendly. However, you won’t get the most out of WordPress unless you pair it with an excellent hosting service.
Your web host will do a lot to determine how fast and reliable your site is, as well as how much downtime it experiences (hopefully, almost none). Solid hosting services also provide added security for your site, 24/7 support, and other key features. Bluehost, for example, is a reputable hosting provider that meets all of these criteria and offers hosting plans that are optimized specifically for WordPress.
In this article we’ll start by introducing Bluehost and discussing its key features and pricing. Then we’ll show you how to install WordPress using Bluehost in only five minutes. Let’s take a look!
Why You Should Consider Bluehost for Your WordPress Site
Your website host is going to have a long-term impact on your site, so it really matters that you choose the best WordPress hosting for you from the beginning. Because every website is different, there is no one all around “best” hosting provider. But if you’re just getting started with WordPress we recommend giving Bluehost a try:
Bluehost is an old and trusted name in web hosting, and is recommended by the WordPress developers themselves. Using such a well-established host provides peace of mind, because you know exactly what you’re getting into.
It’s also worth noting that Bluehost is a particularly solid choice for WordPress users, because it offers WordPress-specific hosting. You’ll also get access to one-click installation for your WordPress site, and dedicated support that is familiar with the platform.
Other key features that make Bluehost stand out include the following:
- There are various hosting options and plans, so you can find one to suit your particular needs.
- You can manage everything involved with your web hosting through one central admin interface.
- Bluehost has a reputation for excellent speed and site uptime.
- There are plenty of security features to keep your site and its information safe.
- Every plan provides unmetered bandwidth, and all plans except the basic option offer unlimited storage, domain registrations, and email accounts.
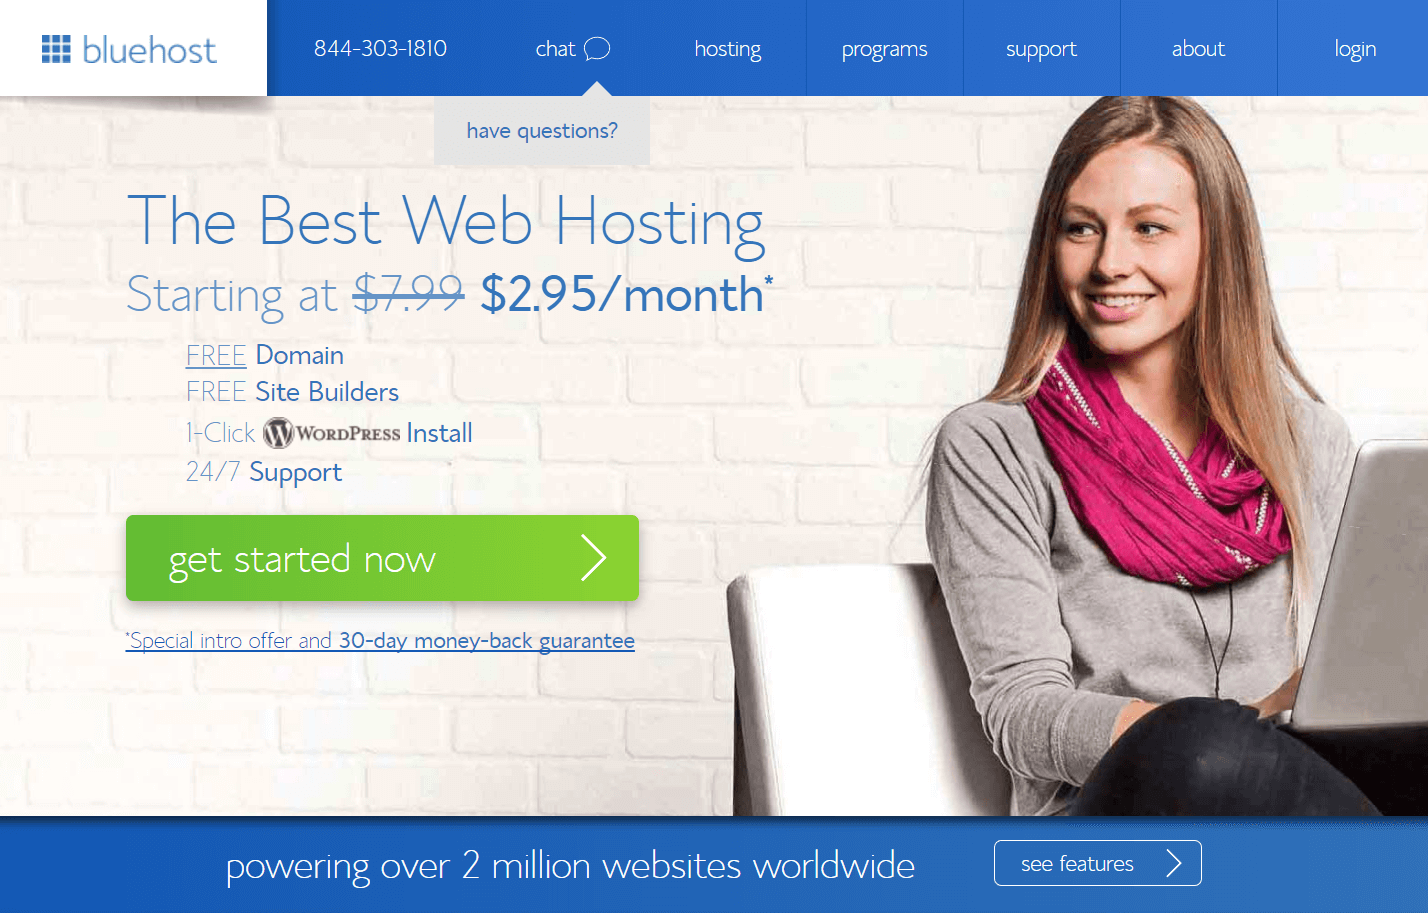
Fortunately, Bluehost hosting plans are fairly affordable. They range from $7.99 per month for the Basic plan to $23.99 per month for the Pro option, although there is promotional pricing that will make your first term even cheaper (our link will take you to plans that are just $2.95/mo).
While these standard plans will work well for most users, Bluehost also offers optimized hosting for WordPress that’s more expensive, but provides access to some advanced features. Best of all, getting your WordPress site up and running with Bluehost is a piece of cake. Let’s walk through the process step by step.
How to Install WordPress in Five Minutes Using Bluehost
Before you can get started, you’ll need to sign up for a hosting plan. If you’re not sure which one to pick, we recommend the WordPress hosting option since it was created specifically for WordPress powered websites and the server had already been optimized for wp themes, plugins, etc. However you can always start with the Basic plan if you’ve got a very strict budget then move up to a higher tier later if you find you need more space or additional features.
You’ll also need to choose a domain name for your website. Luckily Bluehost includes a free domain name with all of their shared and WordPress hosting plans. You just need to claim your domain name during the checkout process, or at any point while setting up your account. After that, you’ll be ready to install your WordPress site.
Step 1: Install WordPress Through Your Bluehost Account
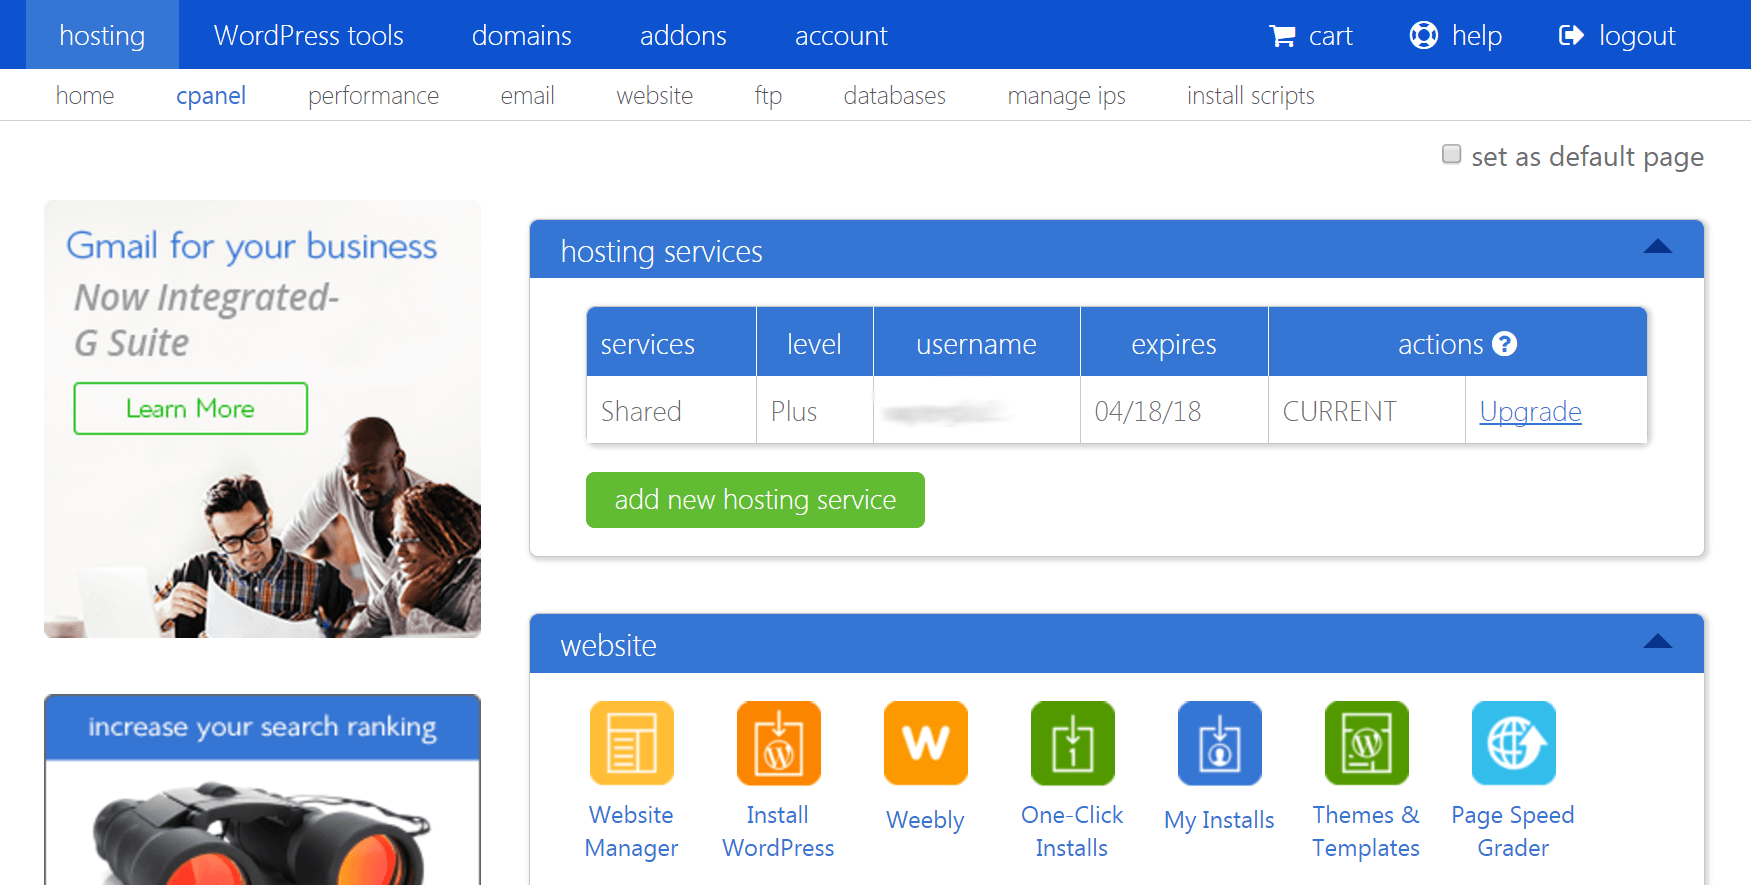
Start out by logging into your Bluehost account and clicking on hosting in the menu at the top of the screen. Then select cpanel from the menu right underneath. You should now see a section labeled website – choose the button Install WordPress from that section:
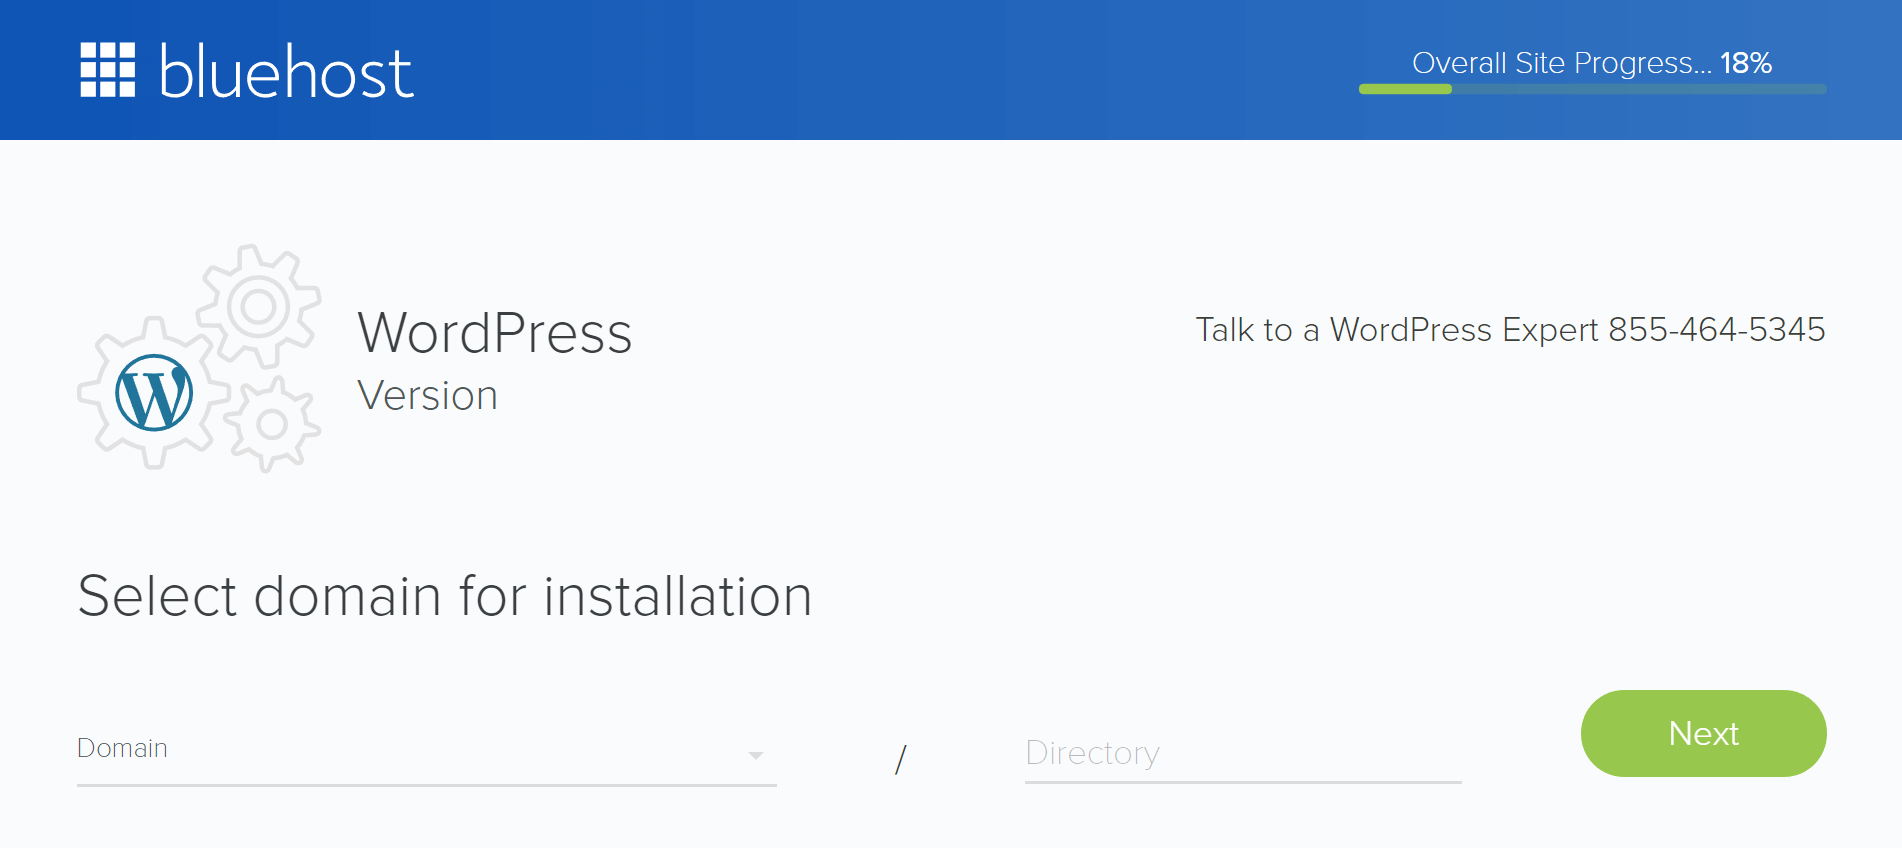
You’ll be taken to a different screen that will begin the installation process. Click on the Continue Installation button, and choose the domain name you registered with Bluehost from the Domain drop-down field. You can leave the Directory field blank. Then select Next:
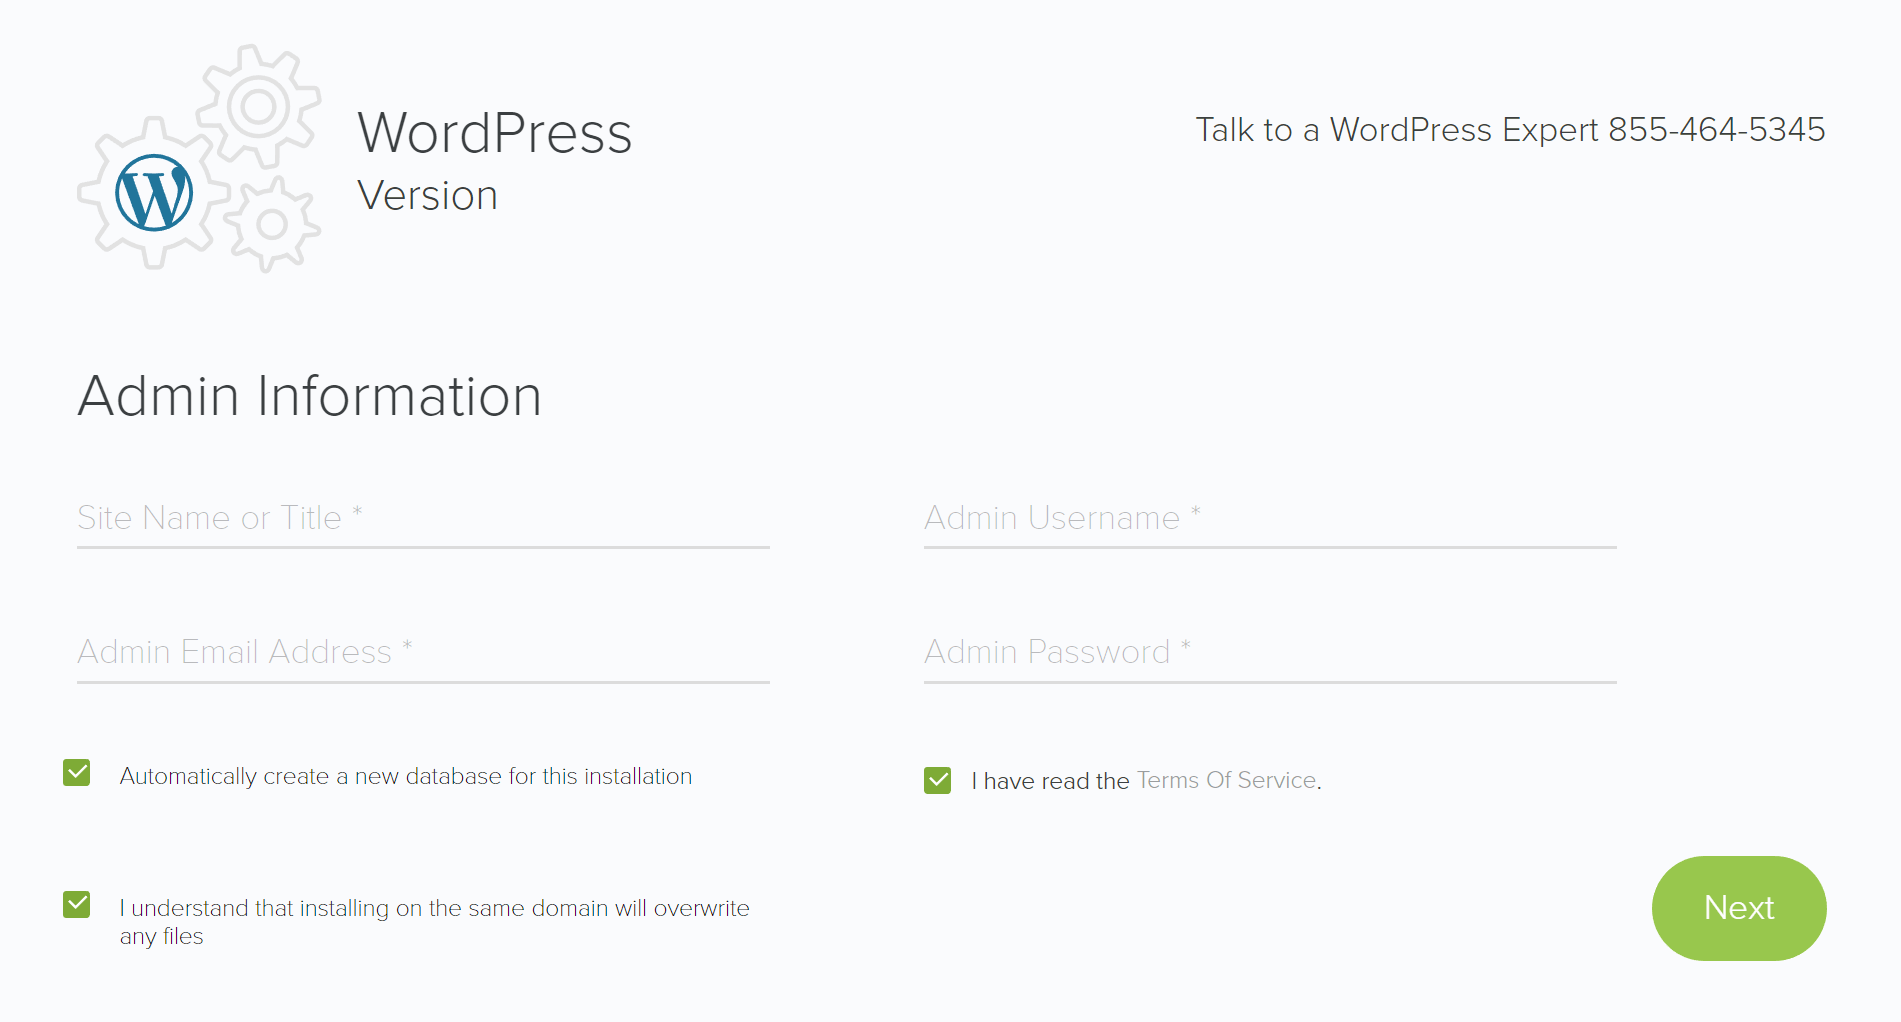
The following screen will ask you to enter your website’s name – don’t worry, you can always change it later. You will also need to provide an email address, and come up with the username and password for your admin account:
Click on Next once more, and wait for a few moments while Bluehost completes the installation. When it’s done, the page will display a message telling you that your installation was successful:

If you click on view your credentials, you’ll be able to see the URL for your site, as well as the username and password you created. This information will be sent to your email, although to be safe you may want to save or print the page as well.
Your website is now ready to go! Before we call it a day, however, let’s finish getting the site set up.
Step 2: Visit Your New Site and Complete the Setup Wizard
To get to your site, click on the Install Location URL from your credentials page (or copy it into your browser). Then enter your username and password:
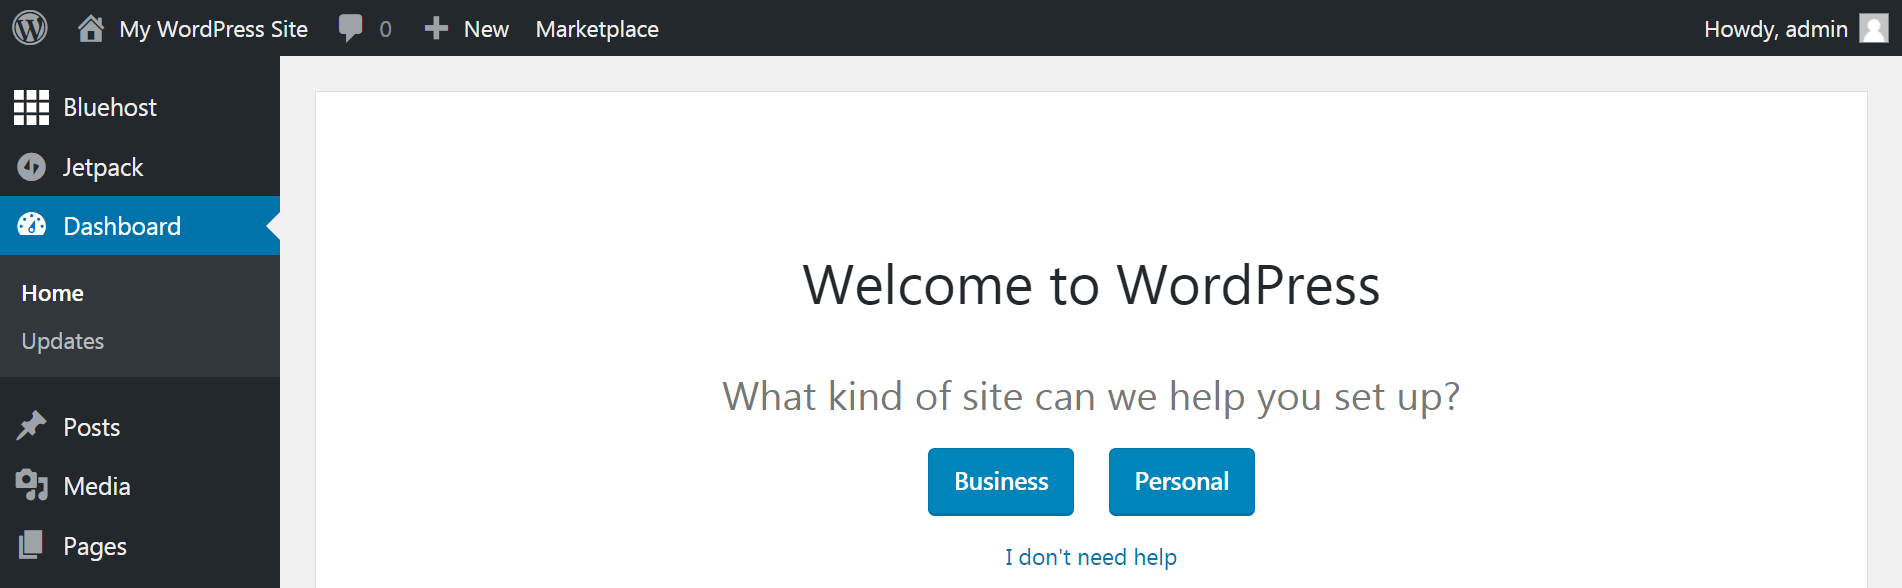
You’ll be taken to the back end of your new WordPress site, where you can start customizing it and adding content. If you’re not sure where to start, you can click on the Business or Personal button (as appropriate) to be taken to Bluehost’s setup wizard:
Click through the prompts to determine some basic options for your site. You can nail down its name and description, decide what your home page will include, and create a default contact page. At the end of the wizard, you’ll get a chance to edit what you entered on the previous screens:
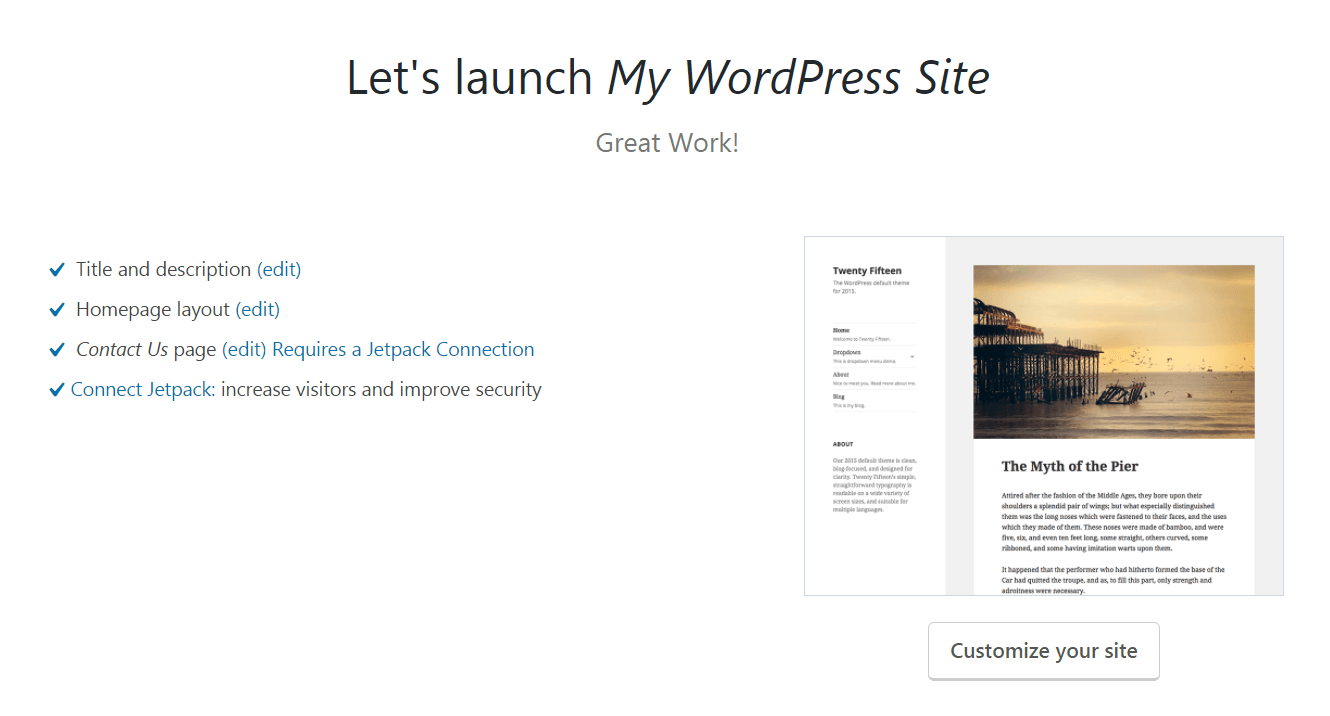
The wizard will also ask if you want to connect your Jetpack account. This is a helpful plugin that helps keeps your site secure and can assist in increasing your traffic. If you don’t have an account, though, you don’t need to worry about this step right now (although we recommend checking Jetpack out when you get around to installing plugins on your site).
When you’re finished getting your site’s basics set up, you can select Customize your site to start personalizing its appearance. Alternately, you can use the menu on the left side of the screen to start learning the ins and outs of your site. We’ll discuss more about how to start designing your site and adding content in future posts. For now, enjoy your new WordPress website!
Conclusion
WordPress is an awesome platform for creating just about any type of site you can imagine. However, it won’t perform at its best unless it’s supported by an equally excellent hosting service. Fortunately, Bluehost is a fully-featured and easy-to-use option that offers plenty of WordPress-specific features.
Plus installing your WordPress website with Bluehost is easy. You simply sign up for an account, choose a domain name, then log into your Bluehost account to install WordPress and create your admin credentials. After that when you visit the URL of your new site all you have left is to finish setting it up.
Do you have any questions about how to install WordPress using Bluehost? Let us know in the comments section below!


Hello…. I got really confused trying to see which plan will suit my needs because am planning of using bluehost to host my blog. My question is if i buy a blogger plan 36$/yr and host it with bluehost can i used third party functions like AdSense for monetization?
Yes! Because you’re self-hosting WordPress you can add Adsense, Amazon Affiliates, or use any other ad networks you want on your website. Unlike WordPress.com – when you use WordPress (the .org version) on your own hosting you have full control over your website.